
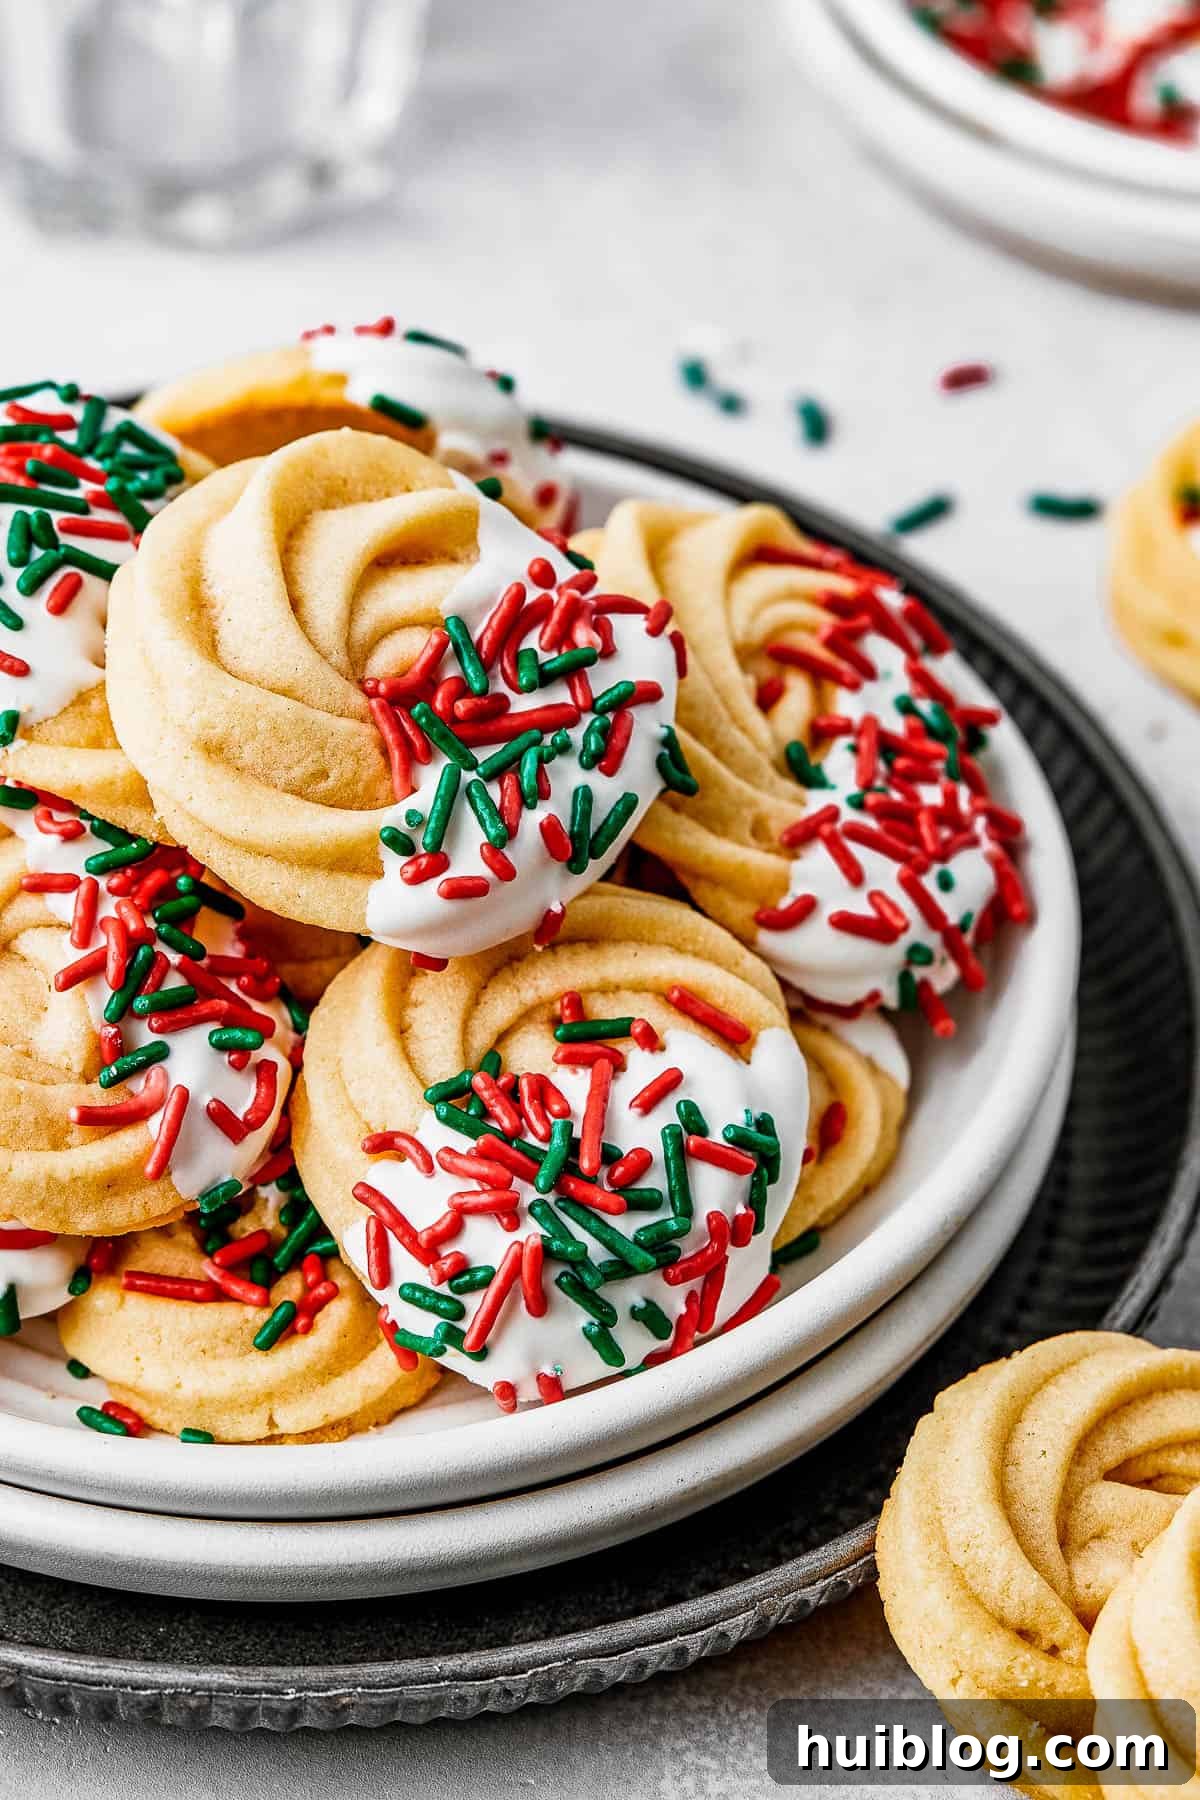
Delight in the comforting warmth of a true classic with these exquisite Homemade Butter Cookies. Perfectly crafted for those chilly afternoons or festive gatherings, these cookies boast a rich, buttery sweetness and an incredibly delicate, melt-in-your-mouth texture that will captivate your senses. Don’t forget to stash some in the freezer for a delightful treat whenever the craving strikes!
If you’re seeking more delightful cookie inspirations for the holiday season or any special occasion, explore our Christmas cake mix cookies for a vibrant and effortless option, or whip up a batch of enchanting candy cane cookies for a refreshing minty twist. Each recipe is designed to be a showstopper on your holiday cookie platters, dessert tables, or simply enjoyed alongside a steaming mug of our luxurious hot chocolate!
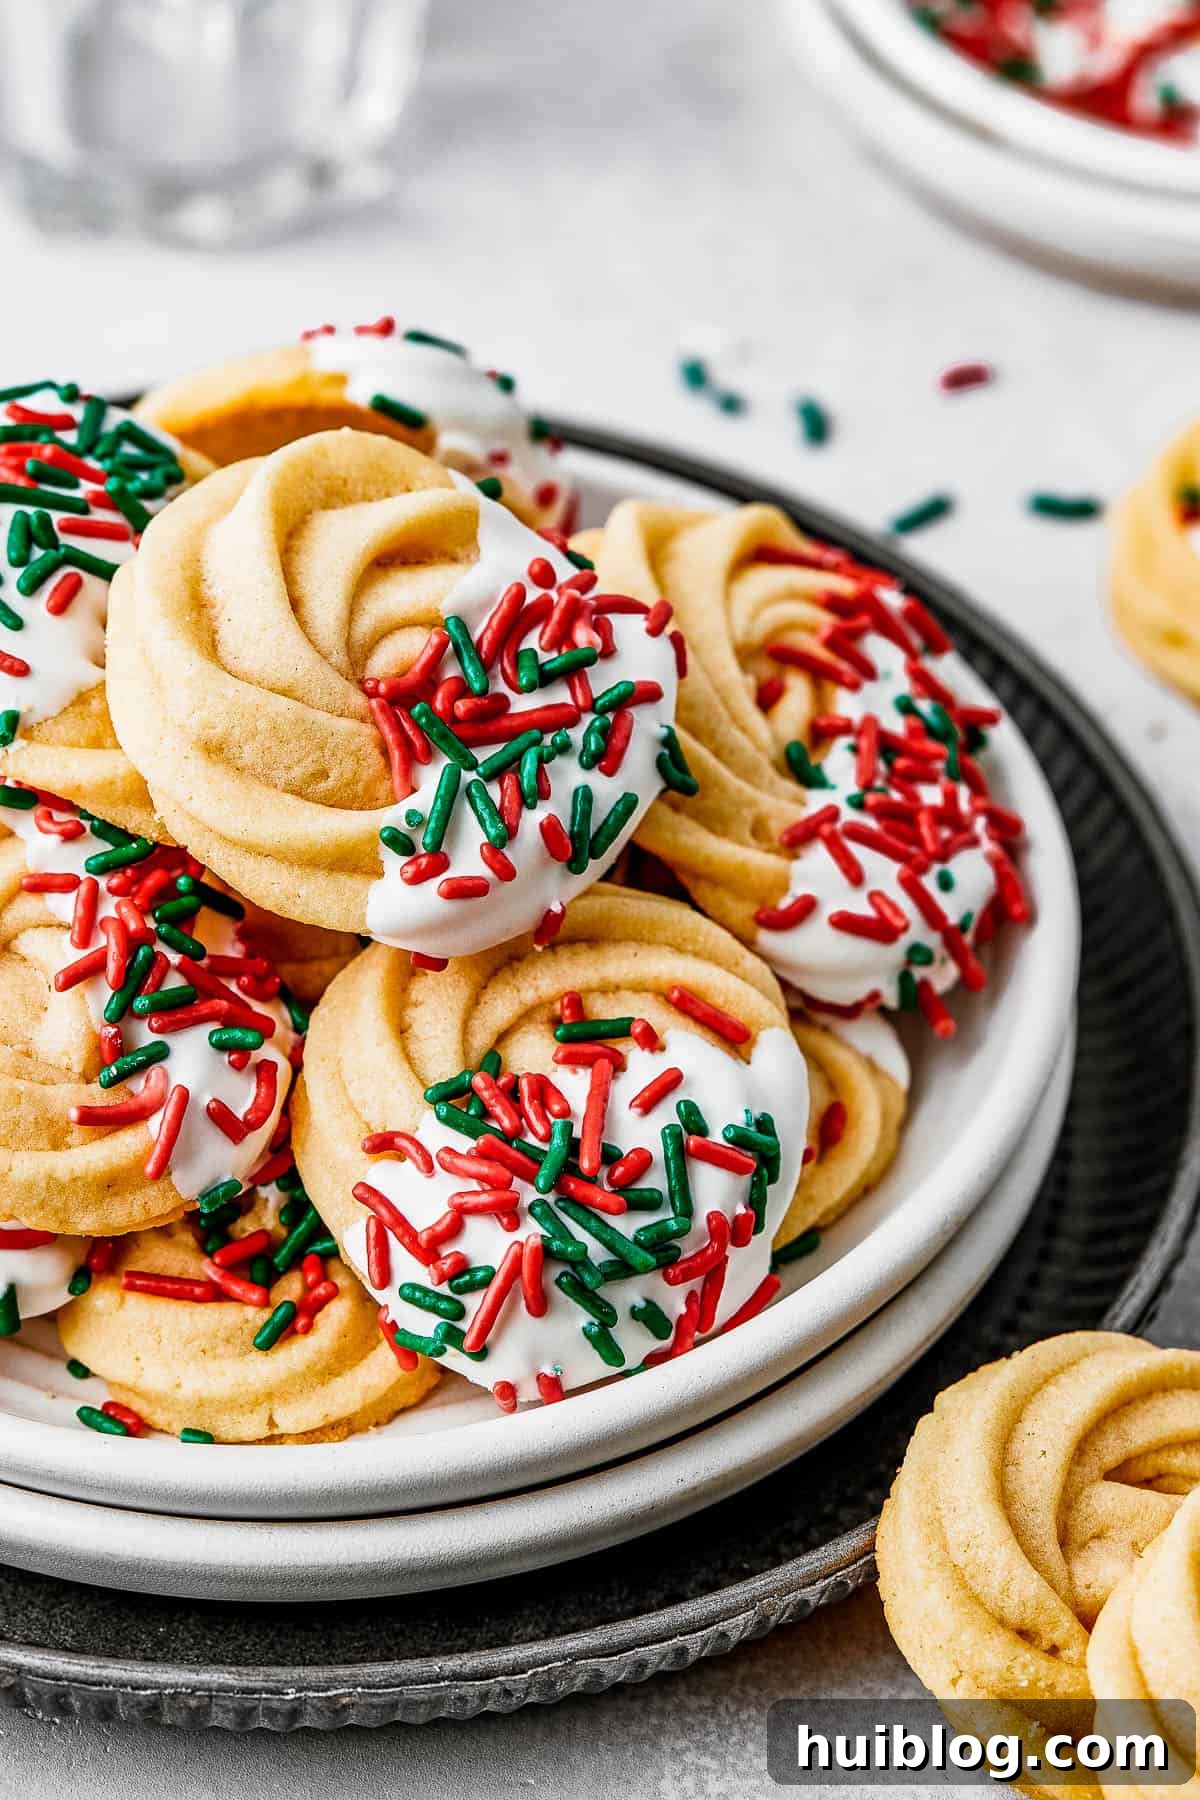
Homemade Butter Cookies: The Ultimate Guide to Perfect Danish Delights
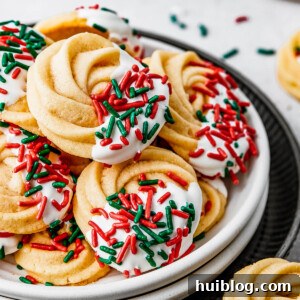
Embark on a delightful culinary journey to create traditional Danish butter cookies right in your own kitchen. Known for their intricate swirls, subtle vanilla and almond essence, and unparalleled rich, buttery taste, these cookies are a cherished staple during the colder months. They pair exquisitely with an icy glass of milk, a comforting hot cup of coffee, or your favorite evening tea, offering a moment of pure bliss with every bite.
You’ve undoubtedly encountered these iconic treats in their distinctive blue tins, but what many don’t realize is how surprisingly simple and rewarding it is to bake them at home. The difference between store-bought and freshly baked is truly “out of this world” – a warm, fragrant experience that elevates a simple cookie to an extraordinary indulgence. Our recipe streamlines the process, making it accessible even for novice bakers.
The magic begins with a foundational sugar cookie dough, generously enriched with softened butter and fine confectioner’s sugar. This combination ensures a tender, crumbly texture. The next step is where the artistry comes in: piping the dough into elegant swirls or other decorative shapes, chilling them to perfection, and then baking them to a delicate golden hue. It’s a wonderfully straightforward process that yields impressive results every time, turning your kitchen into a sweet-smelling haven.
The Irresistible Allure of Butter Cookies: A Deeper Look
What makes butter cookies, particularly the Danish variety, so utterly captivating? While taste can be subjective – and indeed, some prefer the robust chewiness of brown butter chocolate chip cookies – Danish butter cookies hold a special place in many hearts due to their exquisite balance of texture and flavor. They are celebrated for their incredibly light and delicate crumb, a delightful burst of sweetness, and a deeply satisfying, rich buttery taste that lingers pleasantly on the palate.
The secret lies in their generously high butter content, which imparts both flavor and that characteristic melting texture. This richness is perfectly counterbalanced by the aromatic notes of pure vanilla extract, a hint of almond for an old-world charm, and a touch of salt to enhance and round out the overall flavor profile. The result is a simple yet profoundly addictive cookie that makes it difficult to stop at just one. Their understated elegance and pure flavor make them a timeless favorite for all ages and occasions.
Shortbread vs. Butter Cookies: Understanding the Delicate Differences
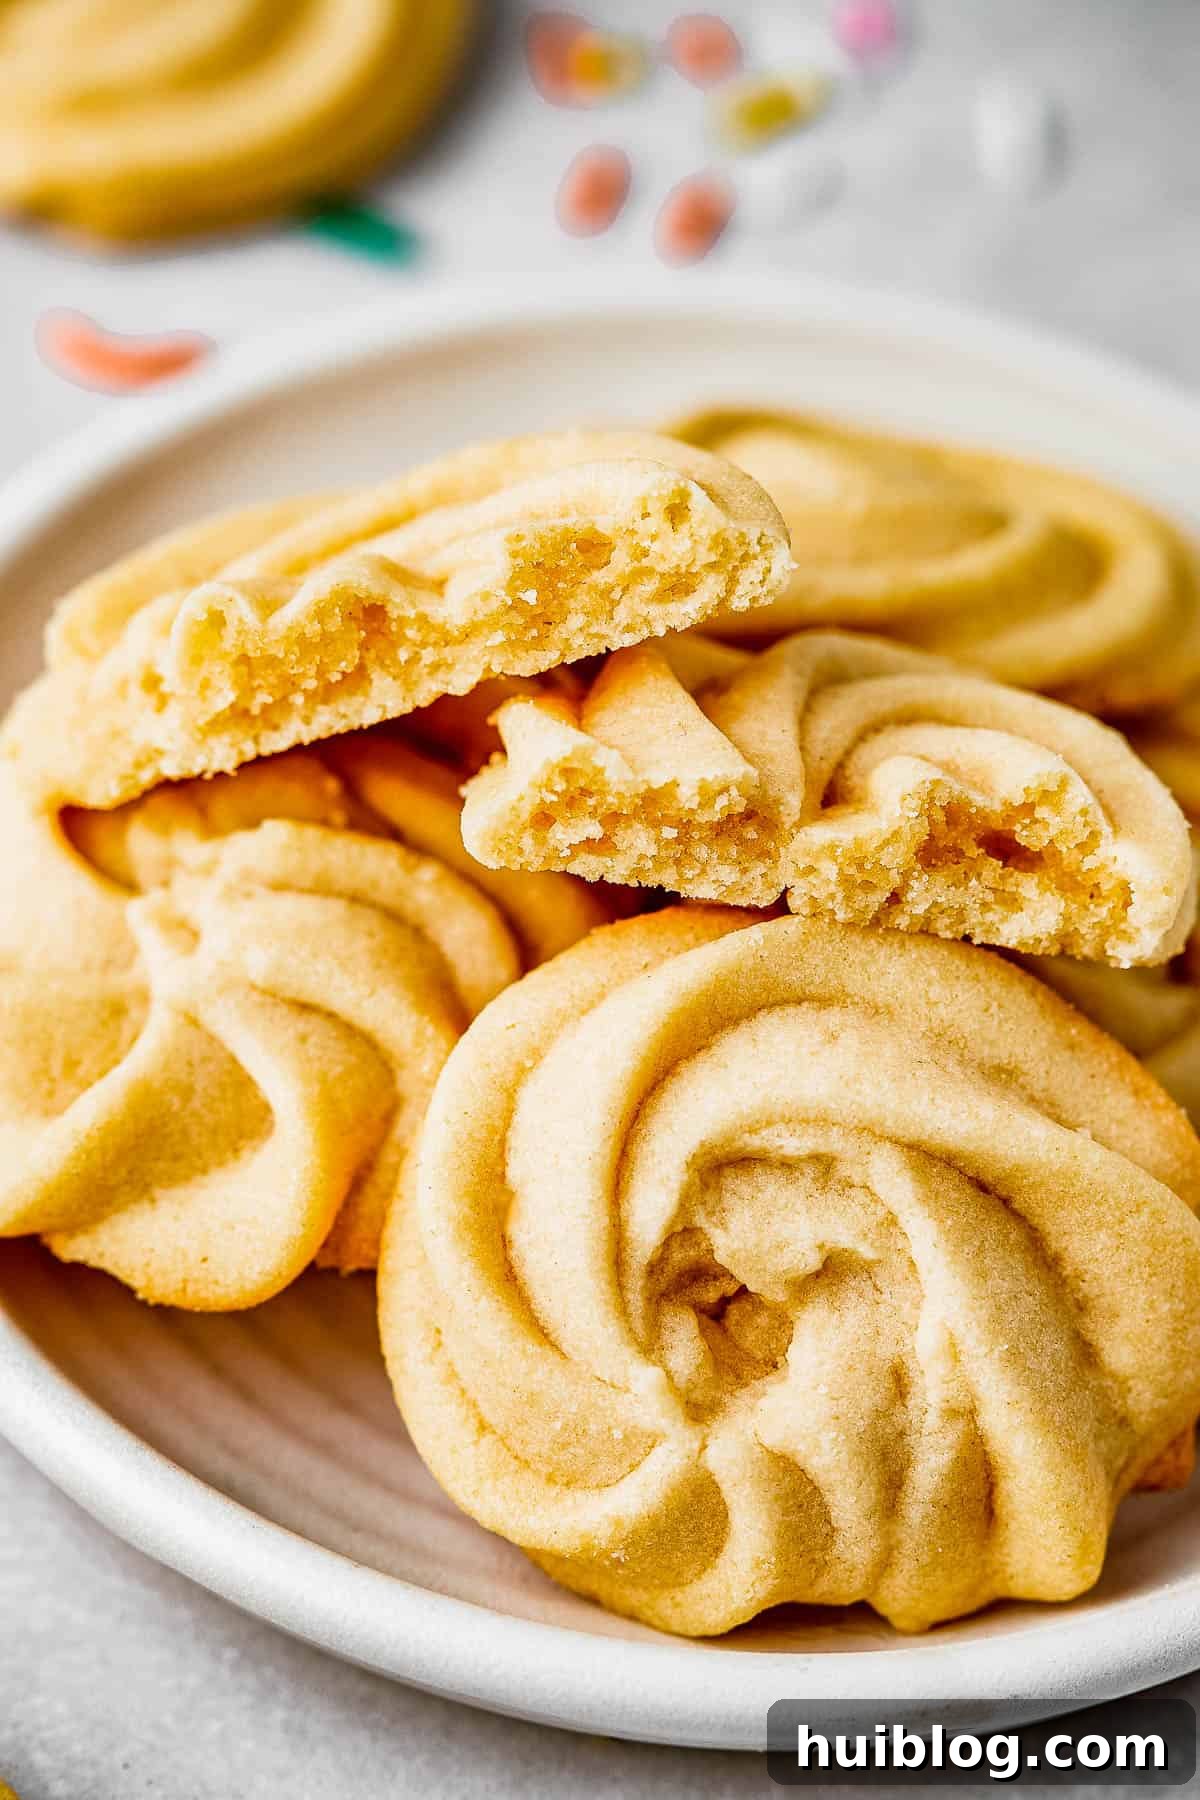
While often grouped together, shortbread cookies and butter cookies, particularly the Danish style, possess distinct characteristics that set them apart. The most significant differentiator is their texture. Butter cookies achieve their signature light, tender, and almost melt-away texture thanks to a dough that incorporates not only butter, flour, and sugar but also additional ingredients like egg and milk, often using confectioner’s sugar for an extra delicate finish. This blend creates a softer, more pliable dough that lends itself beautifully to piping and results in a cookie that is subtly crisp on the exterior and wonderfully soft within.
In contrast, traditional shortbread cookies are typically made with a minimalist ingredient list: primarily butter, flour, and granulated sugar. This simpler composition yields a much denser, more crumbly cookie that snaps and breaks into crunchy chunks with each bite. While equally delicious and beloved for its own unique qualities, shortbread offers a firmer, more rustic experience compared to the refined, delicate lightness of these Danish-style butter cookies. Understanding these differences allows for a greater appreciation of each cookie’s individual charm and ensures you choose the perfect treat for your desired texture and taste experience.
Essential Ingredients for Perfect Butter Cookies
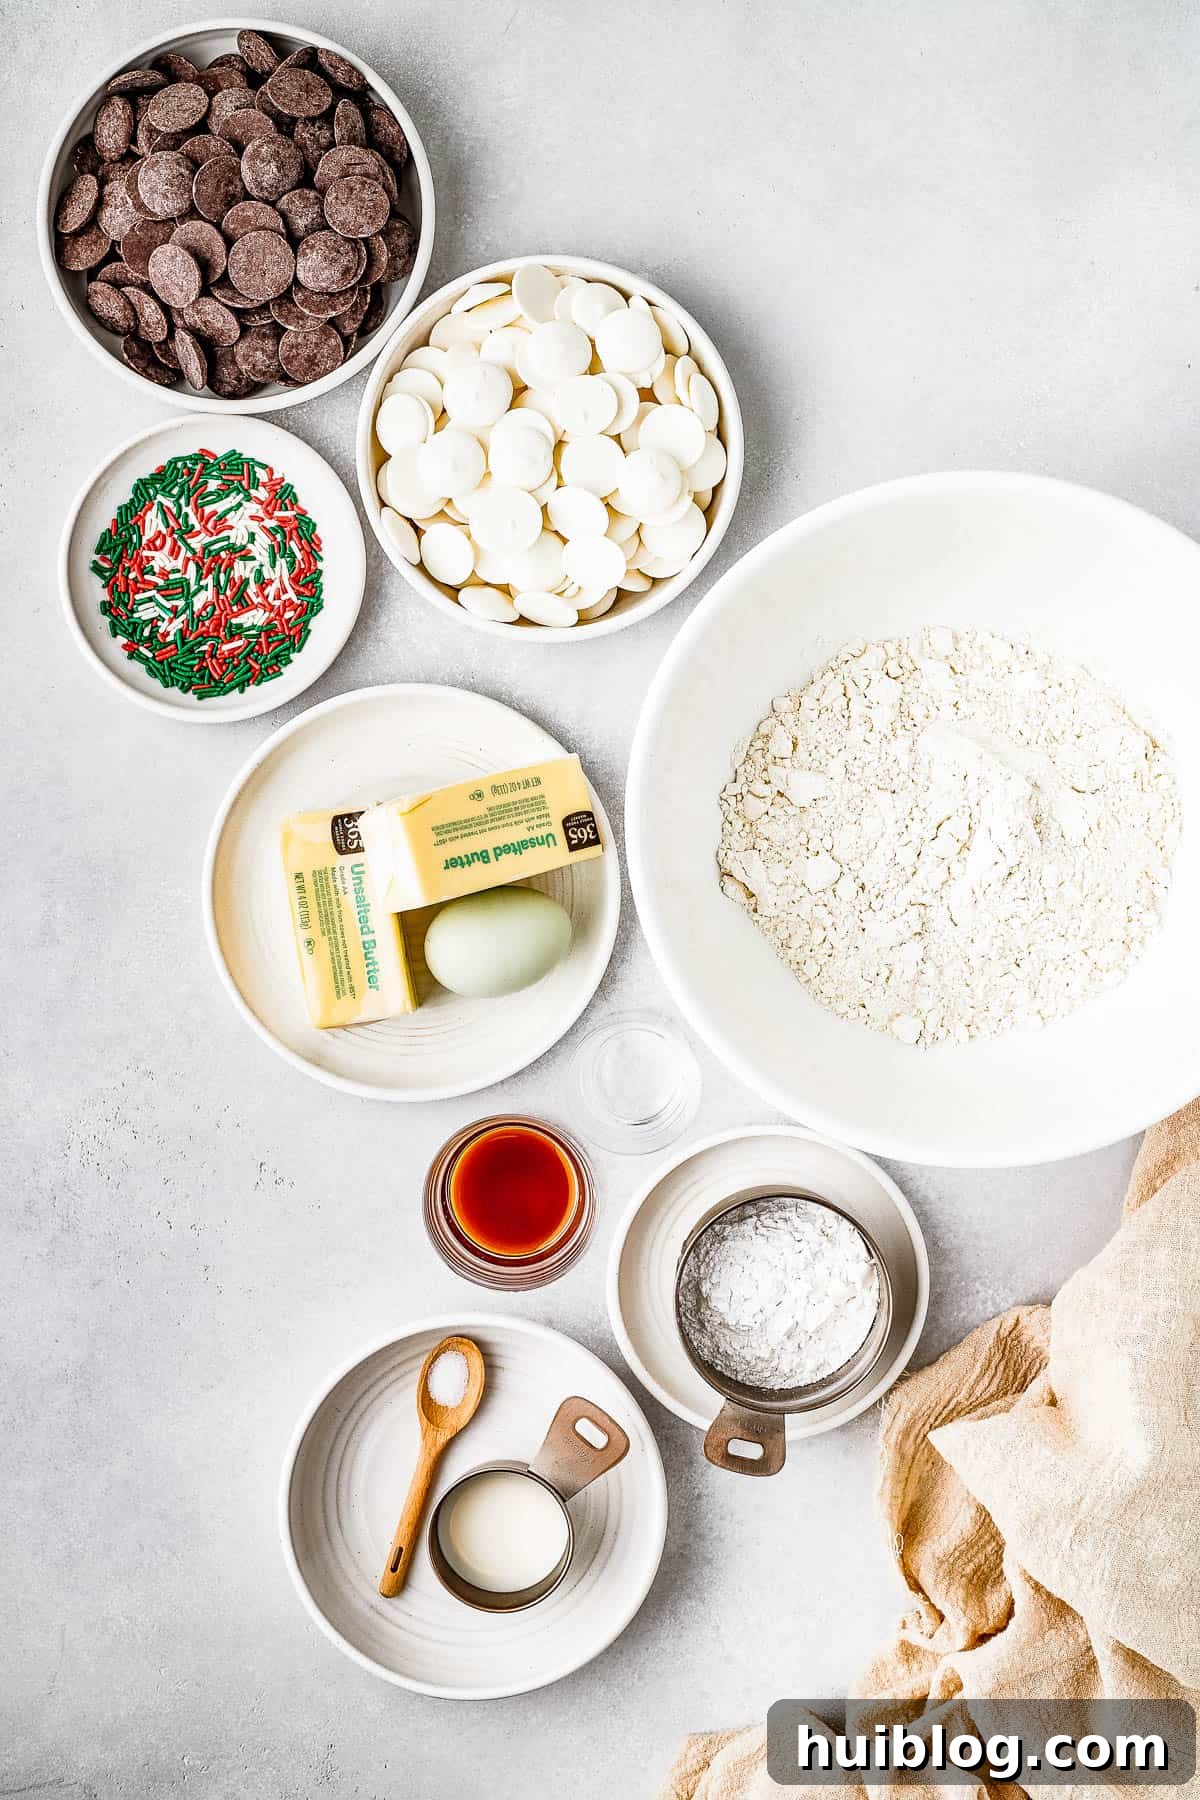
Crafting these delightful butter cookies requires only a handful of simple, wholesome ingredients, most of which you likely already have on hand. The quality of your ingredients plays a significant role in the final flavor and texture, so choosing fresh and high-quality options is always recommended. Here’s a detailed breakdown of each component and its function in this beloved recipe:
For the Cookies: The Foundation of Flavor and Texture
- Unsalted Butter: This is the star of our butter cookies, providing their signature rich flavor and tender crumb. For optimal results, always use unsalted butter to control the overall saltiness of your cookies. Crucially, ensure your butter is at room temperature before you begin baking. This allows it to cream properly with the sugar, creating a light and airy base for the dough.
- Confectioners’ Sugar (Powdered Sugar): Unlike granulated sugar, confectioners’ sugar contains a small amount of cornstarch and is finely milled. This contributes significantly to the melt-in-your-mouth texture of the cookies, preventing a grainy feel and helping the dough maintain its delicate structure.
- Large Egg: One large, whole egg acts as a vital binder, helping to emulsify the ingredients and provide structure to the dough. Using a room-temperature egg also aids in creating a smoother, more homogeneous mixture.
- Pure Vanilla Extract: A cornerstone of classic cookie flavor, pure vanilla extract infuses the cookies with a warm, aromatic sweetness that is both comforting and inviting. Opt for pure extract over imitation for the best taste.
- Almond Extract: This ingredient is key to achieving that authentic, old-fashioned Danish butter cookie taste. Almond extract adds a rich, slightly nutty, and refreshing undertone that beautifully complements the vanilla and butter. Do not skip this; it truly makes a difference!
- Salt: Just a pinch of salt is essential. It doesn’t make the cookies salty; instead, it cleverly balances the sweetness of the sugar and extracts, enhancing all the other flavors and preventing the cookies from tasting overly sweet or flat.
- All-Purpose Flour: Standard all-purpose flour provides the necessary structure for these cookies. While gluten-free 1:1 flour blends can be used as an alternative, be aware that the final texture of the cookies may vary slightly.
- Milk: A small splash of milk is added to achieve the perfect consistency for piping. It thins the dough just enough to flow smoothly through a piping bag while still holding its shape during baking.
For the Optional Dip: Adding a Touch of Glamour
Elevate your butter cookies with a simple, elegant dip and some colorful sprinkles, perfect for holiday platters or special occasions.
- Candy Melts: White, dark, or milk chocolate candy melts are fantastic for dipping. They melt smoothly and set quickly, creating a beautiful, glossy finish. Choose your favorite flavor or color to match the occasion.
- Sprinkles: Unleash your creativity with sprinkles! Any kind will do – classic nonpareils, festive jimmies, sparkling sugars, or even finely chopped nuts can add a wonderful visual appeal and an extra layer of texture.
Baking Homemade Butter Cookies: A Step-by-Step Guide
Creating these delightful butter cookies is a straightforward process, whether you prefer to mix by hand or utilize the convenience of a mixer. For the lightest and creamiest dough, a hand mixer or a stand mixer with a paddle attachment is highly recommended, as achieving that airy texture by hand can be quite a workout. Regardless of your chosen method, ensure all your ingredients are at room temperature to facilitate smooth mixing and optimal results.
Crafting the Perfect Butter Cookie Dough
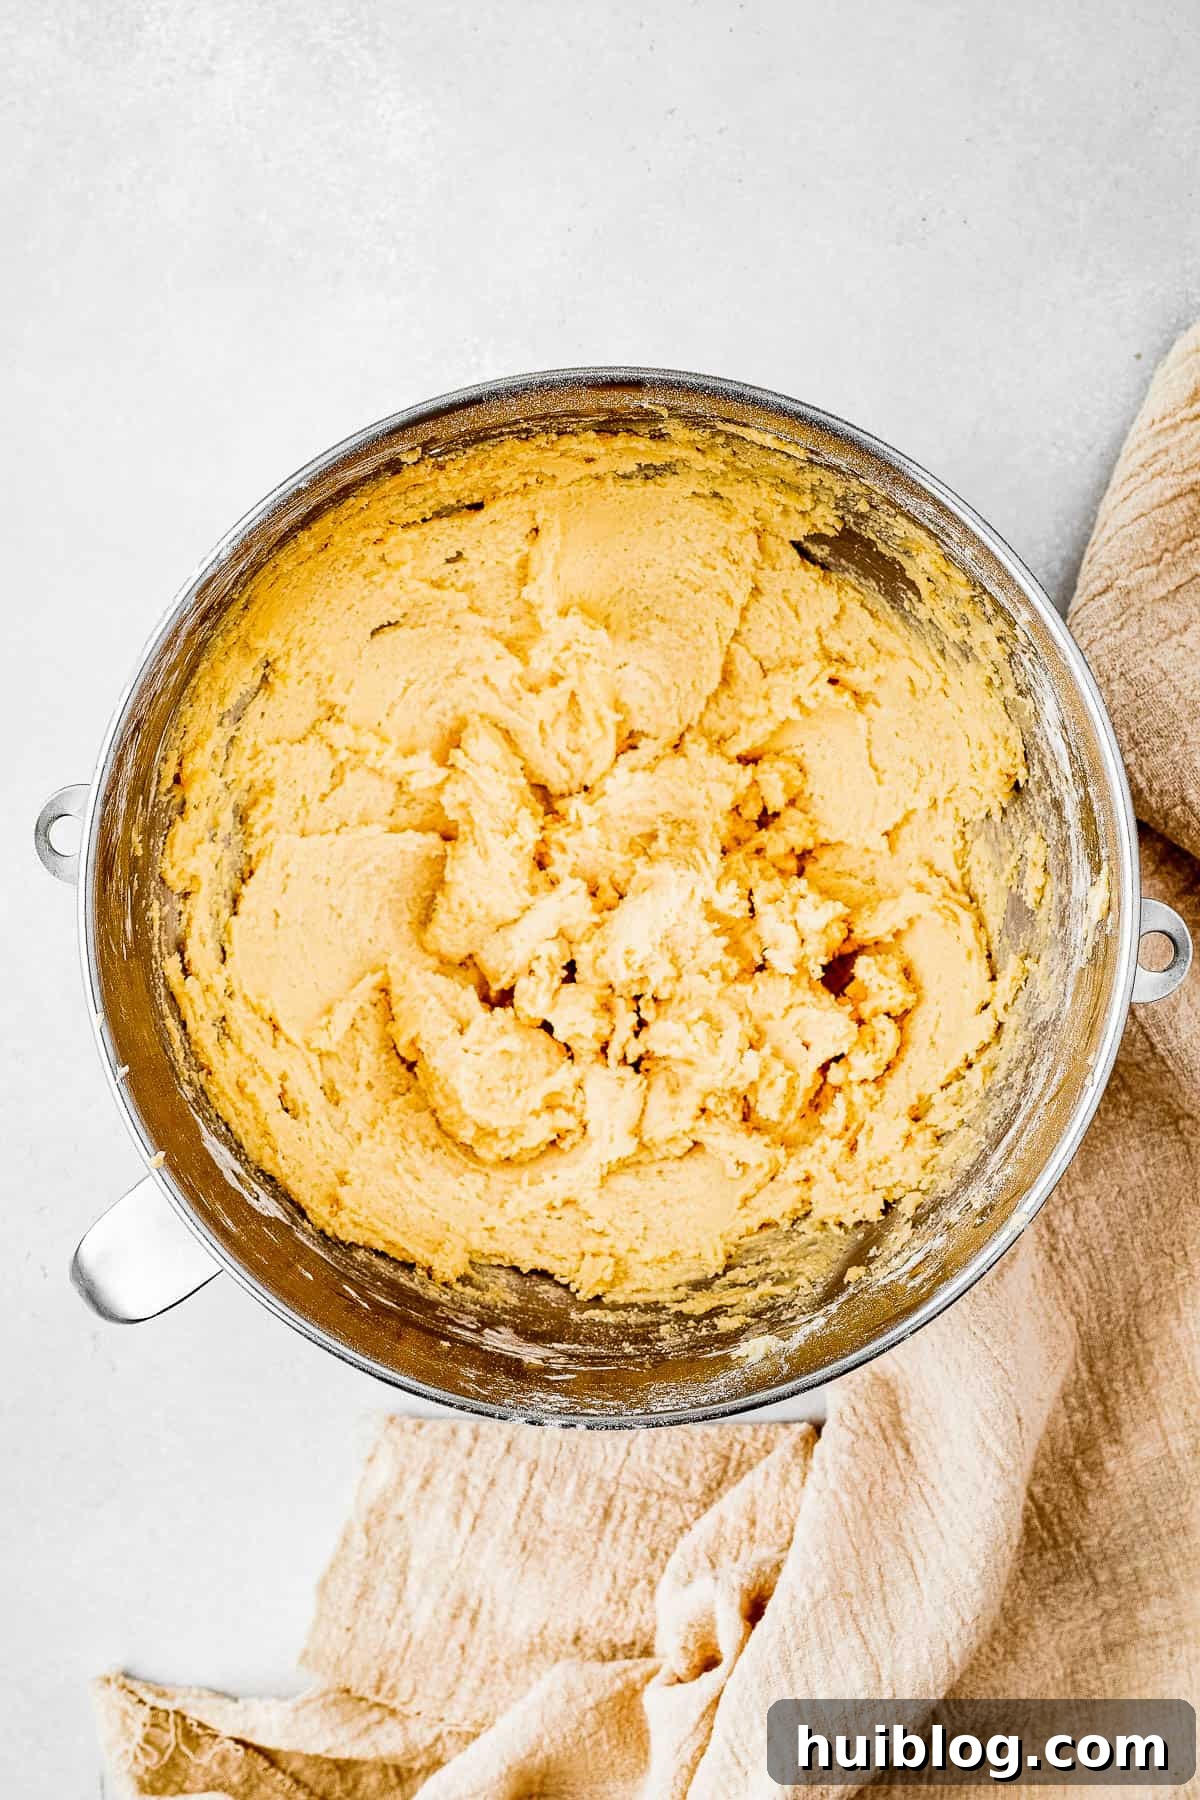
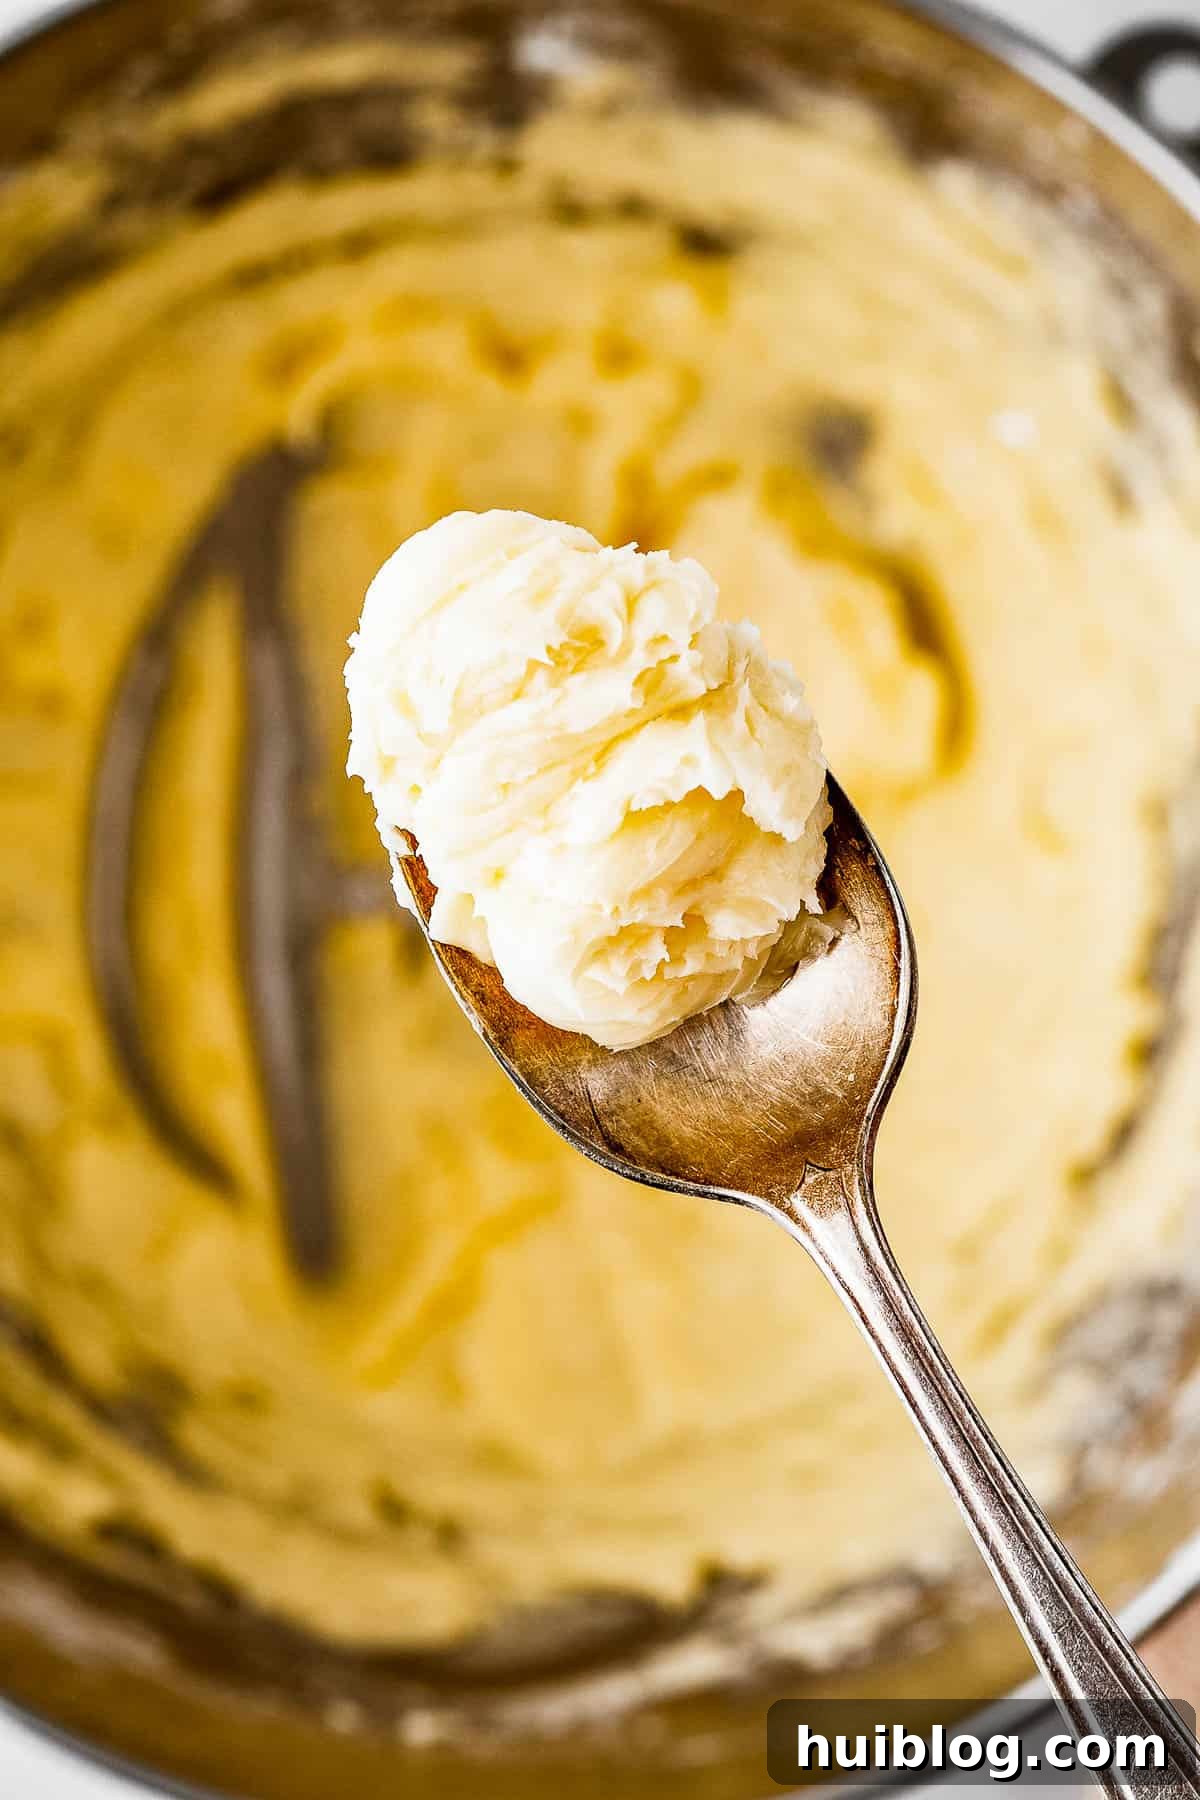
- Cream the Butter and Sugar: In a large mixing bowl, combine the softened unsalted butter and confectioners’ sugar. Using a hand mixer or a stand mixer fitted with a paddle attachment (or a sturdy wire whisk if mixing by hand), beat these ingredients together on high speed. Continue until the mixture is visibly light, fluffy, and pale yellow, which typically takes about 3 to 5 minutes with a mixer. This creaming process incorporates air, essential for the cookies’ delicate texture.
- Incorporate Egg, Extracts, and Salt: Crack the room-temperature egg into the creamed butter mixture. Add the pure vanilla extract, almond extract, and salt. Beat these ingredients on high speed until they are thoroughly combined and the mixture appears smooth and homogenous, usually about 1 to 2 minutes. Ensure no streaks of egg remain.
- Add the Flour: Gently sift the all-purpose flour directly into the wet ingredients. Mix on the lowest speed possible to avoid a cloud of flour dusting your kitchen. Continue mixing until a soft, cohesive dough forms. Avoid overmixing, as this can develop the gluten in the flour, leading to tougher cookies.
- Adjust with Milk: At this stage, the dough should be relatively thick – almost too stiff for piping. Add the tablespoon of milk and continue mixing on low speed until the milk is fully incorporated and the dough is smooth. The goal is a consistency that is thick enough to hold its shape when piped but soft enough to flow easily through the piping bag. If the dough is still too stiff, you can add a tiny bit more milk (half a teaspoon at a time) until it reaches the desired pipeable consistency.
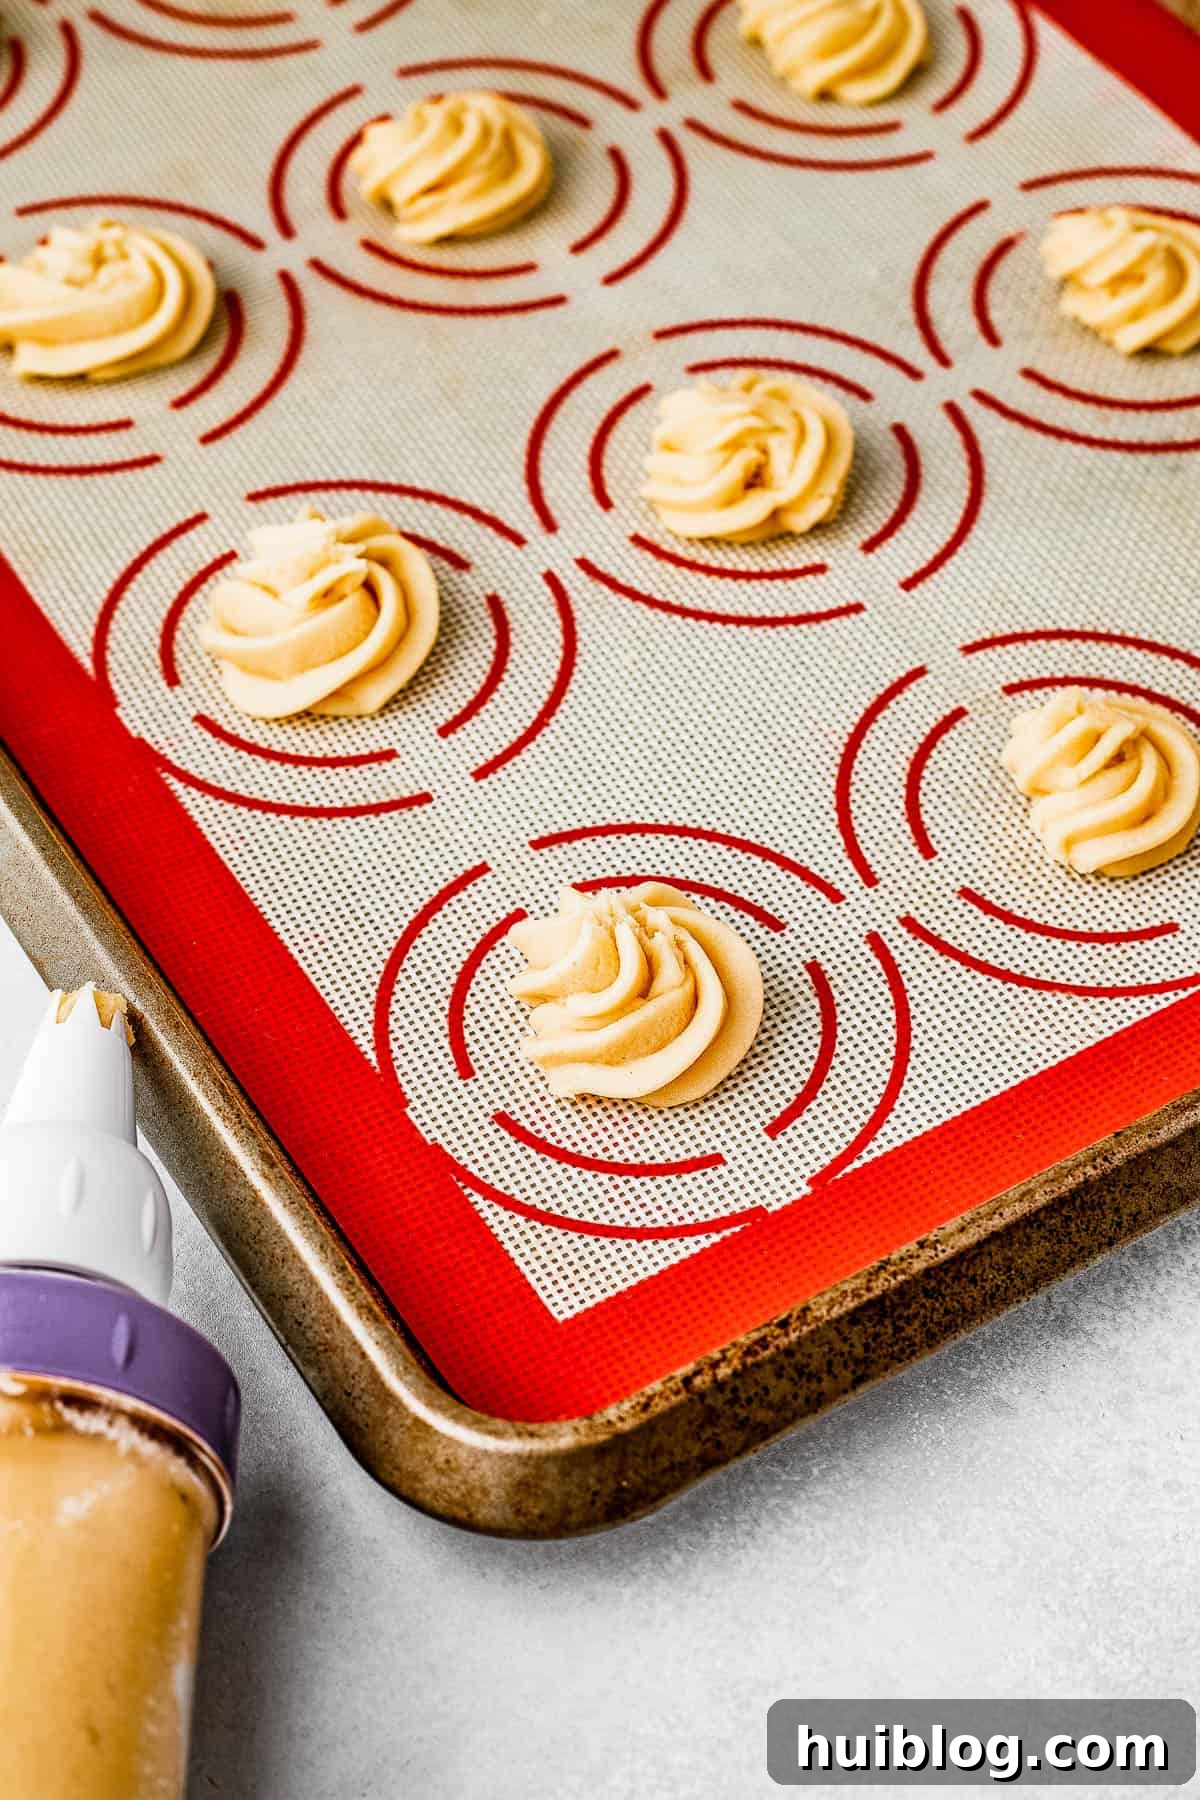
- Pipe the Cookies and Chill: Carefully spoon or scrape the prepared dough into a piping bag fitted with a large star tip (an open star tip at least ½ inch in diameter is ideal). If you don’t have a piping bag, a large zip-top bag with one corner snipped off (and a piping tip inserted) can work in a pinch. Pipe the dough into small, decorative swirls or your desired shapes onto a clean baking sheet lined with a silicone baking mat or parchment paper. Once all your cookie shapes are piped, transfer the baking sheet to the refrigerator and chill for at least 30 minutes. This crucial step prevents the cookies from spreading excessively during baking, helping them maintain their beautiful definition.
- Bake to Golden Perfection: While your cookies are chilling, preheat your oven to 350˚F (175˚C). Once preheated and the cookies are sufficiently chilled, bake them for 12 to 15 minutes, or until their edges turn a delicate light golden brown. Keep a close eye on them, as baking times can vary between ovens.
- Cool Completely: After baking, remove the cookies from the oven and let them cool on the baking sheet for about 5 minutes. This allows them to firm up slightly before you attempt to move them. Then, carefully transfer the warm cookies to a wire cooling rack to cool completely for an additional 10 minutes. Ensuring they are fully cooled before decorating or storing is important for maintaining their crisp texture.
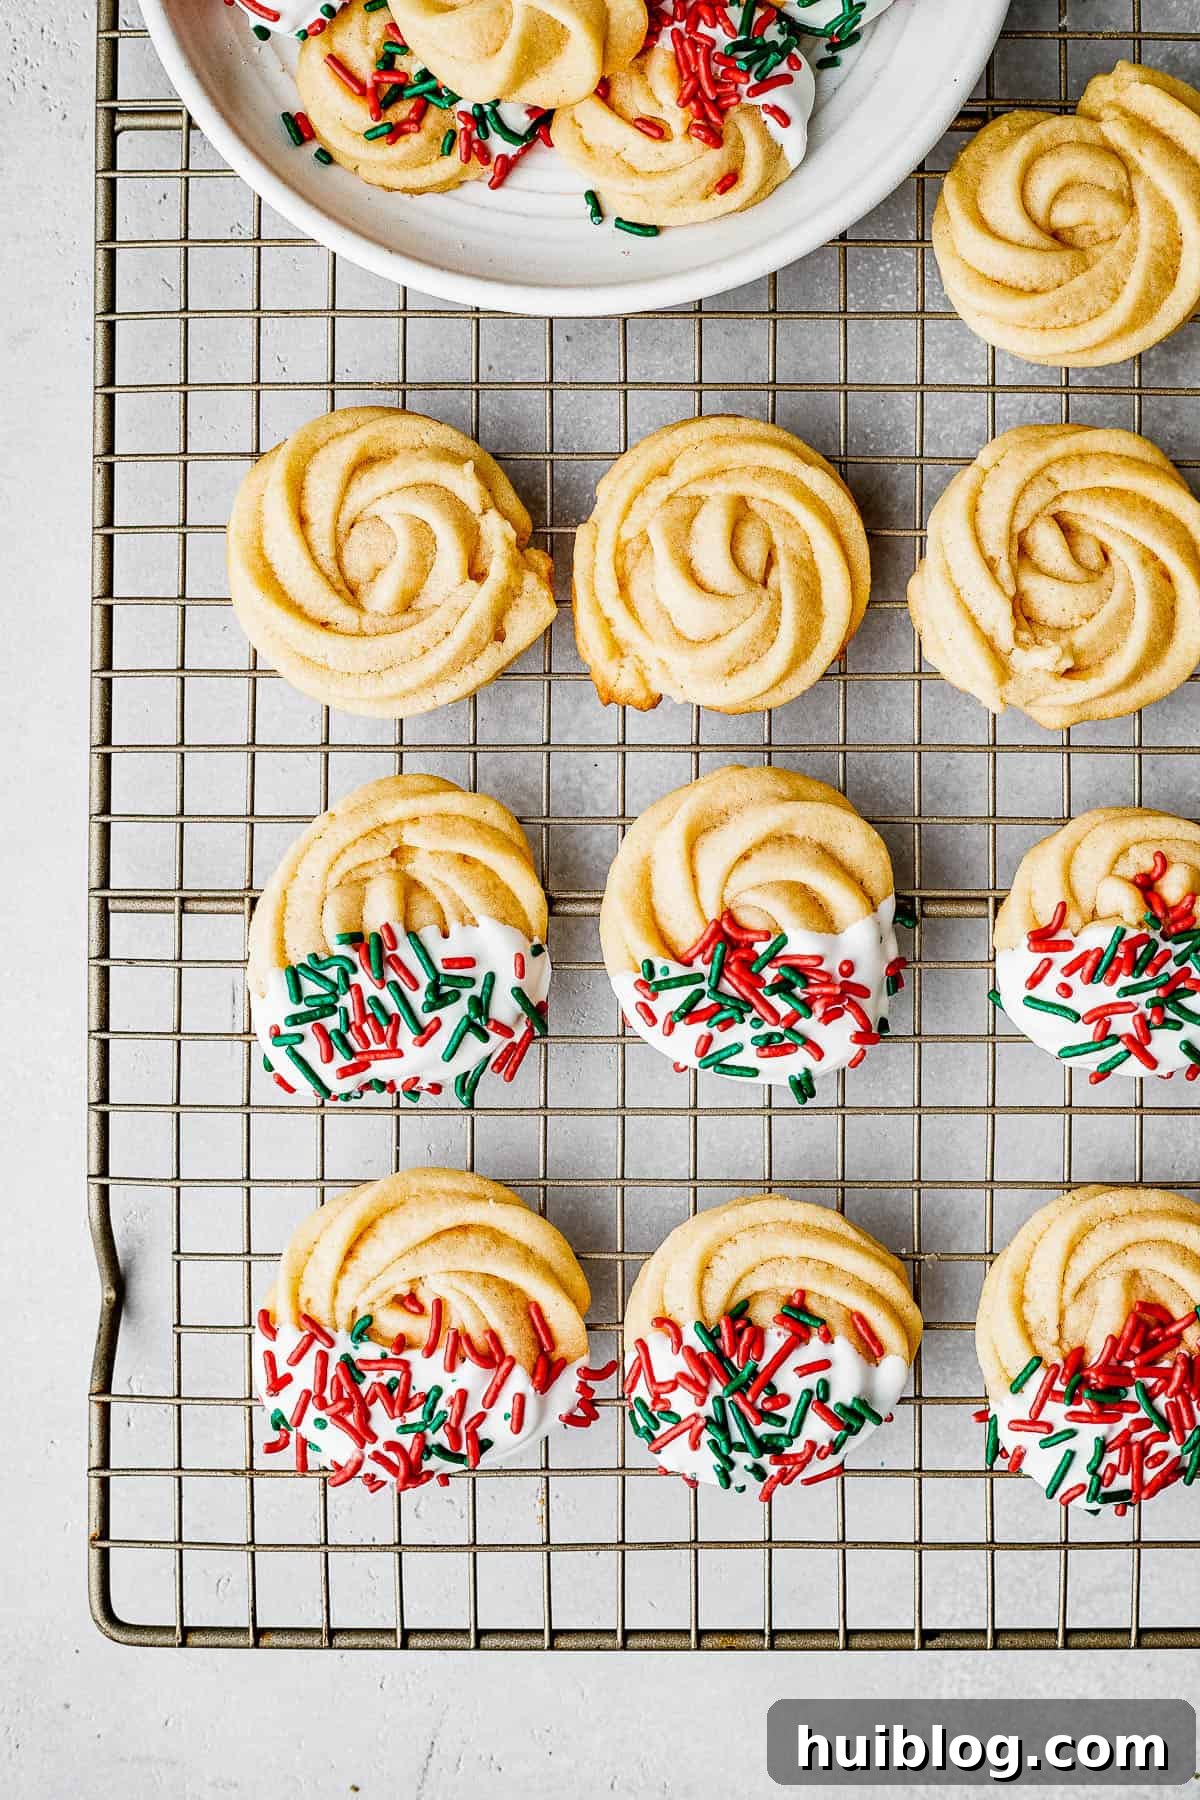
The Optional Dip: Adding a Decorative Touch
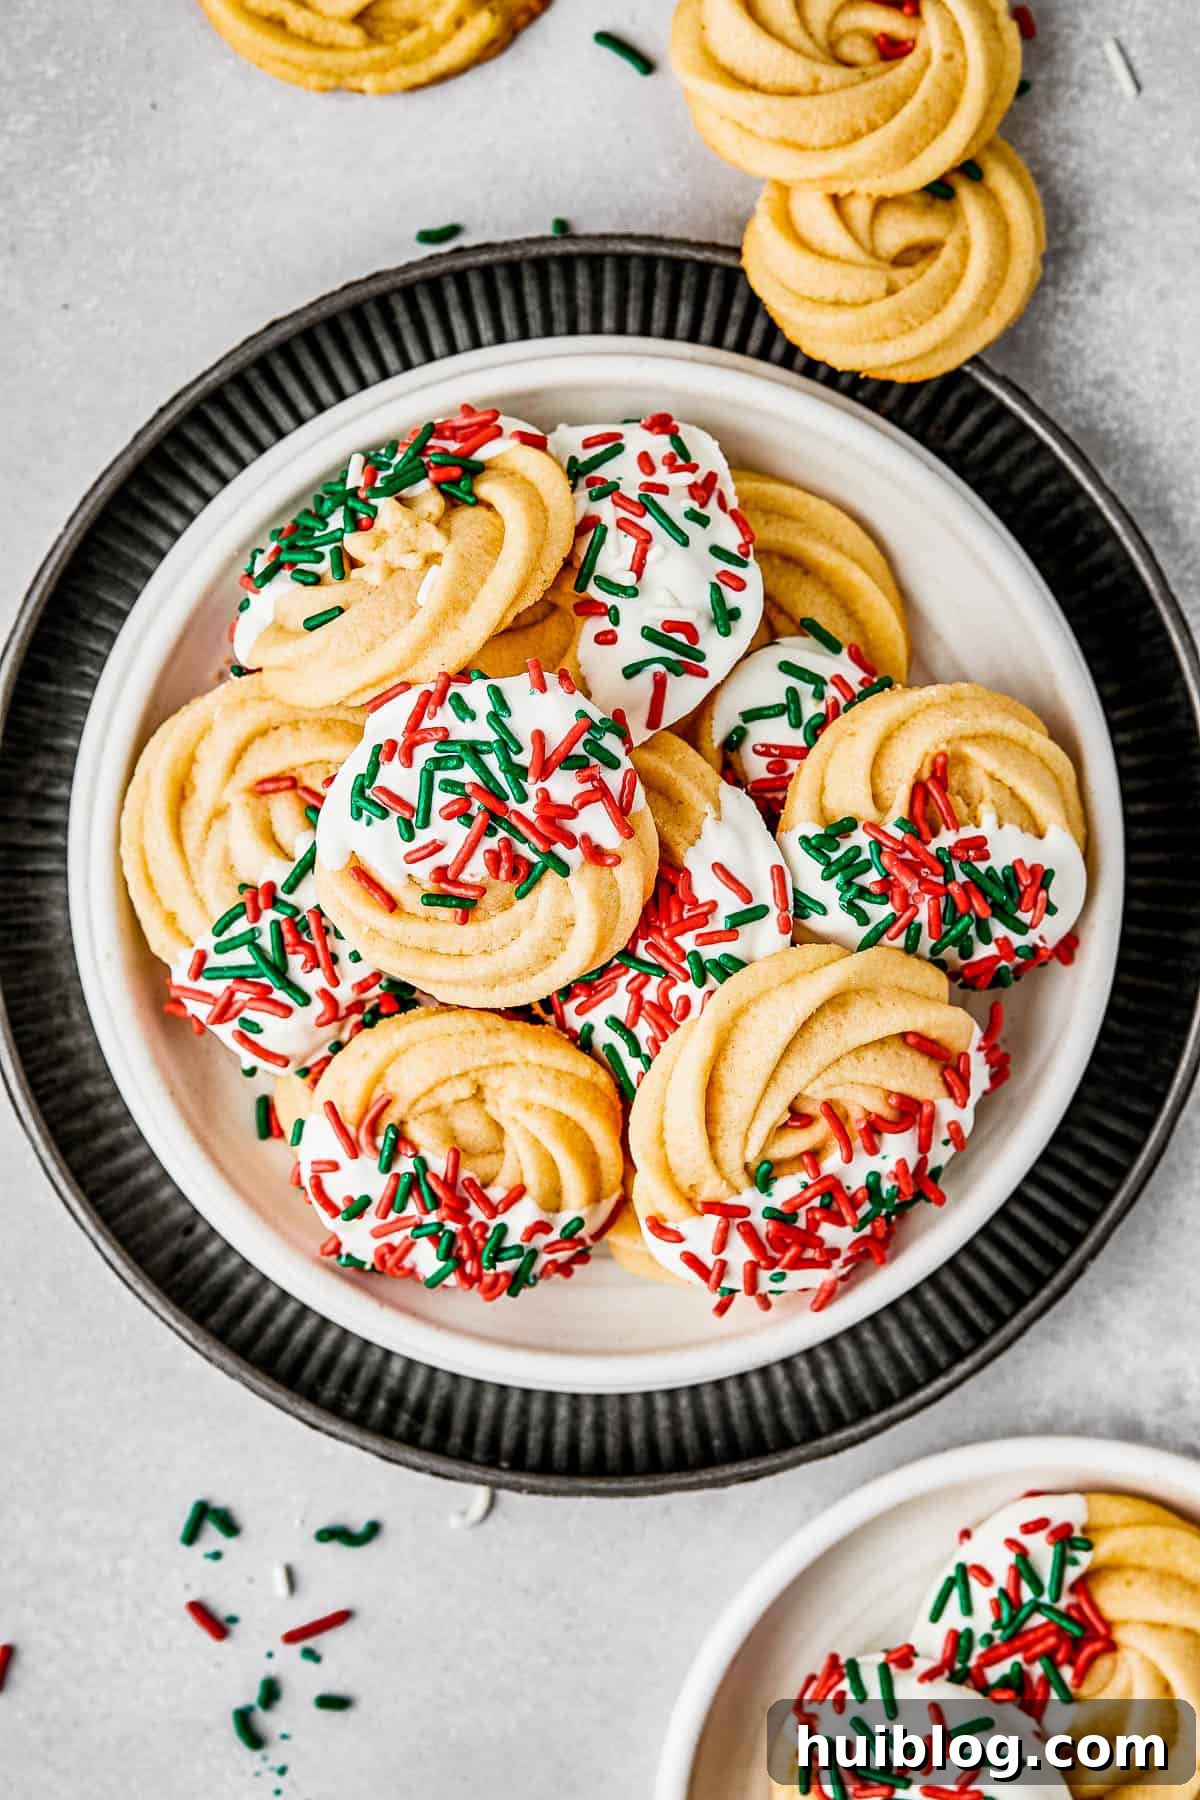
Once your butter cookies are completely cooled, you can add an extra layer of flair and flavor with a simple chocolate or candy melt dip. This step is entirely optional but adds a beautiful professional finish and a burst of complementary flavor.
- Melt the Candy Melts: You can use a double-boiler for a gentle melt, but a microwave offers a quicker and equally effective method. Place your candy melts in a microwave-safe, wide-rimmed bowl. Microwave them on 50% power for 30-second intervals, stirring thoroughly after each interval, until the melts are completely smooth and free of lumps. Be patient and avoid overheating to prevent scorching.
- Dip the Cookies: Hold each cooled cookie and carefully dip it halfway into the melted chocolate or candy. Slowly lift the cookie, allowing any excess chocolate to drip back into the bowl. A gentle tap against the side of the bowl can help remove drips.
- Decorate with Sprinkles: Immediately after dipping, place the cookie onto a baking sheet lined with parchment paper. If desired, sprinkle your chosen sprinkles over the wet chocolate before it sets. This ensures they adhere properly and adds a festive touch.
- Chill to Set: Once all cookies have been dipped and decorated, place the baking sheet in the refrigerator for approximately 15 to 20 minutes. This chilling period allows the chocolate or candy melts to fully set and harden, ensuring a neat and firm finish before serving or storing.
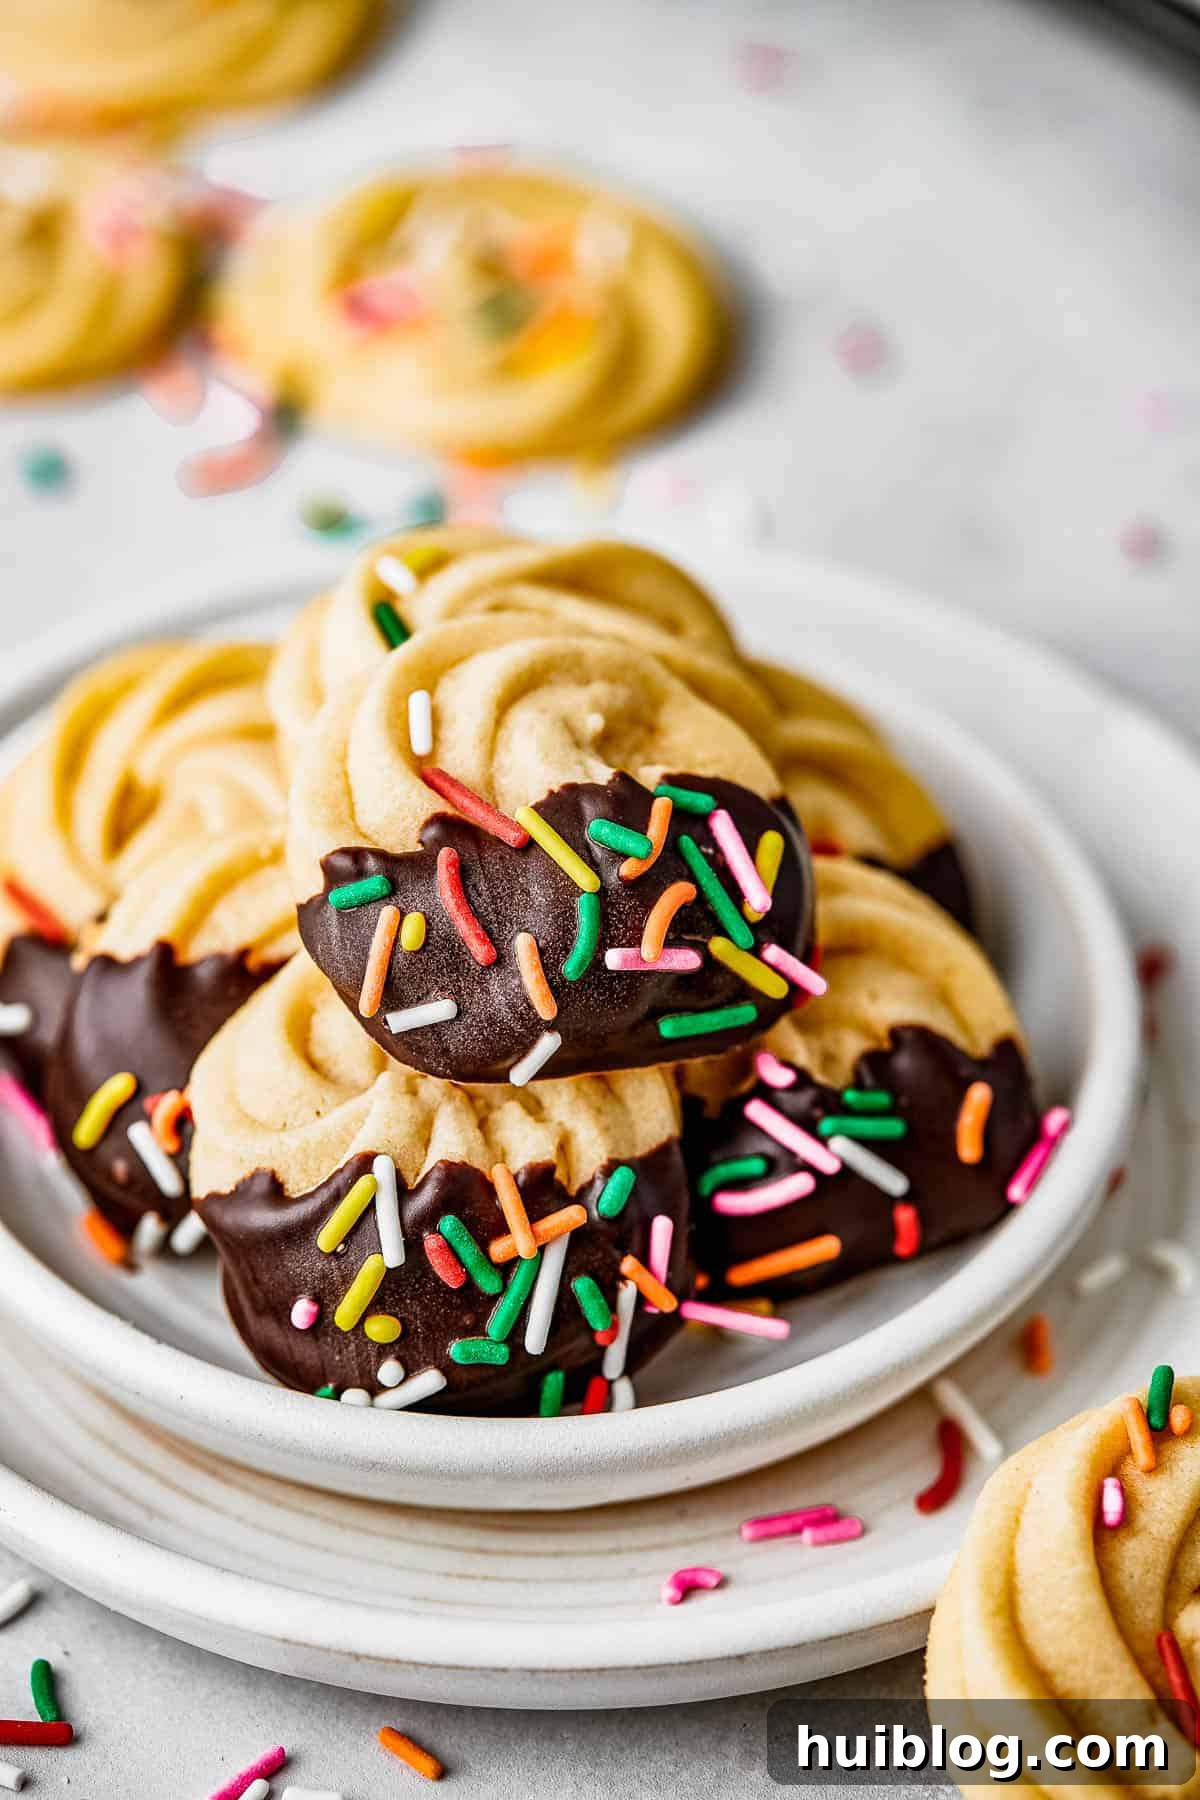
Make-Ahead and Prep Tips for Butter Cookies
Preparing these butter cookies in advance can be a huge time-saver, especially during busy holiday seasons. Here are some smart strategies to get ahead:
- If you prefer to serve freshly baked cookies, you can easily prepare the dough, pipe the shapes, and then either refrigerate or freeze the unbaked cookies on their baking sheets.
- Simply cover the baking sheet containing the piped, unbaked cookies tightly with plastic wrap. You can refrigerate them for up to 2 days or freeze them for up to 3 months. When ready to bake, you can often bake them directly from frozen, adding a few extra minutes to the baking time.
- Important Note: Handle unbaked, chilled, or frozen cookies with extreme care. They are delicate, and it’s very easy to accidentally smush them or distort their beautiful piped shapes. Store them flat and in a way that prevents anything from pressing down on them.
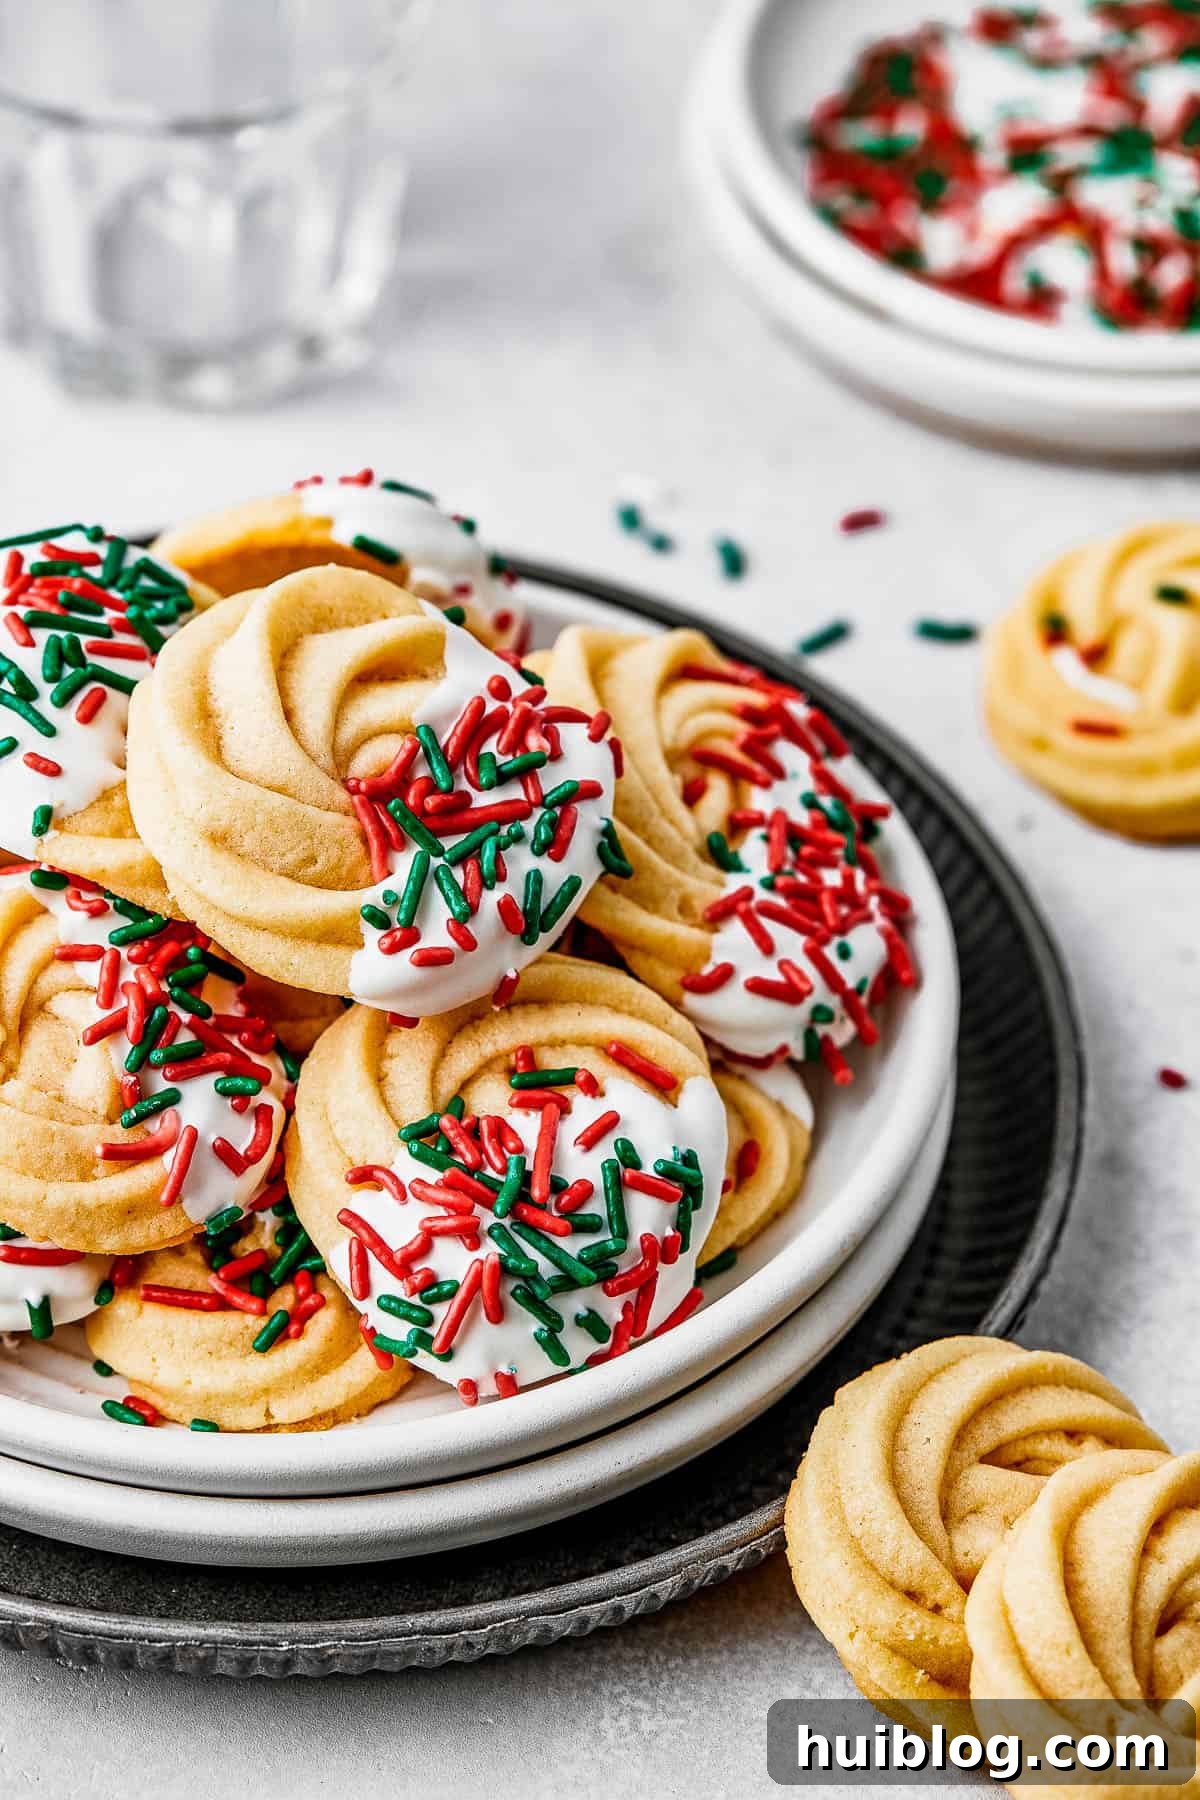
Expert Recipe Tips for Butter Cookie Perfection
While butter cookies are known for their simplicity, a few expert tips can elevate your baking from good to absolutely phenomenal. Read on for some helpful hints to ensure your cookies turn out perfectly every time, making your baking experience truly joyful!
- The Importance of Chilling: You might be tempted to skip the chilling phase, but resist! While room-temperature ingredients are vital for creating a smooth dough, the shaped cookies absolutely require time in the refrigerator. Chilling firms up the butter in the dough, which prevents the cookies from spreading too much and losing their intricate piped shapes during baking. A minimum of 30 minutes is crucial for maintaining definition.
- Achieving the Right Dough Consistency: The ideal butter cookie dough should be thick enough to hold its piped shape but still soft enough to flow smoothly through a piping bag. If your dough feels too stiff, add a little more milk, about half a tablespoon at a time, mixing well after each addition until it reaches the desired pipeable consistency. Conversely, if your dough seems too runny (which can happen if your butter was too soft), you can add a half tablespoon of all-purpose flour at a time to thicken it. Always test a small portion of dough by piping it onto parchment paper before filling your entire piping bag.
- Using the Correct Piping Tip: The size and shape of your piping tip are important. You’ll need a large piping tip, generally an open star tip at least ½ inch in diameter, to allow the relatively thick cookie dough to pass through without clogging. Smaller tips will struggle to handle the dough, leading to frustration and poorly formed cookies.
- Piping Alternatives: If you’re not comfortable with piping or simply prefer a different look, you have options! You can roll the dough into small, 1-inch balls. Then, gently flatten each ball with a fork in a cross-hatch pattern, creating a charming, rustic design. These will still be delicious, just with a different aesthetic.
- Room Temperature Ingredients Are Non-Negotiable: This bears repeating: ensure your butter, egg, and even milk are at room temperature. This is fundamental for achieving a smooth, emulsified dough that is soft and pliable enough to pipe beautifully. Cold ingredients will resist blending, resulting in a lumpy, difficult-to-work-with dough.
Creative Variations to Personalize Your Butter Cookies
Butter cookies serve as a fantastic “canvas” for endless creativity, allowing you to customize them with various decorations and flavor enhancements. Beyond the optional chocolate dip and sprinkles already covered, here are even more delightful ways to personalize your homemade treats:
- Add a delicate sprinkle of coarse raw sugar over the cookies just before baking. This adds a beautiful sparkle and a pleasant textural crunch.
- For a festive touch, press a vibrant maraschino cherry or a creamy chocolate kiss into the center of each cookie before baking.
- After baking and cooling, adorn your cookies with an elegant caramel drizzle and a scattering of flaky sea salt for a sophisticated sweet-and-salty combination.
- Create a striking visual appeal by drizzling the baked and cooled cookies with contrasting melted white and dark chocolate. This offers both a beautiful design and an extra layer of chocolatey flavor.
- Infuse the dough with a touch of citrus zest, such as lemon or orange, for a bright and zesty flavor profile that perfectly complements the rich butter.
- Fold in finely chopped nuts like pecans or walnuts into the dough for added crunch and nutty depth.
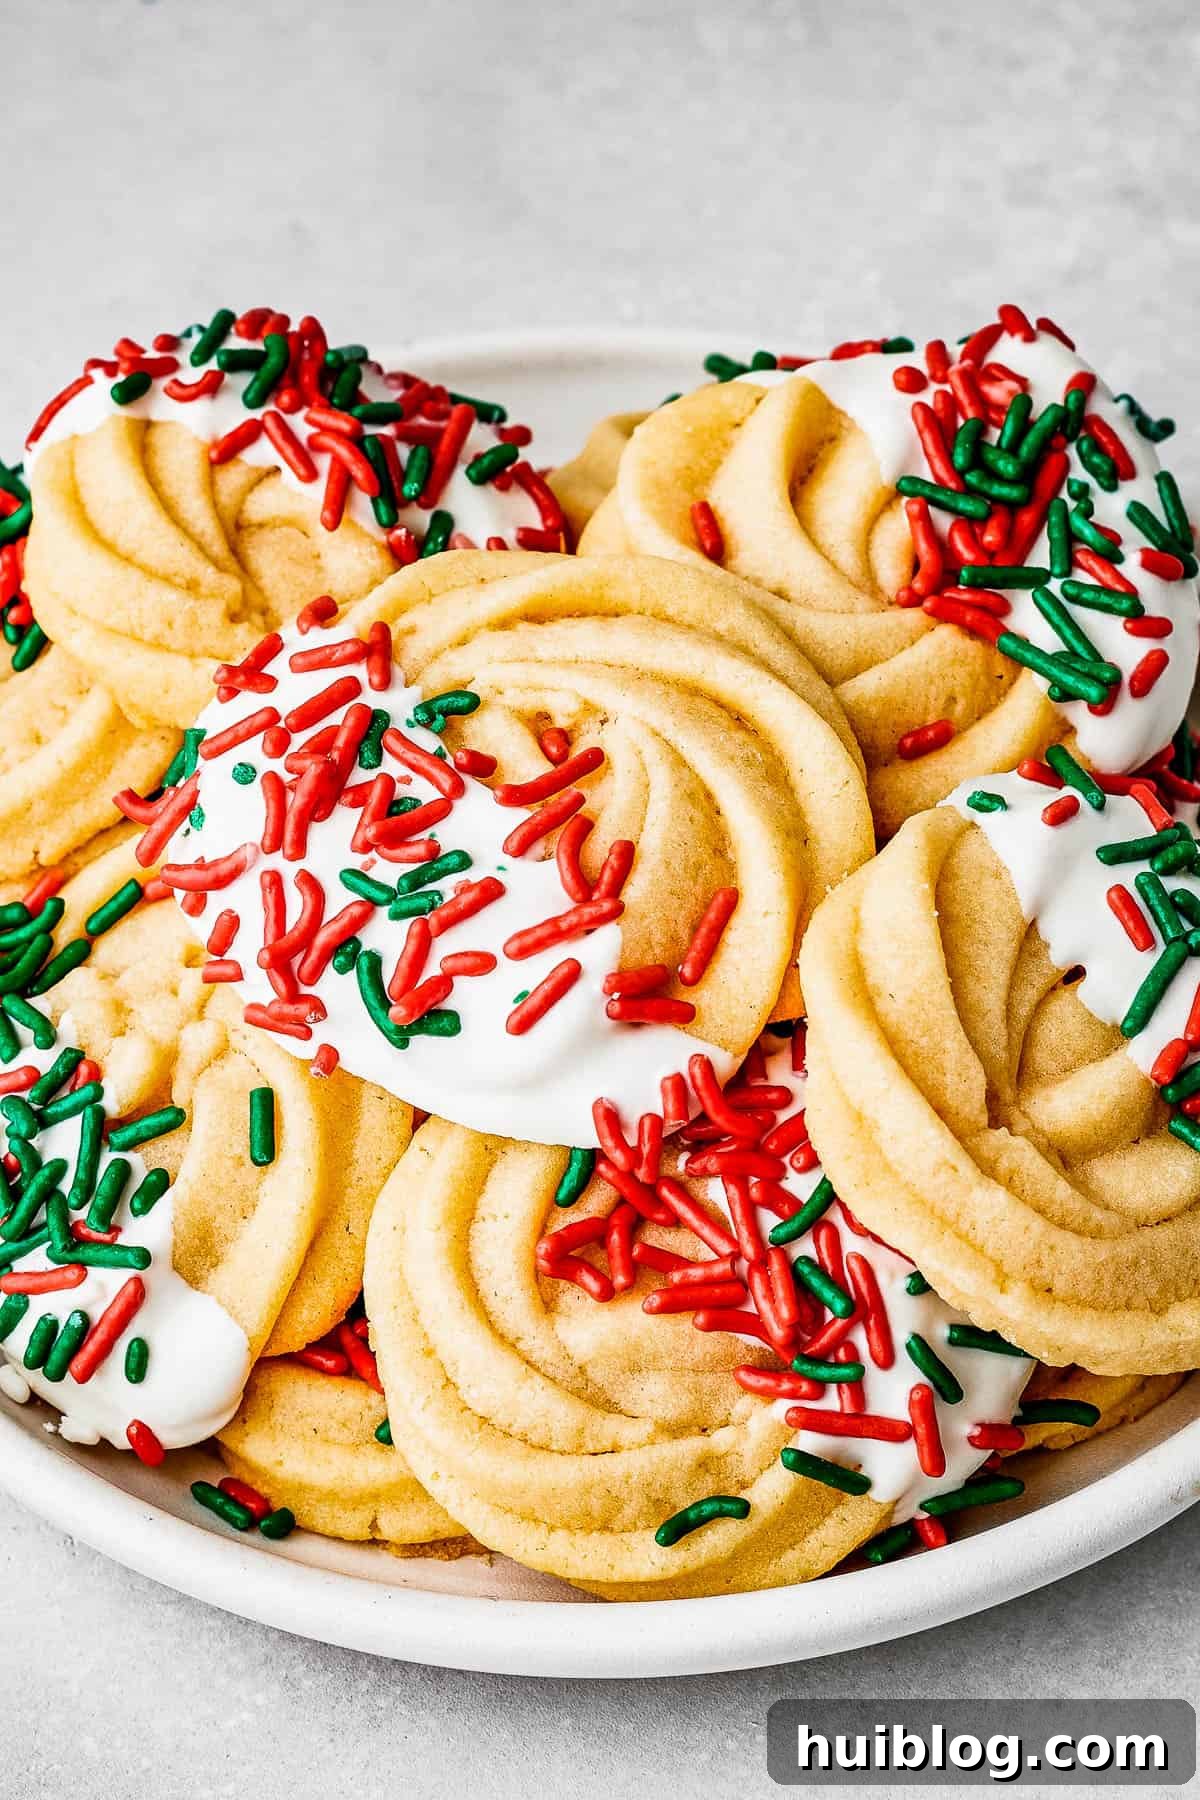
Storing and Freezing Your Homemade Butter Cookies
Once you’ve baked your delicious batch of butter cookies, proper storage is key to maintaining their freshness, delicate texture, and exquisite flavor. Here’s how to ensure your cookies remain delightful for days or even months:
- For the best results, place your cooled butter cookies in airtight containers or sturdy food storage bags. This prevents them from drying out or absorbing unwanted odors.
- You can store these containers at room temperature for up to 5 days. For longer freshness, especially in warmer climates, consider storing them in the refrigerator for up to two weeks.
Can You Freeze Butter Cookies for Extended Freshness?
- Absolutely! Freezing is an excellent way to extend the shelf life of your butter cookies, allowing you to enjoy homemade goodness whenever you wish.
- To freeze baked butter cookies, first ensure they are completely cooled. Then, carefully arrange them in shallow airtight containers. It’s crucial to place a sheet of parchment paper or wax paper between each layer of cookies to prevent them from sticking together and to protect their delicate surfaces.
- Frozen butter cookies can be stored for up to six months. When you’re ready to enjoy them, simply thaw them at room temperature for an hour or two. They will taste almost as fresh as the day they were baked!
Explore More Amazing Cookie Recipes
If you’ve enjoyed baking these delightful butter cookies, we invite you to explore more of our fantastic cookie recipes. Each one is designed to bring joy to your kitchen and your taste buds:
- Red Velvet Crinkle Cookies: A festive and chewy cookie with a beautiful cracked sugar coating.
- Stained Glass Cookies: Stunning, jewel-like cookies perfect for holiday decorating.
- No-Bake Oatmeal Cookies: Quick, easy, and satisfyingly chewy – ideal for when you need a treat fast.
- White Chocolate Chip Cookies: A delightful twist on a classic, featuring creamy white chocolate.
- Anginetti Cookies: Light, cake-like Italian lemon drop cookies, often drizzled with icing.
Homemade Butter Cookies
Katerina | Easy Weeknight Recipes
15 minutes
15 minutes
30 minutes
1 hour 15 minutes
30 Cookies
Ingredients
For the Cookies
- 1 cup unsalted butter, room temperature
- ¾ cup confectioners sugar
- 1 egg, room temperature
- 1 ½ teaspoons vanilla extract
- ¼ teaspoon almond extract
- ¼ teaspoon salt
- 2 cups flour
- 1 tablespoon milk
For the Optional Dip
- 8 ounces candy melts, white, dark, or milk chocolate
- Sprinkles
Instructions
For the Cookies
-
Using a hand mixer or stand mixer fitted with a paddle attachment, beat the butter and sugar together on high until light and fluffy, about 3 to 5 minutes.
-
Add the egg, vanilla extract, almond extract, and salt. Mix on high speed until thoroughly combined, about 1 to 2 minutes.
-
Add in the flour and mix on low speed until combined and a soft dough forms, about 2 to 3 minutes.
-
Add milk and continue to mix at a low speed until combined. The dough should be smooth, but not runny. Runny dough that cannot stand on its own will spread during baking.
-
Transfer the dough to a piping bag fitted with a large star tip.
-
Pipe cookies into a circular shape onto a baking sheet lined with parchment or a silicone mat.
-
Transfer the baking sheet to the refrigerator and chill for at least 30 minutes.
-
While the cookies are chilling, preheat the oven to 350˚Fahrenheit.
-
Bake for 12 to 15 minutes, or until the edges are a light golden brown.
-
Let cookies cool on the baking sheet for 5 minutes, then transfer them to a wire cooling rack to cool completely for another 10 minutes.
For the Dip
-
Microwave the candy melts in 30-second increments at 50% power in a wide-rimmed bowl. Stir and repeat until the chocolate is completely melted and smooth.
-
Dip the cookie halfway into the melted chocolate and slowly pull up, allowing any excess to drip off.
-
Place the dipped cookie onto a baking sheet lined with parchment paper and add a few dashes of sprinkles.
-
Repeat with remaining cookies. Transfer the baking sheet to the refrigerator and let the chocolate set for 15 to 20 minutes before serving.
Nutrition
Calories: 104kcal |
Carbohydrates: 12g |
Protein: 1g |
Fat: 7g |
Saturated Fat: 5g |
Polyunsaturated Fat: 1g |
Monounsaturated Fat: 2g |
Trans Fat: 1g |
Cholesterol: 22mg |
Sodium: 26mg |
Potassium: 14mg |
Fiber: 1g |
Sugar: 2g |
Vitamin A: 198IU |
Calcium: 4mg |
Iron: 1mg
Nutritional info is an estimate and provided as courtesy. Values may vary according to the ingredients and tools used. Please use your preferred nutritional calculator for more detailed info.