
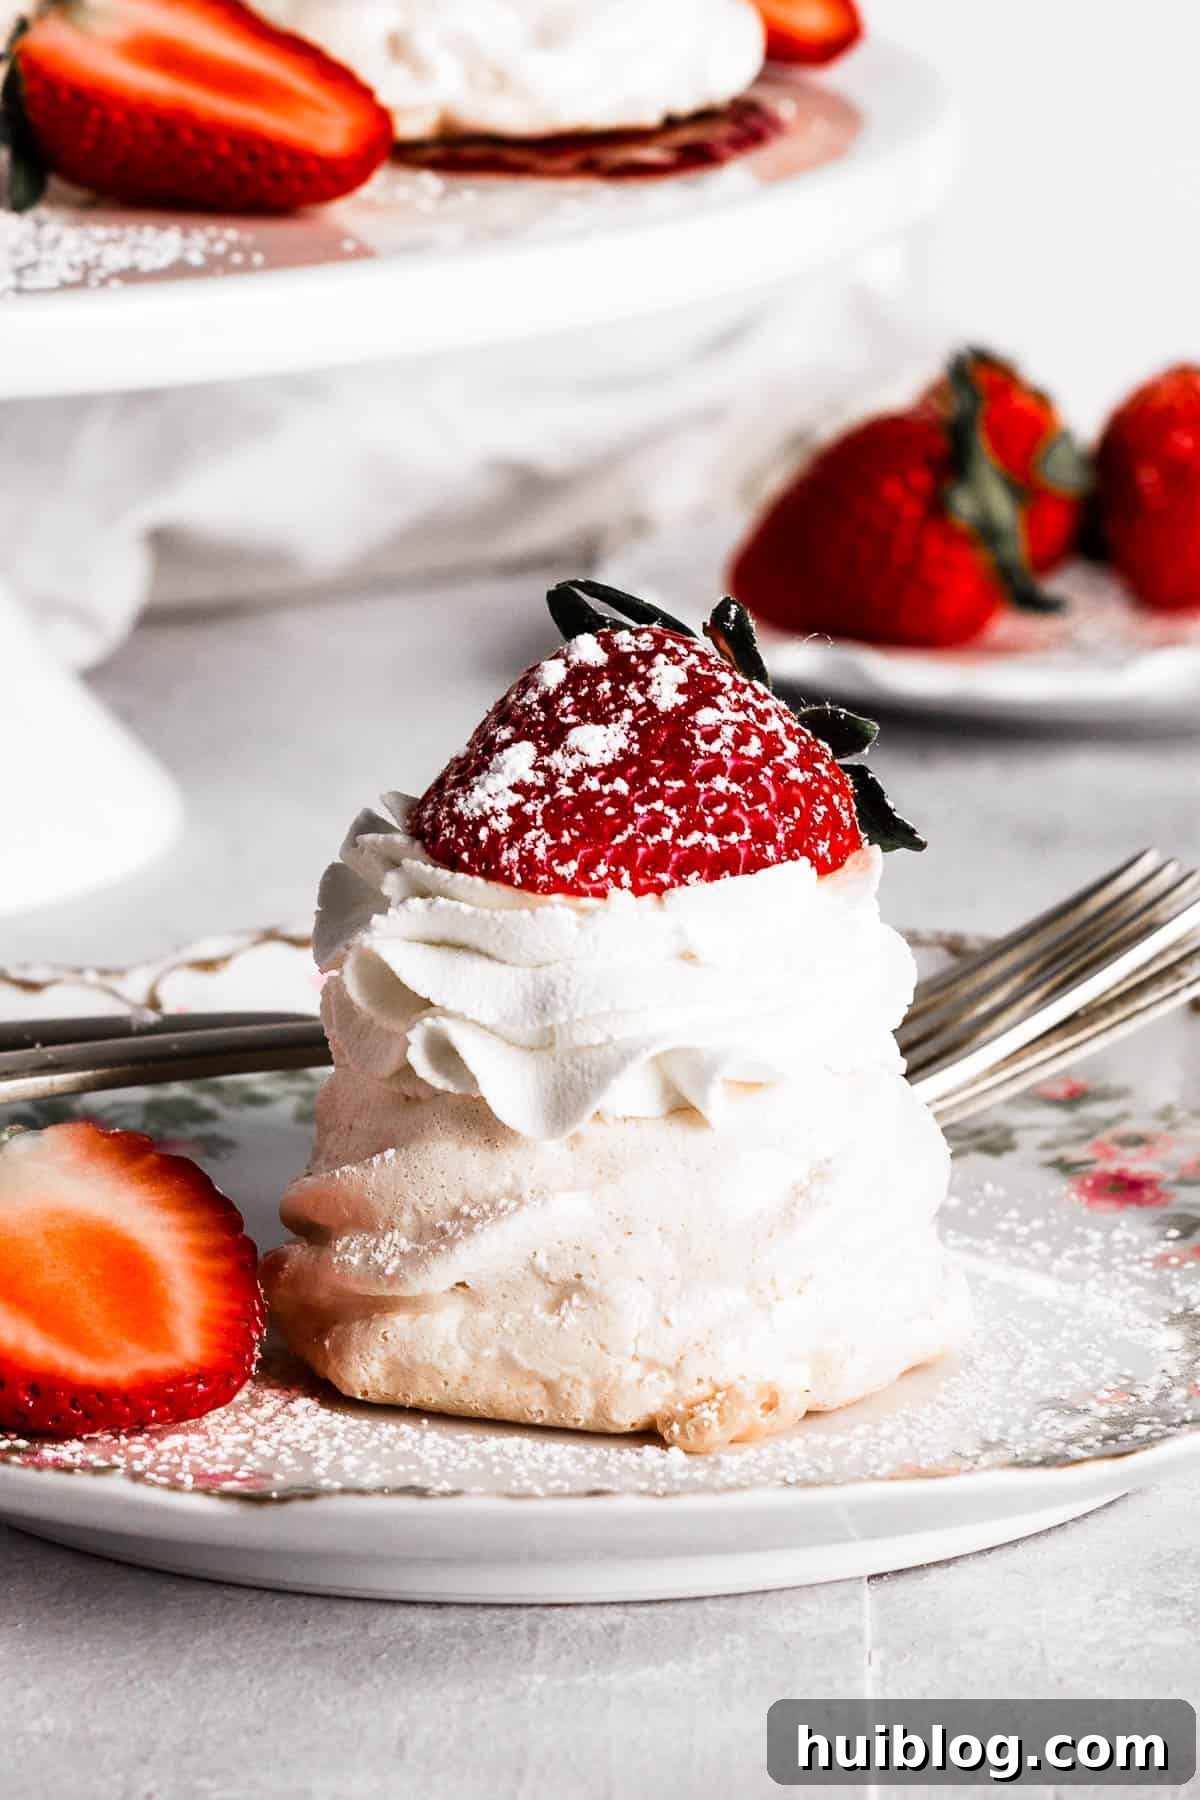
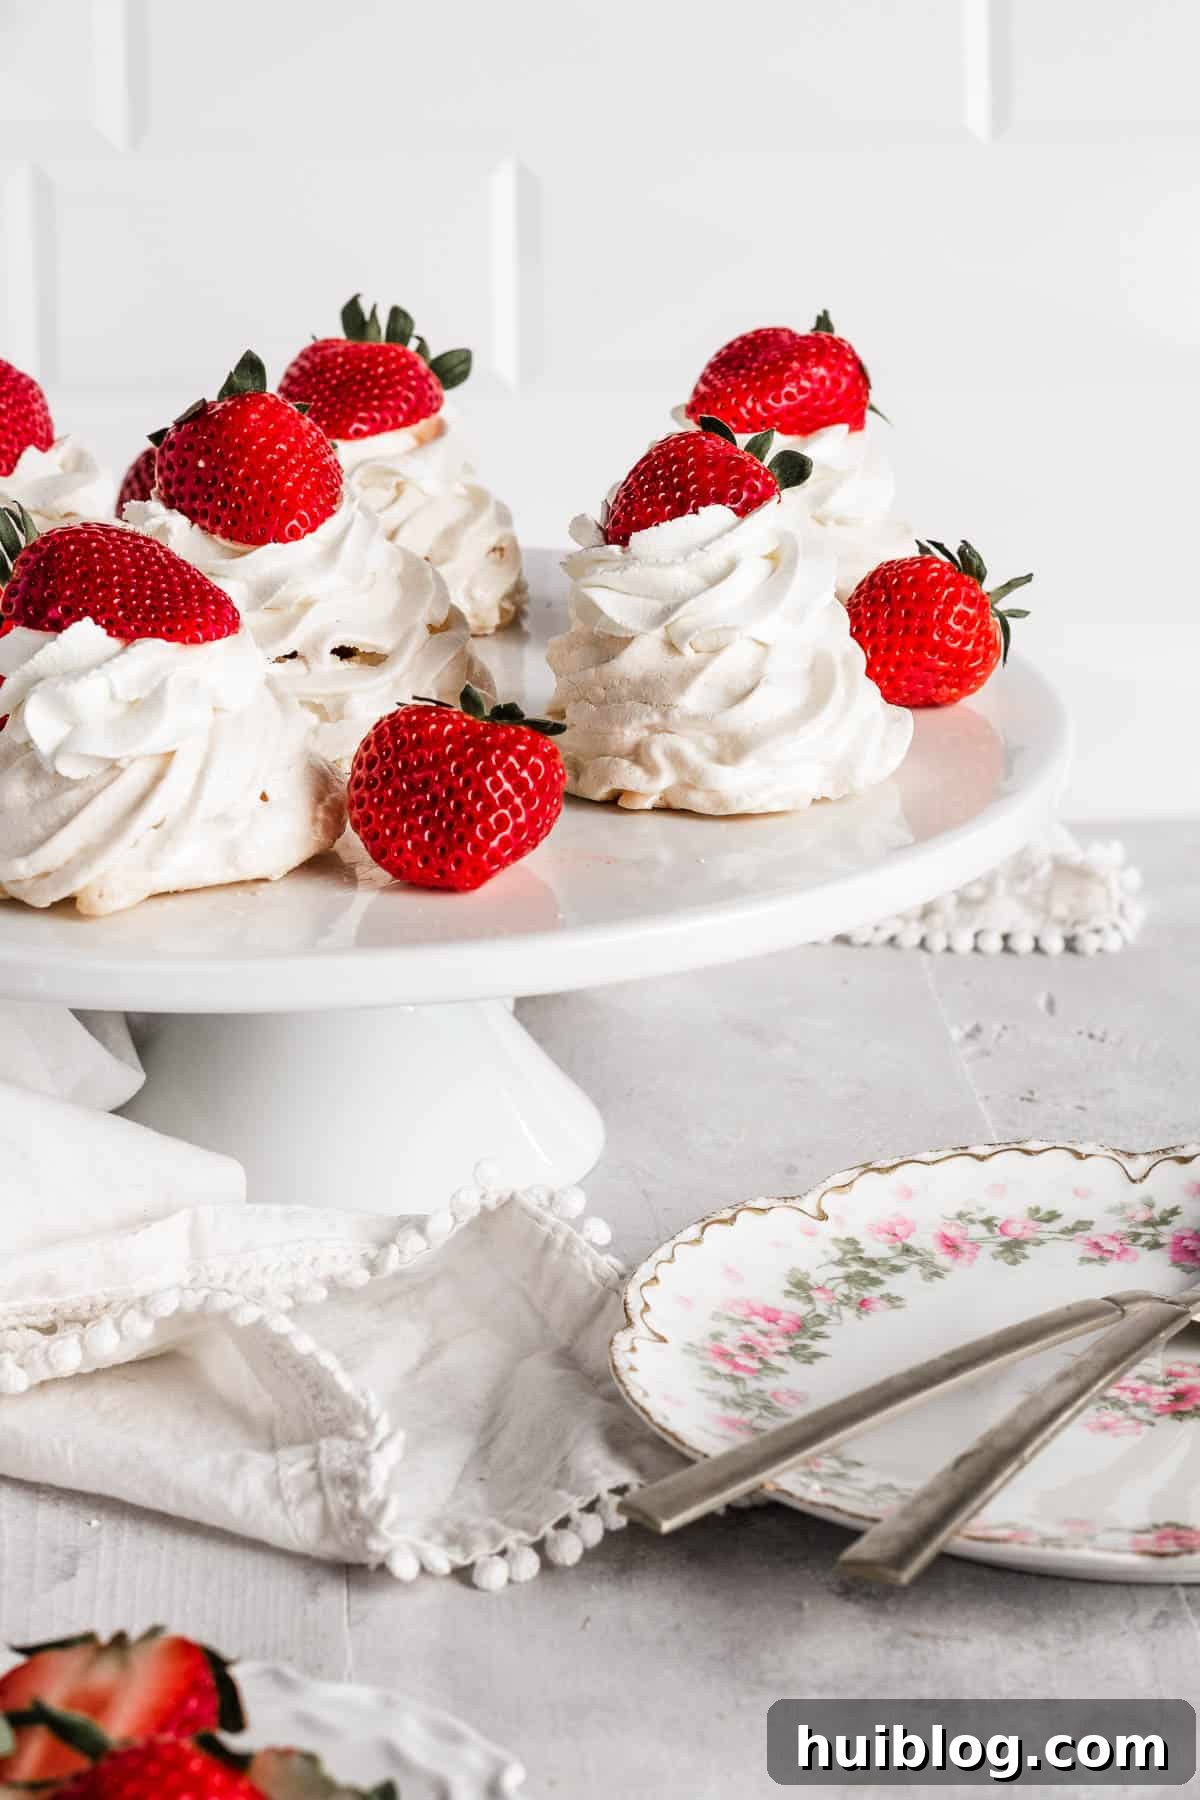
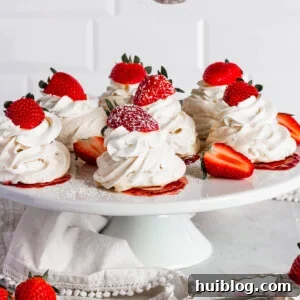
This Strawberry Pavlova Nests Recipe showcases delicate mini meringues, beautifully filled with strawberry jam, then crowned with fresh whipped cream and juicy strawberries. It’s a visually stunning and surprisingly easy dessert, making it absolutely perfect for welcoming the spring season!
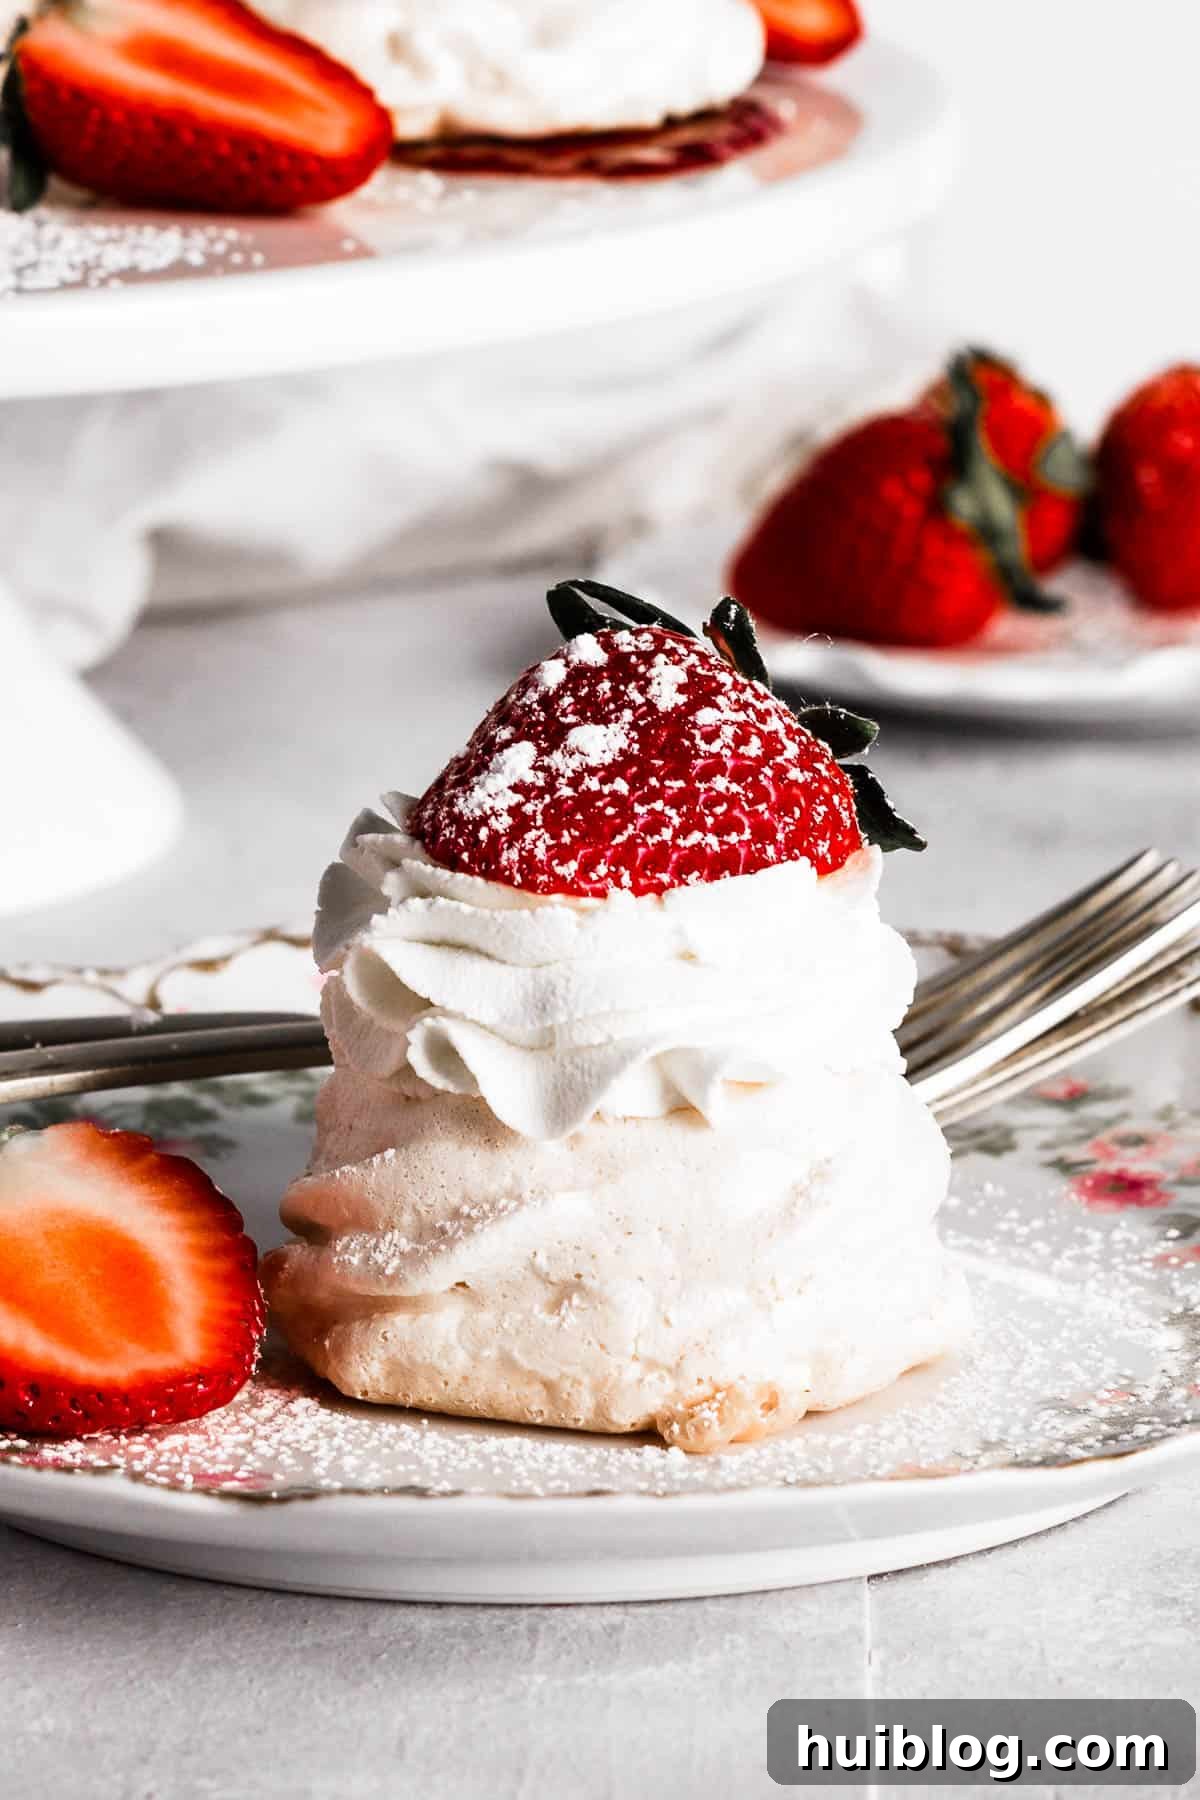
Strawberry Pavlova Nests: The Ultimate Spring Dessert
Pavlova holds a special place in my heart as one of my all-time favorite desserts. Its inherently sweet, delicate flavor, and unique texture are incredibly pleasing. The addition of fresh fruit as a garnish, especially vibrant strawberries like those featured in this recipe, elevates it to an art form. This dessert isn’t just pretty; it’s a wonderfully tasty addition to any meal, promising to impress your guests without the stress.
These individual pavlova “nests” are a celebration of spring, featuring both sweet strawberry jam nestled within the meringue and fresh strawberries on top. While their elegant appearance might suggest a complex preparation, this recipe is actually quite straightforward. It’s an ideal choice for special occasions like Easter or Mother’s Day, with its gorgeous pops of color and fresh, seasonal flavors.
What is Pavlova? The Story Behind This Delicate Dessert
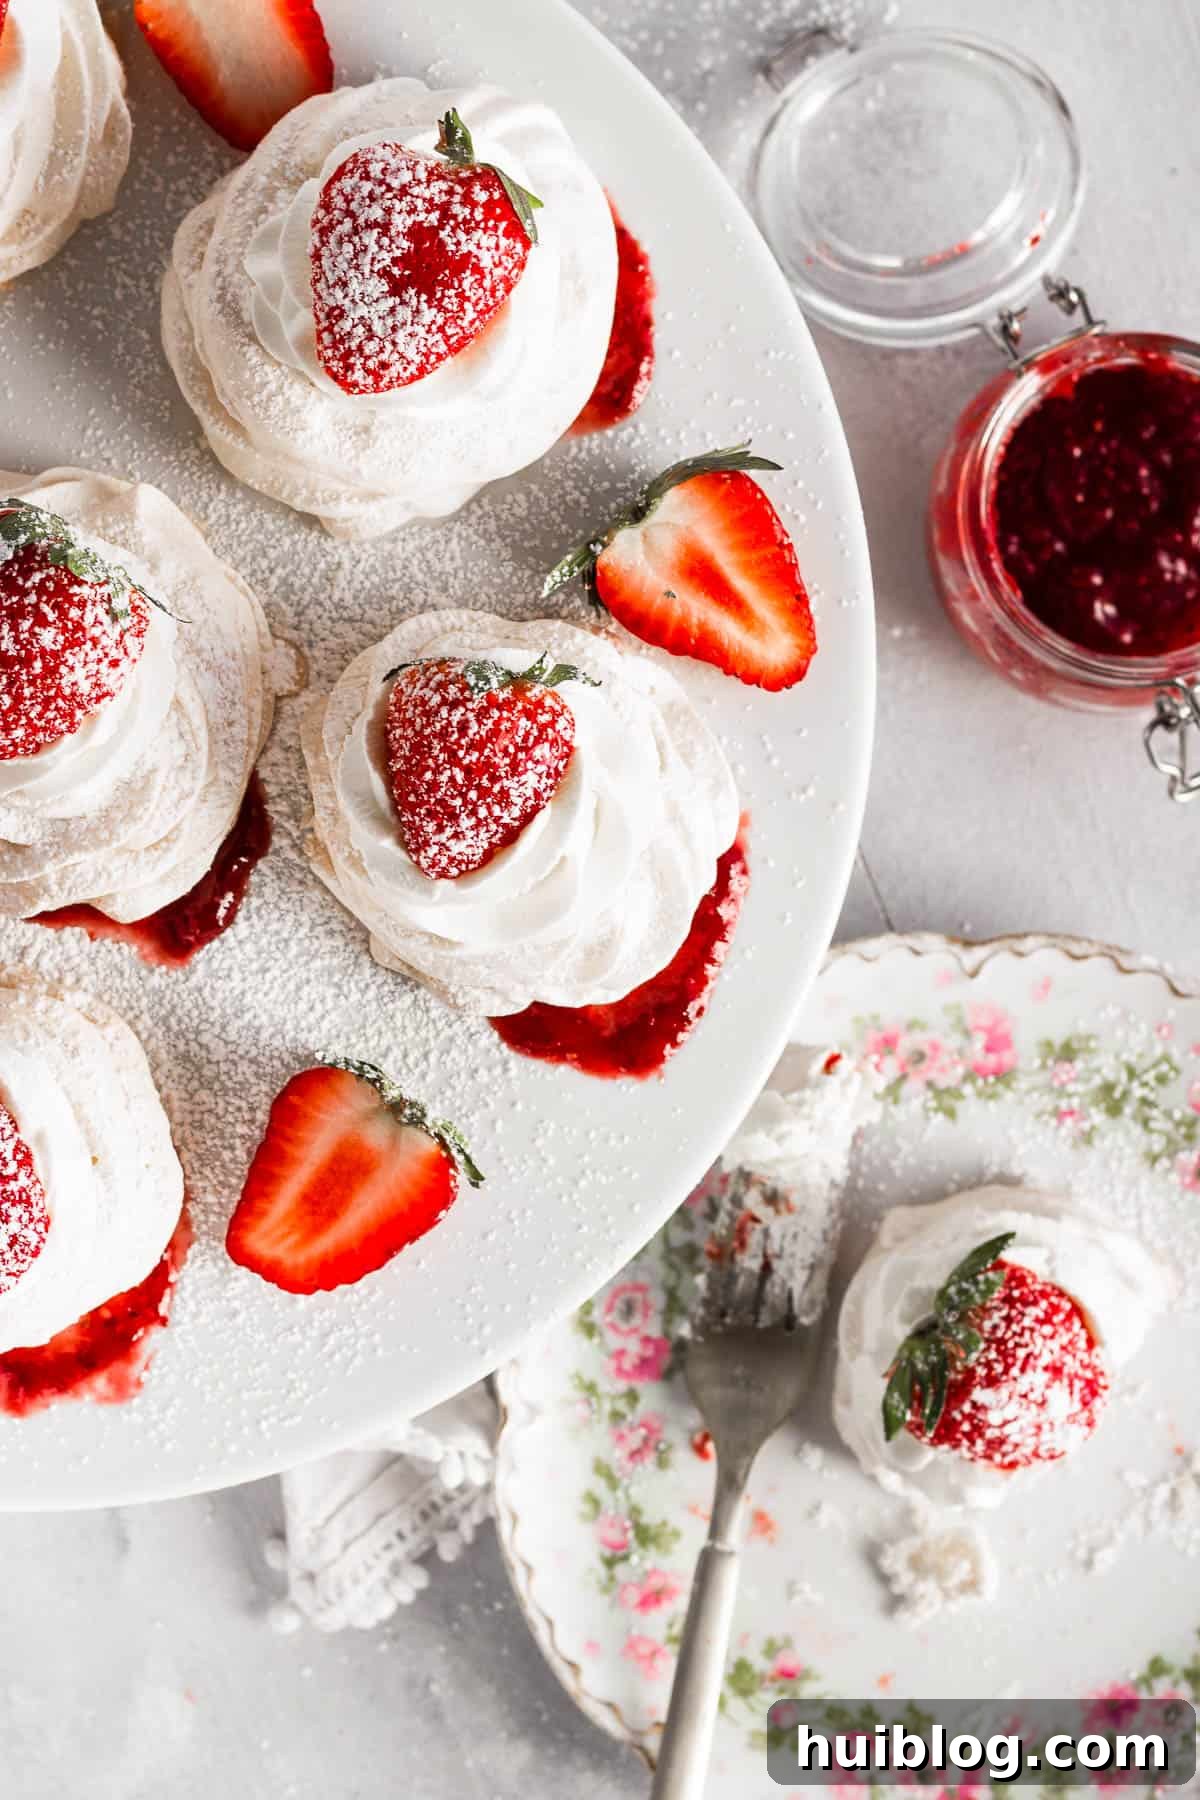
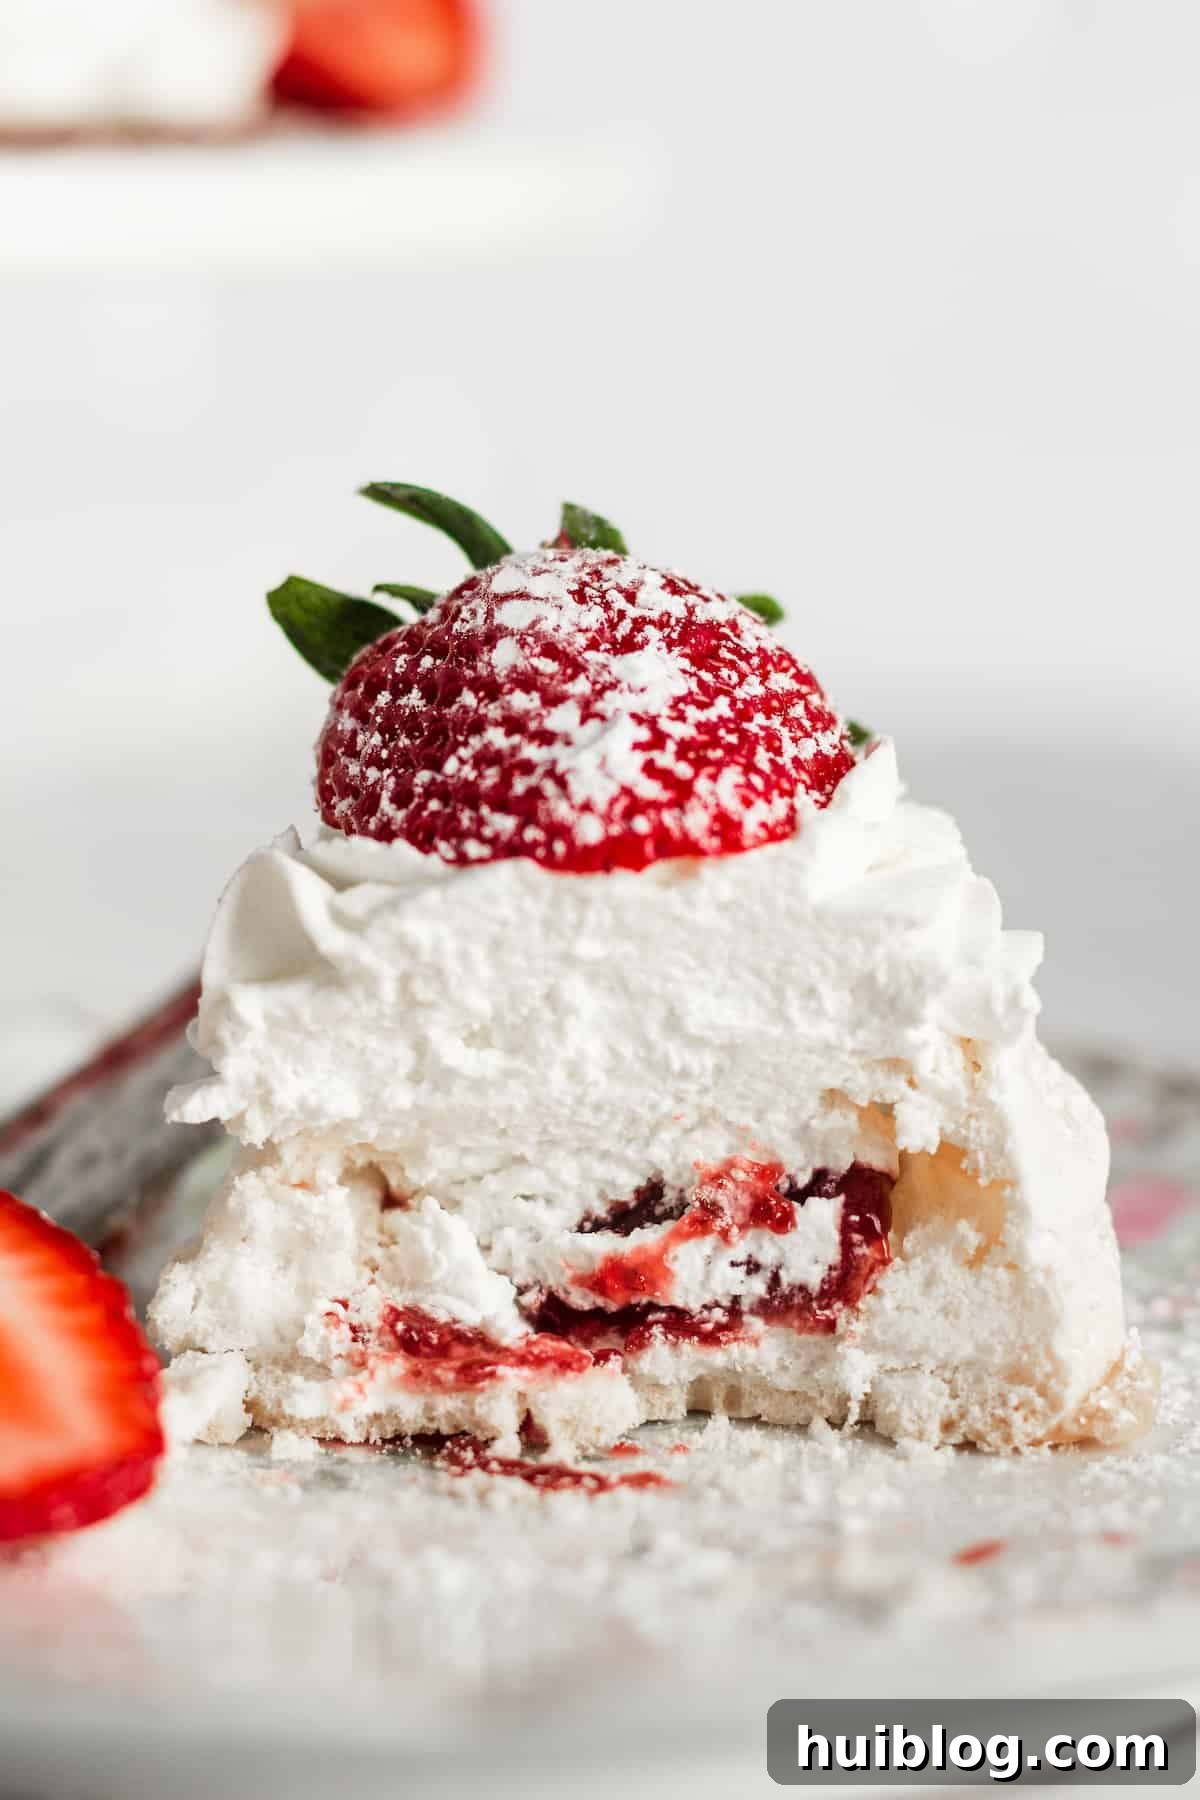
At its core, a pavlova is a light and airy “cake” primarily composed of whipped egg whites and sugar. It shares similarities with a classic meringue, boasting a wonderfully crisp outer shell. However, the true magic of pavlova lies in its interior – a soft, chewy, marshmallow-like center that sets it apart. Traditionally, pavlovas are generously adorned with fresh whipped cream and an assortment of tender, vibrant fruits, such as succulent strawberries or exotic kiwi slices.
The origin of this exquisite dessert is believed to date back to the 1920s, named in homage to the legendary Russian ballerina Anna Pavlova. While the exact inventor remains a topic of friendly culinary debate, many food historians credit Australia or New Zealand as its birthplace, where it continues to be immensely popular today. In the Southern Hemisphere, pavlova is a beloved fixture during Christmas celebrations, which conveniently coincide with their summer season. Yet, its emphasis on eggs, light textures, and fresh, fruit-centric flavors also makes it a popular choice for Easter dessert menus. Crafting these mini pavlovas into “nests” adds an extra whimsical touch, perfect for spring festivities.
Essential Ingredients for Your Mini Strawberry Pavlova Nests
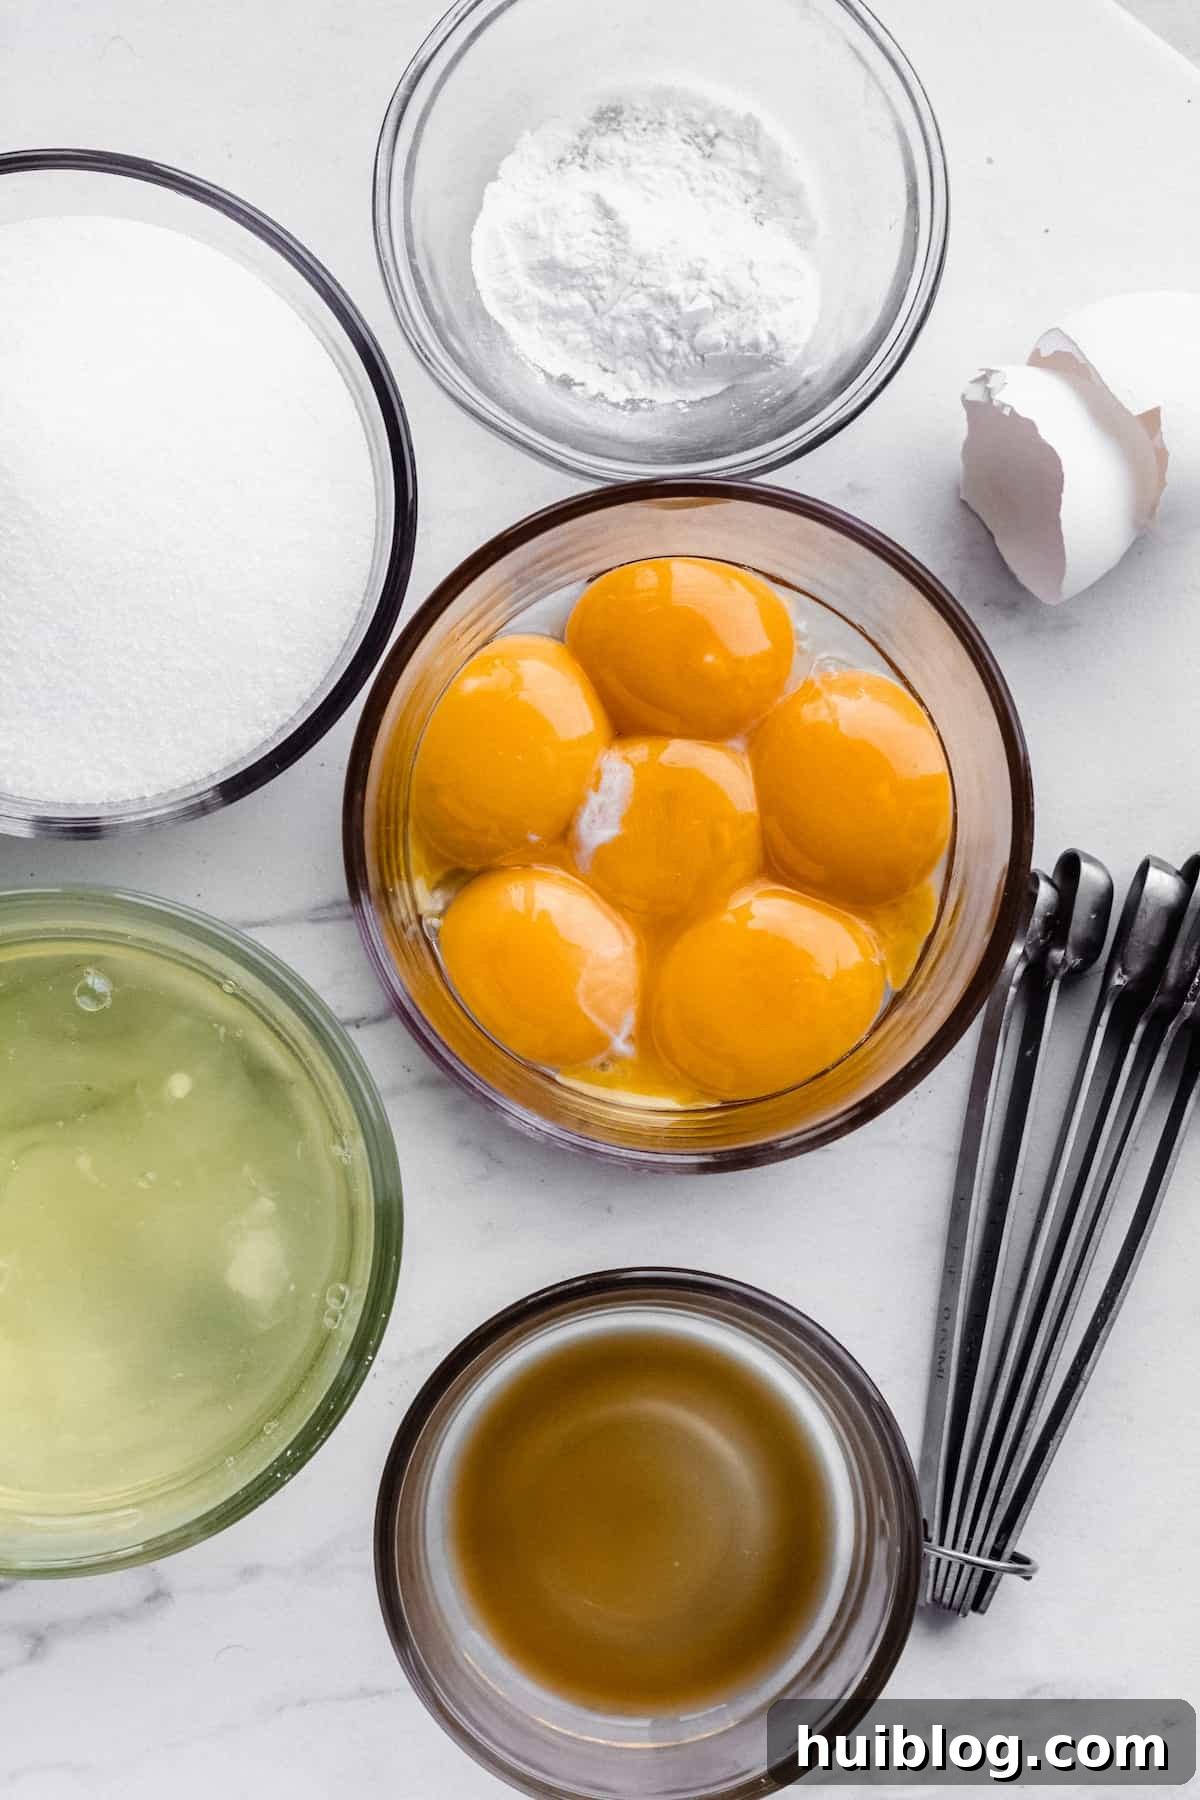
Creating these smooth and simple pavlova nests requires just a handful of basic ingredients. You’ll be amazed at how beautifully (and deliciously) they come together with such a straightforward list!
For the Pavlova Base:
- Egg Whites: For one batch yielding about 15 mini pavlovas, you’ll need 6 egg whites. Ensure they are at room temperature, as this is crucial for achieving maximum volume when whipped.
- Granulated Sugar: Two cups of granulated sugar are essential for both sweetening and stabilizing the meringue. Fine sugar dissolves more easily, contributing to a smooth, glossy finish.
- Cornstarch: A secret weapon for pavlova perfection! Adding 2 ½ teaspoons of cornstarch helps stabilize the egg whites and gives the pavlovas their signature silky, marshmallow-like interior. Arrowroot powder can be used as a substitute.
- Lemon Juice: Don’t skip this vital ingredient! Half a tablespoon of lemon juice not only adds a bright, much-needed acidic balance to the sweetness but also aids in stabilizing the egg whites, contributing to a beautiful texture.
- Pure Vanilla Extract: One teaspoon of pure vanilla extract infuses the pavlova with a classic, comforting aroma and flavor that perfectly complements the strawberries.
For the Fresh & Flavorful Toppings:
- Heavy Whipping Cream: To create your own luscious whipped cream, you’ll need 1 ½ cups of heavy whipping cream, well chilled. Cold cream whips up faster and holds its shape better.
- Granulated Sugar: Just 2 tablespoons of granulated sugar are all that’s needed to lightly sweeten the fresh whipped cream, allowing the natural flavor of the cream and strawberries to shine.
- Strawberry Jam: A small jar of your favorite strawberry jam or preserves will be used to fill the centers of the pavlova nests, adding a burst of concentrated berry flavor and a beautiful color contrast.
- Fresh Strawberries: Generously sliced or halved fresh strawberries are the quintessential garnish, providing juicy sweetness and a vibrant aesthetic.
- Powdered Sugar: (Optional) A light dusting of powdered sugar adds an elegant finish and an extra hint of sweetness.
How to Make Perfect Strawberry Pavlova Nests: Step-by-Step Guide
This dessert is not only fun to make but also yields impressive results. While this recipe focuses on individual mini pavlovas, you can easily adapt it to create one large pavlova, topping it with a generous layer of jam and whipped cream.
- Prepare the Egg Whites: Carefully separate 6 egg whites from their yolks, ensuring absolutely no yolk contaminates the whites – even a tiny bit can prevent them from whipping properly. Place the egg whites in a clean bowl and let them sit at room temperature for about 20-30 minutes. This helps them achieve maximum volume.
- Preheat Oven & Prepare Baking Sheets: Preheat your oven to a low 225°F (107°C). Line two baking sheet pans with parchment paper. This prevents sticking and makes transfer easy. Prepare your piping bag by fitting it with a large, round tip.
- Whip Egg Whites to Soft Peaks: In a very clean and dry stand mixer bowl (or using a handheld electric mixer), beat the room-temperature egg whites on high speed for 1 to 2 minutes. Continue until soft peaks form, meaning the whites will hold their shape when the whisk is lifted, but the tips will gently curl over.
- Gradually Add Sugar for Stiff Peaks: With the mixer still running on high, slowly add the granulated sugar, a little bit at a time. This gradual addition ensures the sugar dissolves completely into the egg whites. Once all the sugar is incorporated, continue beating on high speed for another 6 to 8 minutes, or until very stiff, glossy peaks form. The meringue should be thick and shiny, and when you rub a small amount between your fingers, it should feel smooth, not grainy.
- Fold in Remaining Ingredients: Once the meringue has reached stiff peaks, gently fold in the lemon juice, vanilla extract, and cornstarch. Use a spatula to carefully incorporate these ingredients without deflating the meringue. Scoop the finished pavlova mixture into your prepared piping bag.
- Shape the Mini Pavlovas: On the parchment-lined baking sheets, pipe the meringue into roughly 3-inch wide circular nests. You should aim for about 12 to 15 nests, depending on your desired size. Gently press the back of a spoon into the center of each piped circle to create a small indentation, perfect for holding your delicious fillings.
- Bake and Cool Slowly: Bake the meringue nests for 1 hour at 225°F (107°C). After the hour, turn off the oven but keep the oven door closed. Allow the pavlovas to cool slowly inside the oven for at least 30 minutes, or even longer, up to several hours. This gradual cooling prevents cracking. Once completely cool, transfer them to a cooling rack.
- Prepare the Whipped Cream: While the pavlovas are cooling, prepare the whipped cream. In a chilled mixing bowl, combine the cold heavy whipping cream and 2 tablespoons of sugar. Beat on high speed for 2 to 3 minutes, or until firm, stiff peaks form. Be careful not to overbeat, or it may turn buttery.
- Assemble and Serve: Just before serving, place approximately 1 tablespoon of strawberry jam in the center of each cooled pavlova nest. Top generously with the freshly whipped cream, piped elegantly. Finally, garnish each pavlova with half of a fresh strawberry. Serve immediately and enjoy!
Shaping Your Pavlova Nests: Creative Options
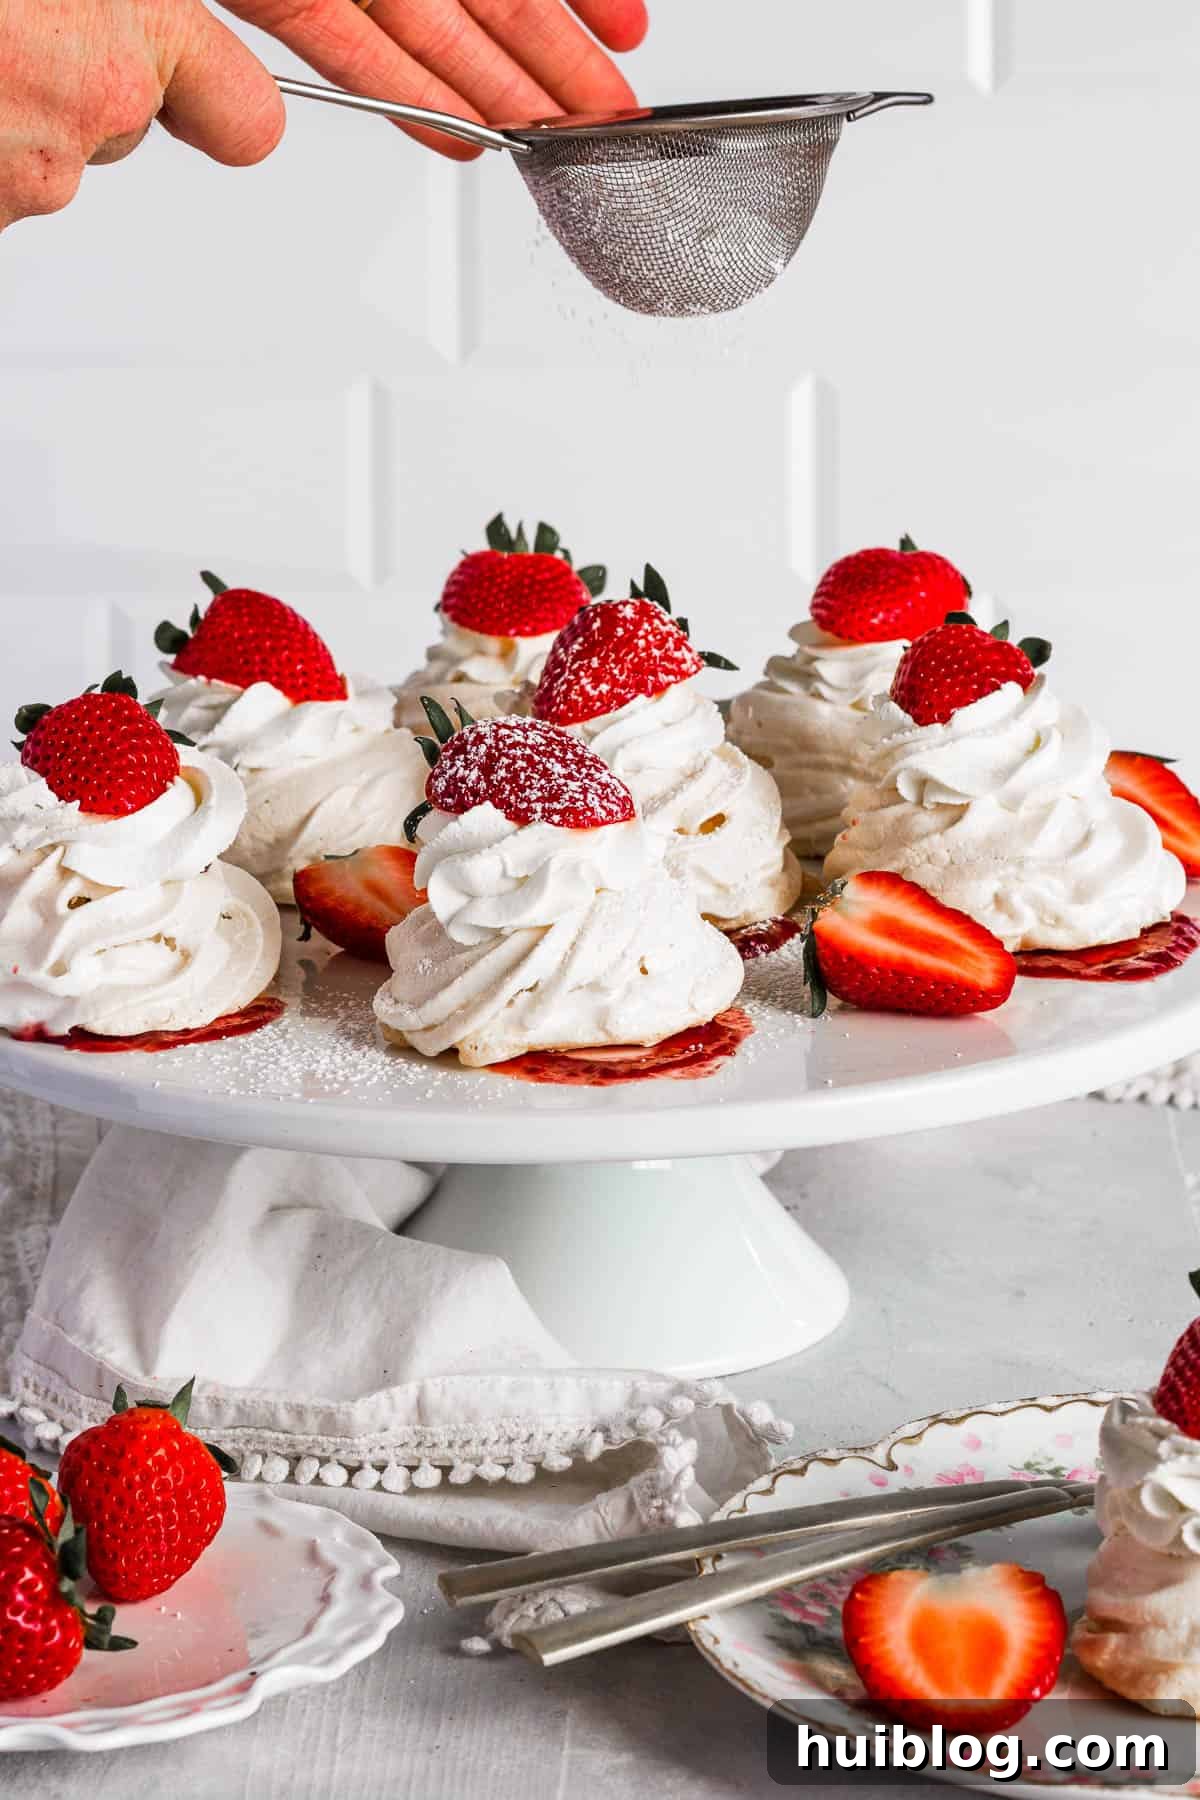
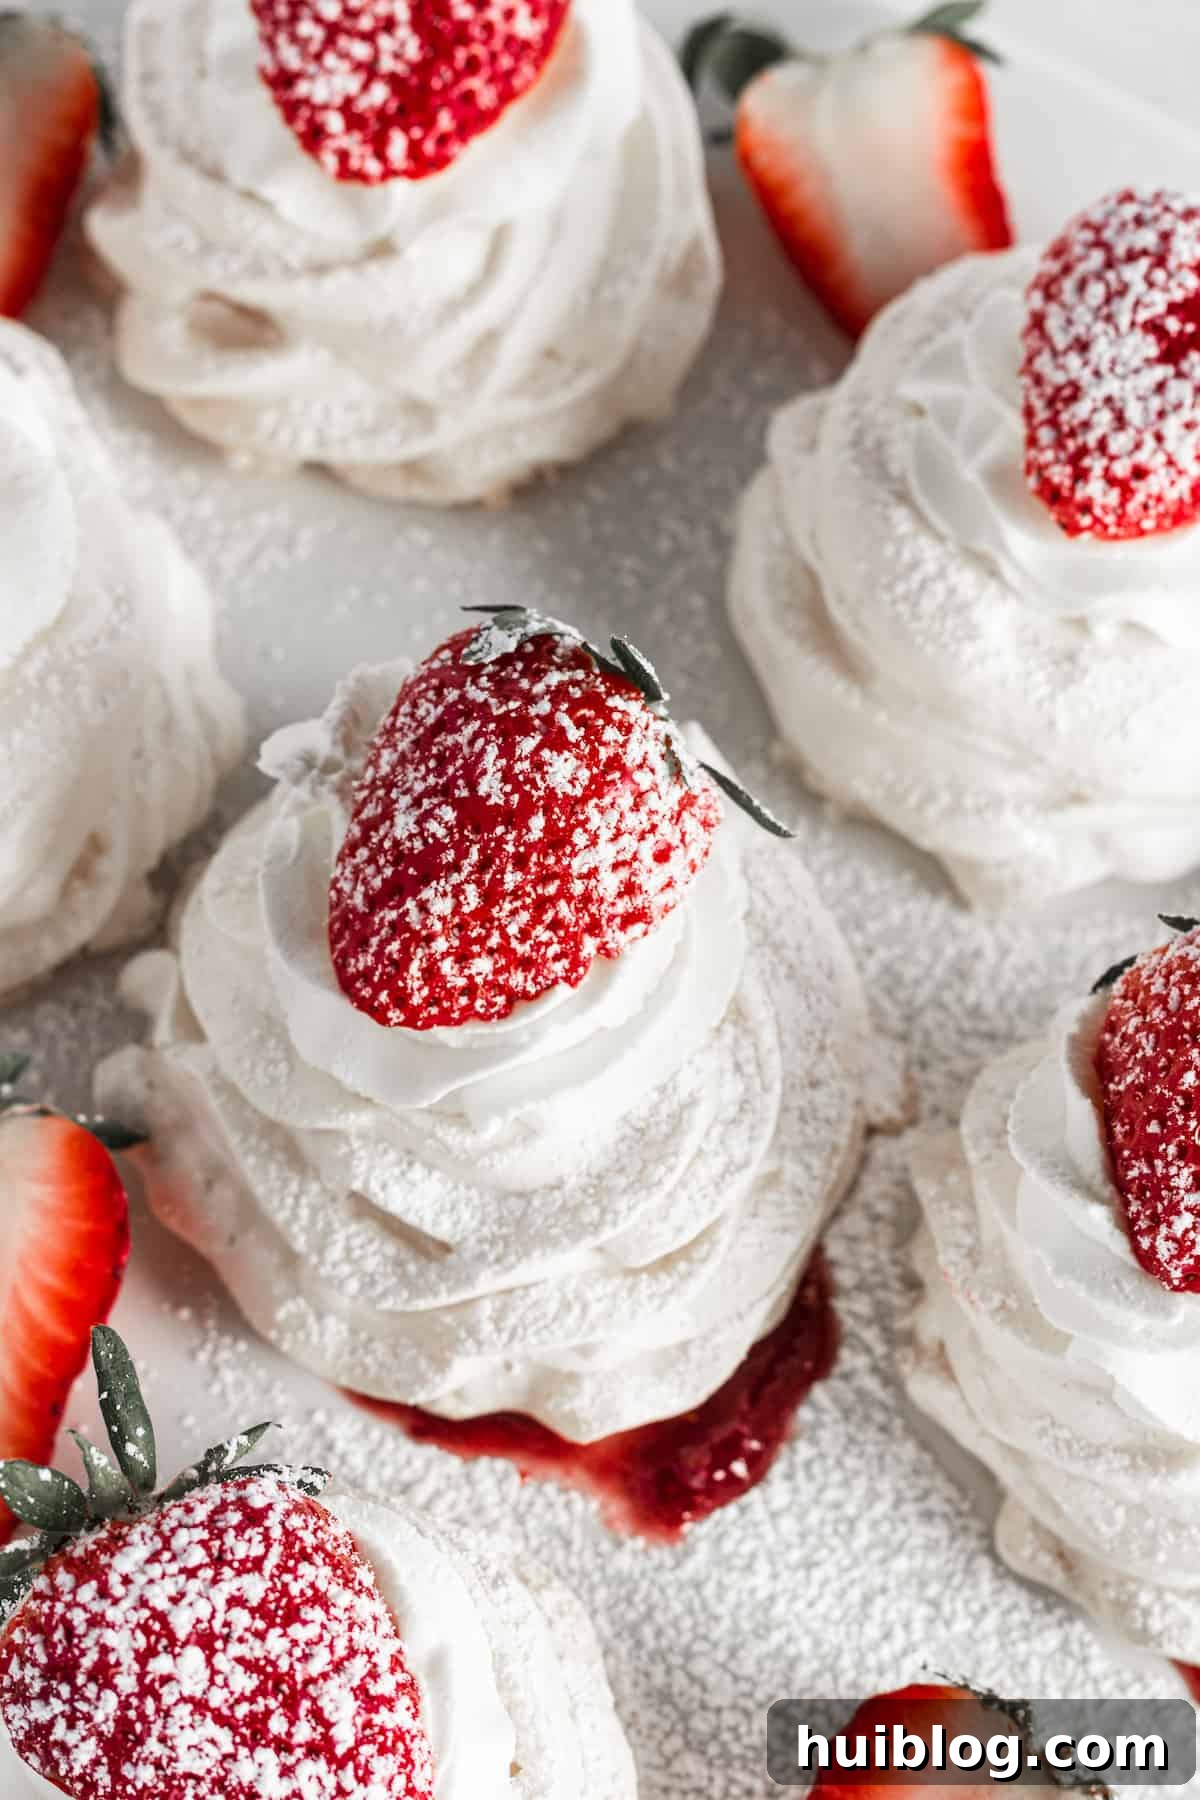
For these mini pavlovas, the “nest” shape with a slight indentation is ideal for holding the delicious jam and whipped cream. However, the beauty of pavlova lies in its versatility when it comes to shaping. You can also craft them into small, flat rounds resembling delicate cakes, or create charming little domes with flattened tops. I’ve even seen elegant, tray-like pavlovas, large and round with a raised rim around the edge to contain a bounty of toppings. Feel free to experiment and find the shape that best suits your presentation!
How Do You Know When a Pavlova is Done? Baking to Perfection
Achieving the perfect pavlova requires a low and slow baking process, followed by an equally long and gentle cooling period. You can confidently tell that your pavlova is fully baked when its sides and top feel firm and dry to the touch. Another reliable indicator is how easily it peels away from the parchment paper it was baked on; a perfectly cooked pavlova will detach with minimal effort, whereas an underdone one will stubbornly cling to the paper.
Creative Pavlova Topping Ideas: Beyond Strawberries
While strawberry pavlova is undeniably delightful, pavlovas are incredibly versatile and can be customized with a vast array of flavors. After filling them with plenty of fresh whipped cream, consider these exciting alternatives:
- Lemon-Berry Pavlova: Dollop with tangy lemon curd and liberally sprinkle your favorite mixed berries – blueberries, blackberries, raspberries, or additional fresh strawberries – for a vibrant, zesty treat.
- Baklava Inspired Pavlova: Drizzle the pavlova with golden honey and sprinkle generously with finely chopped pistachios. For an extra layer of indulgence, roughly chop store-bought baklava and distribute it evenly over the top.
- Rich Chocolate Cherry Pavlova: Top your pavlova with a decadent chocolate ganache, a scattering of slivered almonds for crunch, and crown with bright maraschino cherries for a classic flavor pairing.
- Refreshing Watermelon Peach Pavlova: Use small cookie cutters to create pretty shapes from watermelon slices, and cut fresh peaches into thin wedges. Arrange them decoratively on the pavlova and add a dusting of powdered sugar if the fruit needs a little extra sweetness.
- Festive Peppermint Chocolate Pavlova: Especially wonderful for the holidays, drizzle your pavlova with rich chocolate syrup and sprinkle crushed peppermints or candy canes over the top. For a slightly different twist, crushed spearmint candies can achieve a classic mint-chocolate look and flavor profile.
Expert Tips for Pavlova Success, Every Time
Making pavlova or any meringue-based dessert can sometimes feel a bit daunting if you’re new to it. That’s why I’ve gathered these invaluable tips to help ensure your mini pavlovas turn out perfectly crisp on the outside and wonderfully chewy on the inside, without fail.
- Ensure Sugar is Fully Dissolved: It’s paramount to beat the sugar into the egg whites very gradually. Take your time to ensure each spoonful of sugar is fully dissolved before adding more. Undissolved sugar can lead to a sticky, weeping meringue and can cause your pavlova to “sweat” or release moisture during baking and cooling, resulting in a less crisp texture.
- Avoid Overbeating the Cream: When whipping your heavy cream, be vigilant! Overbeating will cause the cream to separate, turning into butter and whey. Stop beating as soon as firm, yet still soft and creamy, peaks form. The cream should hold its shape but still be light and airy.
- Steer Clear of Humidity: Pavlova is a fair-weather friend! It’s best made on dry days. High humidity or rainy weather can be detrimental, causing the meringue mixture to become sticky rather than crisp. This often results in a soft, soggy, or deflated pavlova rather than the desired delicate texture.
- Use Clean Equipment: Any trace of grease or fat in your mixing bowl or on your beaters can prevent egg whites from whipping up properly. Always ensure your equipment is impeccably clean and dry before starting.
- Room Temperature Egg Whites are Key: As mentioned, egg whites at room temperature whip to a much greater volume and stability than cold ones. This creates a more voluminous and airy meringue.
Troubleshooting: Why Did My Pavlova Crack?
Cracks in pavlova are a common concern for many bakers. Pavlovas sometimes crack because the soft, marshmallow-like interior shrinks as it cools, pulling away from the crisp outer layer. To minimize the risk of cracking, pay close attention to the meringue mixture: it should be stiff, beautifully glossy, and completely smooth. If your mixture appears grainy after beating, it’s likely that the sugar hasn’t fully dissolved, which can lead to moisture leakage and a higher chance of cracking. In such cases, it’s often best to start over to ensure a perfect result.
Another factor contributing to cracks is a sudden change in temperature. The gradual cooling process inside the turned-off oven is crucial to allow the pavlova to set without thermal shock, which can cause the delicate meringue structure to fracture.
Mini Strawberry Pavlova Nests
by Katerina | Easy Weeknight Recipes
A light and airy meringue dessert with a creamy center, topped with strawberry jam, whipped cream, and fresh strawberries.
Prep Time: 30 minutes
Cook Time: 1 hour
Resting Time: 30 minutes
Total Time: 2 hours
Servings: 14
Ingredients
For the Pavlova Base:
- 6 egg whites, at room temperature
- 2 cups superfine sugar
- 2 ½ teaspoons cornstarch or arrowroot powder
- ½ tablespoons lemon juice
- 1 teaspoon vanilla extract
For the Toppings:
- 1 ½ cups heavy whipping cream, chilled
- 2 tablespoons granulated sugar
- ½ cup strawberry jam or preserves
- 8 fresh sliced or halved strawberries, for garnish
- Powdered sugar, for garnish (optional)
Instructions
- Separate 6 eggs from their yolks, being careful not to get any yolk in the whites. Place egg whites in a bowl and allow to sit on the counter to come to room temperature; about 20 minutes.
- Preheat the oven to 225°F (107°C). Line two baking sheet pans with parchment paper and set aside. Fit your piping bag with a large tip. Set aside.
- In a stand mixer or mixing bowl with an electric hand mixer, beat the egg whites on HIGH for one to two minutes, or until soft peaks form. With the mixer still on, add the sugar a little bit at a time until dissolved. Once all the sugar is dissolved, continue beating for 6 to 8 minutes on HIGH speed, or until stiff peaks form.
- Once stiff peaks form, gently fold in the lemon juice, vanilla extract and cornstarch. Once combined, scoop the pavlova mixture into the prepared piping bag.
- On the parchment lined baking sheet, pipe the meringue into roughly 3-inch nests. You should end up with about 12 to 15 nests, depending on how big you want to make them. Gently press a spoon on the top to create a small indent in the center.
- Bake the meringue nests for 1 hour at 225°F (107°C). After the first hour, turn the oven off and keep the door closed. Let the pavlovas cool in the oven for at least 30 minutes. Then you can transfer them to a cooling rack to cool completely.
- In the meantime, place the chilled heavy whipping cream and 2 tablespoons of sugar in a mixing bowl. Mix on HIGH for 2 to 3 minutes, or until stiff peaks form. Set aside.
- Place roughly 1 tablespoon jam in the center of each pavlova nest.
- Top with piped whipped cream and half of a fresh strawberry. Enjoy!
Nutrition
Calories: 250kcal | Carbohydrates: 40g | Protein: 2g | Fat: 9g | Saturated Fat: 6g | Cholesterol: 35mg | Sodium: 35mg | Potassium: 62mg | Fiber: 1g | Sugar: 37g | Vitamin A: 376IU | Vitamin C: 5mg | Calcium: 21mg | Iron: 1mg
Nutritional info is an estimate and provided as courtesy. Values may vary according to the ingredients and tools used. Please use your preferred nutritional calculator for more detailed info.
More Irresistible Dessert Ideas to Try
- Red Velvet Crinkle Cookies
- Easy Tres Leches Cake
- Homemade Banana Pudding