
The Ultimate Guide to Quick & Easy Honey Garlic Shrimp: Your New Weeknight Favorite
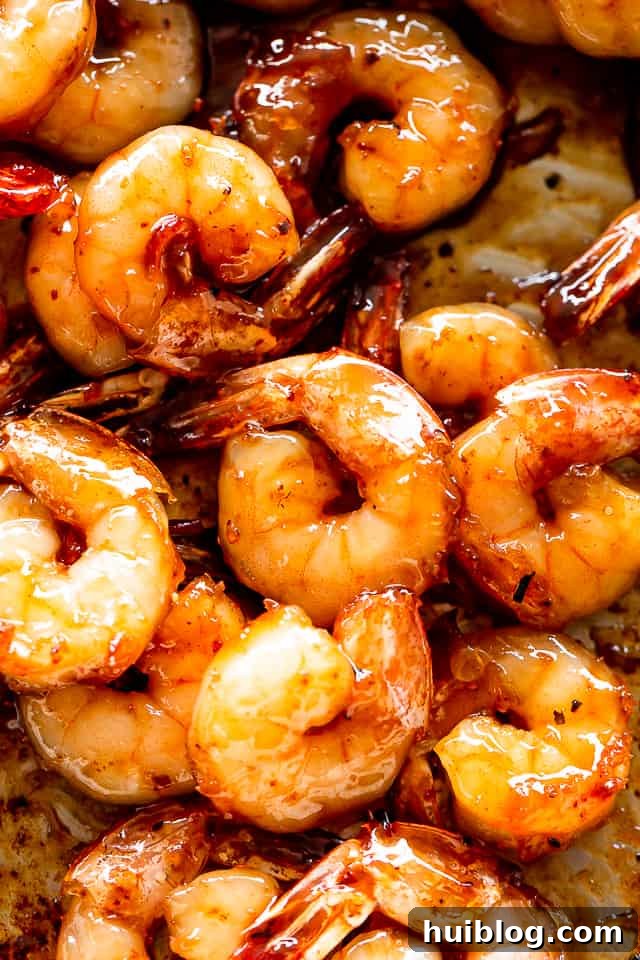
Prepare to tantalize your taste buds with the most incredibly flavorful Honey Garlic Shrimp recipe! This dish is a culinary marvel, combining the perfect balance of sweet and savory notes in a luscious, sticky glaze that coats every succulent piece of shrimp. If you’re searching for a quick, effortless, and utterly delicious meal that’s guaranteed to impress, look no further. With just one skillet, a handful of simple ingredients, and less than 30 minutes from start to finish, you’ll have a restaurant-quality meal on your table. It’s the ideal solution for busy weeknights, special occasions, or whenever a craving for something truly spectacular strikes!
Why You’ll Absolutely Adore This Honey Garlic Shrimp Recipe
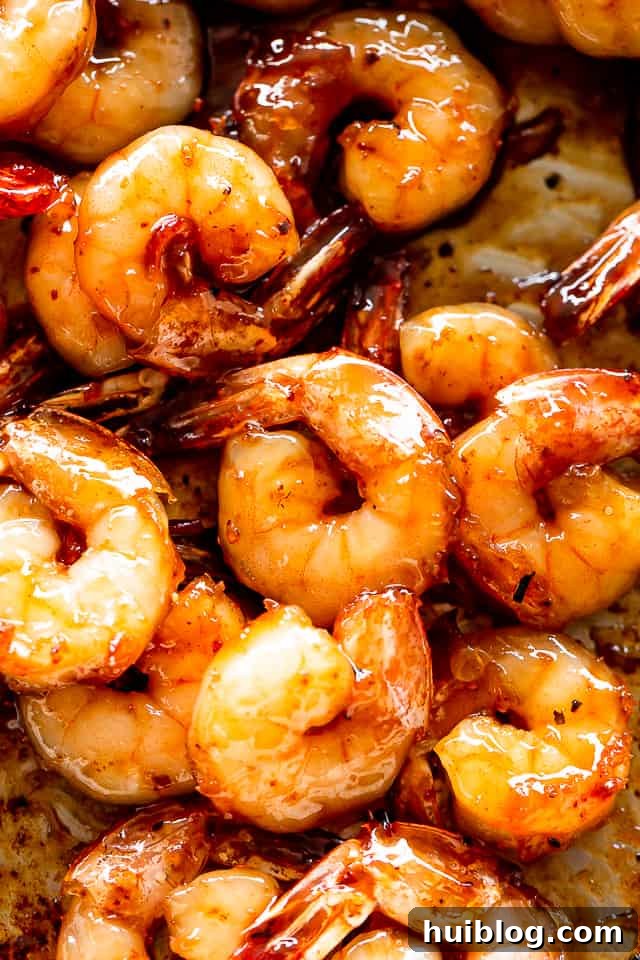
There are countless reasons why this Honey Garlic Shrimp will become a cherished staple in your cooking repertoire. Its winning combination of speed, simplicity, and sensational flavor makes it a standout:
- Unbelievably Easy & Quick: Forget complicated recipes that demand hours in the kitchen. This dish is designed for efficiency, coming together in under 30 minutes. Shrimp cooks incredibly fast, and the sauce requires minimal effort, making it perfect for those hectic weeknights when time is of the essence. You’ll be doing a happy dance with how little time it takes!
- Effortless Cleanup: Who wants to spend more time scrubbing pans than enjoying dinner? This recipe calls for just one skillet, dramatically reducing your cleanup time. It’s a huge win for anyone seeking a low-maintenance meal without sacrificing flavor.
- Impressively Delicious: While deceptively simple, the rich, sweet, and savory glaze elevates shrimp to gourmet status. Shrimp, often overlooked as a dinner protein, has a natural elegance that makes any meal feel more upscale. This recipe ensures a succulent, perfectly cooked result that will charm family and guests alike, making you look like a culinary genius with minimal effort.
- Incredibly Versatile: This dish is a chameleon in the kitchen! It pairs wonderfully with a wide array of sides, from simple rice or noodles to fresh salads or steamed vegetables. You can easily adapt it to suit your preferences and what you have on hand.
- A Healthier Indulgence: Shrimp is a fantastic source of lean protein, low in calories, and packed with essential nutrients. When combined with a homemade sauce featuring natural ingredients, you get a meal that feels indulgent but is surprisingly good for you.
The Essential Ingredients for Perfect Honey Garlic Shrimp
Crafting these delectable shrimp requires only a few key ingredients. Quality matters here, as each component contributes significantly to the overall flavor profile. Here’s a closer look at what you’ll need:
- Shrimp: The star of our show! I highly recommend using raw shrimp for this recipe. You can opt for fresh or frozen, just ensure that if using frozen, they are fully thawed and patted dry before cooking. Any size will work, but larger shrimp (like jumbo or colossal) offer a more satisfying bite. For the best results and ease of eating, choose shrimp that are peeled and deveined, though leaving the tails on adds to the presentation.
- Honey: This is where the signature sweetness and sticky glaze come from. Any good quality honey will do the trick, providing a natural sweetener that caramelizes beautifully.
- Soy Sauce: The backbone of the savory flavor. I strongly recommend using low sodium soy sauce. This allows you to control the overall saltiness of the dish, preventing it from becoming overly salty. For those following a gluten-free diet, Tamari is an excellent gluten-free alternative that delivers a similar umami depth.
- Garlic: Fresh garlic is non-negotiable for this recipe! Minced garlic provides the most potent and aromatic flavor, infusing the sauce with its pungent, delicious notes. While pre-minced garlic can be a time-saver, nothing compares to the vibrant taste of freshly minced cloves.
- Vegetable Oil: Used for searing the shrimp to golden perfection. Vegetable oil has a neutral flavor and a high smoke point, making it ideal for high-heat cooking. You can also use other neutral oils like canola oil, grapeseed oil, or even a light olive oil, but be mindful of olive oil’s lower smoke point.
Optional Flavor Boosters & Enhancements:
While the core five ingredients create an outstanding dish, you can always elevate the flavor profile with a few additions:
- Fresh Ginger: A teaspoon of grated fresh ginger added to the sauce can introduce a delightful warmth and aromatic complexity.
- Red Pepper Flakes: If you enjoy a touch of heat, a pinch of red pepper flakes will add a subtle kick without overpowering the other flavors.
- Sesame Oil: A tiny drizzle of toasted sesame oil at the very end can enhance the Asian-inspired notes with its distinct nutty aroma.
- Lime or Lemon Juice: A squeeze of fresh citrus juice just before serving brightens the flavors and adds a touch of acidity, cutting through the richness.
- Cornstarch Slurry: If you prefer a thicker, more viscous sauce, you can mix ½ teaspoon of cornstarch with 1 tablespoon of cold water to create a slurry. Add this to the reserved sauce during the final minute of cooking to achieve a luscious, glossy consistency.
Step-by-Step Guide to Making Irresistible Honey Garlic Shrimp
Creating this flavorful shrimp dish is incredibly straightforward. Follow these simple steps for perfect results every time:
- Step 1: Prep Your Shrimp: Begin by preparing your shrimp. If they are not already, peel and devein them. While optional, leaving the tails on can make for a beautiful presentation and a convenient handle when eating. Pat the shrimp thoroughly dry with paper towels; this is crucial for achieving a good sear and preventing a watery sauce.
- Step 2: Craft the Flavorful Honey Garlic Sauce: In a small mixing bowl, combine the honey, low sodium soy sauce (or Tamari), and freshly minced garlic. Whisk these ingredients together until they are thoroughly incorporated and the sauce is smooth. This mixture forms the heart of our sweet and savory glaze.
- Step 3: Marinate for Maximum Taste: Place your prepped shrimp into a resealable plastic bag or a shallow dish. Add HALF of the prepared honey garlic sauce to the shrimp. Reserve the other half of the sauce for later. Close the bag (or cover the dish) and gently massage the sauce all around the shrimp, ensuring each piece is coated. Let the shrimp marinate at room temperature for about 15 to 20 minutes. This short marinating time allows the flavors to penetrate the shrimp without over-tenderizing them. Discard any remaining marinade from the bag before cooking.
- Step 4: Searing the Shrimp to Perfection: Heat a large skillet (preferably cast iron or a heavy-bottomed pan) over medium-high heat. Add the vegetable oil to the hot skillet, ensuring it coats the bottom evenly. Once the oil shimmers, add the marinated shrimp in a single layer. It’s important not to overcrowd the pan, as this can steam the shrimp instead of searing it. You may need to cook the shrimp in two batches to ensure they cook evenly and achieve a beautiful golden-pink color.
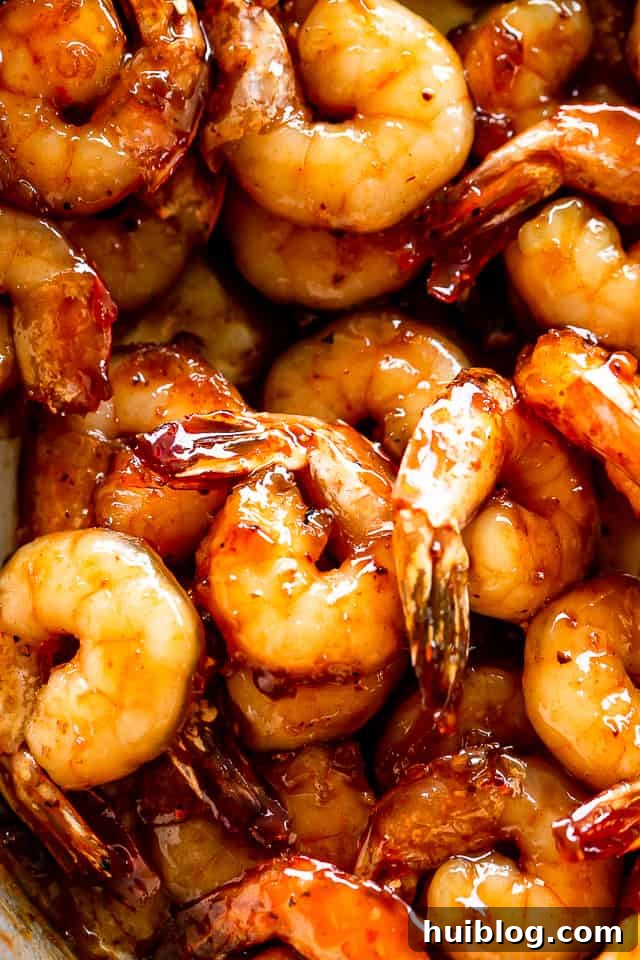
- Step 5: Cook Until Just Pink: Cook the shrimp for only 1 to 2 minutes per side. Shrimp cook very quickly, and overcooking can lead to a tough, rubbery texture. You’ll know they are done when they turn opaque and pink. Once one batch is cooked, remove it from the skillet and set aside while you cook the remaining shrimp, if necessary.
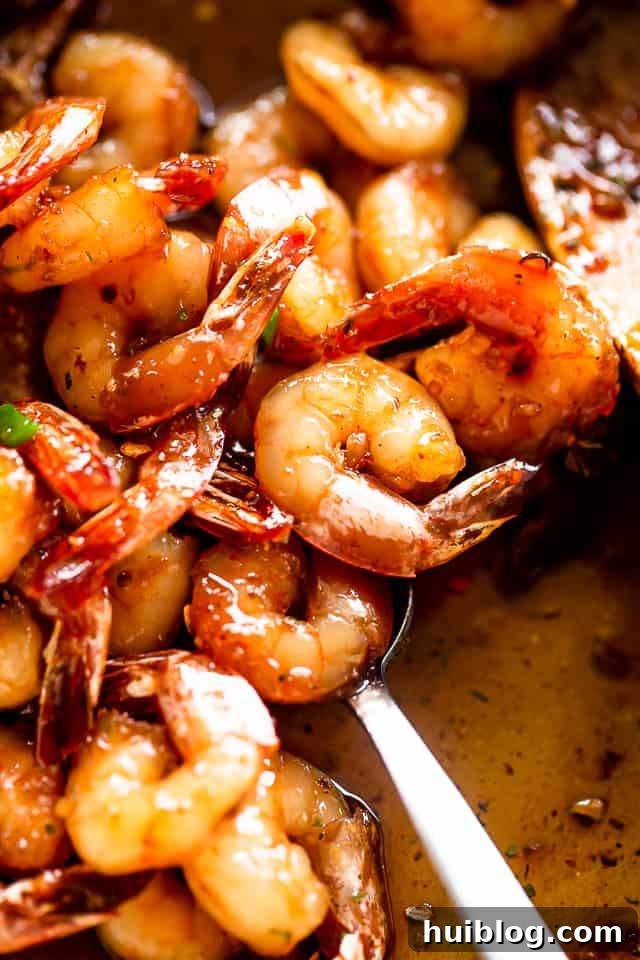
- Step 6: Glaze and Serve: Once all the shrimp are cooked and returned to the skillet, add the remaining half of the reserved honey garlic sauce (do NOT use the marinade the shrimp sat in). Stir the shrimp gently to coat them evenly with the fresh sauce. Continue to cook for just 1 more minute, or until the sauce slightly thickens and beautifully glazes the shrimp.
- Step 7: Remove from Heat and Enjoy: Immediately remove the skillet from the heat to prevent overcooking the shrimp or reducing the sauce too much. Serve your magnificent Honey Garlic Shrimp hot and savor every bite!
Pro Tips for Honey Garlic Shrimp Success & Variations
Even though this recipe is incredibly easy, a few expert tips can ensure your Honey Garlic Shrimp turns out perfectly every time. Plus, discover ways to customize it to your liking!
Mastering the Cook Time and Avoiding Overcooking:
- The Golden Rule: Don’t Overcook! This is the single most important tip for cooking shrimp. The cooking time for your garlic shrimp will depend primarily on their size. Larger shrimp will naturally take a little longer than smaller ones. Generally, 1 to 2 minutes per side is perfect for most medium to large shrimp.
- Visual Cues are Key: Shrimp are done when they are no longer translucent and appear opaque pink. They will also curl into a loose ‘C’ shape. If they form a tight ‘O’ shape, they are likely overcooked. Because the cook time is so quick, it’s essential to keep a constant eye on them. Overcooked shrimp become tough, rubbery, and lose their delicate flavor.
- Cook in Batches: To prevent overcrowding and ensure each shrimp gets a beautiful sear, always cook your shrimp in batches if your skillet isn’t large enough to hold them in a single layer. Spreading them evenly allows for proper heat distribution and prevents them from steaming in their own juices.
Choosing the Right Skillet:
- Cast Iron for the Win: I highly recommend using a well-seasoned cast iron skillet for this recipe. Cast iron retains heat exceptionally well and helps create a fantastic sear, adding a delicious depth of flavor to the shrimp.
- Non-Stick Option: If you don’t have a cast iron skillet, a good quality non-stick pan will also work, making cleanup even easier. Just ensure it’s heated properly to achieve a nice sear.
Flavor Variations & Dietary Adjustments:
- Make it Spicy: For a bit of heat, sprinkle in a pinch of red pepper flakes during the last minute of cooking, or add a dash of sriracha to the sauce.
- Ginger Twist: Add a teaspoon of grated fresh ginger to the honey garlic sauce for an extra layer of aromatic flavor.
- Sesame Sensation: A drizzle of toasted sesame oil or a sprinkle of sesame seeds just before serving can add a wonderful nutty aroma and texture.
- Gluten-Free Option: To make this recipe completely gluten-free, simply ensure you use Tamari instead of traditional soy sauce.
- Lower Sodium: Stick to low sodium soy sauce and taste the sauce before adding any additional salt. Shrimp naturally contains some sodium.
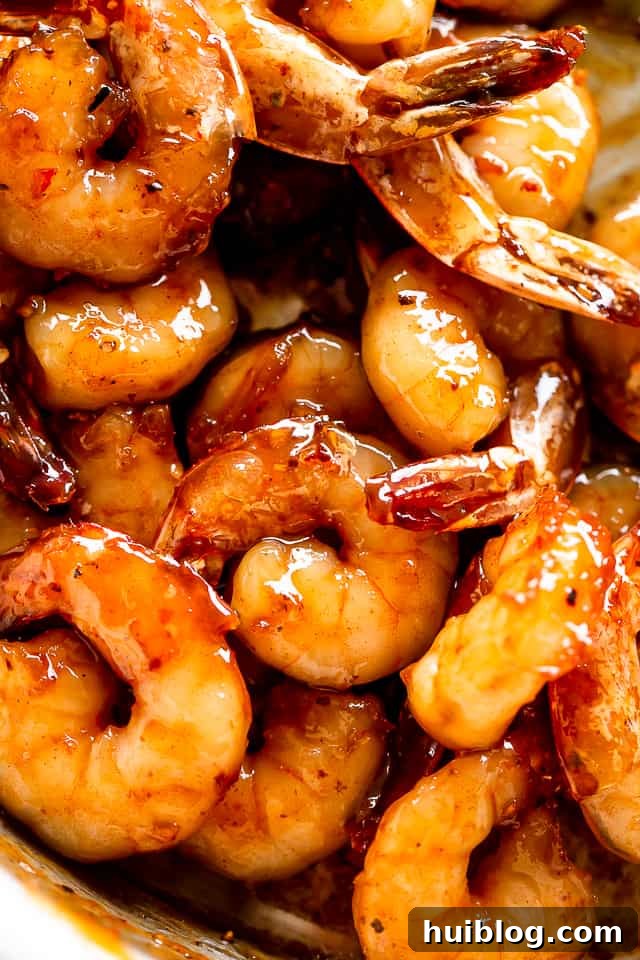
What to Serve With Your Delectable Honey Garlic Shrimp
Honey Garlic Shrimp is incredibly versatile and pairs beautifully with a variety of side dishes. Here are some fantastic ideas to complete your meal:
- Rice: A classic pairing! Serve your shrimp over a bed of fluffy white rice, brown rice, or for an extra flavorful experience, try Garlic Butter Parmesan Rice. The rice soaks up the delicious honey garlic sauce perfectly.
- Noodles: For an Asian-inspired meal, toss the shrimp with stir-fried noodles or serve them alongside a bowl of ramen or lo mein.
- Cauliflower Rice: A lighter, low-carb alternative that’s just as satisfying. The neutral flavor of cauliflower rice makes it an excellent canvas for the rich shrimp sauce.
- Zucchini Noodles (Zoodles): Another fantastic low-carb option. Gently sautéed zoodles provide a fresh, crisp contrast to the warm, glazed shrimp.
- Stir-Fried Vegetables: A medley of colorful stir-fried vegetables like bell peppers, broccoli, snow peas, and carrots makes for a vibrant and healthy side. You can even cook them in the same pan after the shrimp, or add them to the pan with the shrimp for the last few minutes.
- Simple Green Salad: For the quickest and lightest meal, simply toss your garlic shrimp over a bed of crisp lettuce with a light vinaigrette.
- Appetizer Style: Looking for a fun party bite? Stick some cute toothpicks into the cooked shrimp and serve them as a delightful appetizer at your next gathering.
How to Store Leftovers and Reheating Advice
When it comes to shrimp, freshness is key. In my opinion, shrimp doesn’t store particularly well as leftovers; its delicate texture can become rubbery upon reheating, and the flavors might diminish. For the best experience, I recommend only cooking enough Honey Garlic Shrimp that you plan to consume in one sitting.
However, if you do find yourself with leftovers, here are some tips:
- Storage: Store any leftover shrimp in an airtight container in the refrigerator for no more than 1-2 days.
- Reheating: To reheat, gently warm the shrimp in a non-stick skillet over low heat, or briefly microwave them on a low setting. Be very careful not to overheat, as this will further toughen the shrimp. The goal is to warm them through without cooking them more.
- Cold Servings: Leftover honey garlic shrimp can also be enjoyed cold, added to salads, or as a quick protein boost for lunch the next day.
Given how incredibly quick and easy this Honey Garlic Shrimp recipe is to prepare, it’s often more convenient and enjoyable to simply whip up a fresh batch whenever the craving strikes!
Frequently Asked Questions (FAQ)
Can I use frozen shrimp for this recipe?
Absolutely! Frozen shrimp work perfectly. Just make sure to thaw them completely before cooking. You can do this by placing them in the refrigerator overnight or by running them under cold water until thawed. Once thawed, pat them very dry with paper towels to ensure a good sear.
How do I know when shrimp are perfectly cooked?
Shrimp cook incredibly fast. They are done when they turn opaque pink and curl into a loose ‘C’ shape. If they form a tight ‘O’ shape, they are likely overcooked and will be rubbery. Aim for tender and juicy, not tough.
Can I make this recipe spicier?
Yes, you can! To add some heat, incorporate a pinch of red pepper flakes into the honey garlic sauce, or add a dash of sriracha or your favorite hot sauce. Adjust the amount to your preferred level of spiciness.
Is this Honey Garlic Shrimp recipe gluten-free?
This recipe can easily be made gluten-free by substituting regular soy sauce with Tamari, which is a gluten-free alternative that offers a similar savory flavor profile.
Can I prepare the sauce in advance?
Yes, you can definitely make the honey garlic sauce ahead of time. Whisk all the sauce ingredients together and store it in an airtight container in the refrigerator for up to 3-4 days. This makes meal prep even faster on cooking day!
What if my sauce isn’t thickening?
If you prefer a thicker, more viscous glaze, you can create a cornstarch slurry. Mix ½ teaspoon of cornstarch with 1 tablespoon of cold water until smooth. Add this slurry to the reserved sauce in the skillet during the final minute of cooking, stirring continuously until the sauce coats the shrimp and thickens to your desired consistency.
Explore More Easy Shrimp Recipes
If you loved this quick and delicious shrimp recipe, be sure to explore more of our easy weeknight shrimp creations:
- Shrimp Enchiladas
- Creamy Parmesan Gnocchi With Shrimp
- Grilled Bacon Wrapped Shrimp
Average rating: 5 out of 5 stars from 5 votes
Honey Garlic Shrimp
by Katerina | Easy Weeknight Recipes
These Honey Garlic Shrimp are glazed in the most delicious sweet and savory honey garlic sauce. Quick, easy, and super flavorful, all you’ll need is one skillet, 5 ingredients, and 20 minutes!
Prep Time: 25 minutes
Cook Time: 10 minutes
Total Time: 35 minutes
Servings: 4 servings
Ingredients
- ¼ cup honey
- 2 tbsp low sodium soy sauce or Tamari
- 3 cloves garlic, minced
- 1 pound raw shrimp, peeled and deveined, tail-on
- 1 tbsp vegetable oil
Instructions
- In a small mixing bowl, combine honey, soy sauce, and minced garlic; whisk until thoroughly incorporated. Set aside.
- Place shrimp in a resealable bag and add HALF of the prepared sauce to the shrimp; close the bag and massage the sauce all around the shrimp. Set aside for 15 to 20 minutes.
- Add vegetable oil to a skillet and set it over medium-high heat to warm up.
- Remove shrimp from marinade and add to the hot oil in a single layer. You may have to do this in two batches. Discard the used marinade.
- Cook shrimp for 1 to 2 minutes per side, or until cooked through and opaque pink.
- Add the reserved sauce; stir around and cook for 1 more minute or until the sauce just begins to thicken and glaze the shrimp.
- Remove from heat and serve immediately.
Nutrition
Calories: 216 kcal | Carbohydrates: 19g | Protein: 24g | Fat: 5g | Saturated Fat: 3g | Cholesterol: 286mg | Sodium: 1149mg | Potassium: 125mg | Fiber: 1g | Sugar: 18g | Vitamin C: 5mg | Calcium: 169mg | Iron: 3mg
Nutritional info is an estimate and provided as courtesy. Values may vary according to the ingredients and tools used. Please use your preferred nutritional calculator for more detailed info.