
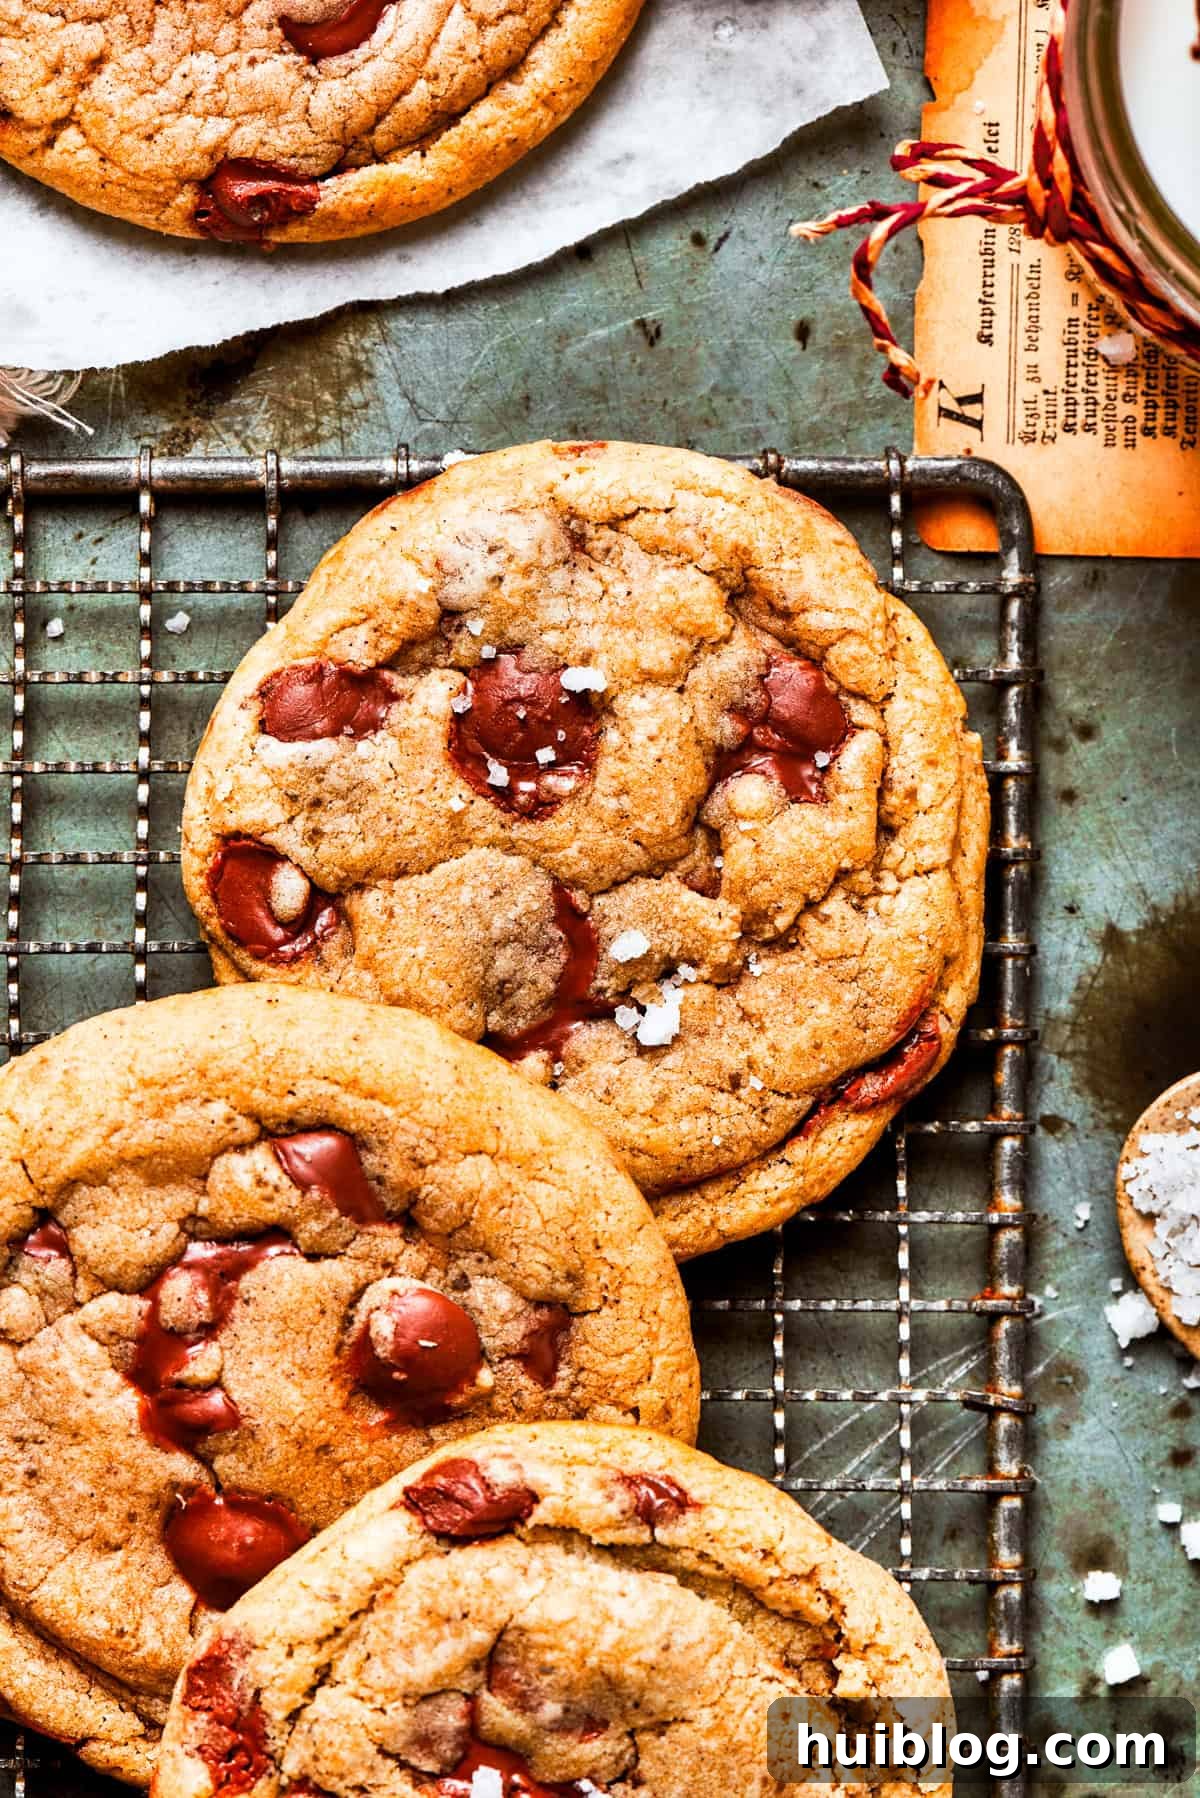
Prepare to experience what might just be the pinnacle of homemade cookies: these truly are the best Brown Butter Chocolate Chip Cookies you’ll ever bake. Forget your basic cookie recipes; these delightful treats elevate the classic to an art form. Each bite offers a symphony of warm, toasty notes, infused with the rich sweetness of dark brown sugar and abundant, gloriously melty chocolate chips. With their irresistibly crisp edges giving way to wonderfully chewy centers, these cookies promise a luxurious indulgence that far surpasses ordinary expectations.
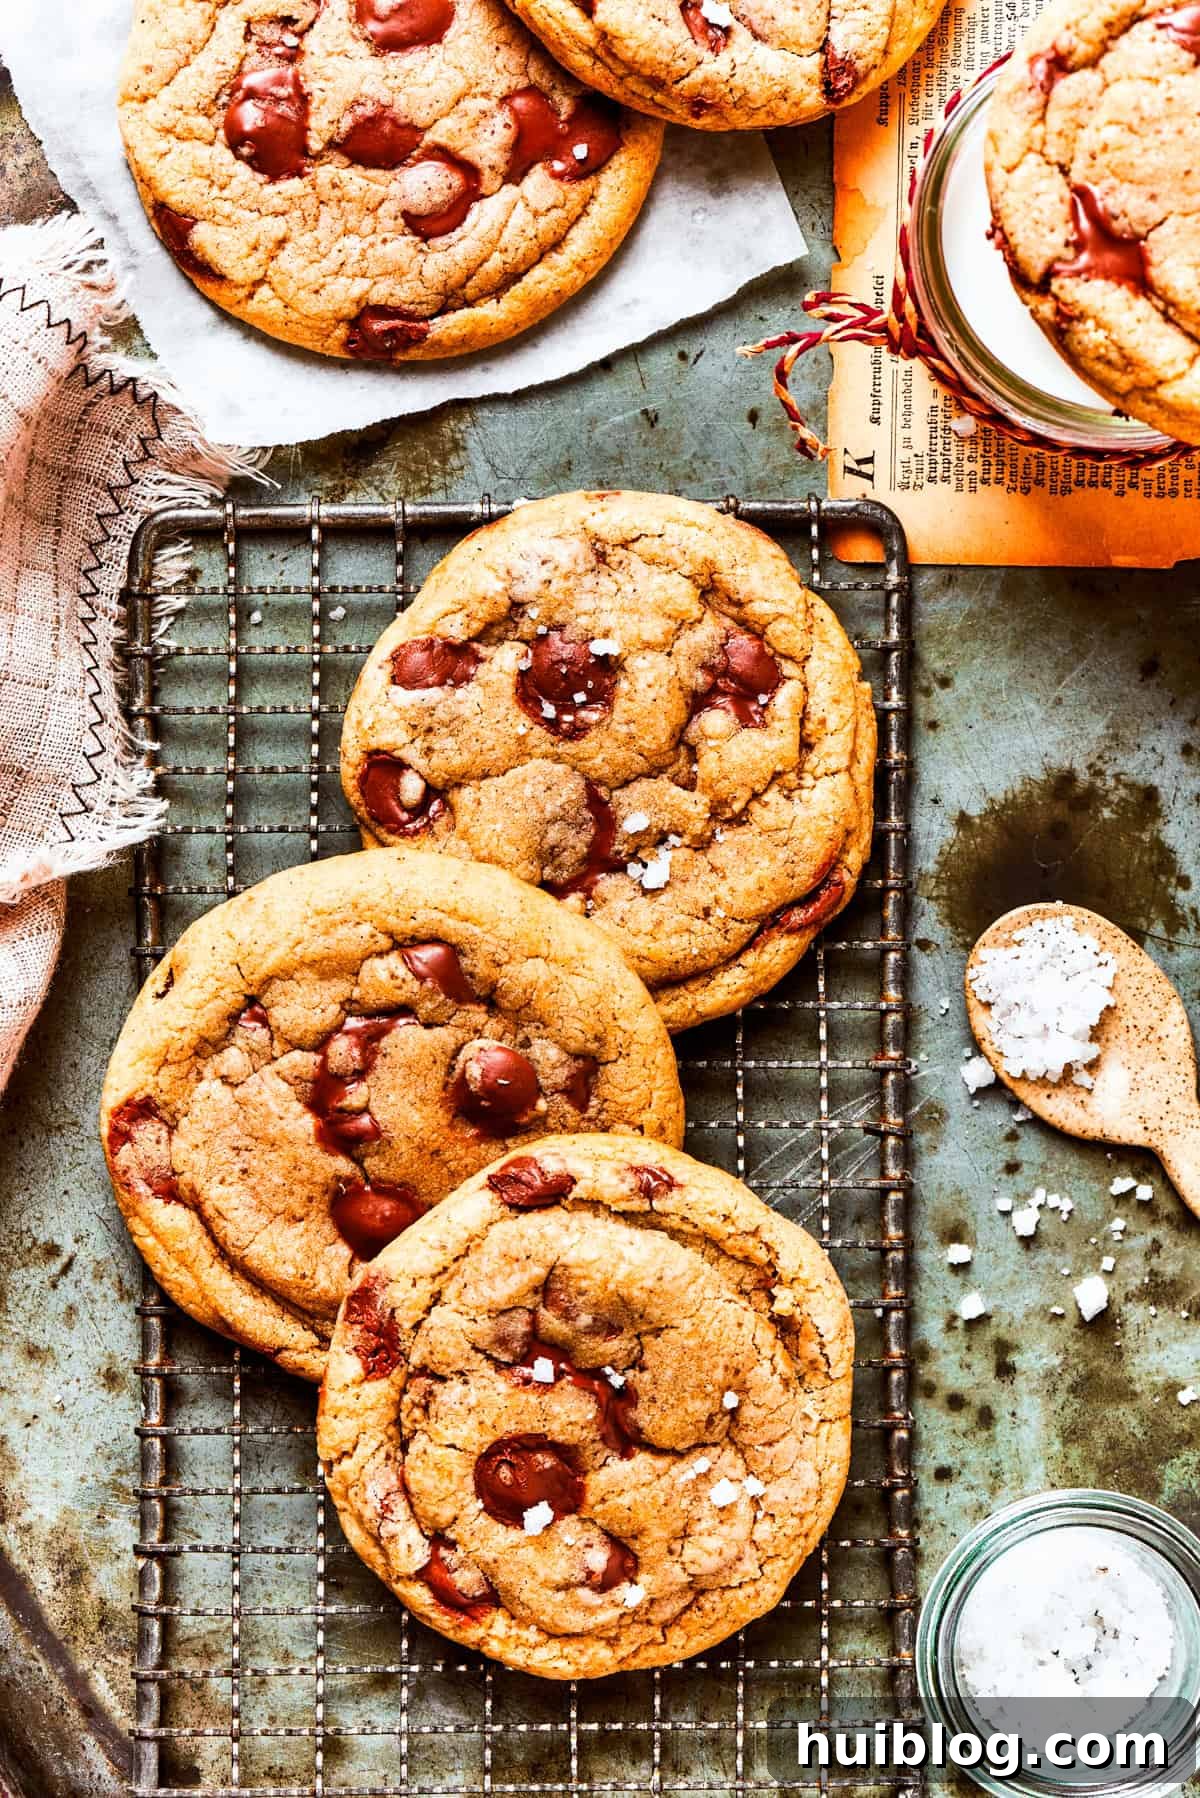
It’s a bold claim, but these brown butter chocolate chip cookies consistently earn rave reviews, and for good reason. The secret lies in a simple yet transformative step: browning the butter first. This process introduces an incredible depth of nutty, caramel-like flavor that simply isn’t present in cookies made with regular butter. It’s a game-changer that takes these cookies from delicious to truly unforgettable. While my chewy chocolate chip cookies offer a fantastic alternative if you’re short on time, the nuanced complexity from the browned butter is unparalleled. To finish these masterpieces, a delicate sprinkle of flaky sea salt provides the perfect sweet-salty contrast, taking each bite over the top.
Why These Brown Butter Chocolate Chip Cookies Are a Must-Try
Beyond their sheer deliciousness, there are several compelling reasons why these brown butter chocolate chip cookies have become a beloved staple in my kitchen and are sure to become one in yours. They combine exquisite flavor with surprising ease, making them a perfect choice for any baker.
- The Unrivaled Flavor of Browned Butter: This is the star of the show, the culinary secret that elevates these cookies. Browning butter initiates the Maillard reaction, transforming simple butter into a golden, nutty, and fragrant elixir. It adds a profound caramelized depth that imbues the cookies with an unmatched richness you won’t get from plain melted butter. This subtle yet significant flavor profile is what truly sets these cookies apart from any other chocolate chip cookie you’ve ever tasted.
- Effortless Baking, Exceptional Results: Despite their sophisticated flavor, these cookies are surprisingly easy to make. Because the recipe calls for melted butter, there’s no need for a stand mixer or even a hand mixer. All you require is a whisk and a sturdy spoon. This simplicity makes them accessible to bakers of all skill levels, proving that extraordinary results don’t always demand complex equipment.
- A Family Favorite for Every Occasion: If your household is anything like mine, chocolate chip cookies are always a hit, especially when served warm and fresh from the oven. These cookies are universally loved by both adults and children. For the younger palates, I often dust half the batch with flaky sea salt and leave the rest plain, catering to everyone’s preference. They are perfect for after-school treats, dessert for dinner parties, or simply to enjoy with a cup of coffee or milk.
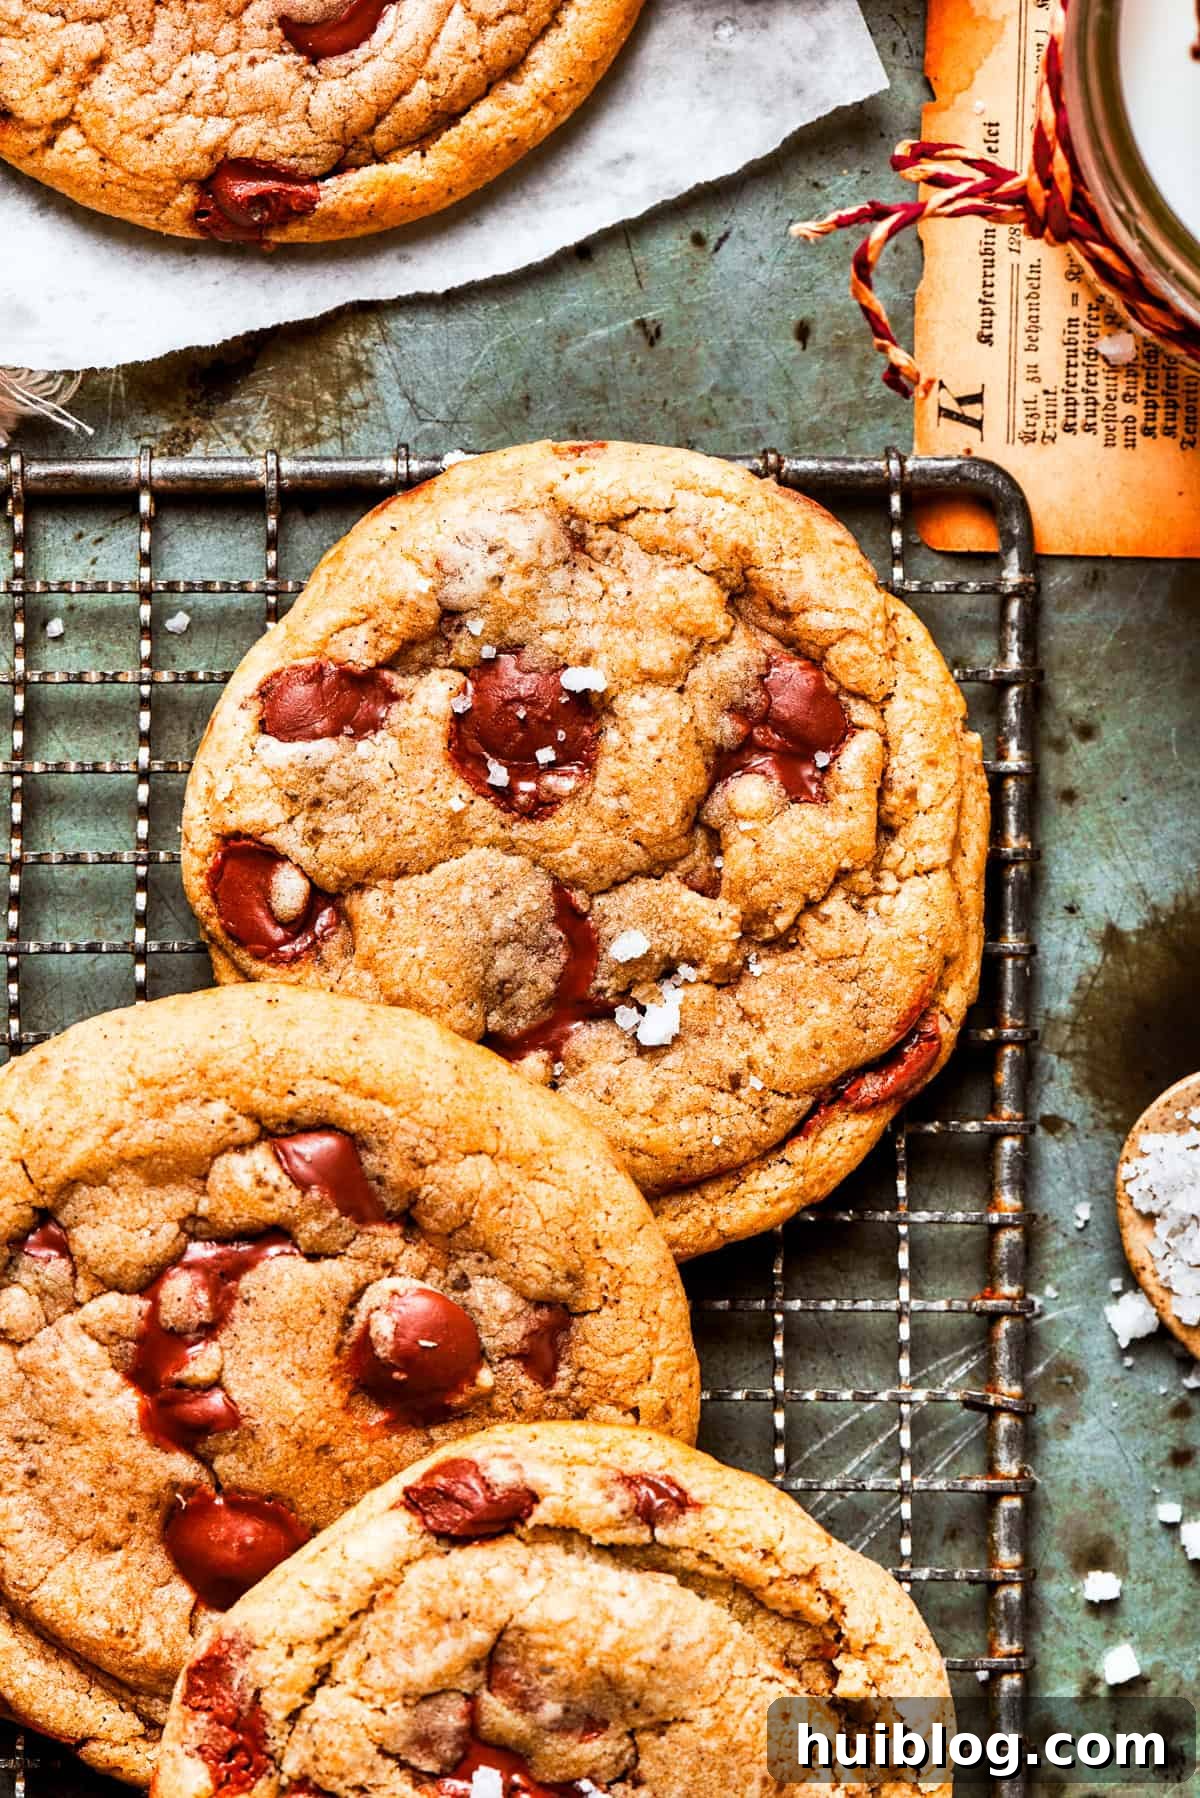
- Perfect Texture Balance: Achieving the ideal cookie texture is an art, and these brown butter beauties nail it. They boast beautifully crisp, slightly golden edges that provide a satisfying initial crunch. This gives way to a wonderfully soft and chewy center, studded with pockets of melted chocolate. It’s a textural masterpiece that will have you reaching for just one more.
Essential Ingredients for the Perfect Brown Butter Chocolate Chip Cookies
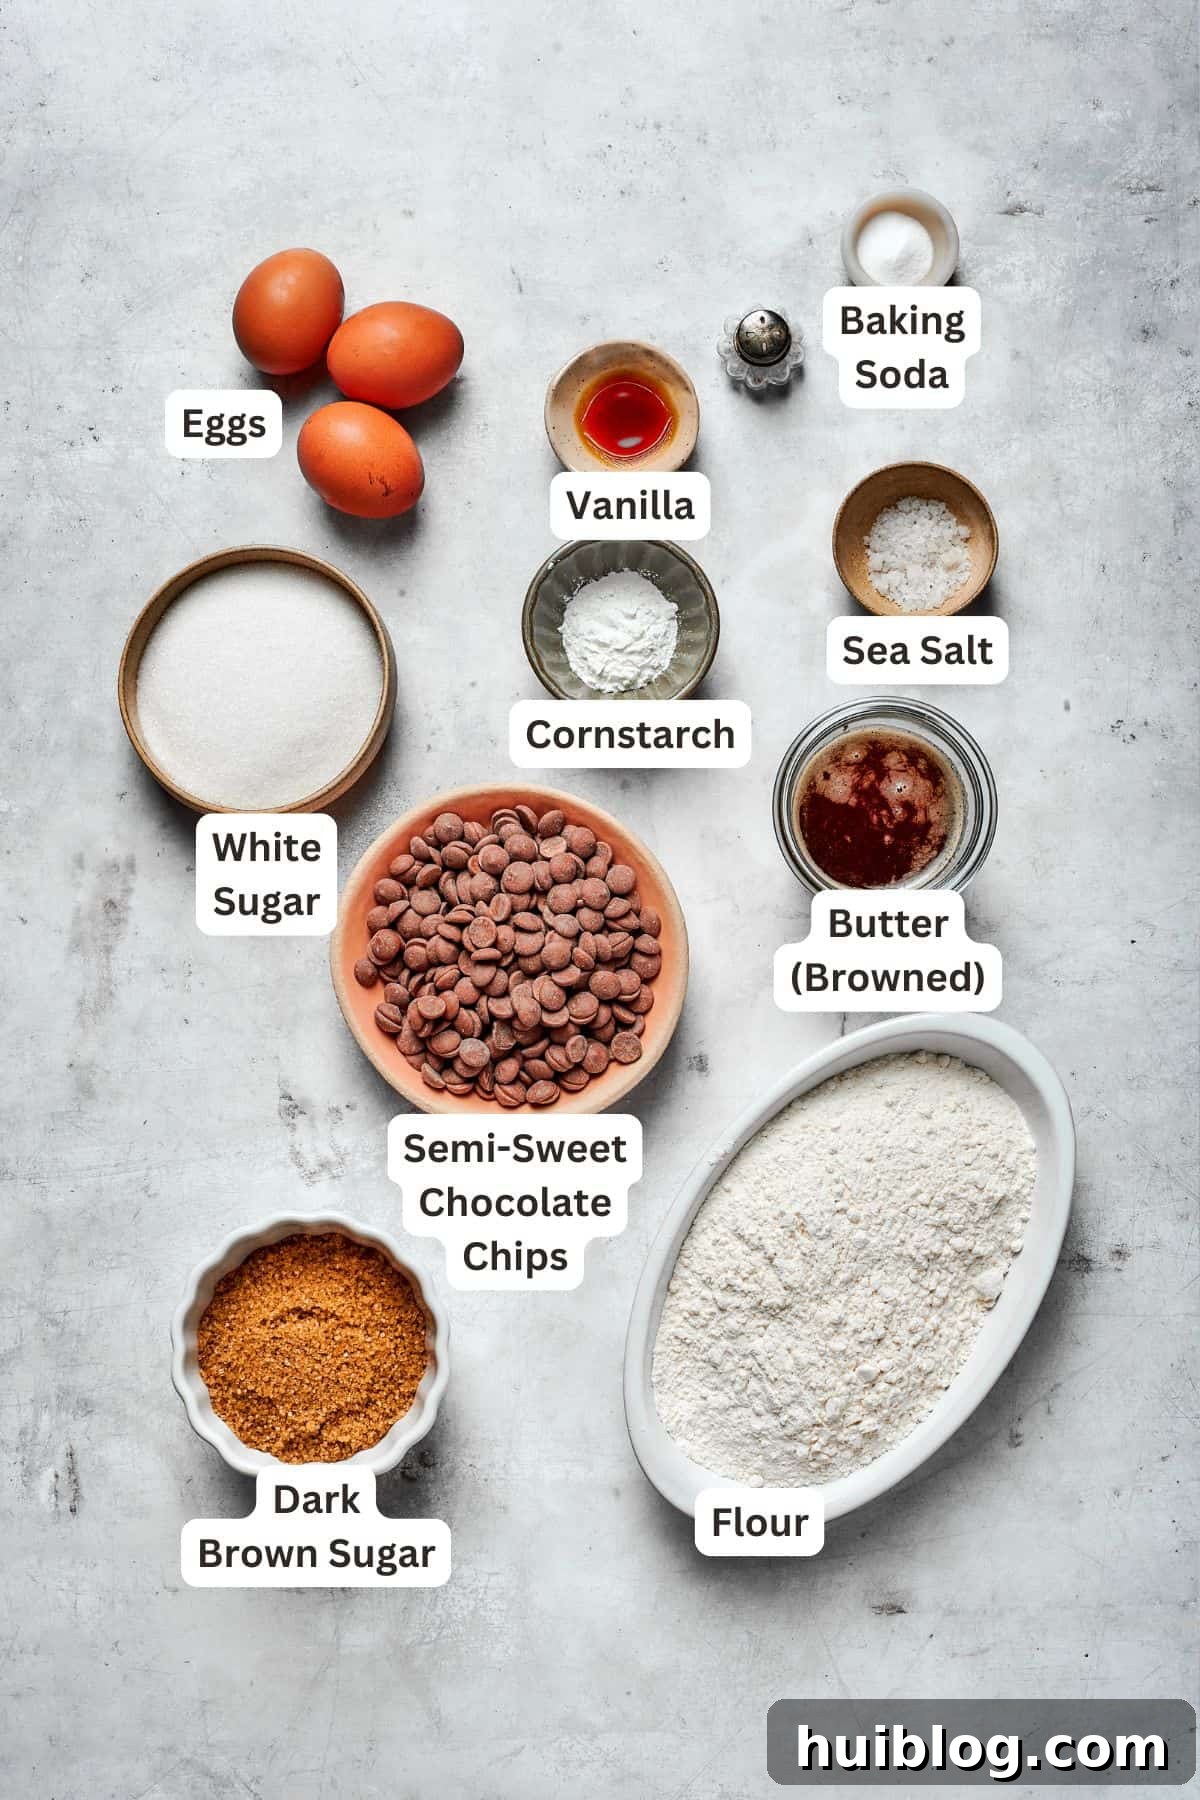
Crafting these deeply flavorful, dark, and chewy brown butter chocolate chip cookies requires only a handful of common pantry staples, alongside fresh butter and eggs. While the full, precise amounts and detailed instructions are provided in the printable recipe card at the end of this post, here are some key notes on the ingredients that make all the difference:
- Unsalted Butter: The foundation of our unique flavor. Unsalted butter is preferred as it allows you to control the exact amount of salt in the recipe, which is crucial for perfect browning without burning. No need to bring it to room temperature; in fact, you’ll be melting it to start the browning process.
- Sugars – Granulated and Dark Brown Sugar: A harmonious blend of both white granulated sugar and dark brown sugar creates the ideal balance of sweetness, texture, and color. Granulated sugar contributes to the crispy edges, while the dark brown sugar, with its higher molasses content, ensures a moist, chewy interior and richer flavor. If dark brown sugar isn’t available, light brown sugar can be used as a substitute, though it will result in a slightly less intense flavor profile.
- Eggs – Large Eggs plus 1 Egg Yolk: Using large eggs provides structure and moisture. The addition of an extra egg yolk is a secret weapon in cookie baking; it contributes extra fat, leading to an incredibly rich, tender, and chewy texture that’s simply divine. Ensure both eggs and the yolk are at room temperature, as this helps them emulsify more easily and smoothly into the butter-sugar mixture, preventing a curdled appearance and ensuring an even dough.
- Pure Vanilla Extract: A classic flavor enhancer that complements the rich chocolate and nutty brown butter. Opt for pure vanilla extract or, for an even deeper flavor, vanilla bean paste. Avoid imitation vanilla for the best taste.
- Dry Ingredients – All-Purpose Flour, Cornstarch, Baking Soda, and Salt:
- All-Purpose Flour: The primary structural component of our cookies. Measure it correctly by spooning it into your measuring cup and leveling it off, rather than scooping, to avoid over-measuring.
- Cornstarch: This seemingly small addition makes a big impact. Cornstarch helps to tenderize the cookies, giving them that wonderfully soft and chewy texture, and it also contributes to their thicker, more substantial profile.
- Baking Soda: A leavening agent that helps the cookies spread slightly and achieve a nice lift, reacting with the acidic brown sugar to create the perfect texture.
- Salt: A pinch of fine sea salt in the dough balances the sweetness and enhances all the other flavors.
- Chocolate Chips – Premium Semi-Sweet: The quality of your chocolate truly matters here. For the best melting pools and rich flavor, I highly recommend using a good-quality brand of semi-sweet chocolate chips, such as Guittard or Ghirardelli. Semi-sweet chocolate provides a lovely contrast to the sweetness of the dough, ensuring the cookies aren’t overly cloying. You can also experiment with chocolate chunks or chopped chocolate bars for varied textures.
- Flaky Sea Salt (for finishing): This is an optional but highly recommended ingredient. A sprinkle of flaky sea salt on top of the warm cookies immediately after baking provides a delightful crunch and a sophisticated sweet-salty contrast that elevates the entire experience.
Step-by-Step Guide to Baking Irresistible Brown Butter Chocolate Chip Cookies
Creating these extraordinary cookies is a rewarding experience, starting with the magical process of browning butter. Pay close attention to the visual cues described below to ensure your butter achieves that perfect nutty, amber hue without burning. The journey to the best chocolate chip cookies begins here!
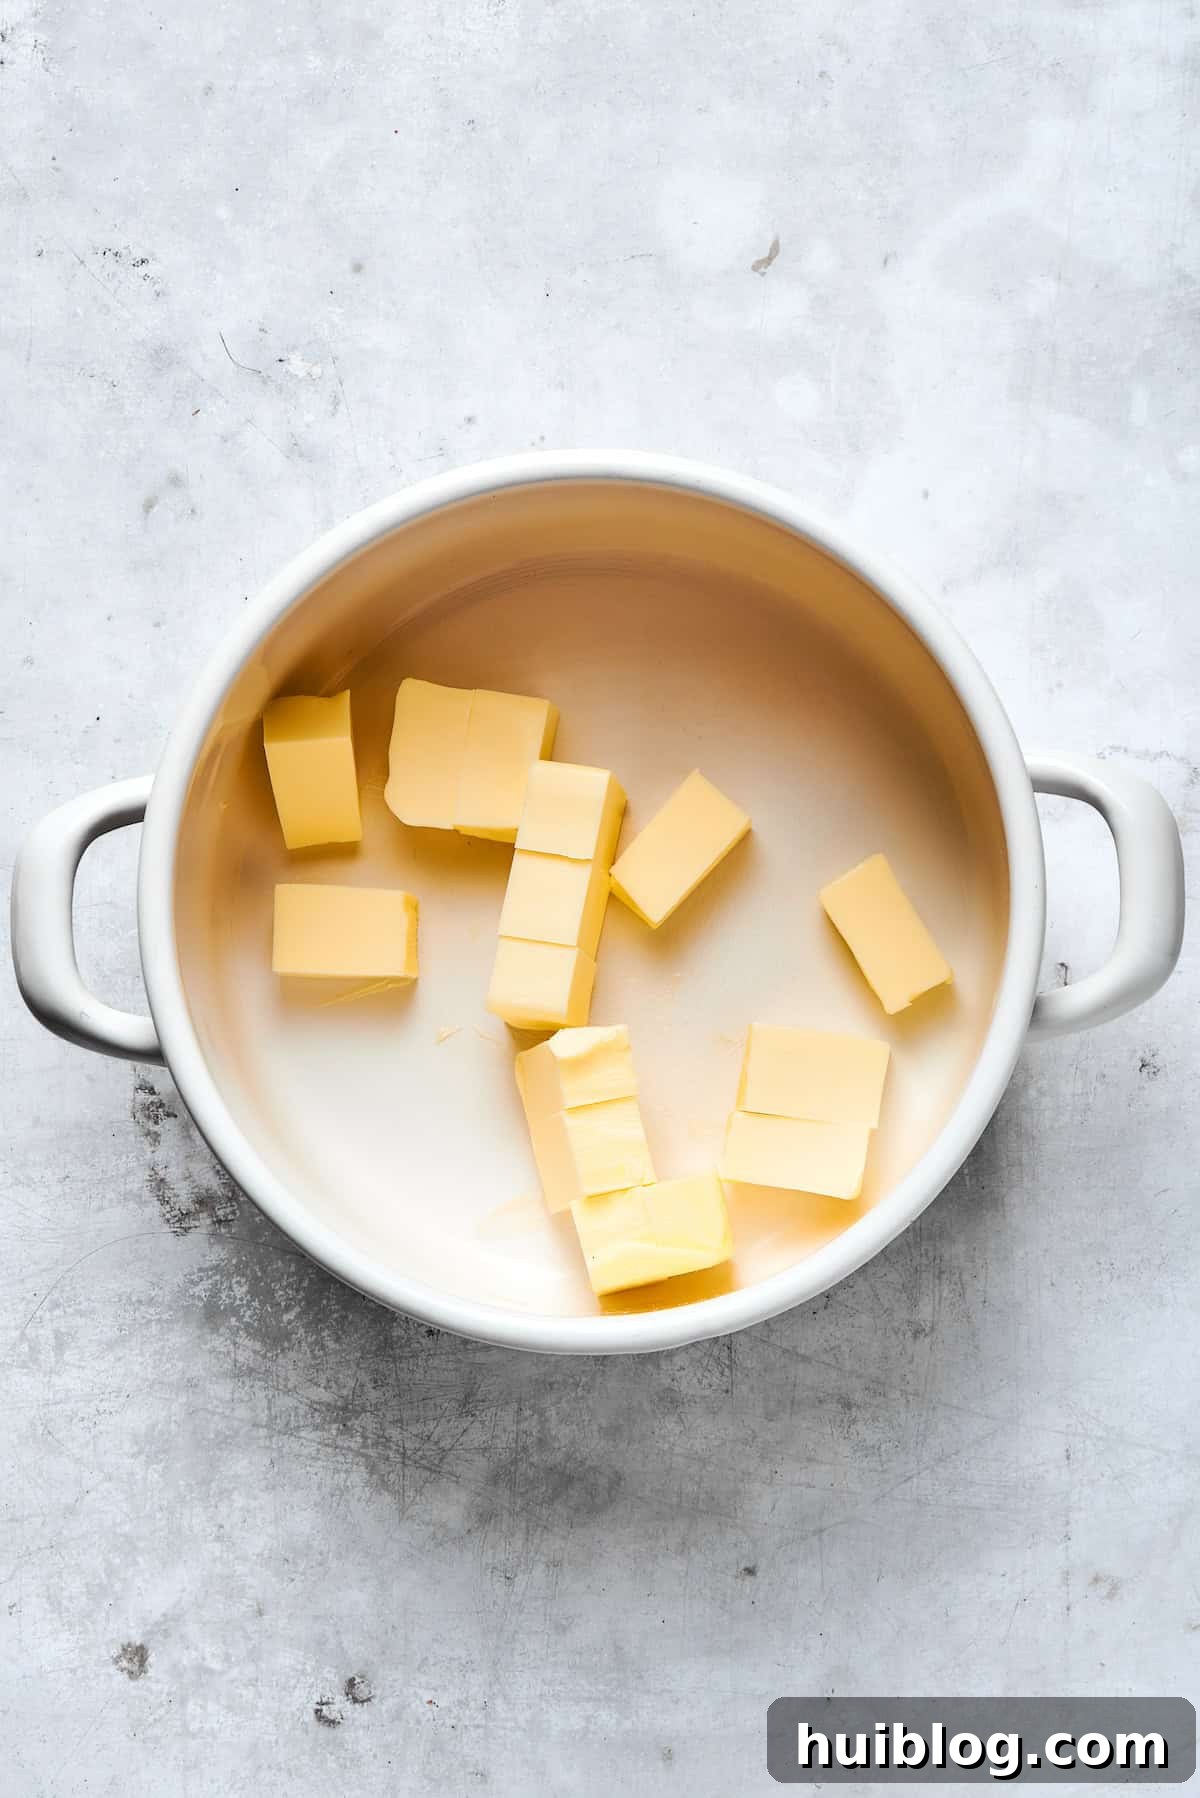

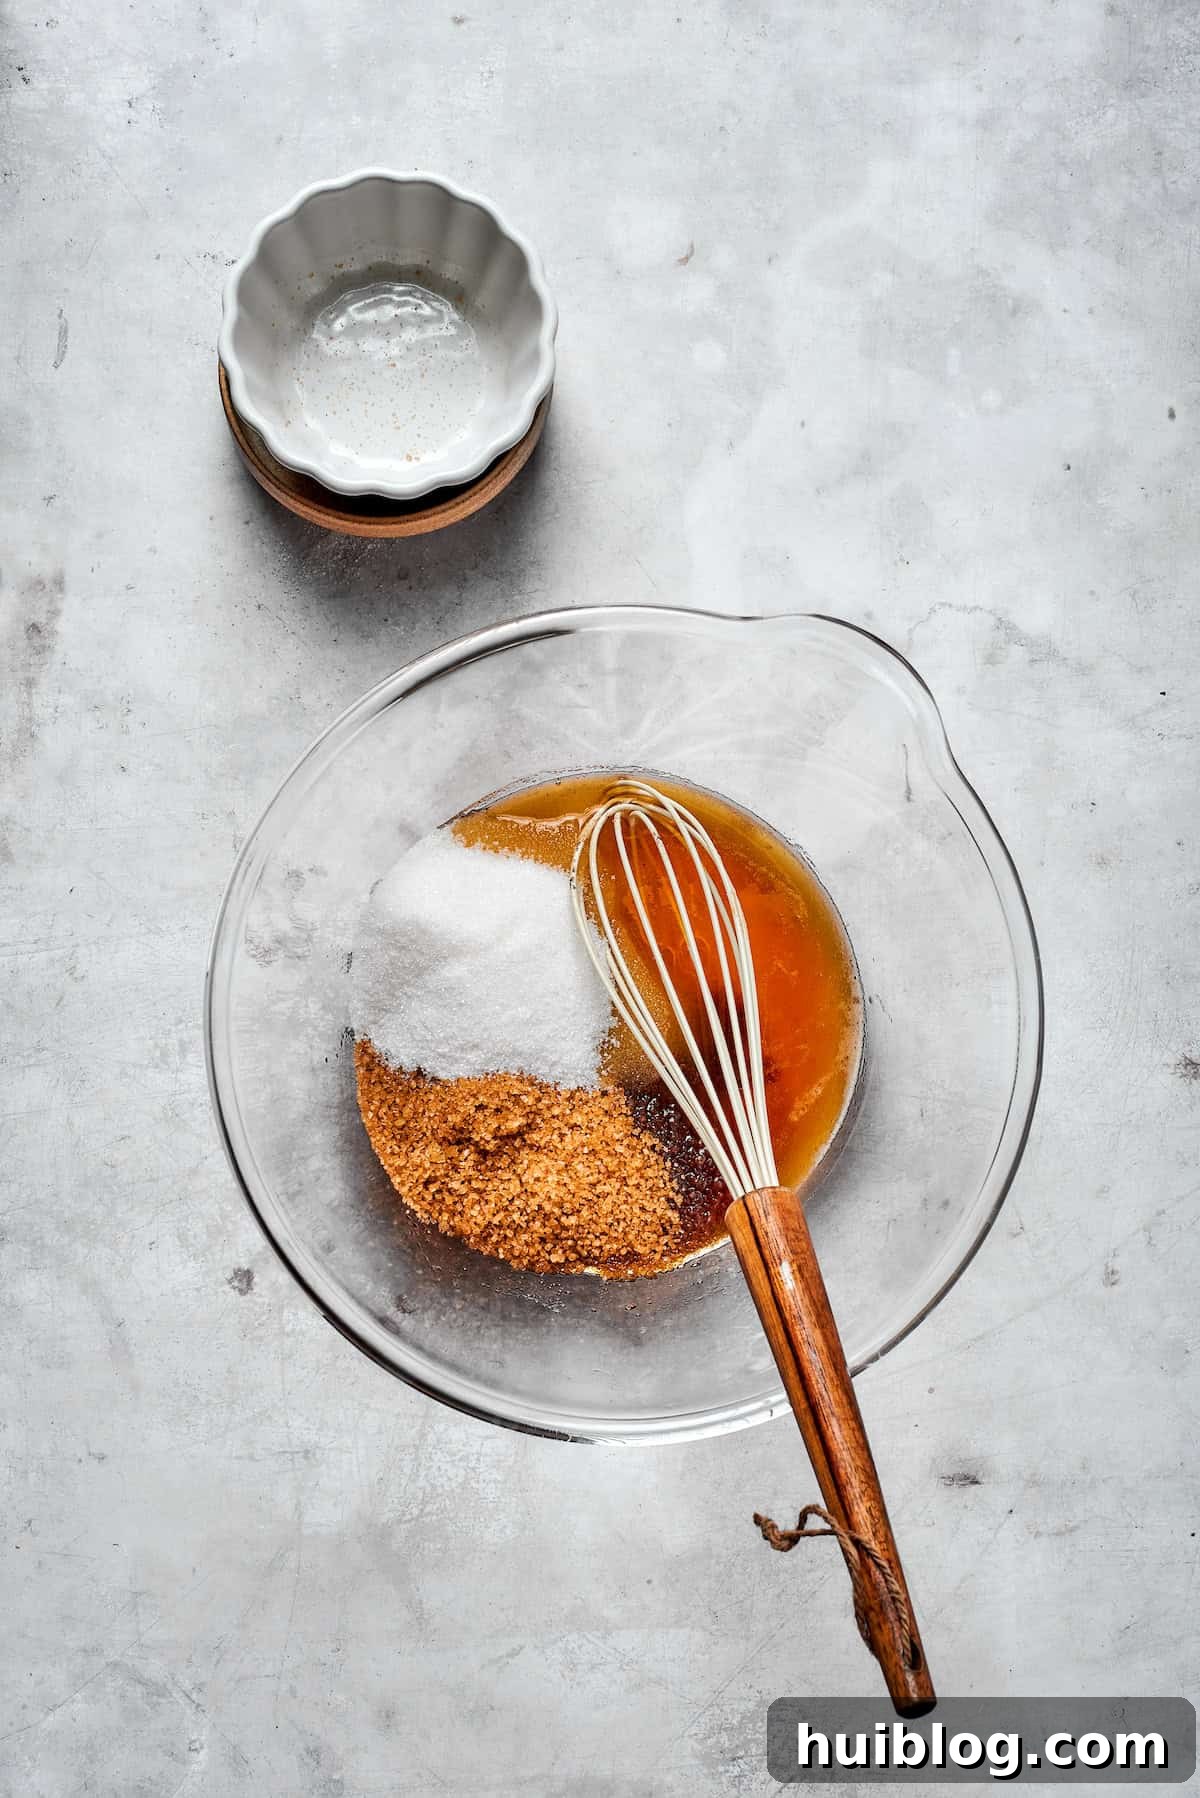
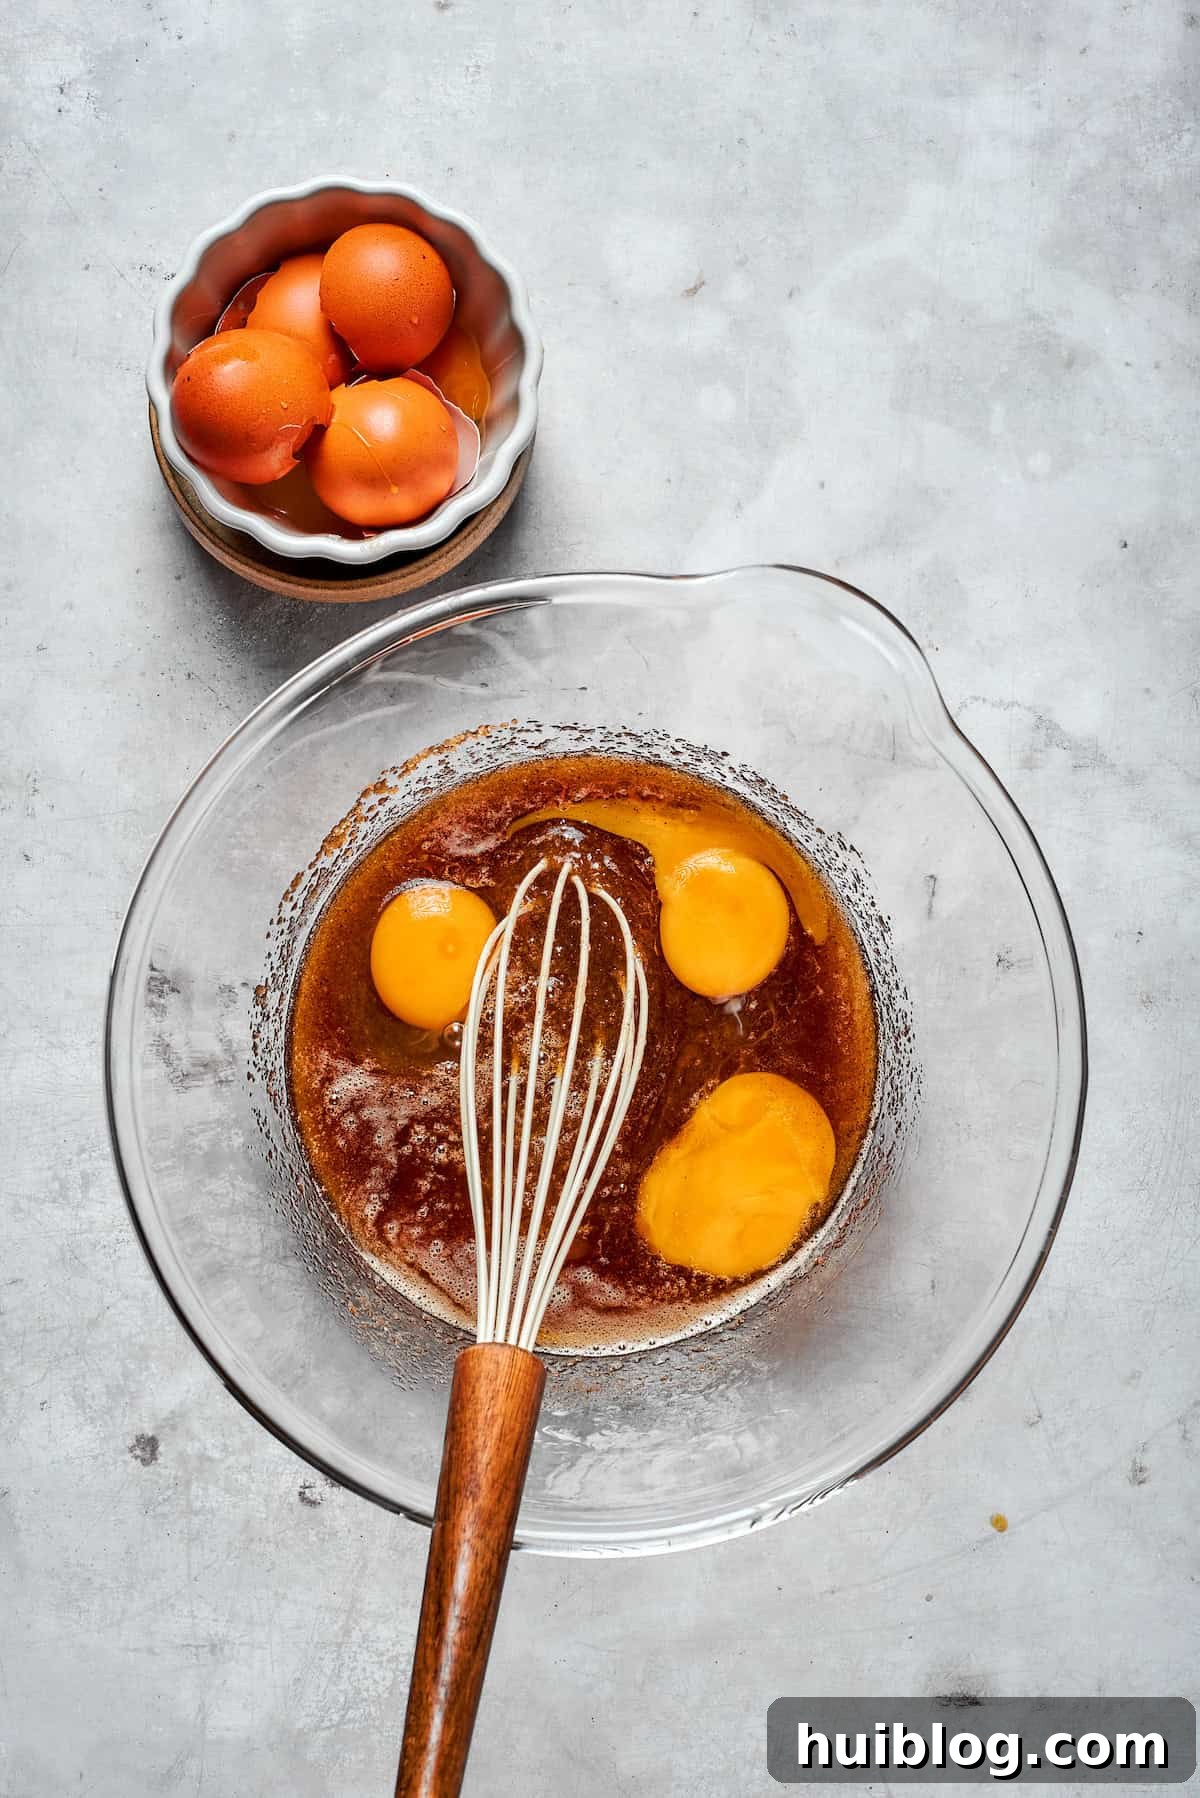

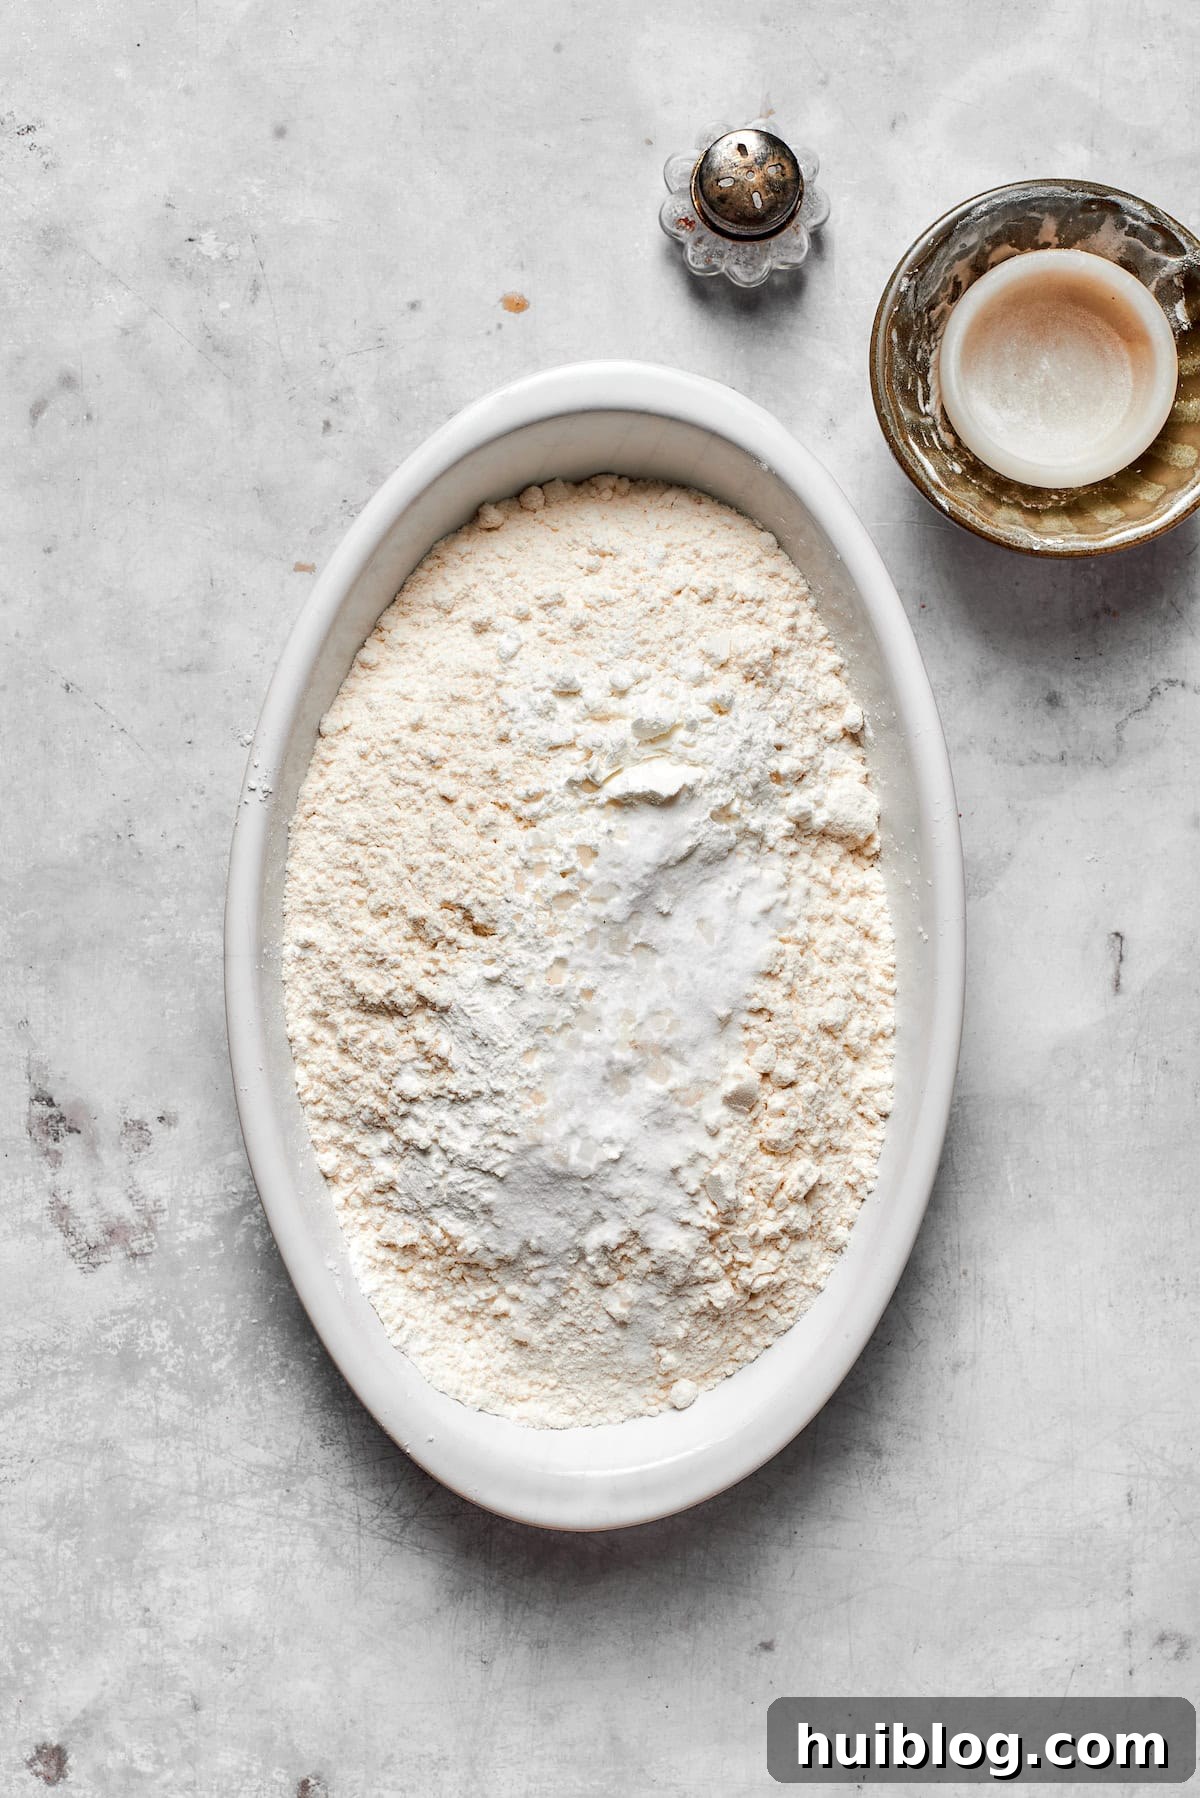
- Master the Brown Butter: In a medium saucepan, melt the unsalted butter over medium heat. Keep a close eye on it! The butter will foam, then the milk solids at the bottom will start to toast, turning from pale to a deep golden brown. This usually takes 4-7 minutes. Once it emits a nutty aroma and reaches a beautiful amber color, immediately remove it from the heat to prevent burning. Pour it into a heatproof bowl or measuring cup, scraping in all those delicious browned bits, and let it cool completely to room temperature. This cooling step is critical for proper dough consistency.
- Combine Sugars and Butter: Once the brown butter has cooled, transfer it to a large mixing bowl. Add both the granulated sugar and the packed dark brown sugar. Using a whisk, beat the mixture vigorously until it’s smooth, creamy, and well combined. This process incorporates air and dissolves some of the sugar, creating a fluffy base.
- Add Eggs and Vanilla: Whisk in the two large room-temperature eggs and the extra egg yolk one at a time, ensuring each is fully incorporated before adding the next. Stir in the pure vanilla extract. The mixture should be smooth and emulsified, without any separation.
- Prepare Dry Ingredients: In a separate, medium-sized bowl, whisk together the all-purpose flour, cornstarch, baking soda, and a pinch of fine sea salt. Whisking ensures these ingredients are evenly distributed, leading to uniform cookies.
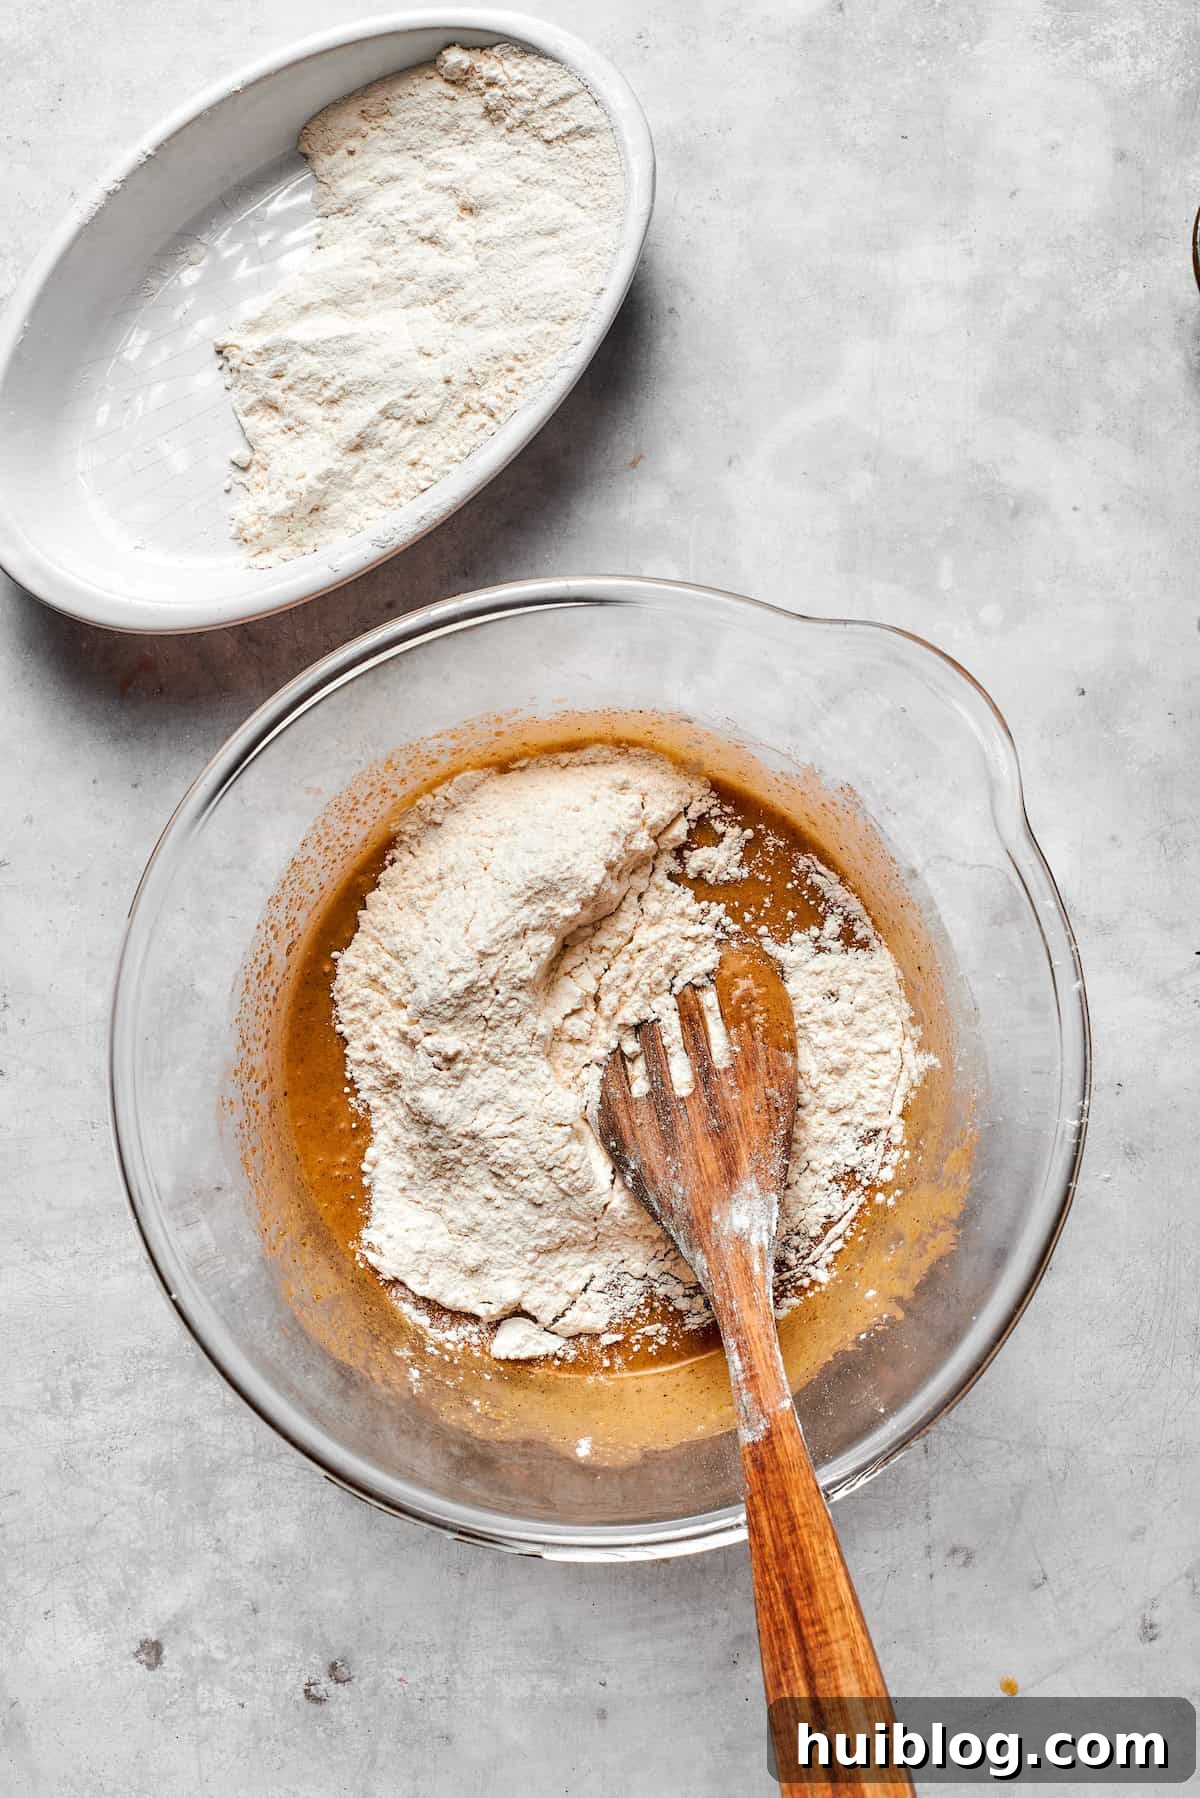
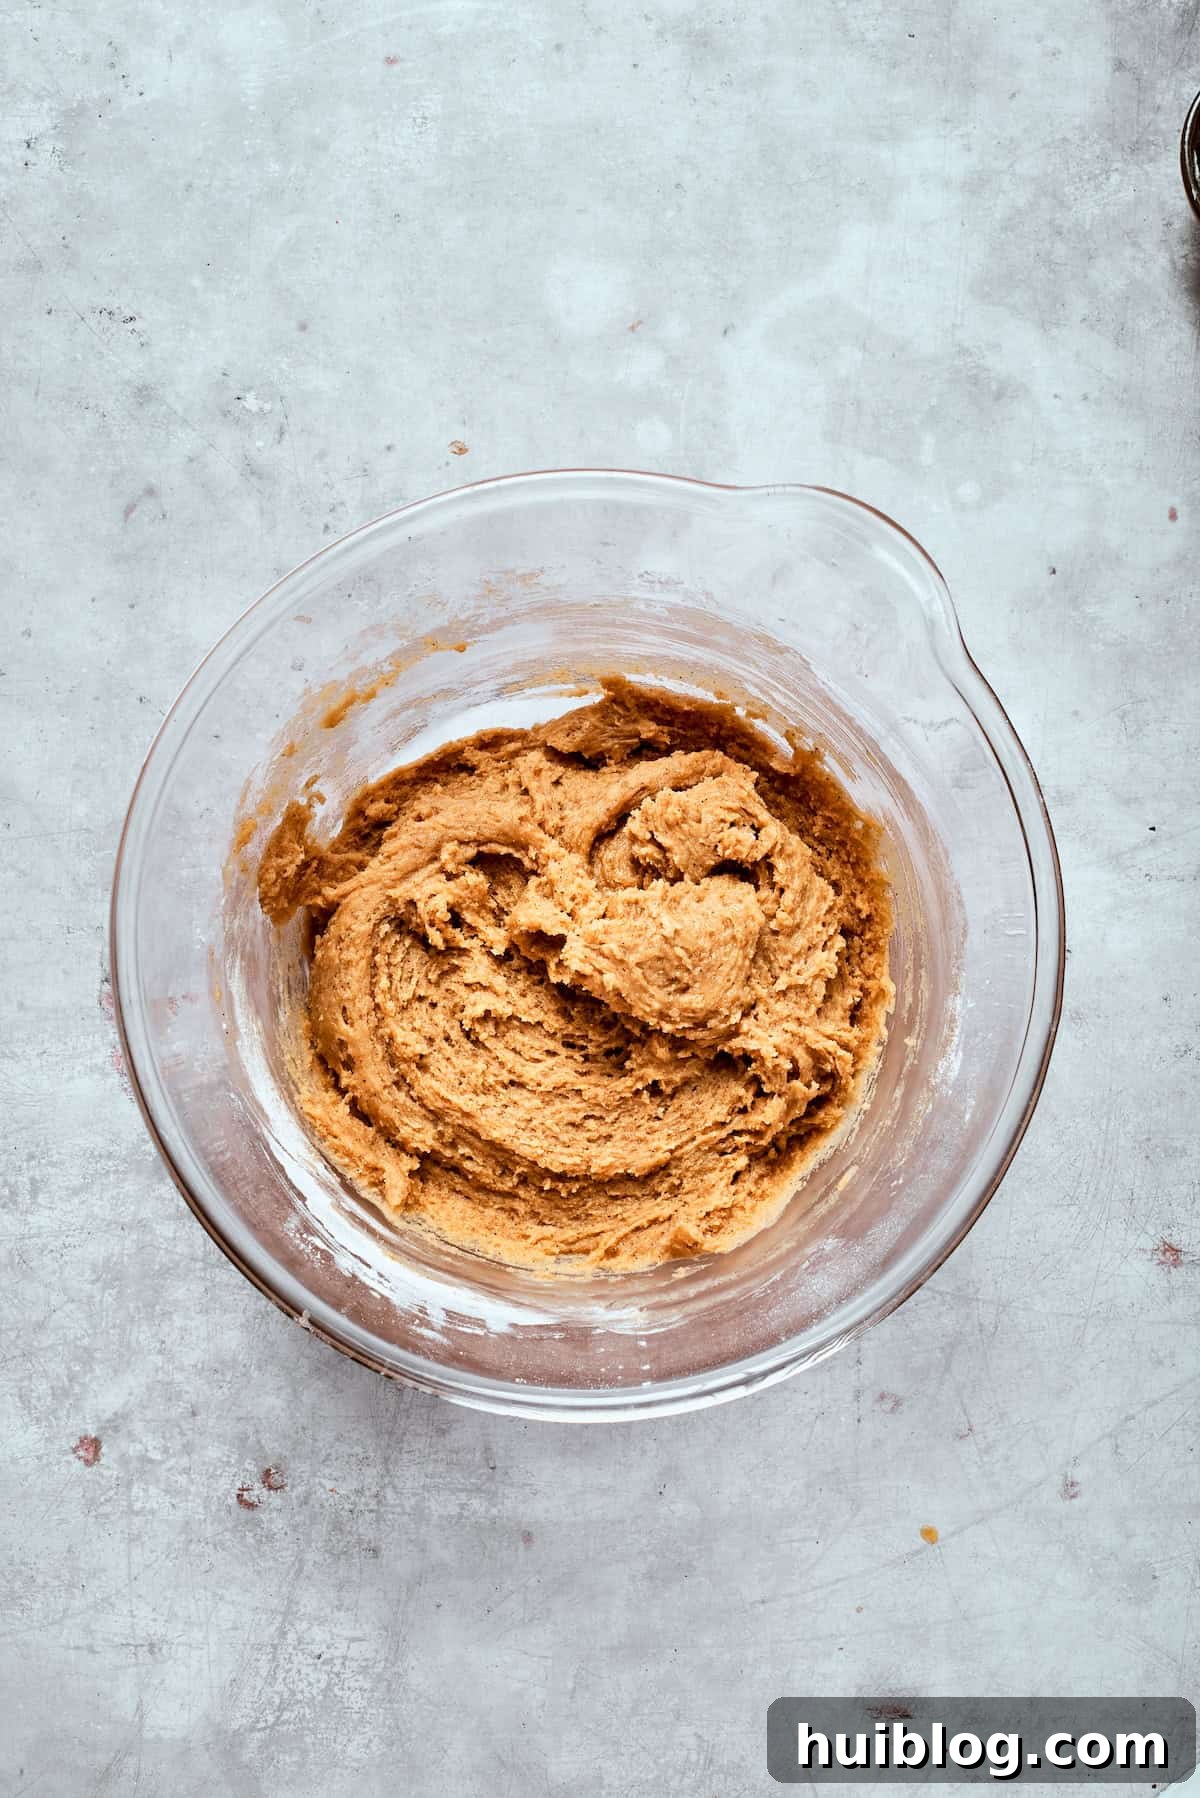
- Combine Wet and Dry Ingredients: Gradually add the whisked dry ingredients to the wet butter-sugar mixture. Stir gently with a spoon or spatula until just combined. Be careful not to overmix, as overworking the dough can develop the gluten too much, leading to tough cookies. The dough should be thick and slightly sticky.
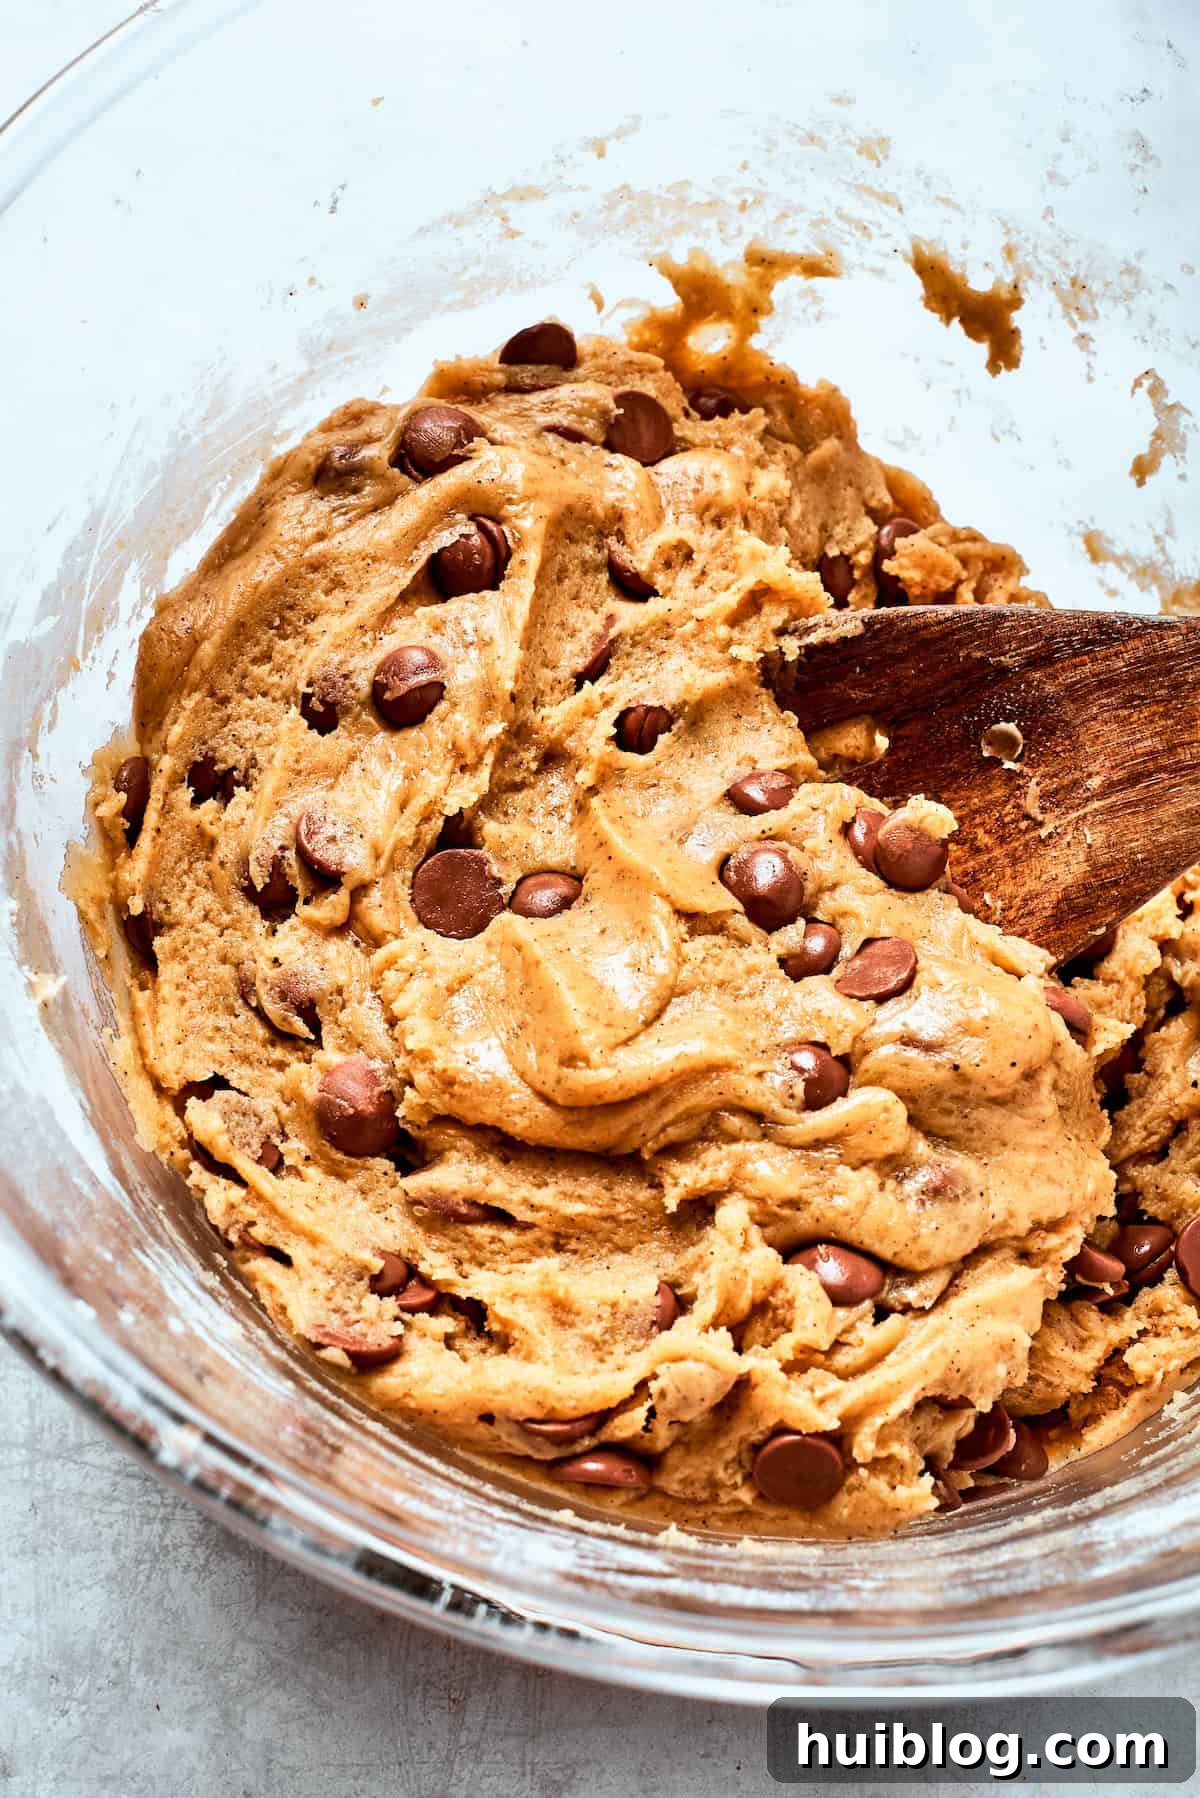
- Fold in Chocolate Chips & Chill: Once the dough is just combined, gently fold in the semi-sweet chocolate chips until they are evenly distributed throughout. This ensures every cookie has plenty of melty goodness. Now for a crucial step: cover the cookie dough with plastic wrap and chill it in the refrigerator for at least 30 minutes. This chilling period allows the flavors to meld, and more importantly, solidifies the butter, which prevents the cookies from spreading too much during baking, resulting in a thicker, chewier cookie.
- Prepare for Baking: Preheat your oven to 350°F (175°C). Line two baking sheets with parchment paper or silicone baking mats. This prevents sticking and ensures even baking and easy cleanup.
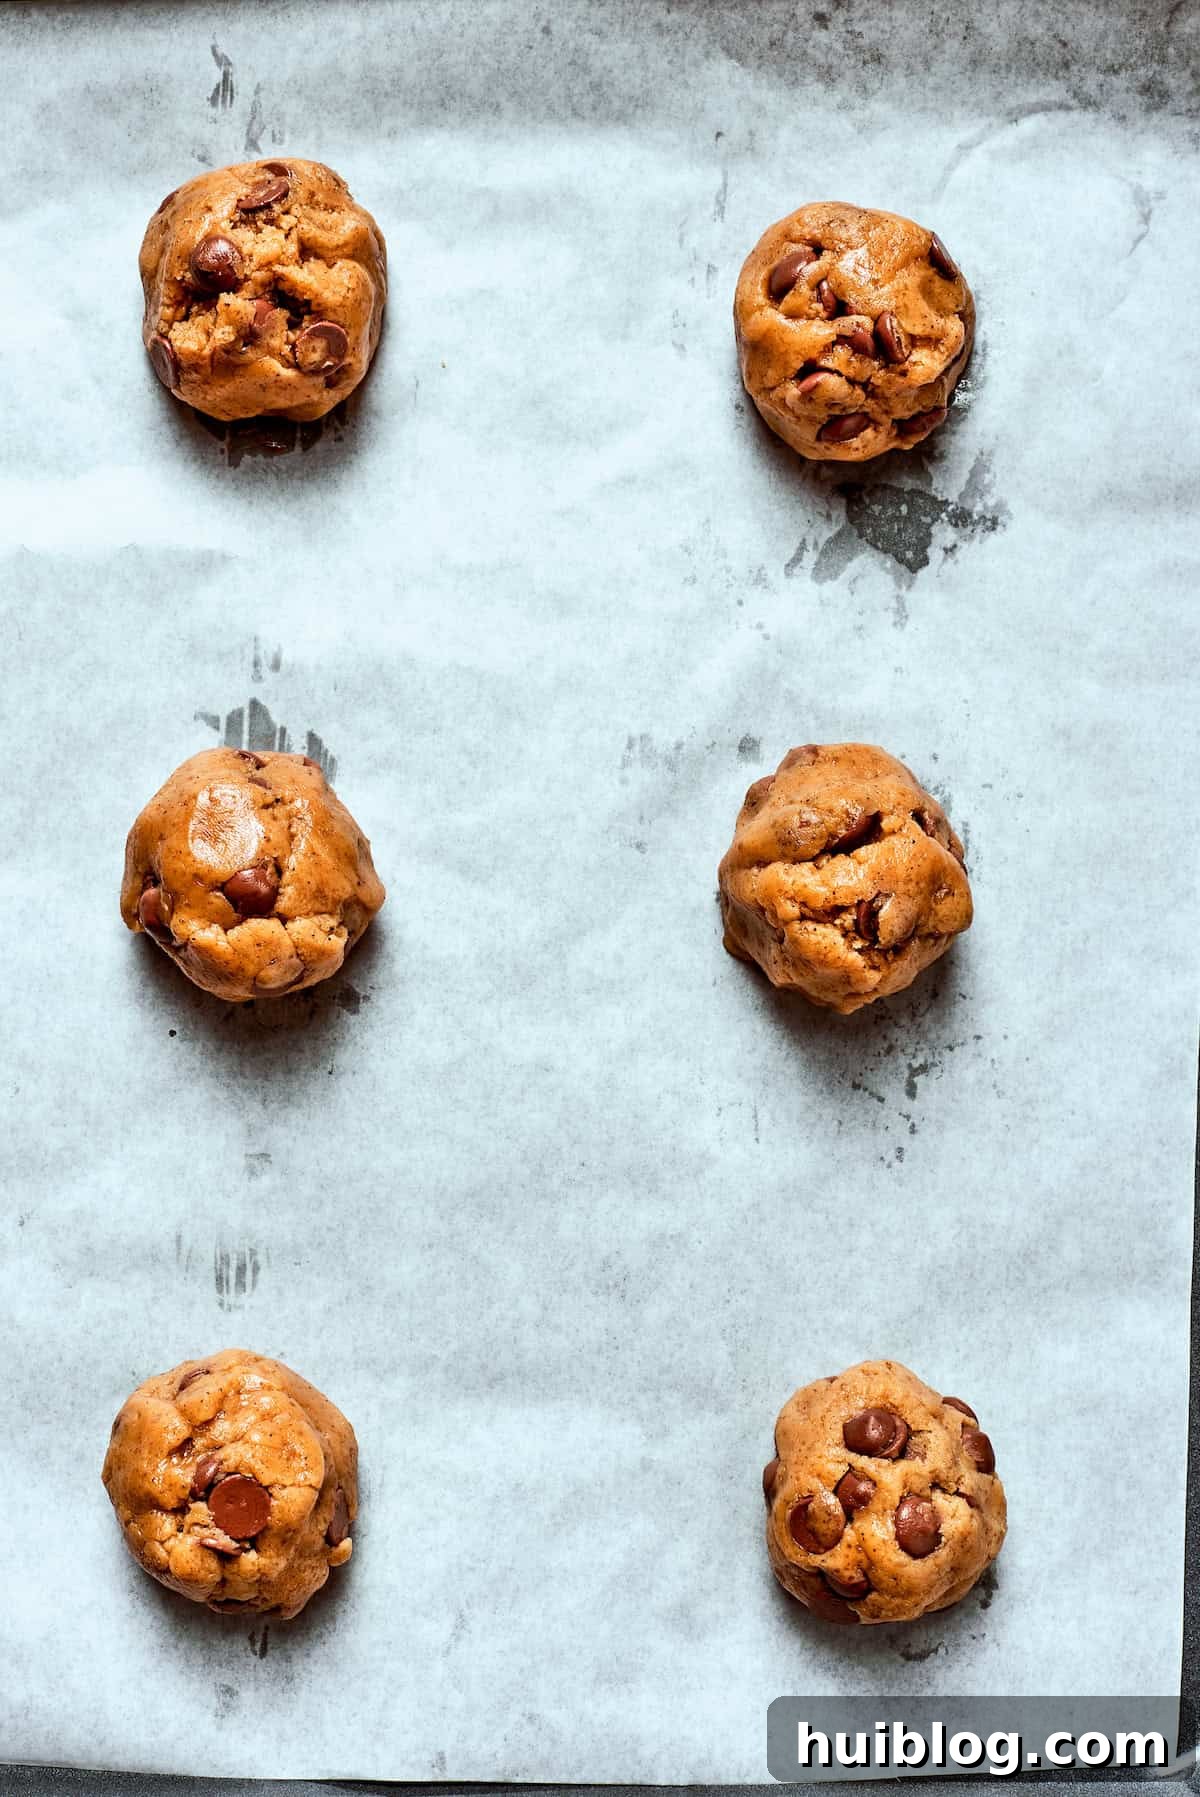
- Form the Cookies: Using a cookie scoop (about 1.5 to 2 tablespoons) or a regular tablespoon, portion out the chilled dough. Roll each scoop gently between your palms to form smooth, uniform balls. Place the dough balls onto the prepared baking sheets, leaving about 2 inches of space between each to allow for proper spreading.
- Bake to Perfection: Bake the cookies for 10-11 minutes, or until the edges are beautifully golden brown and the centers still appear slightly soft and gooey. Remember, cookies continue to bake slightly as they cool on the hot baking sheet, so avoiding over-baking is key to achieving that perfect chewy texture.
- The Finishing Touch: As soon as the cookies come out of the oven, and while they are still warm, sprinkle each one with a pinch of flaky sea salt (if using). This enhances the flavors beautifully. Let the cookies rest on the baking sheet for about 5 minutes before carefully transferring them to a wire rack to cool completely. Enjoy them warm for the best experience, with melty chocolate and a soft, inviting texture!
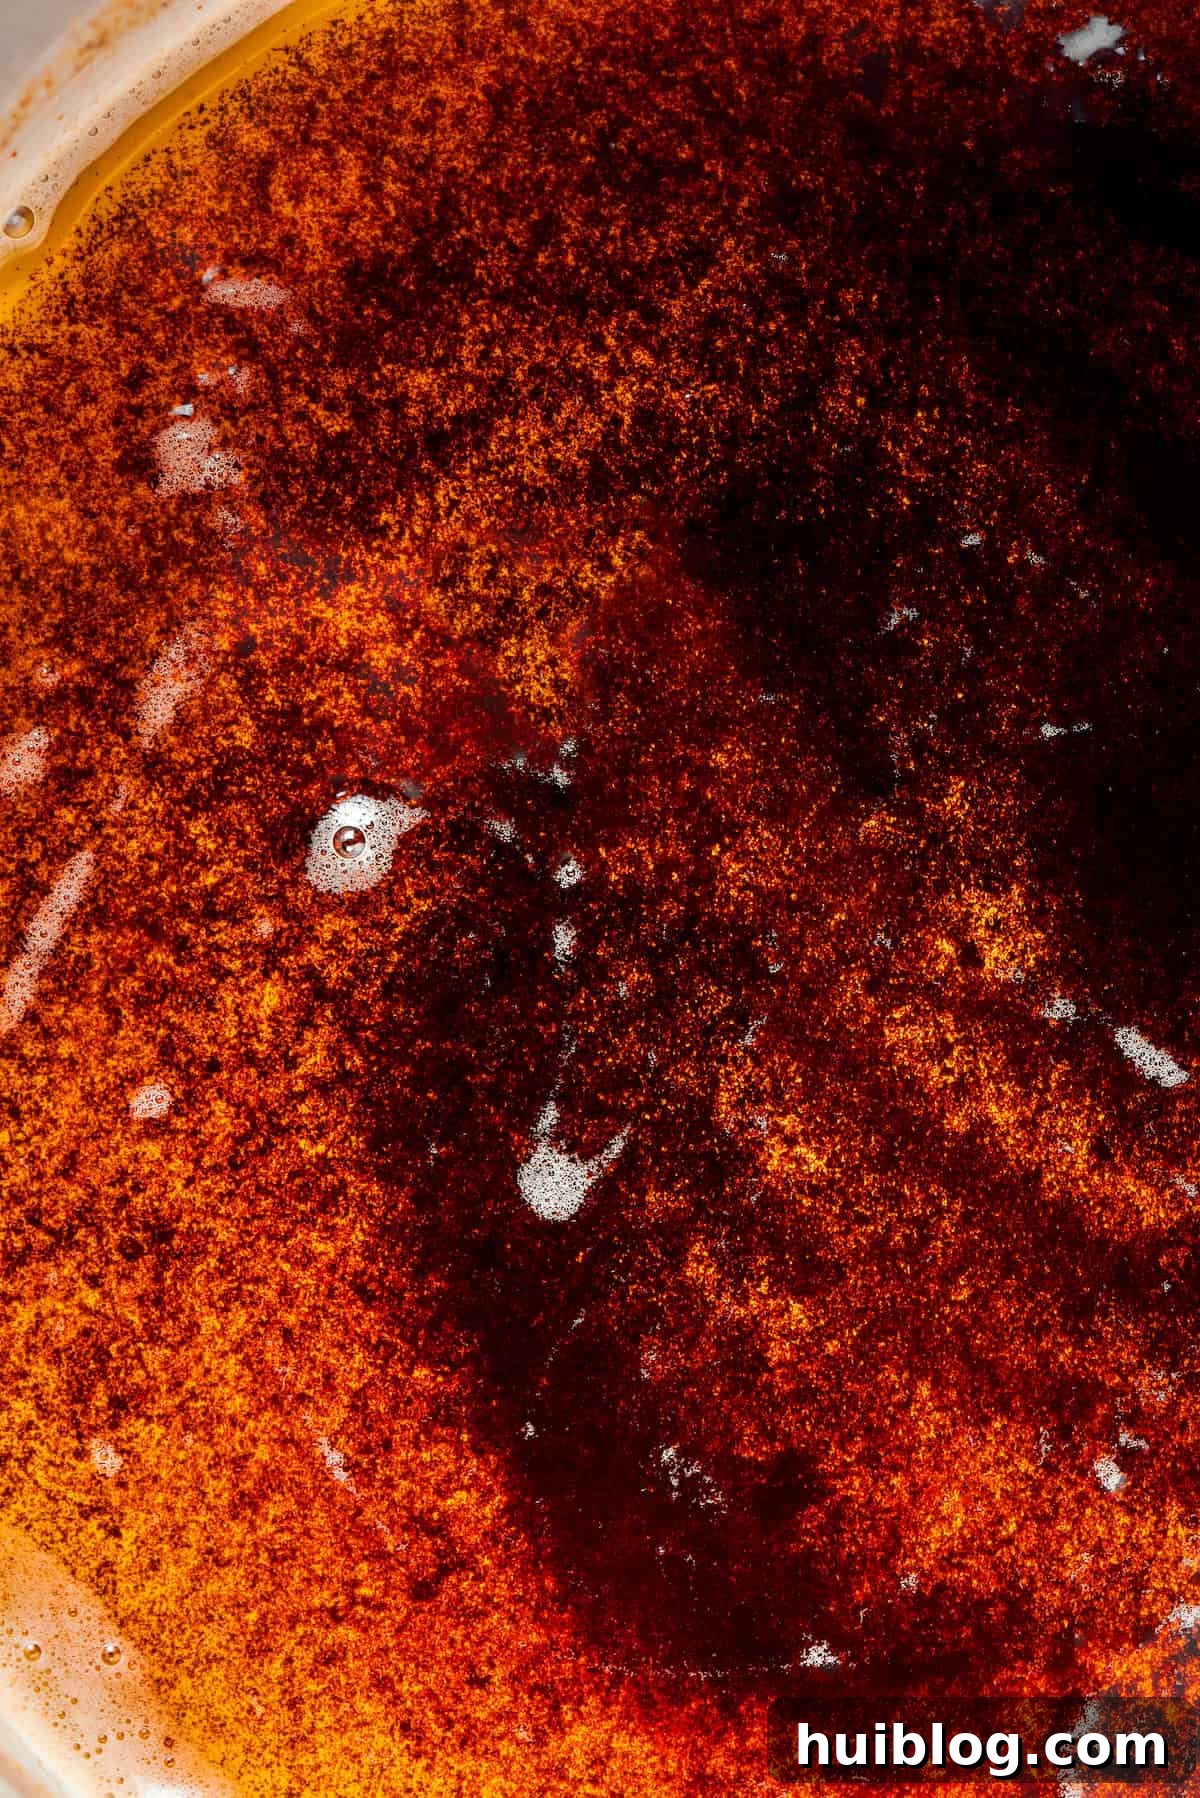
Mastering the Brown Butter Technique for Optimal Flavor
Browning butter might seem intimidating at first, but it’s a straightforward process that yields incredible flavor rewards. The main trick is attentive observation and timely action. Here’s how to perfect it:
- Watch Closely: Place unsalted butter in a light-colored saucepan (so you can easily see the color change) over medium heat. It will melt, then foam. Once the foam subsides a bit, you’ll see small milk solids at the bottom of the pan.
- Look and Listen for Cues: These solids will start to turn a light golden color, gradually deepening to amber. Simultaneously, the butter will begin to smell wonderfully nutty, like toasted hazelnuts. This nutty aroma, coupled with a rich caramel color, indicates that the butter is progressing beautifully.
- Act Swiftly to Prevent Burning: The transition from perfectly browned to burnt happens quickly, often in a matter of seconds. As soon as the milk solids reach a deep amber hue and the butter has a strong, nutty fragrance, immediately remove the pan from the heat. The residual heat will continue to cook it slightly, so moving it off the burner is crucial to stop the process. If it turns black or smells acrid, it’s burnt and should be discarded, as it will impart a bitter taste to your cookies.
- Swirl for Evenness: While the butter is cooking, gently swirl or shake the pan occasionally. This helps the butter cook evenly and prevents the milk solids from sticking and burning at the bottom of the pan, ensuring all those flavorful bits are incorporated into your final product.
- Cool Completely: After browning, transfer the butter (including all those precious browned bits!) to a heatproof bowl or measuring cup. Allow it to cool completely to room temperature. Using warm or hot butter in your dough will lead to a greasy, runny consistency and cookies that spread too much. Patience here ensures the best texture.
Expert Tips & Creative Variations for Your Brown Butter Chocolate Chip Cookies
Once you’ve mastered the basic recipe, feel free to get creative with these additional tips and exciting variations to make these brown butter chocolate chip cookies truly your own:
- Ensure Proper Chilling: The chilling step in the refrigerator (at least 30 minutes, but longer is fine!) is non-negotiable. It solidifies the browned butter, preventing your cookies from spreading too much during baking. This results in thicker, chewier cookies with a superior texture. For even better flavor development, you can chill the dough for up to 24-48 hours.
- When in Doubt, Toss It Out (Burnt Butter): If your butter accidentally cooks too long and burns (it will be very dark and smell acrid), do not use it. Burnt butter will impart a bitter, unpleasant taste to your cookies. It’s best to discard it and start fresh with a new batch of butter.
- Make a Double Batch for Future Cravings: This recipe doubles beautifully! Prepare a larger batch of dough and bake only what you need. For the rest, you can easily freeze it. Simply scoop the dough into balls, place them on a parchment-lined baking sheet, and freeze until solid. Once firm, transfer the frozen dough balls to a freezer-safe zip-top bag or airtight container, placing parchment paper between layers to prevent sticking. They can be stored in the freezer for up to 3 months. When you’re ready to bake, you can often bake them directly from frozen, adding a minute or two to the baking time.
- Irresistible Serving Suggestions: These cookies are undeniably best enjoyed warm, when the chocolate chips are still molten and gooey, and the cookie itself is wonderfully soft and chewy. They pair perfectly with a cold glass of milk, a scoop of vanilla bean ice cream, or, for a sophisticated treat, alongside a rich caffe macchiato or strong black coffee.
- Add a Nutty Crunch: For an extra layer of texture and flavor, try folding in 1 to 2 cups of chopped walnuts, pecans, or even macadamia nuts to the cookie dough along with the chocolate chips. The toasted nuts complement the nutty notes of the brown butter beautifully.
- Explore Different Chocolate Options: While semi-sweet chocolate chips are a classic choice, feel free to experiment. You can use milk chocolate chips for a sweeter cookie, dark chocolate chips (60-70% cacao) for a more intense chocolate flavor, or even a mix of different chocolates. Chopping up a high-quality chocolate bar into chunks or using chocolate wafers will create beautiful pools of melted chocolate throughout the cookies. White chocolate chips can also be a delightful alternative for a different flavor profile.
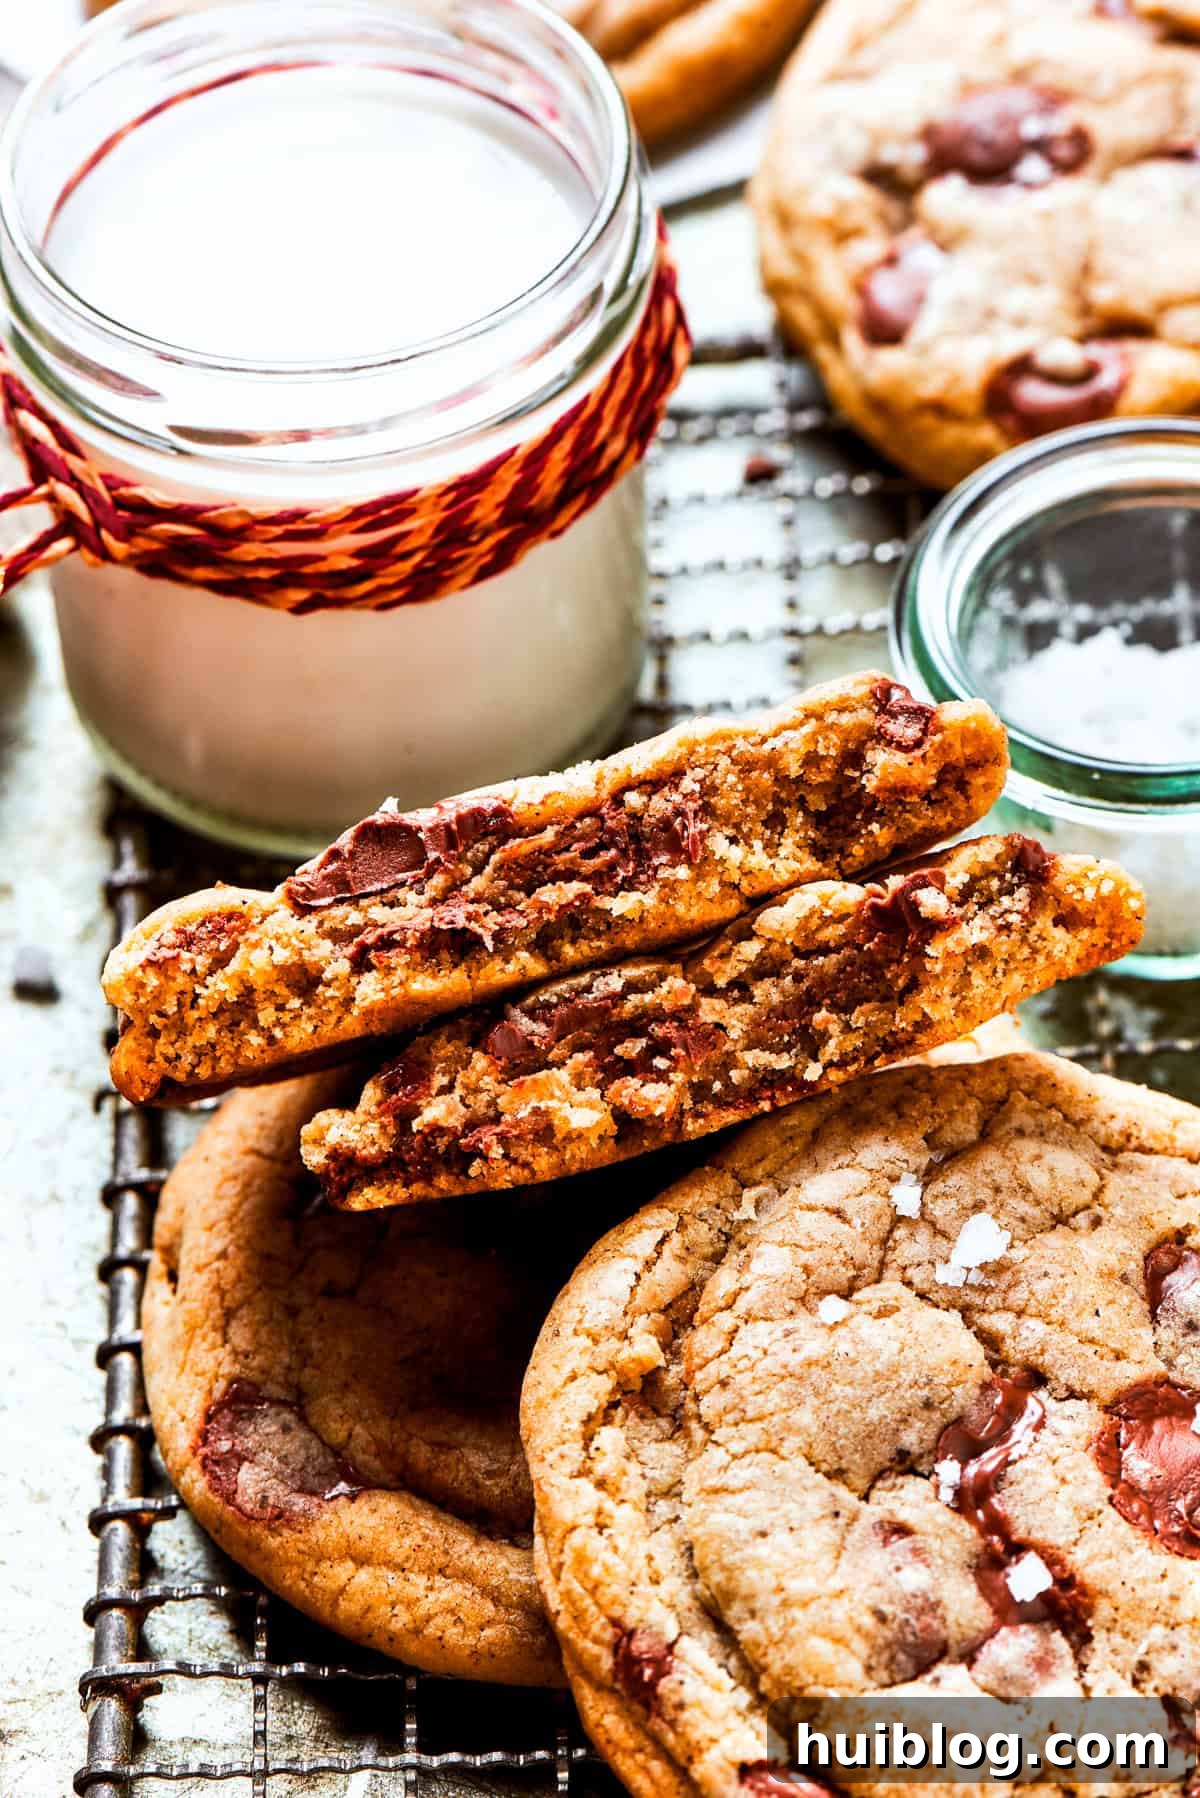
Storage Solutions for Your Delicious Brown Butter Chocolate Chip Cookies
While these cookies are notoriously difficult to resist, if you happen to have any leftovers, here’s how to properly store them to maintain their freshness and deliciousness:
- Countertop Storage: For immediate enjoyment, place your cooled cookies in an airtight container at room temperature. They will remain fresh and delightful for up to 3 days. To restore some of their initial warmth and chewiness, you can briefly microwave them for 10-15 seconds before serving.
- Refrigeration: If you need to extend their freshness a bit longer, store the cookies in their airtight container in the refrigerator for up to 5 days. Chilling can make them a bit firmer, but warming them slightly will bring back their soft texture.
- Freezer Storage for Longer Freshness: For optimal long-term storage, transfer completely cooled cookies to a freezer-safe zip-top bag or an airtight container, separating layers with parchment paper to prevent sticking. They can be stored in the freezer for up to 3 months. When you’re ready to enjoy them, simply defrost the cookies in the refrigerator overnight, or on the counter for a few hours. For that fresh-baked taste, you can pop them into a preheated oven at 300°F (150°C) for 5-7 minutes, or until warmed through.
Explore More Cookie Adventures
If you’ve loved these brown butter chocolate chip cookies, you’ll surely enjoy experimenting with other delightful cookie recipes. Here are a few more to add to your baking repertoire, each offering a unique and delicious experience:
- Anginetti Cookies: A classic Italian lemon-glazed cookie, light and delicate.
- Christmas Cake Mix Cookies: Incredibly easy and festive cookies perfect for the holidays.
- Homemade Butter Cookies: Rich, buttery, and melt-in-your-mouth tender, a simple yet elegant treat.
- Red Velvet Crinkle Cookies: Beautifully vibrant and wonderfully soft with a lovely crinkled powdered sugar coating.
Brown Butter Chocolate Chip Cookies
Katerina | Easy Weeknight Recipes
20 minutes
12 minutes
10 minutes
42 minutes
24
cookies
Ingredients
-
1
cup
unsalted butter -
½
cup
granulated sugar -
1
cup
packed dark brown sugar -
2
large
eggs,
at room temperature -
1
egg yolk,
at room temperature -
1
teaspoon
pure vanilla extract -
2½
cups
all-purpose flour -
2
teaspoons
cornstarch -
1
teaspoon
baking soda -
pinch
of sea salt -
2
cups
semi-sweet chocolate chips
-
flaky sea salt
,
for finishing
Instructions
-
Melt the butter. Place 2 sticks of unsalted butter in a medium saucepan over medium heat. Once the butter melts, begin whisking occasionally. After a few minutes, the butter will start to foam. This process can take about 4-7 minutes.
-
Brown the butter. Once the foam forms, whisk continuously, as it becomes harder to see what is happening underneath the surface. As the butter continues to cook, the milk solids will sink to the bottom of the pan. At first, these solids will be pale, but within a minute or two, they will begin to toast and turn golden brown.
-
Continue to brown the butter. Stir continuously to prevent the solids from burning. The butter is ready when the solids reach a deep amber color and the butter gives off a rich, nutty aroma. At this point, remove the butter from the heat to prevent burning.
-
Cool the butter. Carefully pour the butter into a glass measuring cup or heatproof jar, making sure to scrape in all the browned bits from the bottom of the pan. These toasted bits add depth to the flavor. Let it cool to room temperature.
-
Mix the sugars and butter. In a large mixing bowl, combine the cooled brown butter with white granulated sugar and packed dark brown sugar. Use an electric mixer or whisk to beat the mixture until smooth and creamy.
-
Add the eggs. Add two whole eggs and one egg yolk, plus the vanilla extract. Mix well until fully incorporated.
-
Combine the dry ingredients. In a separate bowl, whisk together all-purpose flour, cornstarch, baking soda, and sea salt.
-
Combine the dry and wet ingredients. Gradually add dry ingredients to the wet mixture, stirring with a whisker until just combined. Be careful not to overmix, as this could make the cookies tough. The dough will be thick and slightly sticky.
-
Add chocolate. Gently fold in 2 cups of semi-sweet chocolate chips, making sure they are evenly distributed throughout the dough.
-
Chill the dough. Cover the cookie dough with plastic wrap and chill it in the refrigerator for at least 30 minutes. This step helps solidify the butter, ensuring the cookies don’t spread too much during baking.
-
Prep the oven. Preheat the oven to 350°F. Line two baking sheets with parchment paper to prevent sticking.
-
Shape the cookie dough balls. Use a cookie scoop or tablespoon to portion the dough, rolling each scoop into a ball. Place the dough balls on the prepared baking sheets, leaving about 2 inches of space between them to allow for spreading.
-
Bake. Bake the cookies for 10-11 minutes, or until the edges are golden brown and the centers are still soft. They will continue to set as they cool. Avoid over baking to keep the cookies chewy.
-
Remove from oven and cool. As soon as the cookies come out of the oven, sprinkle each one with a pinch of flaky sea salt to enhance the flavors. Let the cookies rest on the baking sheet for 5 minutes before transferring them to a wire rack to cool completely.
Equipment
-
Baking Sheets
Nutrition
Calories:
259
kcal
|
Carbohydrates:
31
g
|
Protein:
3
g
|
Fat:
14
g
|
Saturated Fat:
8
g
|
Polyunsaturated Fat:
1
g
|
Monounsaturated Fat:
4
g
|
Trans Fat:
0.3
g
|
Cholesterol:
35
mg
|
Sodium:
56
mg
|
Potassium:
119
mg
|
Fiber:
2
g
|
Sugar:
19
g
|
Vitamin A:
264
IU
|
Calcium:
23
mg
|
Iron:
2
mg
Nutritional info is an estimate and provided as courtesy. Values may vary according to the ingredients and tools used. Please use your preferred nutritional calculator for more detailed info.
Did you make a recipe? Leave a rating