
The Ultimate Guide to Easy Homemade Flaky Buttermilk Biscuits
Mastering Tender, Flaky, Homemade Biscuits: A Culinary Essential
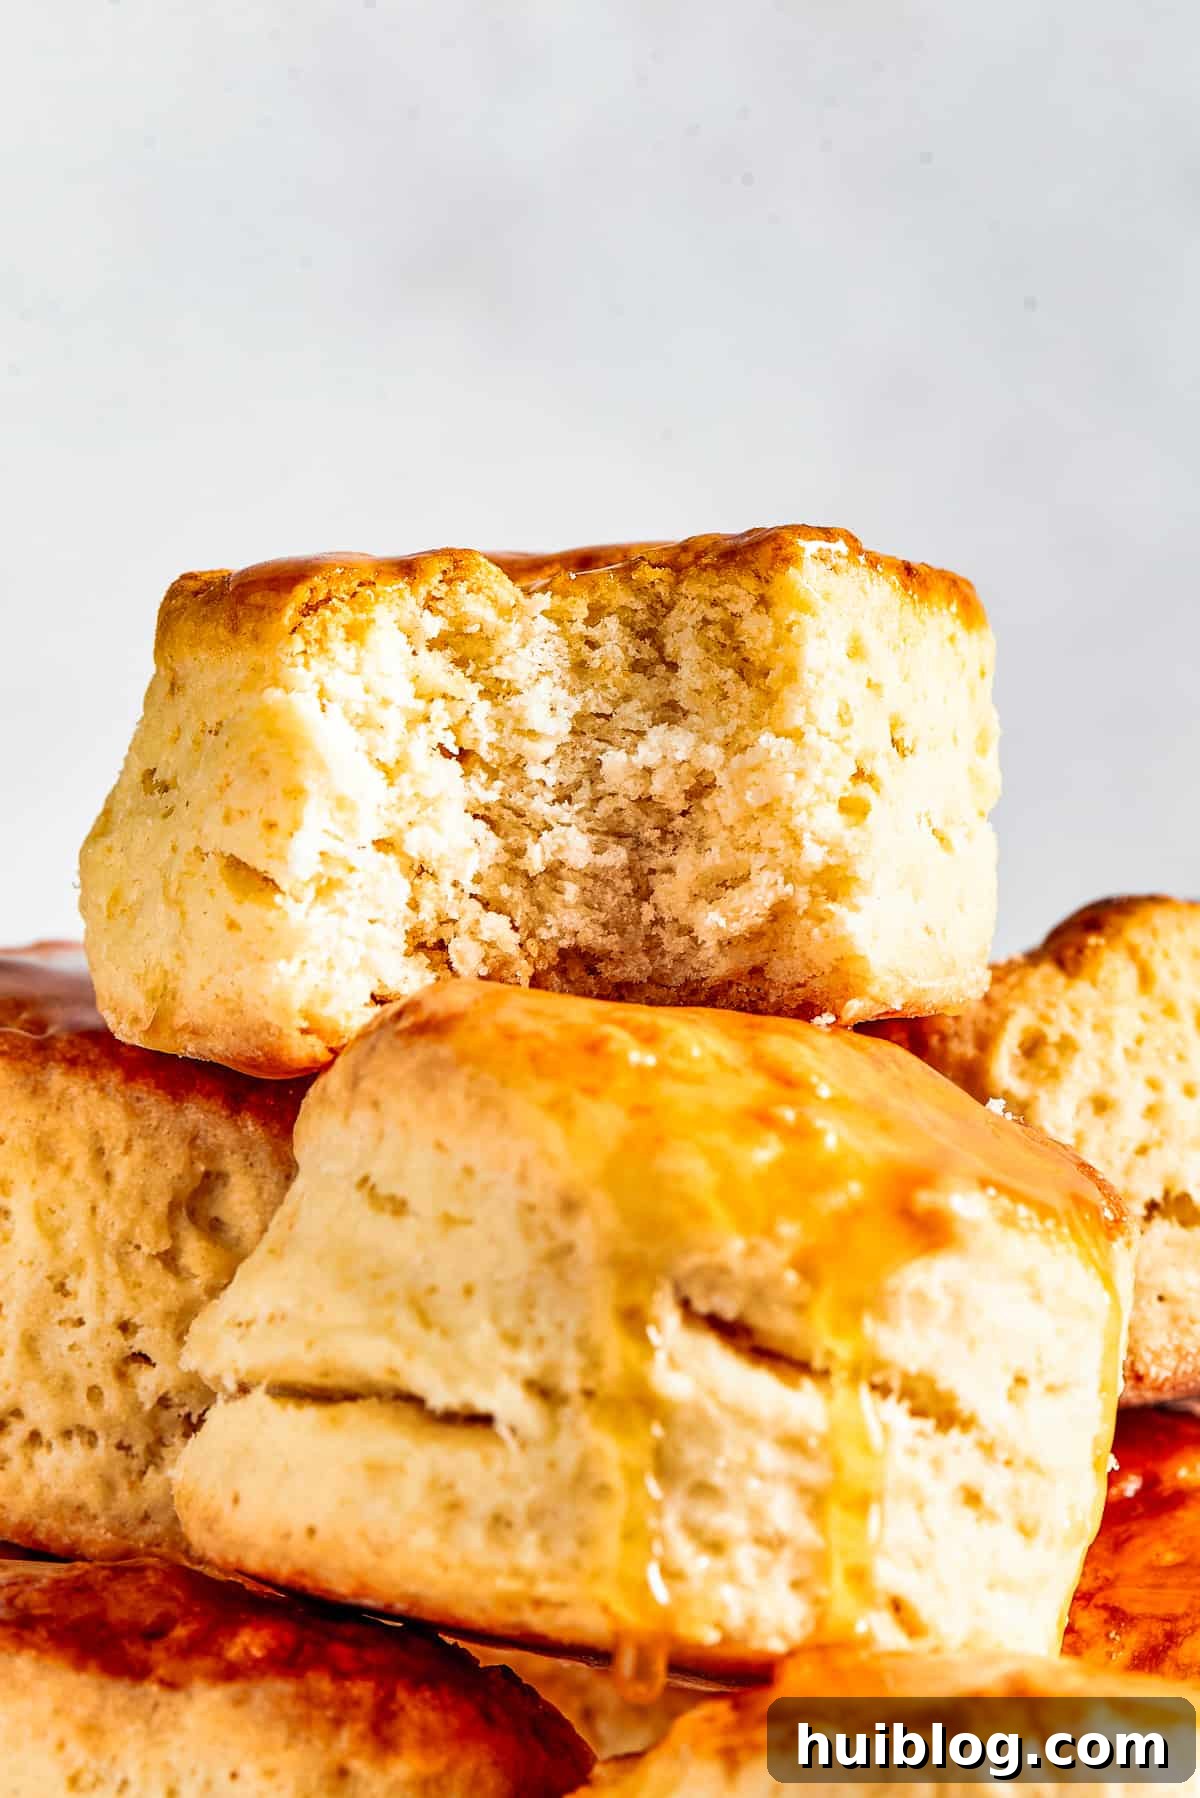
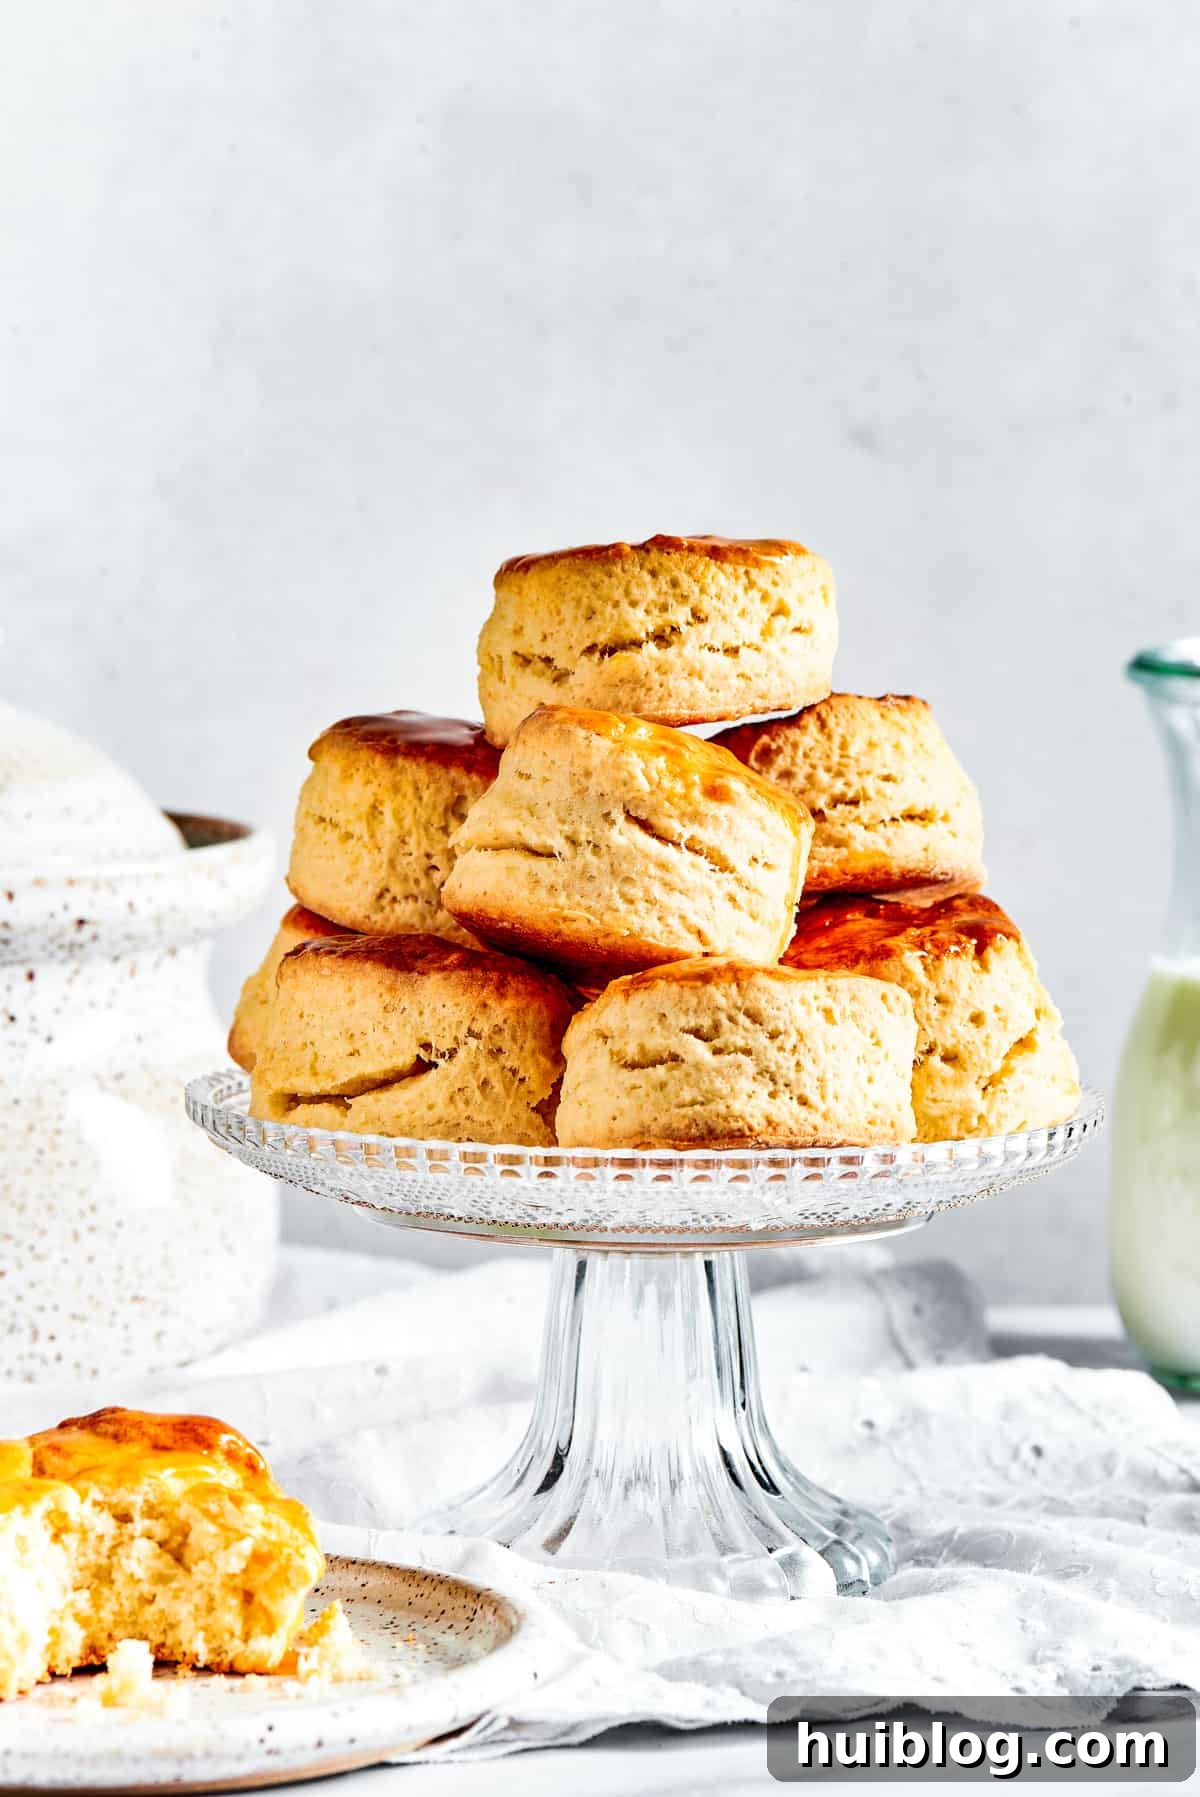
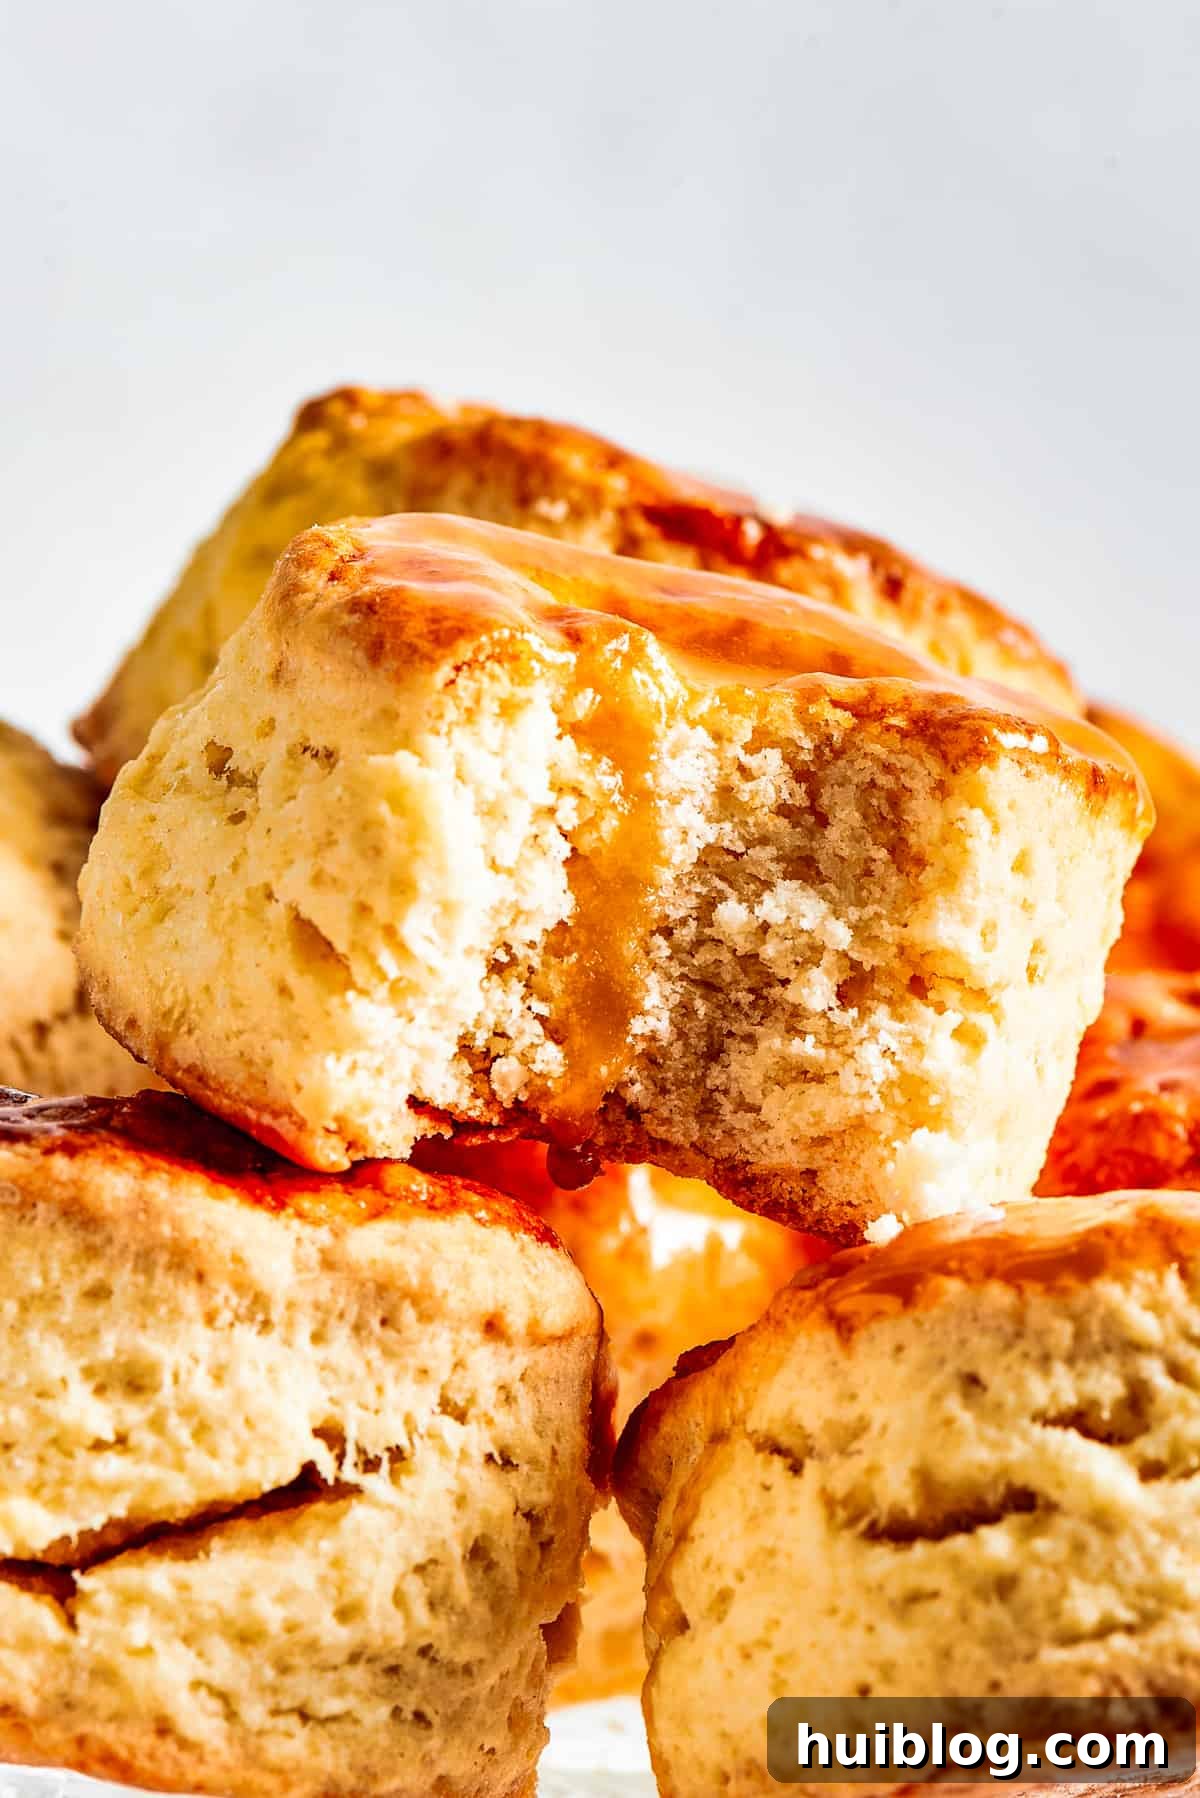
There’s an undeniable charm and comforting appeal to a batch of freshly baked homemade biscuits. These golden-brown delights, with their towering layers and melt-in-your-mouth texture, transcend the ordinary side dish, offering a truly special experience. Whether you’re seeking a classic breakfast companion, a savory accompaniment for your favorite stew, or a delightful canvas for a dollop of butter and a spoonful of jam, our easy homemade biscuit recipe guarantees perfection every single time. Say goodbye to reliance on store-bought mixes and intimidating baking techniques – we’re here to guide you through crafting light-as-air, richly buttery, subtly sweet, and perfectly salty biscuits that will earn enthusiastic cheers from your family and friends.
For many, the thought of baking biscuits from scratch can feel a little daunting. However, it’s a surprisingly simple and rewarding endeavor, especially when equipped with the right insights. This comprehensive guide aims to demystify the entire process, sharing essential tips and proven techniques to ensure your biscuits achieve magnificent height, develop that coveted flaky interior, and deliver an unparalleled taste. Prepare to transform humble pantry staples into a culinary masterpiece that effortlessly elevates any meal, from a leisurely Sunday brunch to an elaborate holiday feast.
Why Bake Your Own Biscuits? Unmatched Flavor & Freshness
Opting to bake your own biscuits over purchasing pre-made versions offers a myriad of advantages that extend far beyond mere convenience. Here’s a closer look at why mastering this straightforward recipe can be a game-changer for any home cook:
- Superior Flavor and Texture: Commercially produced biscuits simply cannot replicate the incredible aroma, the rich buttery taste, and the delicate, flaky texture of a batch baked fresh in your own kitchen. By controlling the quality of each ingredient, you ensure a far more profound flavor profile and a truly melt-in-your-mouth sensation.
- Remarkable Cost-Effectiveness: Biscuits are fundamentally made from basic, inexpensive ingredients like flour, butter, and buttermilk. Crafting them at home is significantly more economical than consistently buying pre-packaged alternatives, particularly when you’re preparing for a larger gathering or simply enjoying them regularly.
- Limitless Customization Potential: This recipe serves as an excellent foundation for creativity. Do you prefer a hint more sweetness? A subtle spicy kick with a pinch of cayenne? Or perhaps the aromatic touch of fresh herbs? Homemade biscuits allow for endless customization to perfectly suit your palate and the meal you’re serving, adapting flawlessly to any craving or occasion.
- The Sheer Joy of Baking: There’s immense satisfaction derived from creating something utterly delicious from scratch. The entire process, from the tactile pleasure of mixing the dough to the delightful anticipation of watching them rise golden in the oven, is a deeply rewarding experience. It fills your kitchen with an inviting, homey aroma and your heart with a sense of accomplishment.
- Control Over Ingredients: When you bake at home, you have complete oversight of what goes into your food. This allows you to avoid unwanted preservatives, artificial flavors, and excessive sodium levels that are often found in many commercially produced baked goods, offering a healthier option for your family.
This recipe eloquently demonstrates that achieving incredible flavor and premium quality doesn’t necessitate complex techniques or exotic ingredients. Get ready to impress yourself and all your loved ones with these unbelievably easy, utterly delicious, and delightful homemade biscuits!
Essential Ingredients for Perfect Flaky Biscuits
Our classic biscuit recipe elegantly relies on a concise list of simple, wholesome ingredients, most of which you likely already keep stocked in your pantry and fridge. This makes it incredibly convenient for those spontaneous baking urges. The true artistry lies not merely in the ingredients themselves, but in their quality and meticulous handling. Here’s a breakdown of what you’ll need to create your unforgettable batch:
For the Unforgettable Homemade Biscuits:
- All-Purpose Flour: This forms the essential structure of our biscuits. You’ll need approximately 2½ cups for the dough itself, plus a small amount extra for lightly dusting your work surface and biscuit cutter to ensure no sticky situations. Utilizing fresh flour is key for optimal rise and a tender texture.
- Granulated Sugar: While entirely optional, adding two tablespoons of granulated sugar imparts a subtle yet delightful sweetness. This gentle touch beautifully balances the savory notes from the butter and salt, and also contributes to achieving that desirable golden-brown crust. Feel empowered to adjust the quantity or omit it entirely if you prefer a purely savory biscuit.
- Baking Powder: Serving as your primary leavening agent, baking powder is directly responsible for those magnificent high rises and airy, open crumb interiors. It is crucial to ensure your baking powder is fresh and active for the best possible results; expired baking powder can regrettably lead to flat, dense, and uninspiring biscuits.
- Sea Salt: A non-negotiable ingredient that elevates and balances all the other flavors. We suggest starting with ½ to 1 teaspoon, which can be adjusted precisely to your personal taste preference. If you opt for salted butter, you may wish to slightly reduce the initial salt amount in the recipe.
- Cold Unsalted Butter: This is arguably the ultimate secret weapon for achieving truly flaky biscuits! We call for ½ cup of unsalted butter, meticulously cut into small cubes. It is absolutely imperative that the butter remains very cold. As these tiny, solid pieces of cold butter encounter the intense heat of the oven, they create pockets of steam that effectively push apart the layers of dough, resulting in those coveted, distinct, and tender flakes. Using unsalted butter grants you superior control over the overall saltiness of your finished biscuits.
- Cold Buttermilk: Buttermilk is indispensable for achieving wonderfully tender biscuits. Its inherent acidity reacts synergistically with the baking powder, providing an additional boost of lift and significantly contributing to a soft, delicate crumb structure. Just as with the butter, it is vital to ensure your buttermilk is thoroughly chilled.
- Egg or Milk for Glaze: A single, lightly beaten egg, or even just a splash of regular milk, gently brushed over the tops of your biscuit rounds before baking, will bestow upon them a beautiful, inviting golden sheen and a subtly crispier, more appealing exterior.
For the Optional Decadent Maple Glaze:
To further elevate your warm biscuits into an even more indulgent treat, consider this simple yet luscious glaze:
- Maple Syrup: 3 tablespoons of pure maple syrup will provide a natural, rich, and deep sweetness. Honey can also be used as a delicious alternative.
- Butter: 1 tablespoon of butter (you can choose salted or unsalted based on your preference) is added to enrich the glaze and impart a beautiful shine.
Baking the Best Homemade Buttermilk Biscuits: Step-by-Step Guide
Ready to embark on the delightful journey of transforming these simple ingredients into warm, fluffy, and undeniably delicious biscuits? Follow these straightforward and expertly guided steps for a perfect batch that will impress every time:
- Prepare Your Oven, Baking Sheet, and Dry Ingredients: Begin by preheating your oven to a robust 450°F (230°C). This high temperature is key for a quick rise. Next, line a large baking sheet with parchment paper; this prevents sticking and ensures even browning. Set it aside for later. In a spacious mixing bowl, vigorously whisk together the 2½ cups of all-purpose flour, 1½ teaspoons of baking powder, 2 tablespoons of granulated sugar (if incorporating), and ½ to 1 teaspoon of sea salt. This initial step is crucial for thoroughly combining all dry ingredients and ensuring they are uniformly distributed throughout your dough.
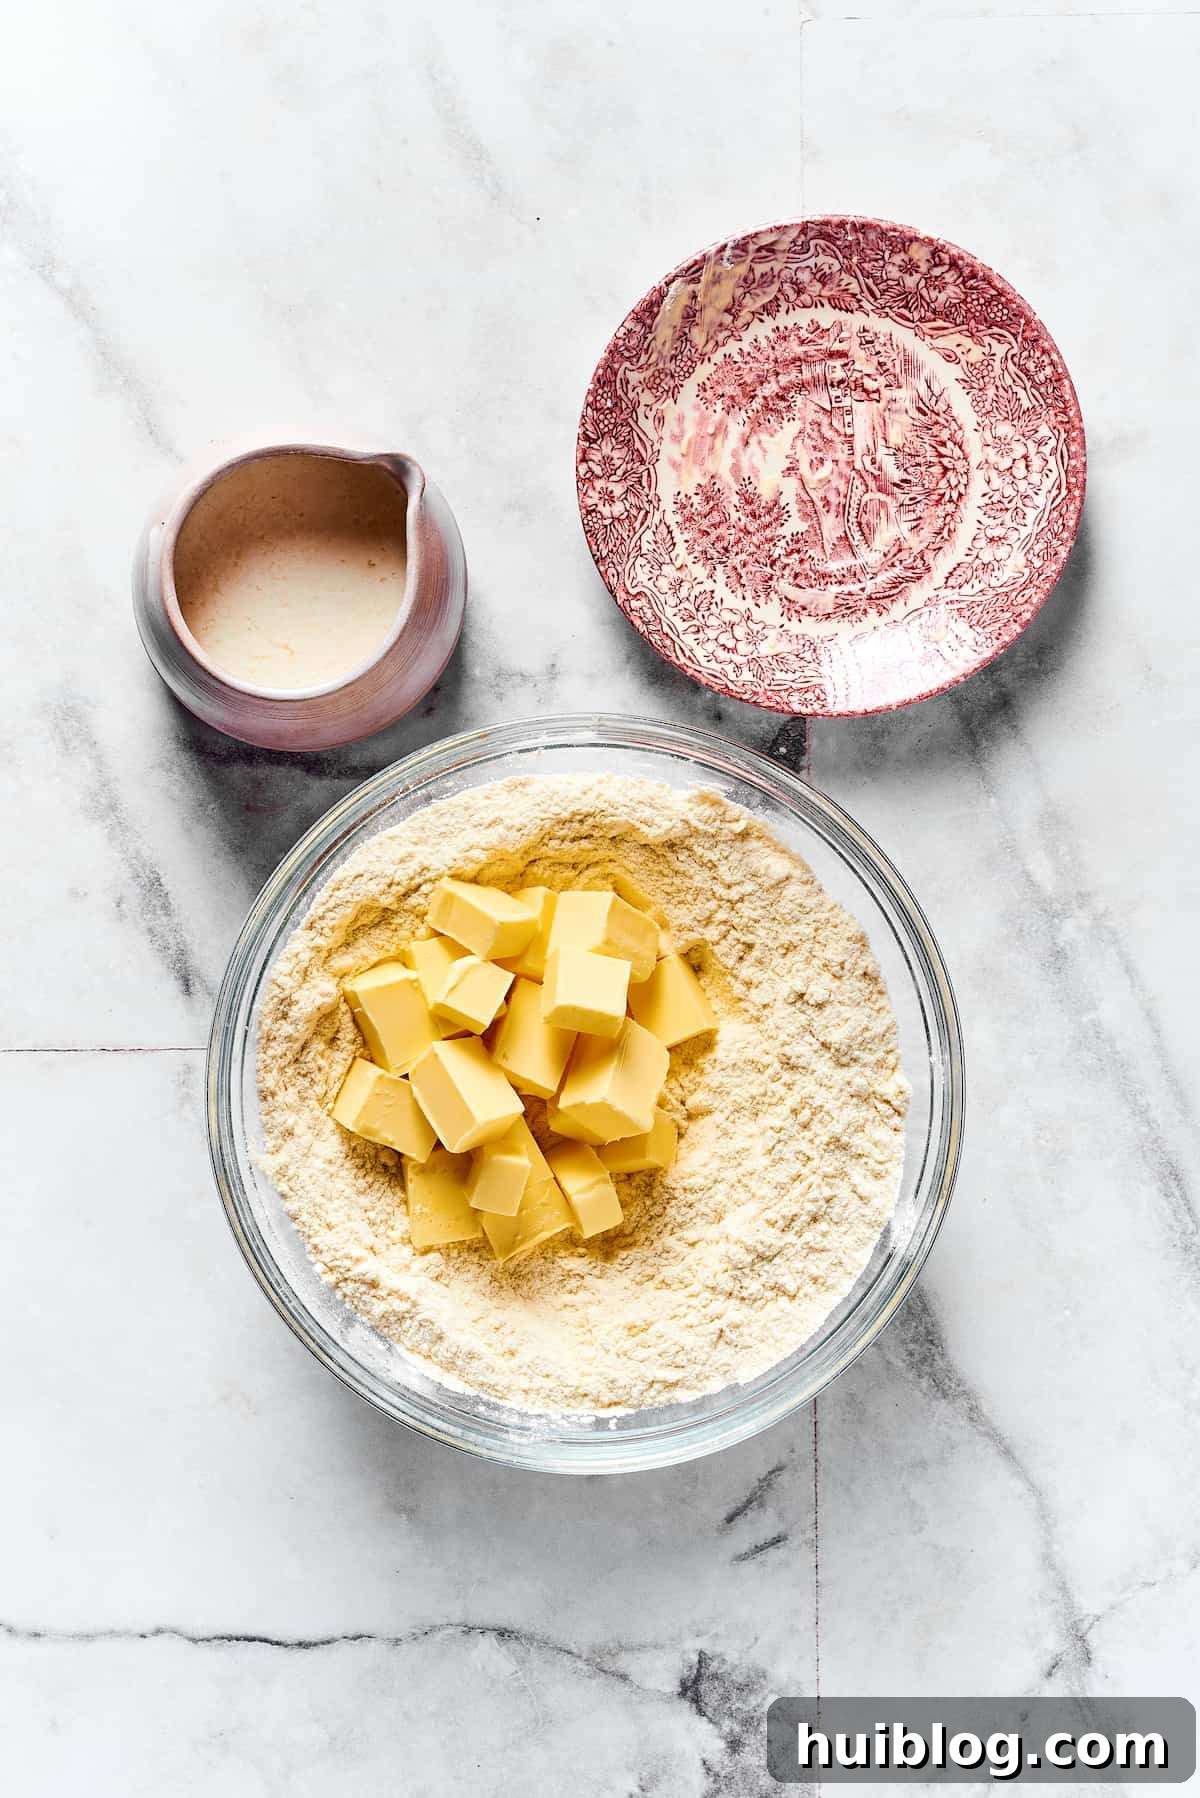
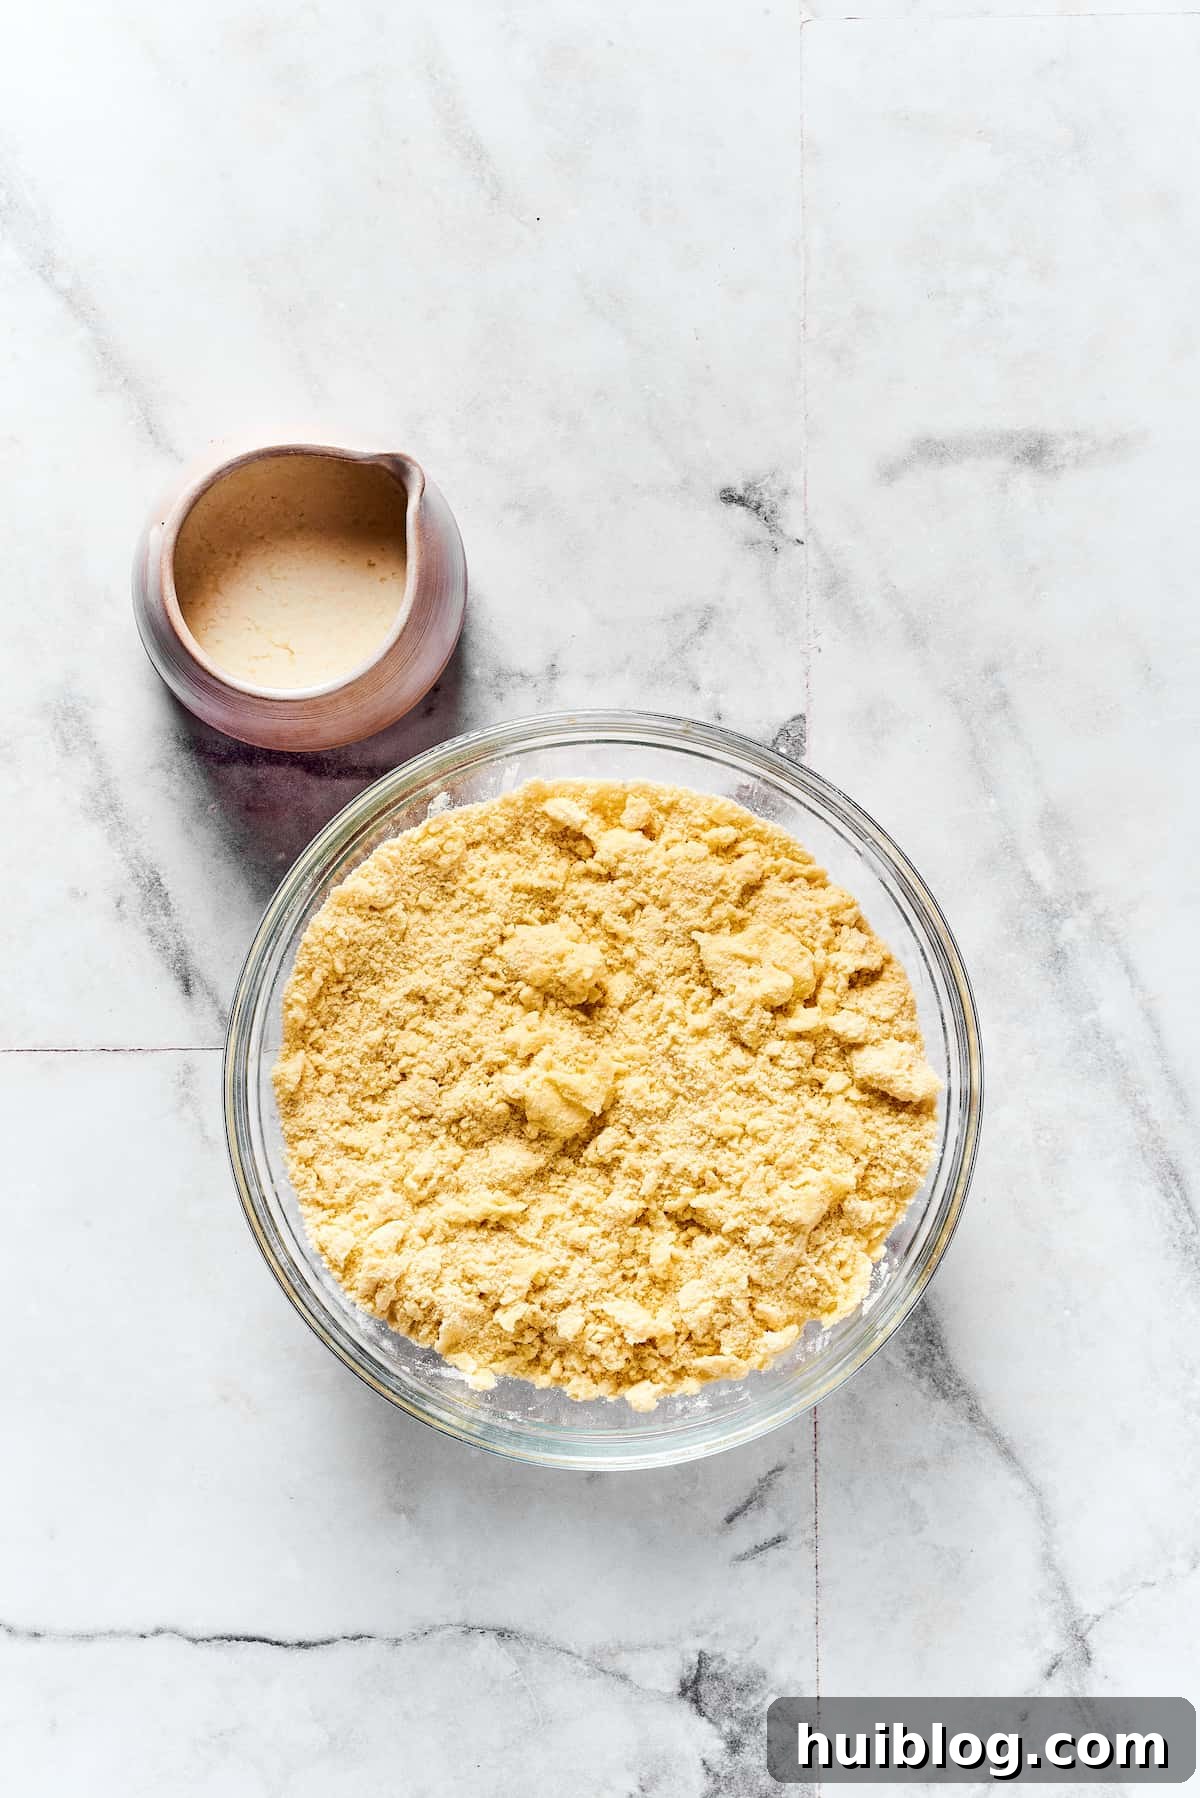
- Precisely Incorporate the Cold Butter: Add the ½ cup of small, meticulously cubed cold butter to your prepared dry mixture. Utilizing your fingertips or a specialized pastry cutter, quickly work the butter into the flour until the mixture achieves a texture resembling coarse breadcrumbs. It is absolutely paramount not to overwork the butter or allow it to warm up excessively from the heat of your hands, as maintaining cold butter is the core secret to developing those highly desired flaky layers. Aim for small, pea-sized pieces of butter still visible within the mixture. If your kitchen environment is particularly warm, consider placing the bowl into the refrigerator or even the freezer for a few minutes to re-chill the butter.
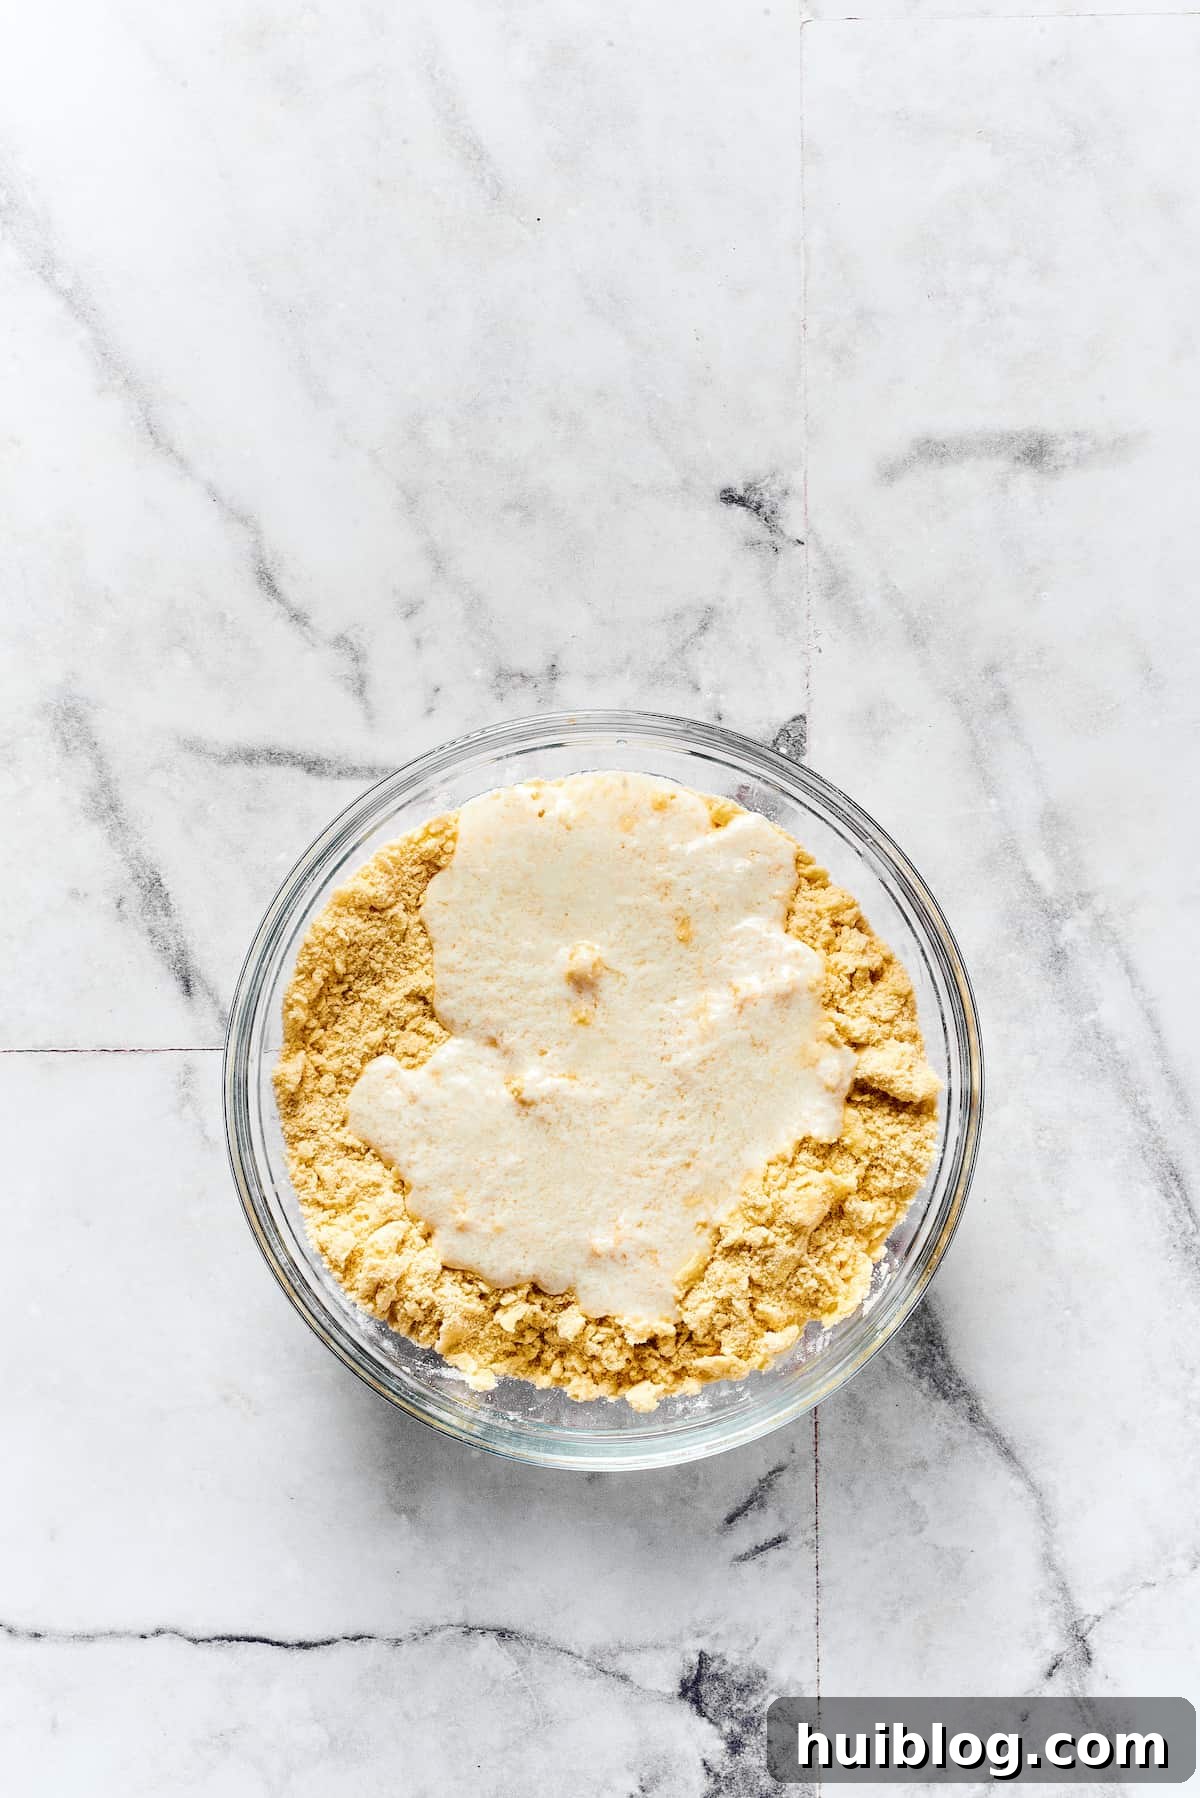
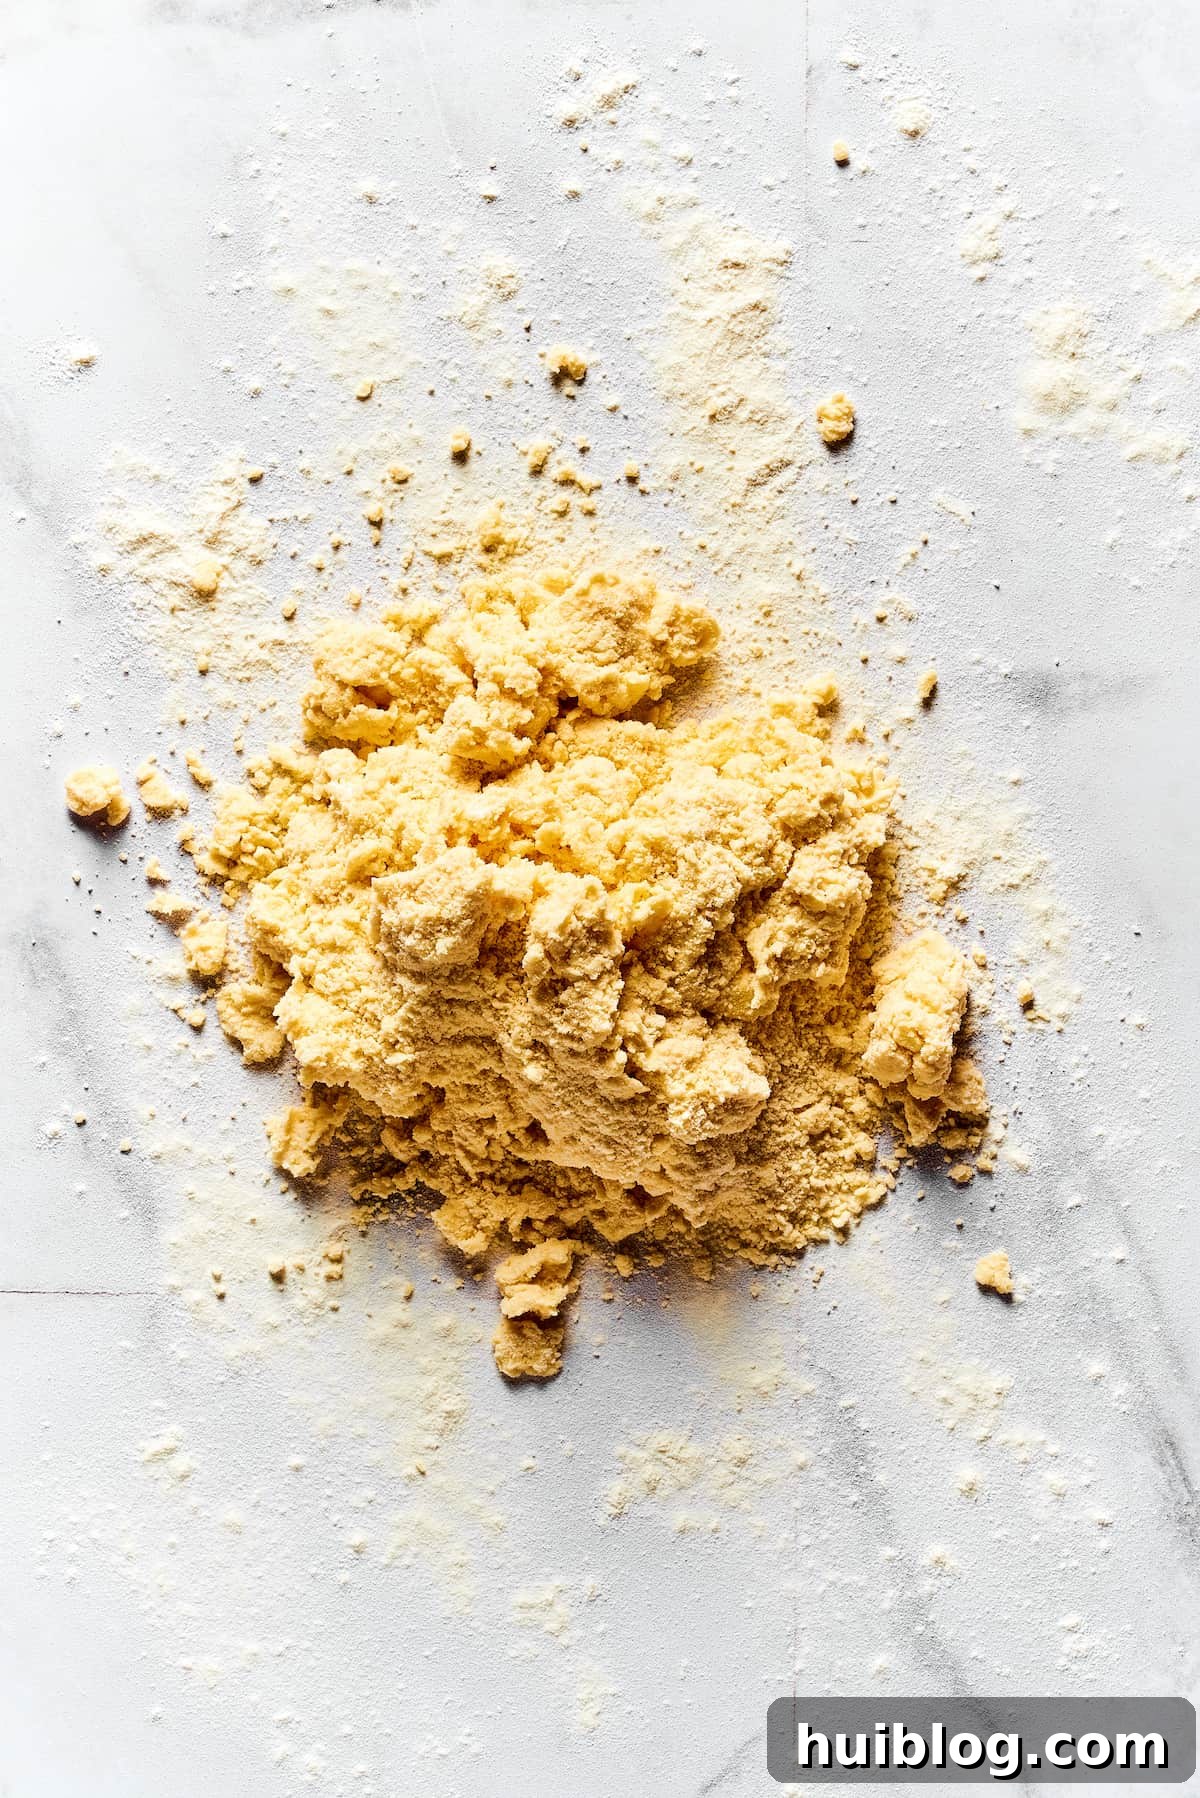
- Gently Introduce the Cold Buttermilk: Form a distinct, deep well in the very center of your flour and butter mixture. Carefully pour the ¾ cup of cold buttermilk directly into this depression. Employing a spoon or a flexible spatula, gently mix the ingredients, starting from the center and gradually moving outwards, until a soft, shaggy dough just begins to coalesce. The golden rule here is minimal mixing; cease stirring as soon as the dough barely comes together. Overworking the dough is the primary culprit behind developing gluten, which, while beneficial for chewy breads, results in tough, less desirable biscuits. We aim for that signature tender texture.
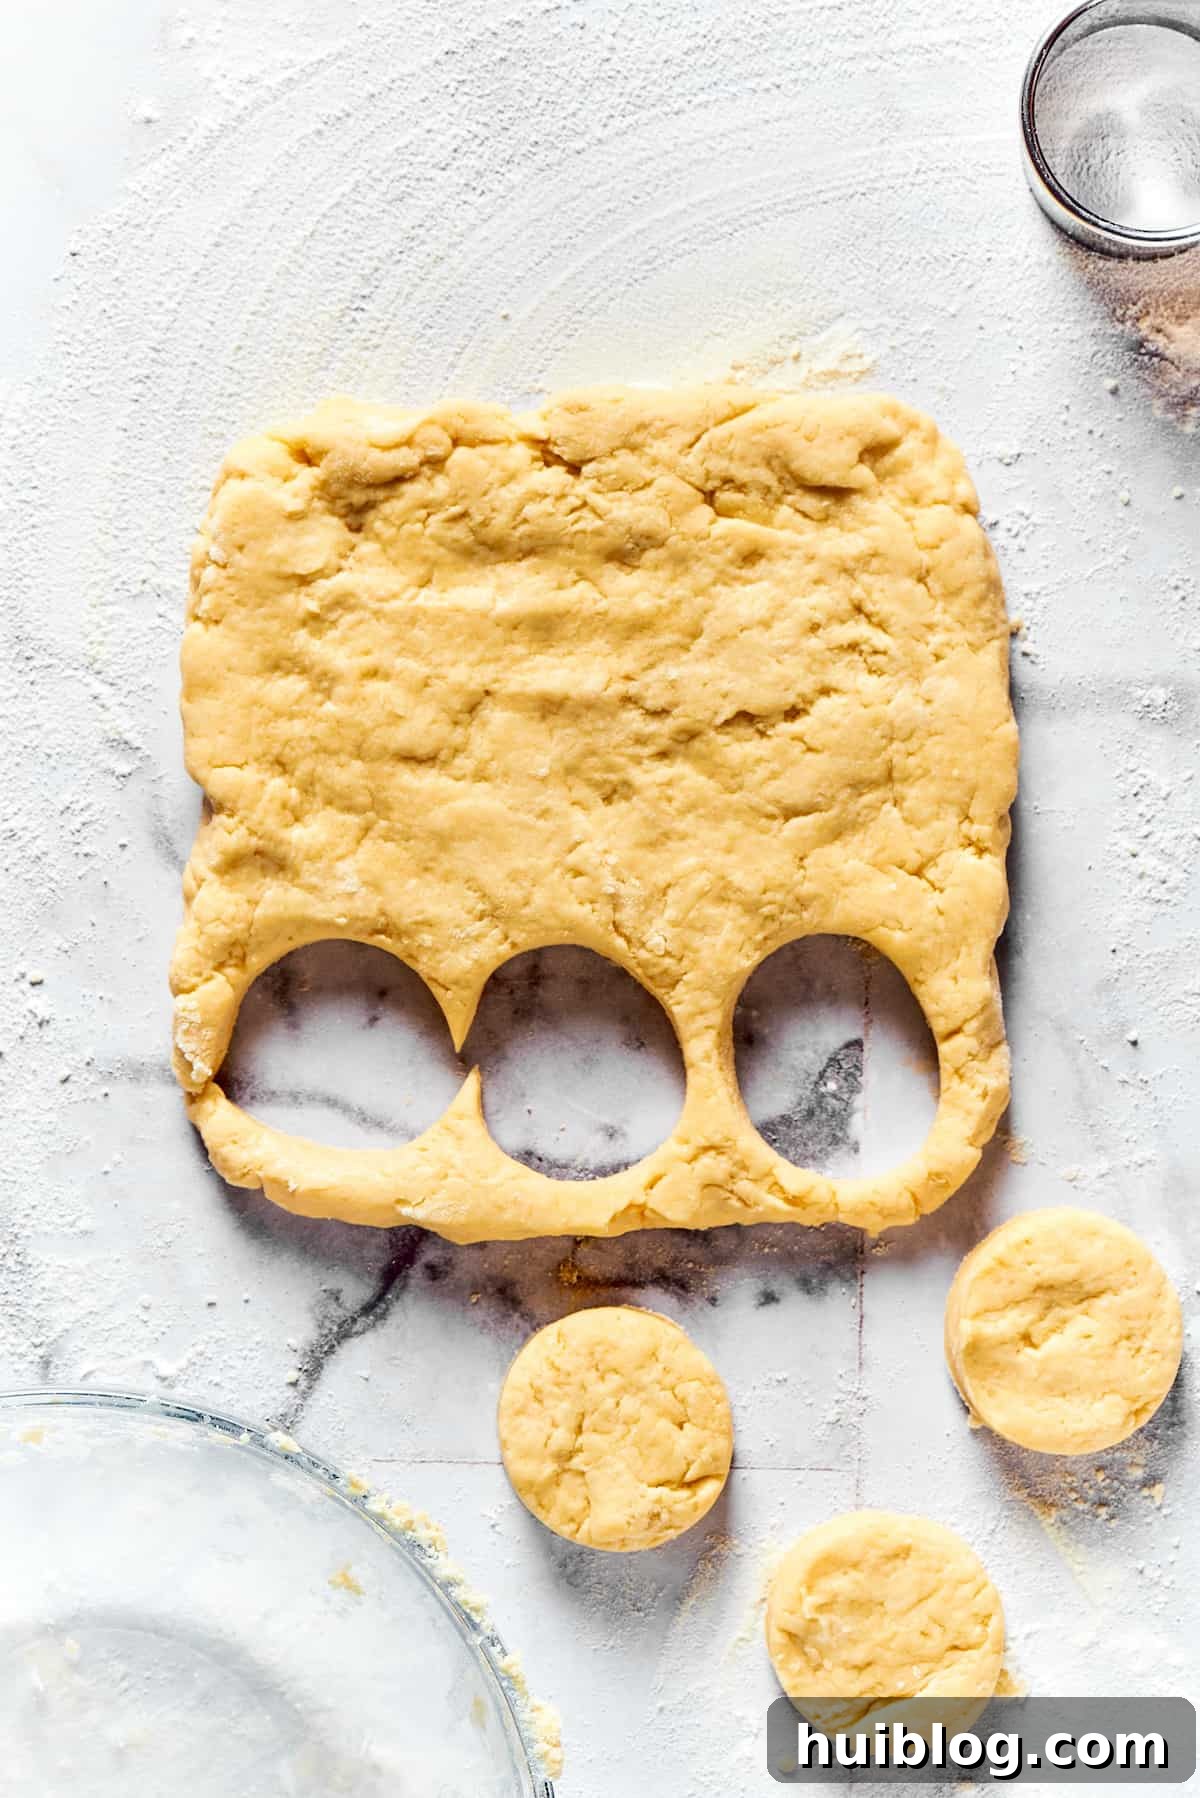
- Shape and Precisely Cut Your Biscuits: Turn the freshly prepared dough out onto a lightly floured work surface. With exceptionally gentle hands, knead or pat the dough just enough to bring it fully together into a cohesive, manageable mass. Avoid any excessive handling. Flatten the dough evenly to an approximate thickness of 1-inch. Using a sharp biscuit cutter (and critically, resist the urge to twist it, as twisting can seal the edges of the dough and inhibit a proper rise), carefully cut out 9 perfect rounds. Gather any remaining dough scraps, gently press them together without overworking them, and then cut out an additional 3 rounds. This method yields a total of 12 beautifully uniform biscuits.
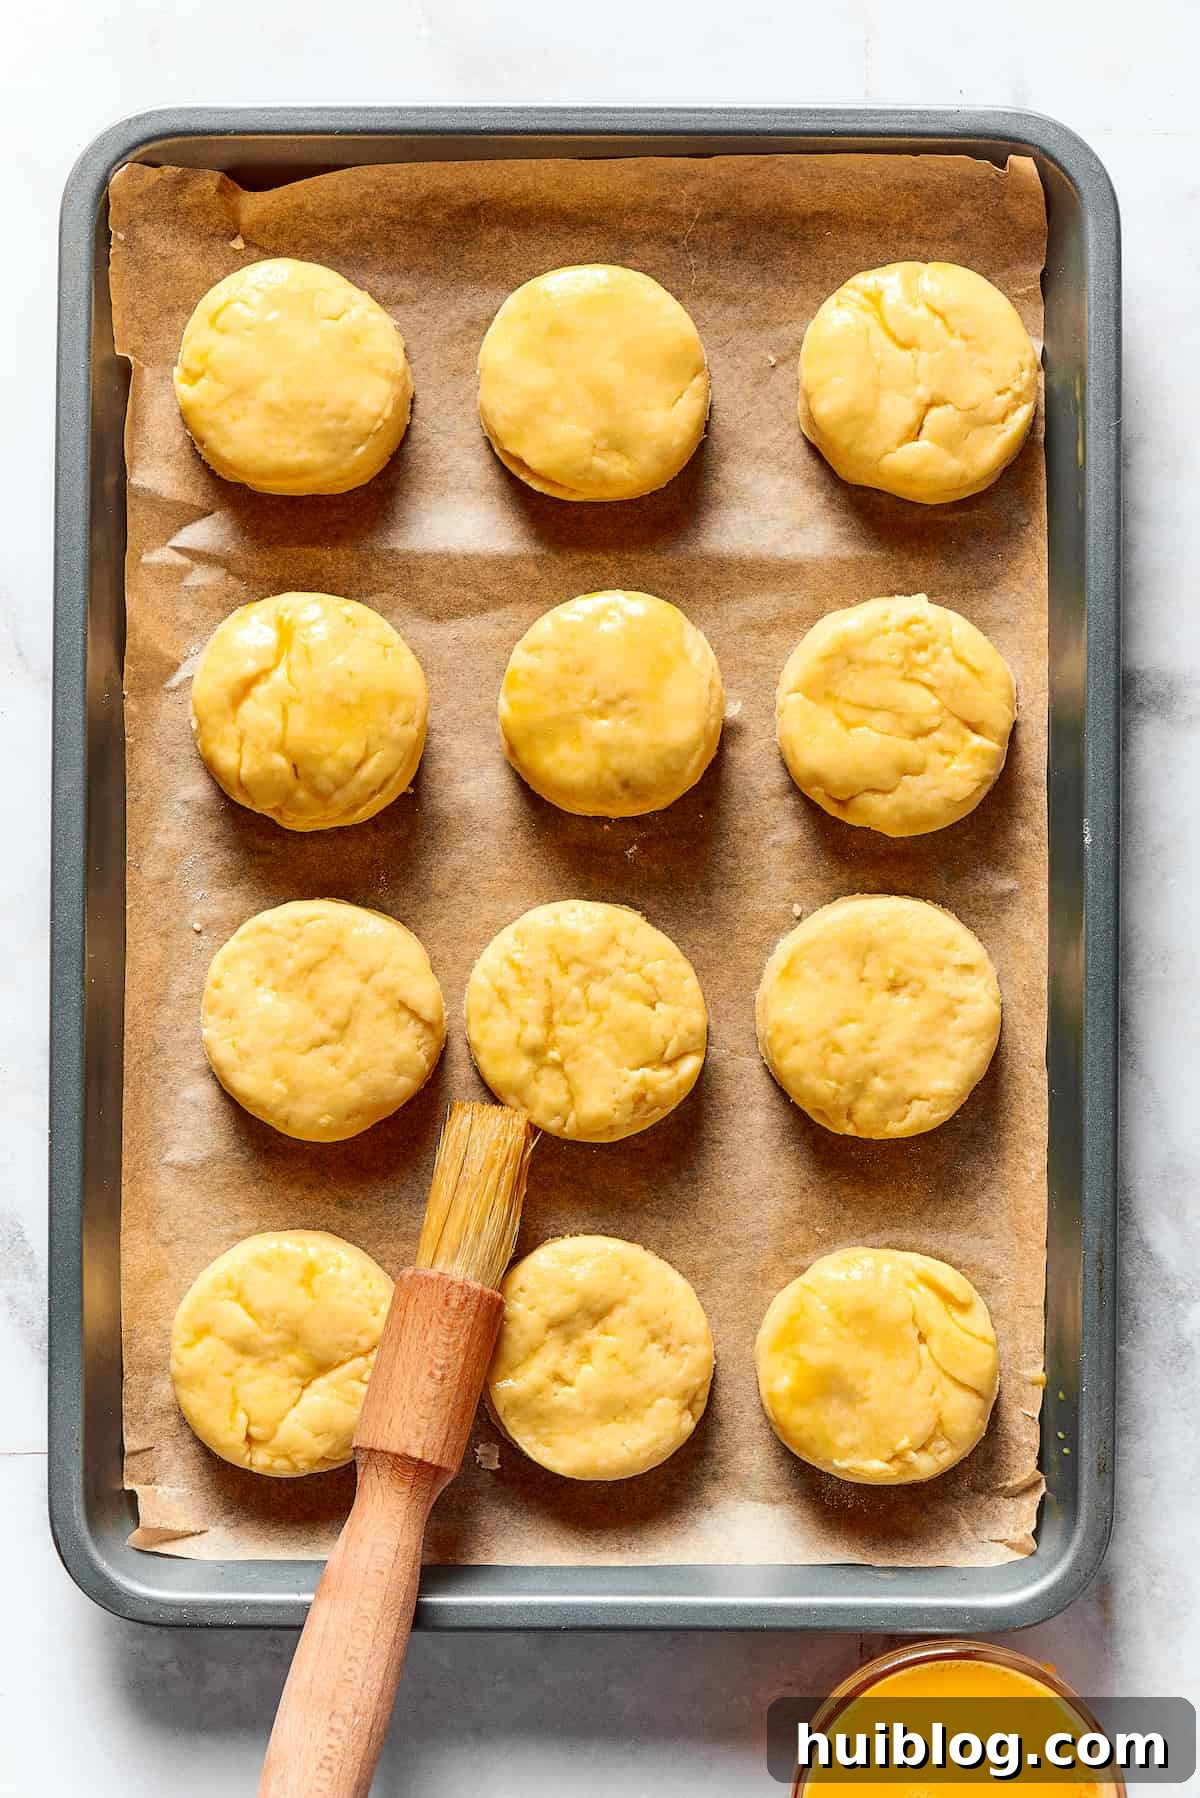
- Glaze and Bake to Golden Perfection: Meticulously transfer your cut-out biscuit rounds to the prepared baking sheet. Employing a pastry brush, gently coat the tops of each biscuit with the lightly beaten egg or milk glaze. This crucial step will provide them with a stunning golden-brown finish and a subtly crisper top during baking. Bake your biscuits in the preheated 450°F (230°C) oven for approximately 10-12 minutes, or until they have risen magnificently and achieved a rich, inviting golden-brown color on their crowns.
- Cool Slightly and Serve Warm: Once your biscuits emerge from the oven, remove them and allow them to cool on the baking sheet for a few minutes before carefully transferring them to a wire rack. For the absolute ultimate taste and texture experience, serve them warm.
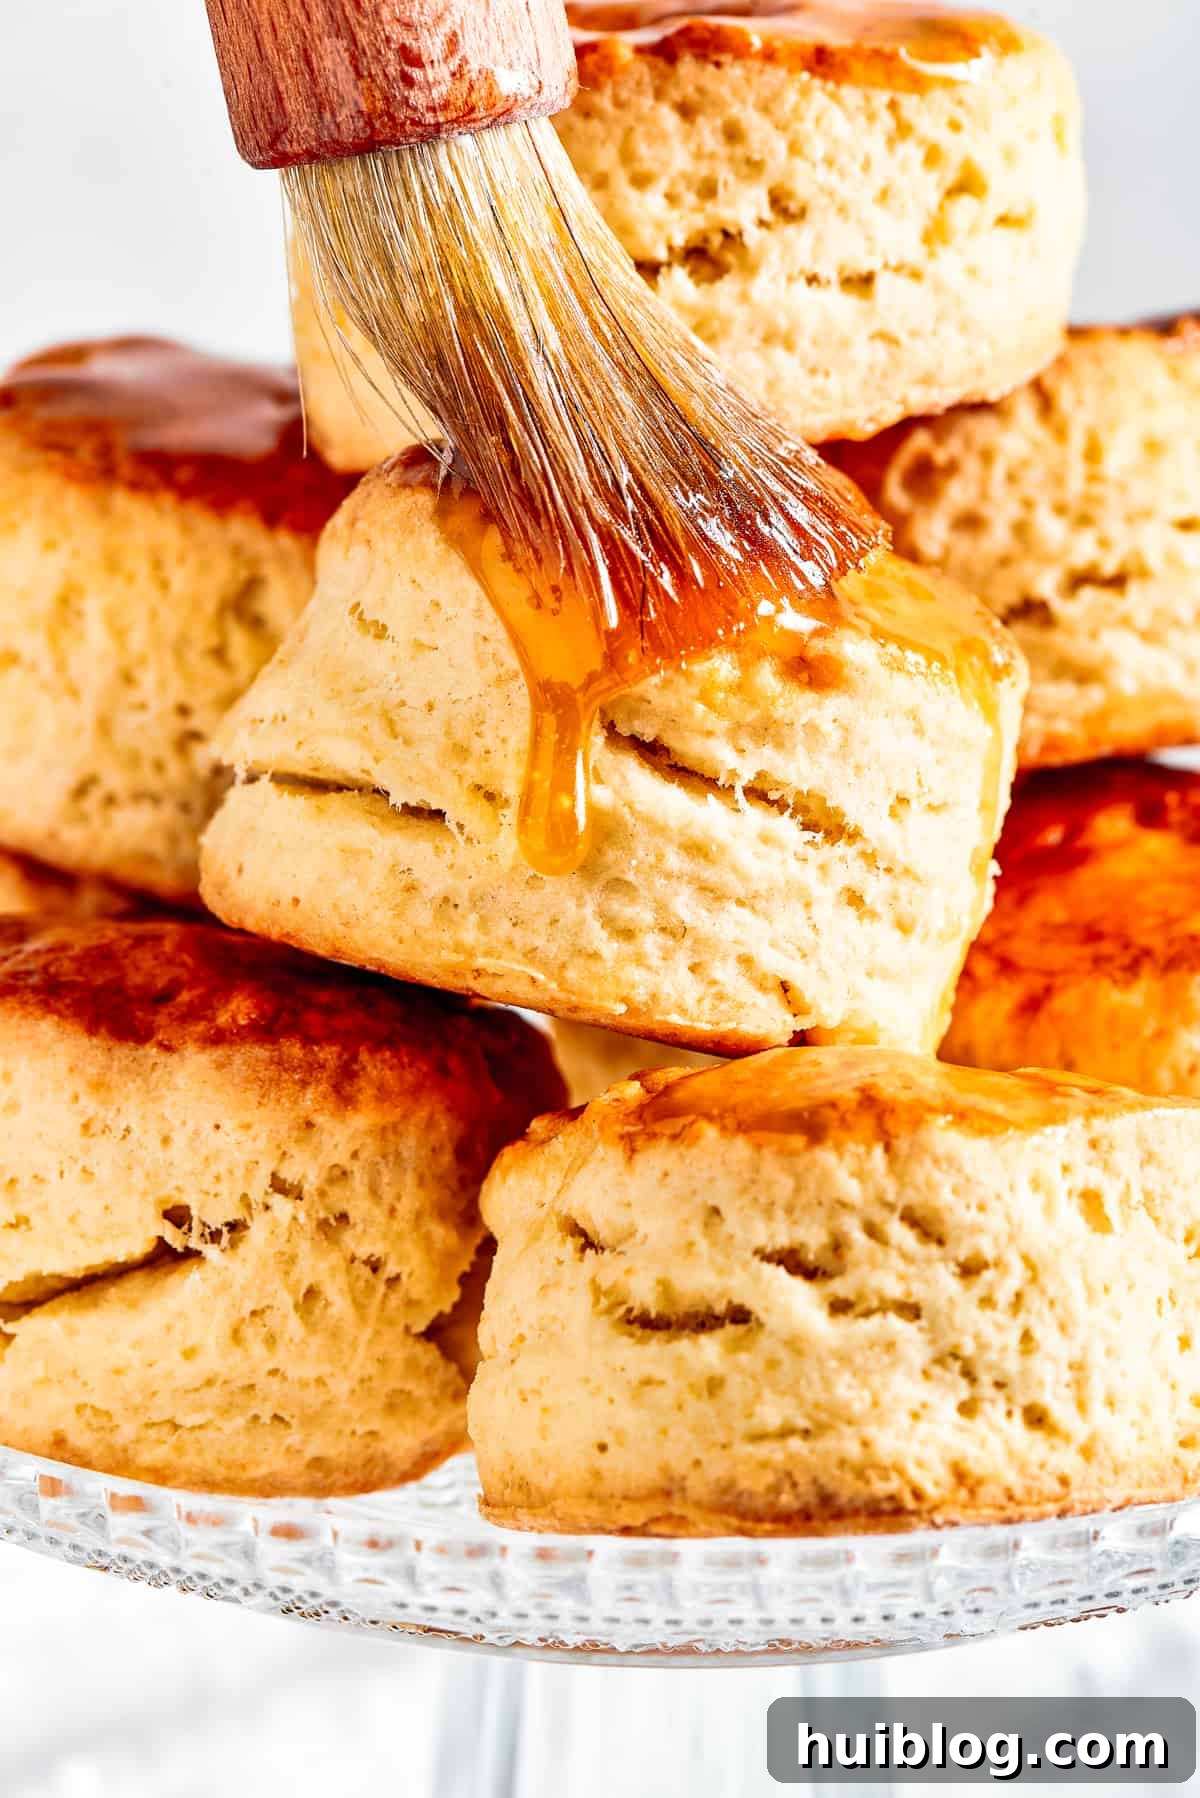
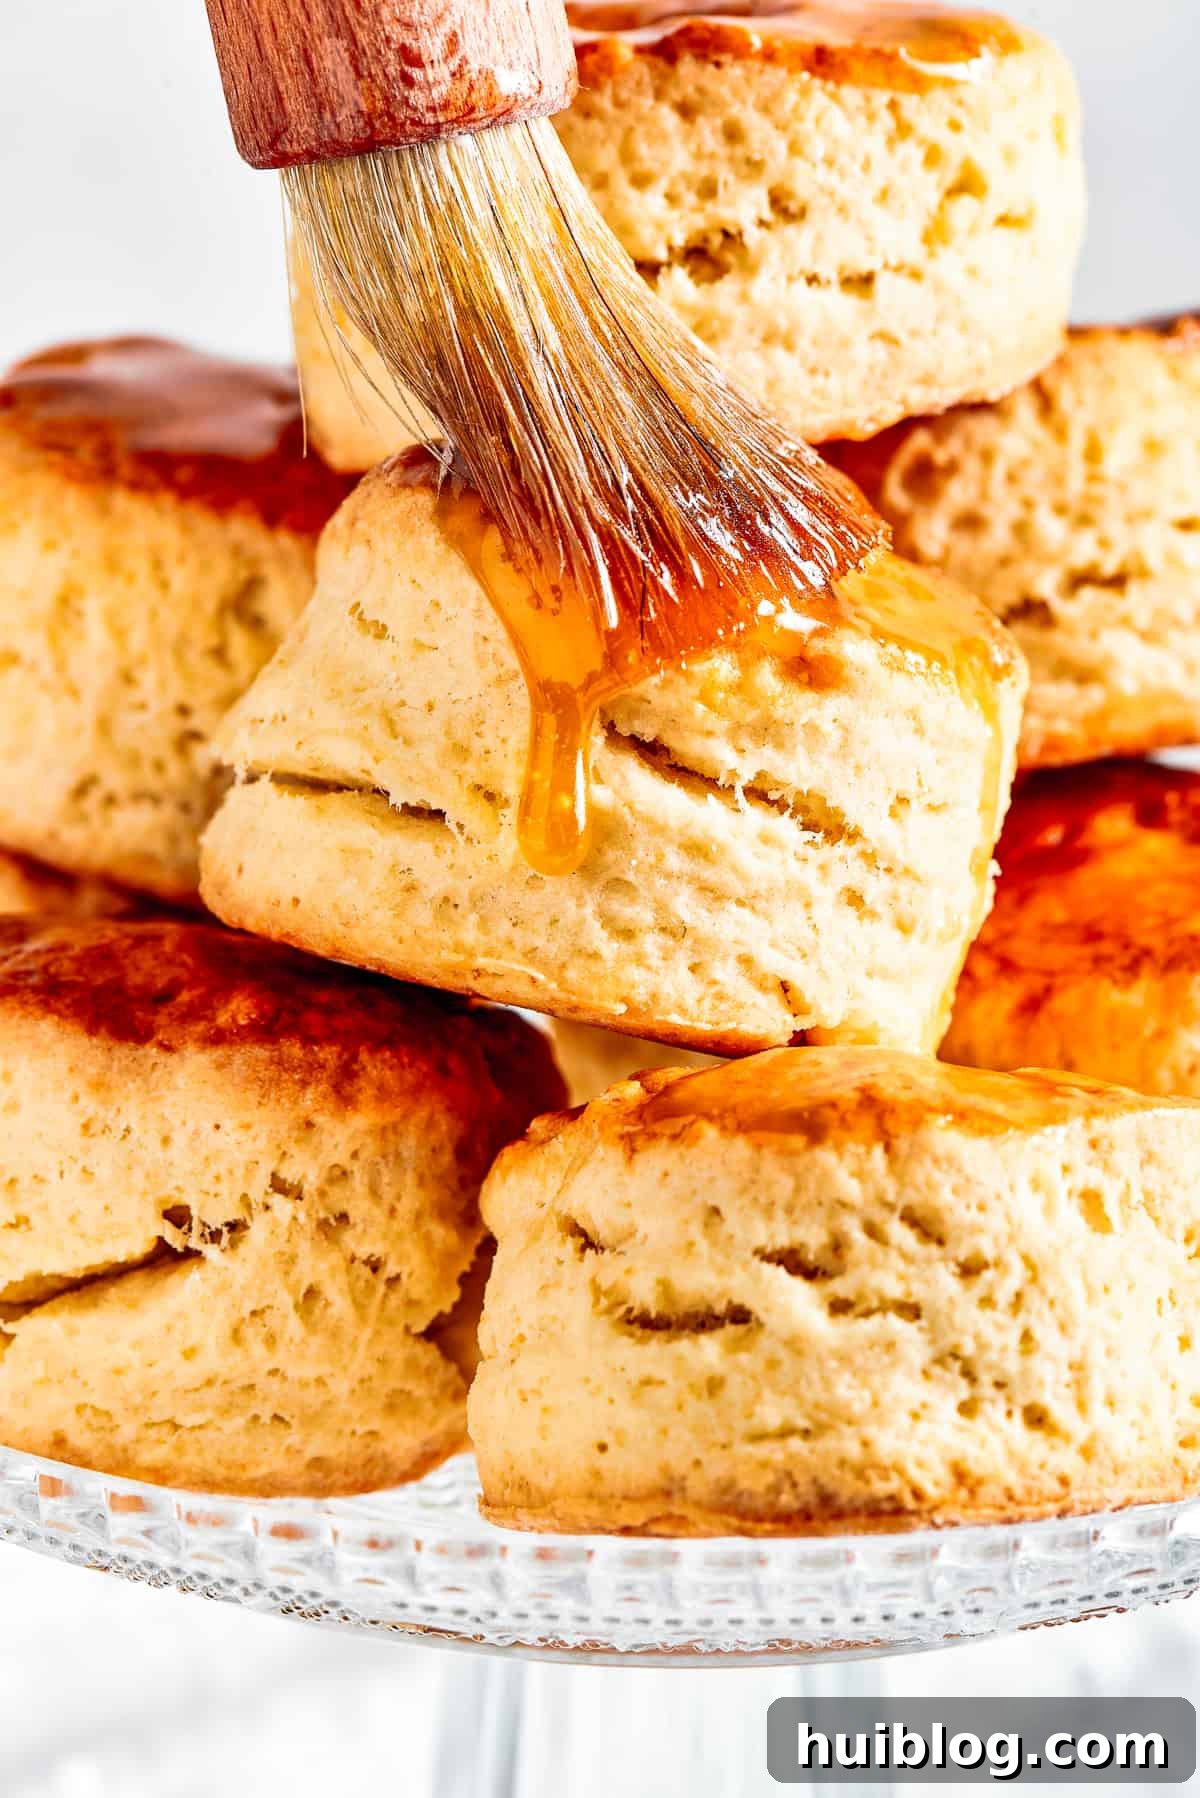
- Optional Maple Glaze Application: If you’re opting for the decadent maple glaze, combine 3 tablespoons of pure maple syrup and 1 tablespoon of butter in a small saucepan. Heat this mixture to a gentle simmer over medium-high heat and allow it to reduce for 3 to 4 minutes until it slightly thickens into a glossy glaze. While the biscuits are still wonderfully warm, generously brush this rich maple glaze over their tops for an extra layer of sweetness and indulgence.
The Secrets to Consistently Perfect Fluffy & Flaky Biscuits
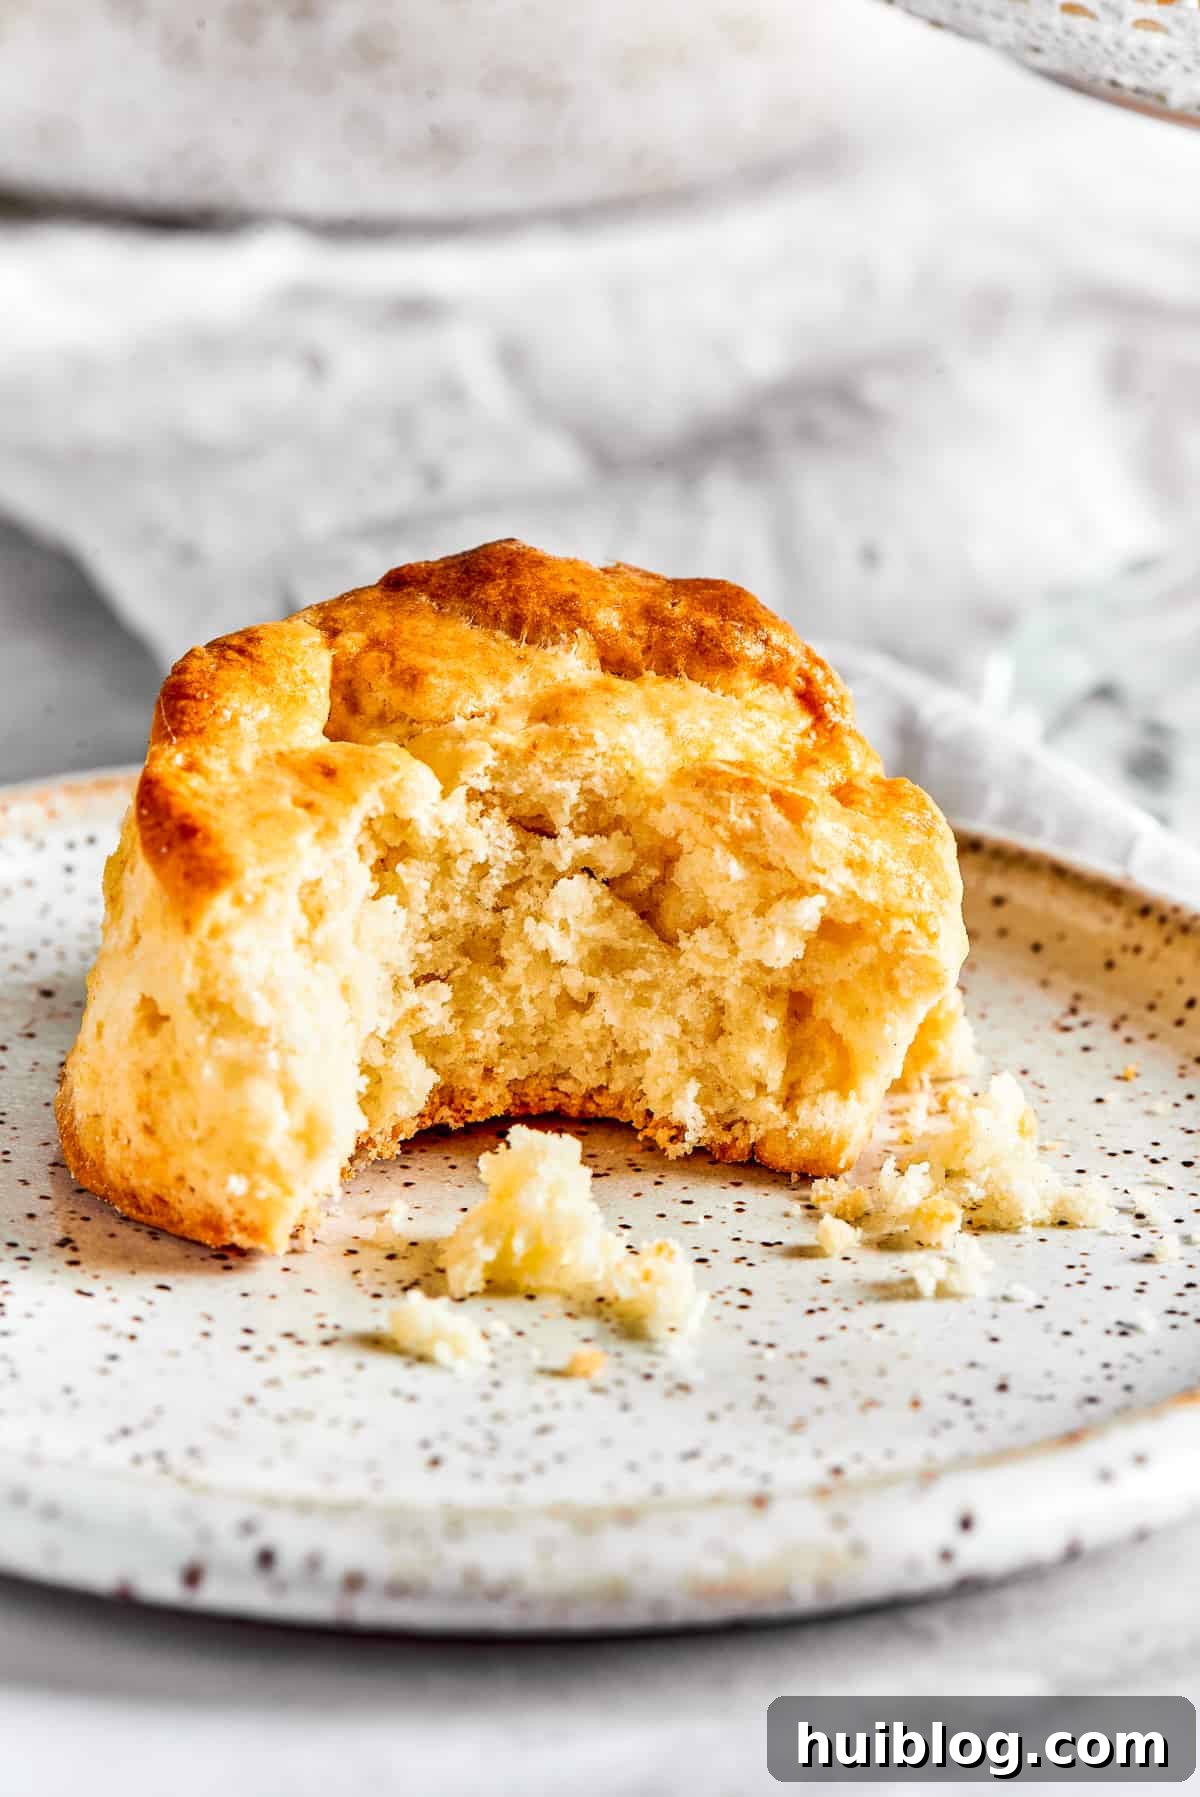
Achieving those highly sought-after tall, distinct flaky layers and a tender, melt-in-your-mouth crumb in your homemade biscuits is often seen as an art, but it’s an art that is surprisingly easy to master with a few fundamental techniques. These are my top, tried-and-true secrets for baking biscuits that are unfailingly light, exquisitely delicious, and utterly irresistible every single time:
- Handle the Dough with Extreme Care (Avoid Overmixing!): This principle is arguably the most critical rule in biscuit making. Biscuit dough is inherently delicate and benefits immensely from minimal intervention. It is always preferable for your dough to appear slightly sticky, somewhat shaggy, and even a little lumpy rather than overmixing it into a smooth, elastic mass. Overworking the dough directly activates and develops gluten, which, while highly desirable for chewy breads like sourdough, unfortunately results in tough, rubbery, and less enjoyable biscuits. Aim to mix just until the ingredients are barely combined, and handle the dough as little as humanly possible when you’re shaping it.
- Embrace the Cold: Keep All Ingredients Thoroughly Chilled: The temperature of your core ingredients, most notably butter and buttermilk, profoundly influences the final texture of your biscuits. The presence of tiny, solid pockets of cold butter within the dough is what creates steam as it rapidly melts in the scorching oven, effectively pushing apart the layers of dough to form those magnificent, distinct flakes. Cold buttermilk, equally important, helps to keep the butter from melting prematurely during the mixing process. If at any point during preparation your butter or dough begins to feel warm, do not hesitate to quickly pop it into the refrigerator or even the freezer for a brief 5-10 minute spell to re-chill before continuing.
- Consider Adding Shortening for an Extra Boost of Lift: While butter undeniably provides an unparalleled depth of flavor, some highly experienced bakers enthusiastically advocate for utilizing a strategic combination of half butter and half vegetable shortening. Shortening boasts a higher melting point than butter, a characteristic that can contribute to an even more impressive rise and, often, an even more supremely tender crumb. Feel free to experiment with this option if your primary goal is to maximize the height and tenderness of your biscuits.
- The Ingenious DIY Buttermilk Substitute: Found yourself without buttermilk and a sudden craving for biscuits? Fear not! You can effortlessly create an effective substitute. Simply combine two teaspoons of white vinegar or fresh lemon juice with enough regular milk (whether dairy or a non-dairy alternative) until the total volume reaches ¾ cup. Give this mixture a gentle stir and allow it to rest undisturbed for 5-10 minutes. During this time, the milk will curdle slightly and visibly thicken, effectively mimicking the essential acidity of real buttermilk, which is vital for reacting with the baking powder and ensuring a tender dough.
- Utilize a Sharp Biscuit Cutter (And Never Twist!): A sharp, clean, metal biscuit cutter is a non-negotiable tool for achieving perfectly formed biscuits. It will cleanly slice through the delicate layers of dough, enabling your biscuits to rise straight up into tall, beautiful cylinders. Crucially, avoid using dull cutters, and even more importantly, resist the common urge to twist the cutter when pressing it down into the dough. Twisting can inadvertently seal the edges of the dough, which tragically prevents proper vertical rise and can lead to lopsided, unevenly baked biscuits. Always press straight down with firm, even pressure, then lift straight up.
- Freshness Truly Matters: Baking Powder & Flour: Always take a moment to verify that your baking powder has not expired. Old or inactive baking powder is a frequent culprit behind flat, dense biscuits. Similarly, using fresh, high-quality all-purpose flour can make a discernible difference in both the final texture and nuanced flavor of your homemade biscuits.
FAQ: Should You Let Biscuits Rise Before Baking?
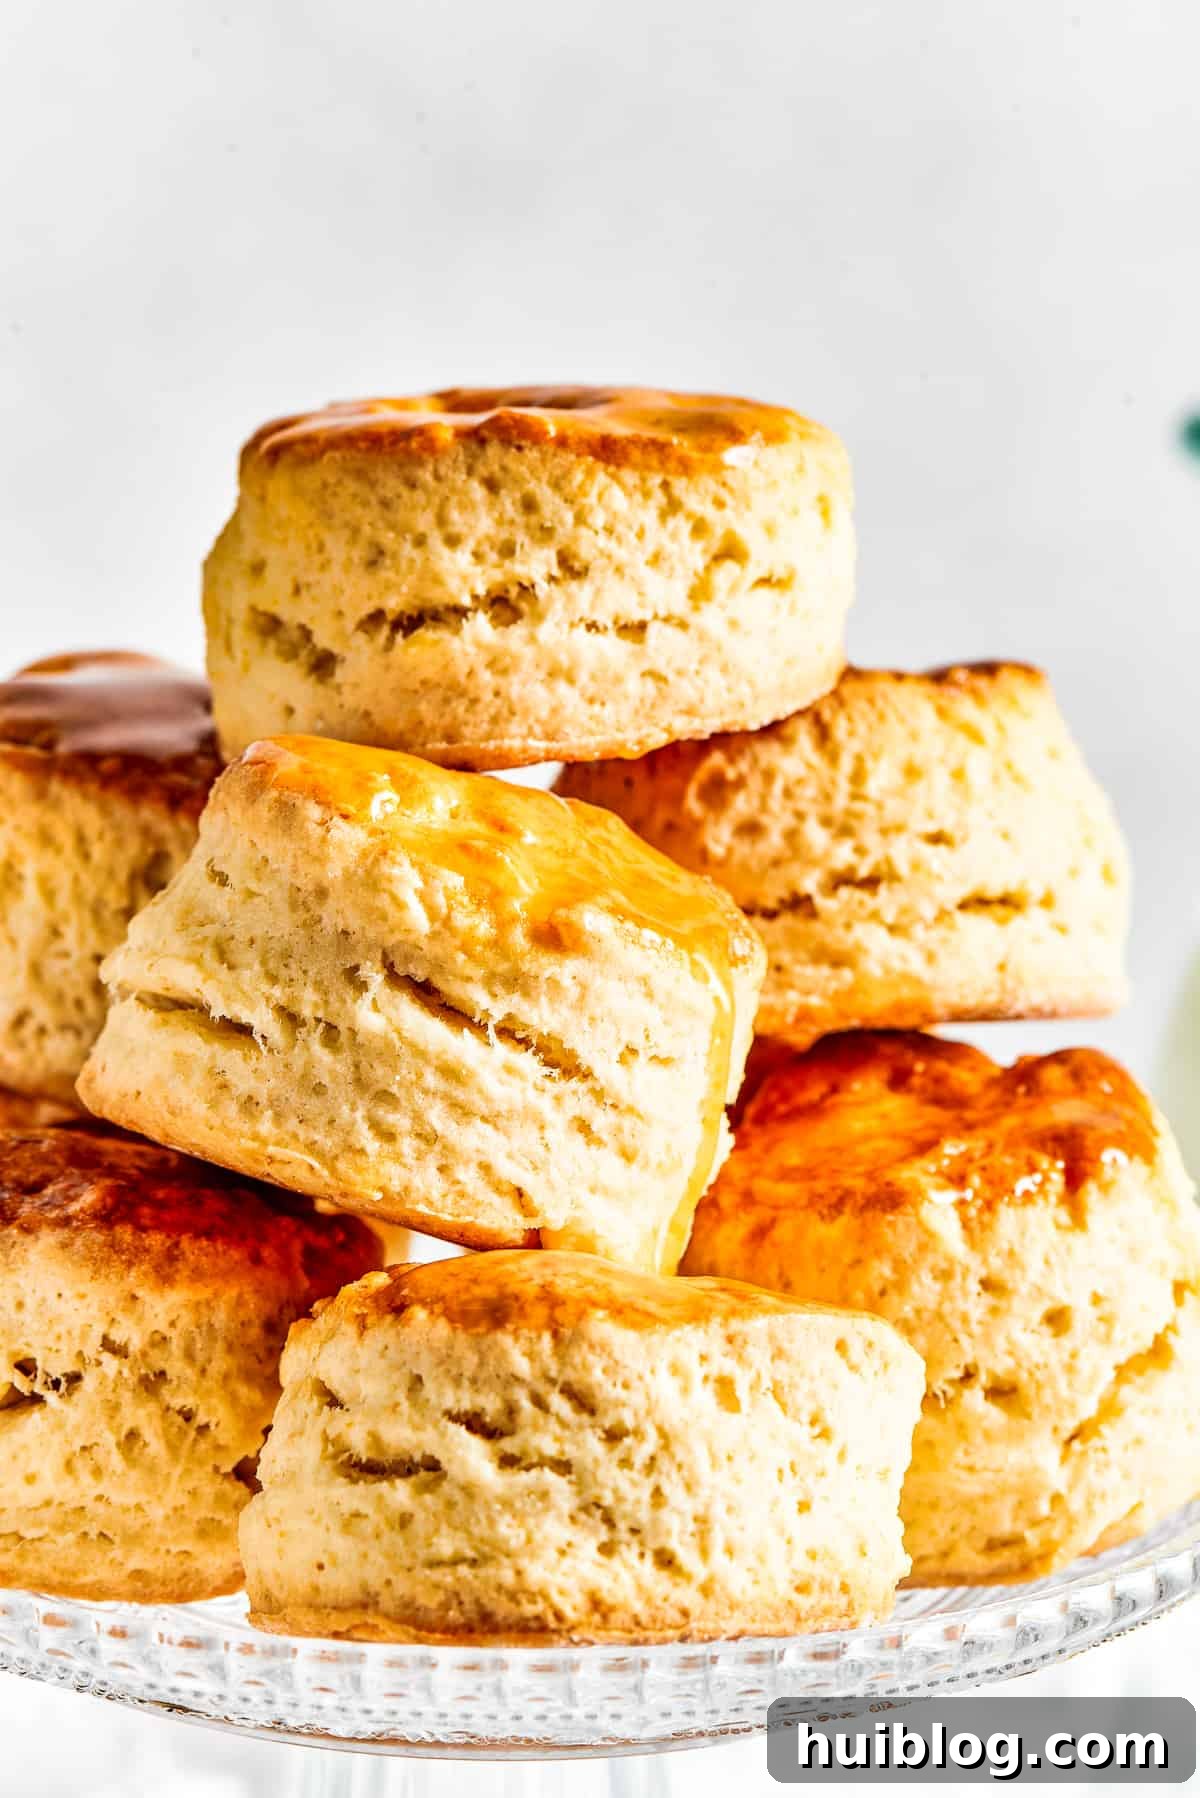
For the vast majority of traditional biscuit recipes, which fall into the category of “quick breads” (meaning they rely on chemical leavening agents like baking powder or baking soda, rather than yeast), the answer is generally no. Biscuits are specifically formulated to be mixed, shaped, and then immediately transferred to a hot oven for baking. The leavening action of baking powder initiates as soon as it comes into contact with the liquid ingredients in the dough, and it receives a final, powerful boost from the intense heat of the oven. Allowing them to sit and “rise” for an extended period outside the oven can actually diminish their potential final height and overall fluffiness, as the leavening agents might exhaust a significant portion of their potency before the critical baking stage. The notable exception to this rule would be specific recipes like “angel biscuits,” which uniquely incorporate a small amount of yeast alongside the chemical leaveners, and therefore explicitly require a designated proofing period to activate the yeast.
Delicious Serving Suggestions for Homemade Biscuits
The remarkable versatility of homemade biscuits truly knows no bounds. They possess the unique ability to seamlessly complement nearly any meal, effortlessly transforming a simple dish into something truly extraordinary. Here are some delectable and inspiring ideas to elevate your next serving:
- Breakfast & Brunch Brilliance:
- Classic with Jam & Butter: The quintessential, simple pleasure. Spread generously with your favorite fruity jam, a drizzle of golden honey, or a rich pat of high-quality butter.
- Hearty Sausage Gravy: A beloved Southern classic! Drown your warm, fluffy biscuits in a creamy, savory sausage gravy for an incredibly hearty and deeply satisfying breakfast.
- Eggs Benedict Twist: For a unique and delicious variation on Eggs Benedict, use a split biscuit half as the sturdy, flavorful base instead of the traditional English muffin.
- Custom Breakfast Sandwiches: Split open your warm biscuits and fill them with fluffy scrambled eggs, melted cheese, crispy bacon, or savory sausage patties for a perfectly portable and utterly delicious breakfast.
- Savory Dinner Companions:
- Chicken and Biscuits: Pair your flaky biscuits with irresistible, crispy Oven Baked Chicken Tenders for a family-favorite meal, or use them as a delightful, golden topping for a comforting chicken pot pie.
- Hearty Soups & Stews: Biscuits are the absolute perfect vessel for soaking up the rich, flavorful broths of a hearty chili, a slow-cooked beef stew, or a creamy potato soup.
- The Perfect Pot Roast: A magnificent Perfect Pot Roast becomes even more exceptional when served alongside warm, flaky biscuits, ideal for mopping up every last drop of the delicious, savory juices.
- Alongside Holiday Ham: A succulent Slow Cooker Ham with Brown Sugar Glaze and homemade biscuits are an exquisite match made in culinary heaven, especially for festive holiday meals. Add a simple green vegetable for a truly complete and mouthwatering feast.
- BBQ Sides: Serve these comforting biscuits with smoky pulled pork or tender BBQ chicken for an authentic, homestyle touch to your barbecue spread.
- Sweet Treats & Desserts:
- Delectable Strawberry Shortcake: Split a warm biscuit, generously fill it with fresh, macerated strawberries and a cloud of whipped cream for an incredibly easy and utterly delightful dessert.
- Sweet Cinnamon Sugar Biscuits: Before or after baking, brush your biscuits with melted butter and generously sprinkle them with a delightful mixture of cinnamon and sugar for a sweet, comforting treat. You can also mix a teaspoon of cinnamon and a tablespoon of sugar directly into the dry ingredients for a subtle, integrated sweetness.
How to Store and Reheat Your Homemade Biscuits for Optimal Freshness
While the unparalleled joy of a fresh, warm biscuit straight from the oven is undeniable, you can certainly extend their deliciousness with proper storage and reheating techniques:
- Room Temperature Storage: Baked homemade biscuits maintain their quality best when stored in an airtight container at room temperature for up to two days. Beyond this period, they tend to lose moisture and become less enjoyable.
- Refrigeration: For a slightly longer period of freshness, transfer your baked biscuits to an airtight container and store them in the refrigerator for up to one week.
- Effective Reheating of Baked Biscuits: To revitalize your biscuits and bring them back to their tender glory, loosely wrap them in aluminum foil and warm them in a preheated oven at 350°F (175°C) for approximately 5-10 minutes, or until they are thoroughly heated through. For a much quicker option, a microwave can be used for 15-30 seconds, but be aware that this method might make them softer and they could lose some of their crispy exterior.
Can I Freeze Homemade Biscuits?
Absolutely! Freezing is an excellent and highly recommended method for preparing ahead and ensuring you can enjoy fresh biscuits anytime the craving strikes. You have the flexibility to freeze them either baked or unbaked:
- Freezing Baked Biscuits: First, allow your freshly baked biscuits to cool completely to room temperature. Then, arrange them in a single layer on a baking sheet and place them in the freezer until they are solid (this usually takes about 1-2 hours). Once frozen solid, transfer them to a freezer-safe airtight container or a heavy-duty freezer bag. Stored properly, baked frozen biscuits will maintain their quality for up to 3 months. To reheat, you can place them directly from the freezer into a 350°F (175°C) oven, wrapped loosely in foil, and bake for about 15-20 minutes until warmed through.
- Freezing Unbaked Biscuits (Highly Recommended!): This is my preferred method for achieving the ultimate freshness when you’re ready to bake. After you have cut out your biscuit rounds, place them directly onto a parchment-lined baking sheet and freeze until they are completely firm. Once solid, transfer these unbaked frozen biscuits to a freezer-safe bag or an airtight container. I strongly recommend placing wax paper or parchment paper between each biscuit to prevent any sticking. Unbaked frozen biscuits can be stored effectively for up to 3 months. When you’re ready to bake, simply place them directly from the freezer onto a prepared baking sheet (there’s no need to thaw!). You may need to add an additional 5-10 minutes to the regular baking time, keeping a close watch on them for that perfect golden-brown finish.
Biscuit Variations and Flavor Enhancements for Every Palate
While our classic buttermilk biscuit recipe stands perfect and delicious on its own, it also serves as an exceptional blank canvas for culinary creativity. Don’t shy away from experimenting with various additions and flavor enhancements to tailor your biscuits to virtually any craving or meal:
- Savory Cheese Biscuits: For a delightful savory twist, gently fold in ½ to 1 cup of shredded sharp cheddar, nutty Parmesan, or even a spicy Monterey Jack cheese with your dry ingredients before adding the butter. These are absolutely divine when served alongside chili or a hearty soup.
- Aromatic Herb Biscuits: Infuse your biscuits with freshness by adding 1-2 tablespoons of finely chopped fresh herbs such as rosemary, thyme, chives, or parsley to the dry ingredients. This aromatic enhancement is particularly excellent when paired with roasted chicken or pork dishes.
- Sweet Cinnamon Sugar Biscuits: For a comforting sweet treat, either brush your unbaked biscuits with melted butter and generously sprinkle them with a mixture of cinnamon and sugar just before baking, or gently mix a teaspoon of ground cinnamon and a tablespoon of granulated sugar directly into the dry ingredients for a subtle, integrated flavor.
- Zesty Garlic & Chive Biscuits: Elevate your savory biscuit game by mixing in 1-2 cloves of minced garlic and 2 tablespoons of freshly chopped chives. This flavorful combination creates a wonderfully aromatic side that pairs exquisitely with steak, pasta dishes, or a rich pot roast.
- Delicate Lemon Blueberry Biscuits: For a bright and fruity brunch delight, gently fold in ½ cup of fresh blueberries and 1 teaspoon of fragrant lemon zest into the dough just before incorporating the buttermilk. The subtle tartness of the lemon complements the sweet blueberries beautifully.
More Easy Bread Recipes to Enjoy
If you’ve thoroughly enjoyed the process of crafting these delicious homemade biscuits, we encourage you to explore other simple yet immensely satisfying bread recipes that are perfect for any home baker:
- The Best Homemade Cornbread Recipe: A Southern Staple
- Homemade Crescent Rolls (Butterhorn Rolls): Light & Fluffy
- Easy Homemade Flatbread Recipe: Versatile & Quick
- Cheesy Garlic Knots: A Flavorful Side Dish
- Simple No-Knead Artisan Bread: Effortless & Delicious
Easy Homemade Flaky Buttermilk Biscuits Recipe Card
These warm, tender, and incredibly flaky homemade biscuits are a perfect addition to any meal, rising high and practically melting in your mouth. Simple to make, yet profoundly satisfying!
Prep Time: 20 minutes
Cook Time: 10-12 minutes
Total Time: 30-32 minutes
Yields: 12 biscuits
Ingredients for Homemade Biscuits
For the Biscuits:
- 2½ cups all-purpose flour, plus extra for dusting
- 2 tablespoons granulated sugar (optional, for a subtle sweetness)
- 1½ teaspoons baking powder (ensure it’s fresh!)
- ½ to 1 teaspoon sea salt (adjust to personal preference)
- ½ cup cold unsalted butter, cut into small cubes
- ¾ cup cold buttermilk
- 1 lightly beaten egg, or a splash of milk for glazing
For the Optional Maple Glaze:
- 3 tablespoons pure maple syrup
- 1 tablespoon butter (salted or unsalted)
Instructions
- Preheat your oven to 450°F (230°C). Line a large baking sheet with parchment paper and set it aside.
- In a spacious mixing bowl, vigorously whisk together the flour, sugar (if using), baking powder, and salt until thoroughly combined and evenly distributed.
- Add the cold, cubed butter to the dry ingredients. Using your fingertips or a pastry cutter, quickly cut or rub the butter into the flour mixture until it resembles coarse breadcrumbs, with some pea-sized pieces of butter remaining. The key is to keep the butter as cold as possible.
- Create a deep well in the center of the flour mixture and pour in the cold buttermilk. Using a spoon or spatula, gently mix the ingredients from the center outwards until a soft, shaggy dough just comes together. Avoid overworking the dough to prevent toughness.
- Transfer the dough onto a lightly floured work surface. With very gentle hands, knead or pat the dough just enough to form a cohesive mass. Do not overhandle.
- Lightly press the dough to an even thickness of approximately 1-inch. Using a sharp biscuit cutter, cut out 9 rounds. Gather the dough scraps, gently press them together (without excessive kneading), and cut out an additional 3 rounds, resulting in 12 biscuits total.
- Carefully place the cut-out biscuit rounds onto the prepared baking sheet. Using a pastry brush, gently coat the tops of each biscuit with the lightly beaten egg or milk glaze for a beautiful golden-brown finish.
- Bake for about 10-12 minutes, or until the biscuits have significantly risen and are beautifully golden brown on top.
- Remove the biscuits from the oven and allow them to cool slightly on the baking sheet before transferring them. Serve warm for the best experience.
- For the Optional Maple Glaze: In a small saucepan, combine the maple syrup and butter. Heat the mixture to a gentle simmer over medium-high heat and allow it to reduce for 3 to 4 minutes, until it has slightly thickened and become glossy.
- Generously brush the warm, freshly baked buttermilk biscuits with the prepared maple glaze immediately after they come out of the oven.
Equipment Needed
- Large Mixing Bowls
- Pastry Cutter (or simply use your fingers)
- Sharp Metal Biscuit Cutter
- Baking Sheet
- Parchment Paper
- Pastry Brush (for glazing)
- Small Saucepan (for optional glaze)
Recipe Notes & Expert Tips for Biscuit Success
- Cold Ingredients are Crucial: Always use very cold butter and buttermilk. This ensures the butter creates steam pockets in the oven, leading to flaky layers, and keeps the dough tender.
- Check Baking Powder Freshness: An active leavening agent is vital for tall, fluffy biscuits. Always check the expiration date on your baking powder.
- Avoid Overworking the Dough: The less you handle the dough, the more tender your biscuits will be. Overmixing develops gluten, which makes biscuits tough. Mix just until combined.
- Buttermilk for Tenderness: The acidity in buttermilk reacts with baking powder for extra lift and a soft crumb. If you don’t have buttermilk, use our DIY substitute (milk + vinegar/lemon juice).
- Proper Cutting Technique: Press your biscuit cutter straight down into the dough and lift straight up. Twisting the cutter can seal the edges, hindering the biscuit’s ability to rise properly.
Estimated Nutrition Information (Per Serving)
(Based on 12 servings without optional glaze)
- Calories: 207 kcal
- Carbohydrates: 26g
- Protein: 4g
- Fat: 10g
- Saturated Fat: 6g
- Polyunsaturated Fat: 1g
- Monounsaturated Fat: 3g
- Trans Fat: 0.4g
- Cholesterol: 38mg
- Sodium: 180mg
- Potassium: 67mg
- Fiber: 1g
- Sugar: 6g
- Vitamin A: 310 IU
- Calcium: 61mg
- Iron: 1mg
Nutritional information provided is an estimate and serves as a courtesy. Values may vary significantly based on specific ingredients, brands, exact measurements, and preparation methods used. For detailed and precise nutritional information, please consult your preferred nutritional calculator using your exact recipe components.