
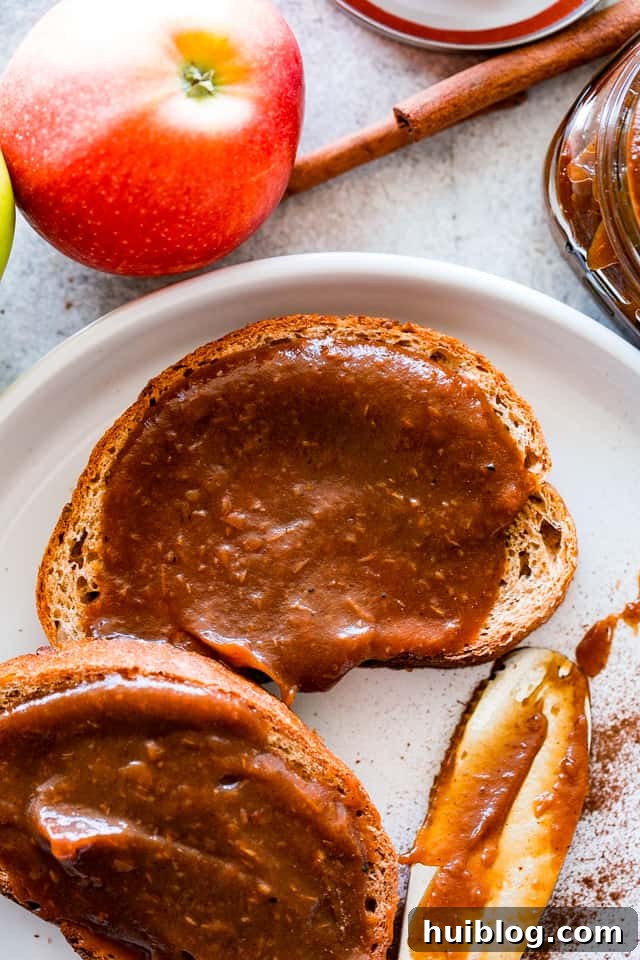
Sweet, delicious, gently caramelized, and infused with an exquisite blend of warming spices, this Instant Pot Apple Butter truly captures the essence of autumn in every spoonful. Imagine the rich aroma filling your kitchen as you create this delightful spread, a perfect testament to the season’s bounty.
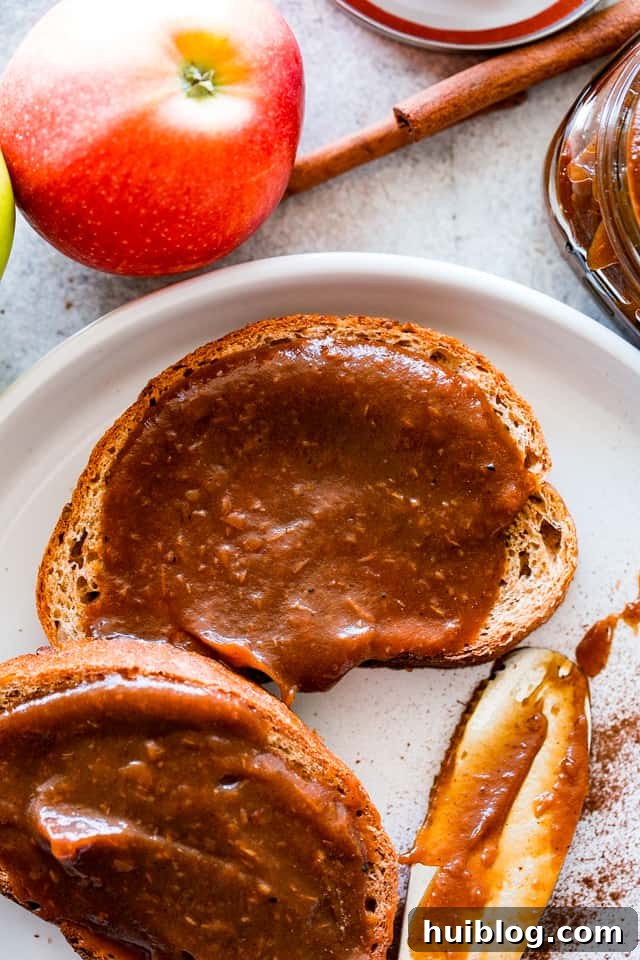
Effortless Instant Pot Apple Butter: Your Go-To Fall Recipe
Traditional apple butter recipes are renowned for their incredible depth of flavor, but they often come with a significant time commitment, typically involving hours of slow simmering and stirring. For those who cherish homemade goodness but live busy lives, this Instant Pot Apple Butter recipe is a game-changer. It dramatically slashes the cooking time without compromising on that coveted deep caramelization and spiced aroma. In less than an hour, your Instant Pot transforms humble apples into a luxurious, cinnamon-infused butter that’s perfect for spreading, baking, or gifting. Plus, it’s incredibly versatile and freezer-friendly, allowing you to enjoy the taste of autumn for up to six months.
Applesauce vs. Apple Butter: Understanding the Delicious Difference
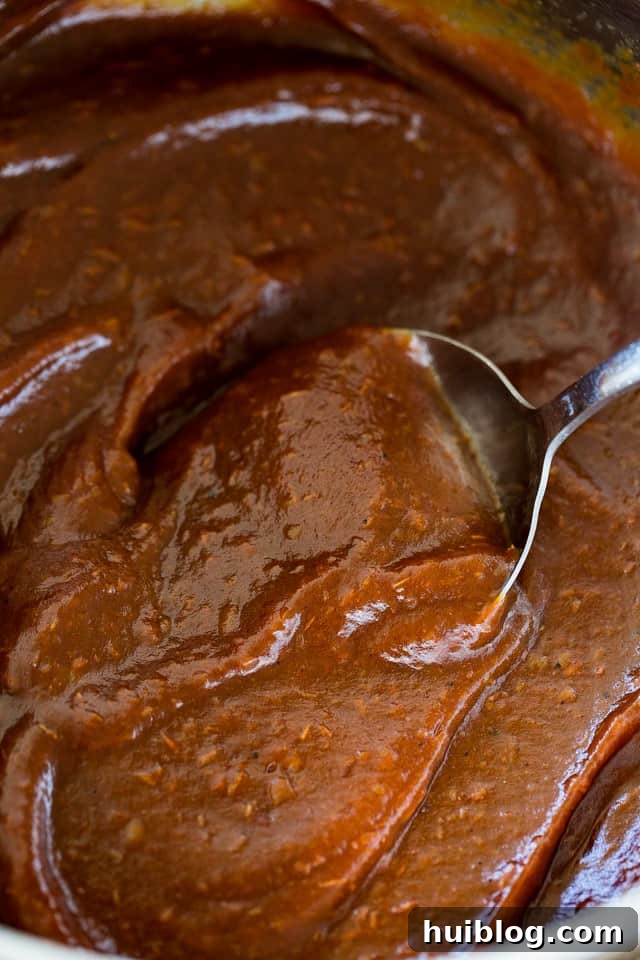
While both applesauce and apple butter are delightful apple-based spreads, their fundamental difference lies in a crucial culinary process: caramelization. Applesauce is typically cooked down until the apples are soft and easily pureed, resulting in a lighter-colored, often chunkier, and less intensely flavored product. It might be lightly spiced or entirely unspiced.
Apple butter, however, takes things a step further. After the initial cooking and pureeing, the mixture is cooked again, slowly and patiently, to allow the natural sugars within the apples to brown and caramelize. This process deepens the flavor profile, giving apple butter its characteristic rich, dark brown color and a lusciously smooth, concentrated sweetness with notes reminiscent of caramel. Furthermore, apple butter is almost always generously spiced with warming autumn flavors like cinnamon, allspice, and nutmeg, which become more pronounced as the butter cooks down. The final consistency is also much thicker and more spreadable than applesauce.
To Peel or Not to Peel: For Instant Pot Apple Butter
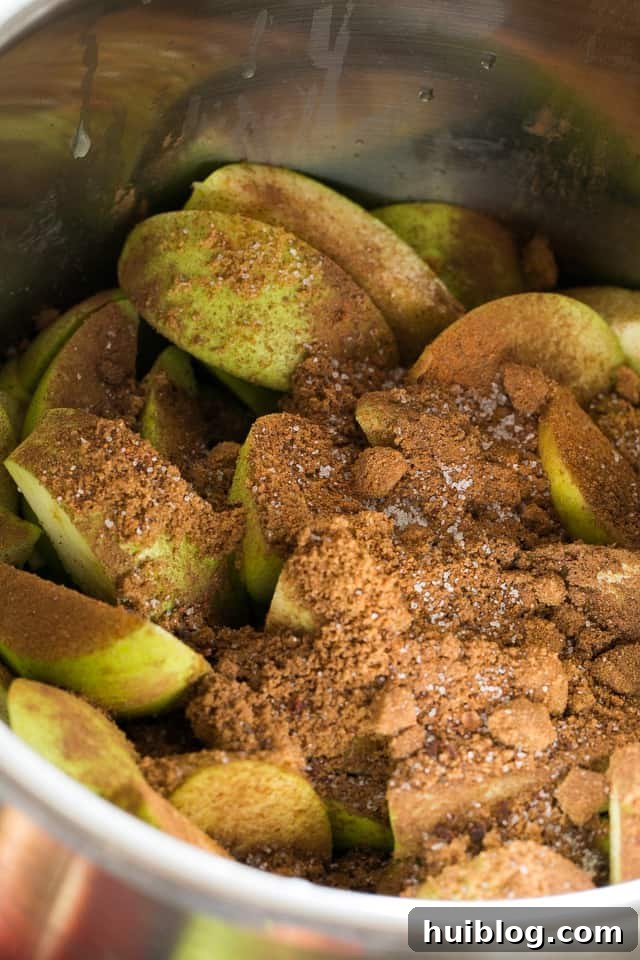
When preparing apples for apple butter, one common question arises: should you peel them? The good news is, for Instant Pot Apple Butter, you absolutely can leave the peels on! This not only saves a significant amount of preparation time but also contributes to a deeper color and additional nutrients. The pressure cooking process softens the peels so thoroughly that an immersion blender or food processor will easily render them undetectable, resulting in a perfectly smooth consistency.
However, there are a couple of considerations: If your apples are conventional and waxed, it’s advisable to either peel them or use a wax-removal method to ensure the best flavor and purity. For unwaxed or organic apples, simply wash them thoroughly before coring and cutting into wedges. Whichever method you choose, always ensure your apples are well-cleaned to remove any dirt or residues.
Essential Ingredients for the Best Instant Pot Apple Butter
Crafting exceptional homemade apple butter starts with selecting high-quality ingredients. Here’s a closer look at what you’ll need for this delicious Instant Pot recipe:
- Apples: You’ll need about 5 pounds of cored and wedged apples. While Granny Smith adds a lovely tartness that balances the sweetness, a blend of sweet and tart varieties often yields the most complex flavor. Excellent sweet options include Pink Lady, Fuji, Golden Delicious, Honeycrisp, Gala, and Braeburn. These apples break down beautifully and contribute to the rich caramelization.
- Fresh Lemon Juice: A splash of lemon juice is crucial. It not only brightens the overall flavor of the apple butter but also helps prevent the apples from oxidizing and turning brown too quickly during preparation, ensuring a vibrant final color.
- Brown Sugar: This provides a deeper, richer sweetness compared to granulated sugar, thanks to its molasses content. Always remember to pack brown sugar firmly into your measuring cup for accurate results.
- Granulated Sugar: Used in conjunction with brown sugar, granulated sugar contributes pure sweetness and aids in the caramelization process. For a slightly less refined option, you can substitute raw or natural sugar for some or all of the granulated and brown sugar.
- Apple Cider: This liquid is essential for pressure cooking in the Instant Pot, providing the necessary moisture and adding an extra layer of apple flavor. Ensure you use pure apple cider, not apple cider vinegar, which would make your butter too tart. If apple cider isn’t available, pure apple juice makes a suitable alternative.
- Warming Spices: Cinnamon, Allspice, and Nutmeg: This classic trio is what truly defines apple butter’s signature autumn flavor. Ground cinnamon forms the base, while allspice and nutmeg add subtle warmth and complexity. Feel free to adjust the quantities to suit your personal preference or add a pinch of ground cloves or ginger for an extra kick.
- Pure Vanilla Extract: Added at the end, vanilla extract enhances all the other flavors, lending a touch of aromatic sweetness and rounding out the overall profile of your apple butter. Always opt for pure vanilla extract for the best results.
Step-by-Step Guide: How to Make Apple Butter In The Instant Pot
Making delicious homemade apple butter in your Instant Pot is surprisingly straightforward. Follow these simple steps for a perfect batch:
- Prepare the Apples and Pressure Cook: Begin by washing, coring, and cutting your 5 pounds of apples into roughly uniform wedges. If you’re leaving the peels on, ensure they are well-cleaned. Place the prepared apple wedges directly into the inner pot of your Instant Pot. Add the fresh lemon juice, both brown and granulated sugars, apple cider, cinnamon, allspice, nutmeg, and vanilla extract. Stir everything together gently until the apples are well coated with the sugars and spices. Secure the Instant Pot lid and set the steam release valve to the “Sealing” position. Select the “Pressure Cook” or “Manual” setting and set the cooking time to 8 minutes on HIGH pressure.
- Natural Pressure Release & Blending: Once the 8 minutes of high-pressure cooking are complete, allow the Instant Pot to naturally release pressure for 15 minutes. This natural release (NPR) is crucial as it allows the apples to fully tenderize and prevents a sudden burst of steam and apple pulp. After 15 minutes, carefully move the steam release valve to the “Venting” position to release any remaining pressure, then open the lid. The cooked apples will be incredibly soft.
- Achieving Smoothness: Now it’s time to transform the cooked apples into a smooth puree. For convenience, an immersion blender is ideal; simply insert it directly into the Instant Pot and blend until completely smooth. If you don’t have an immersion blender, you can carefully transfer the apple mixture in batches to a regular high-powered blender or food processor and process until silky smooth. Be extremely cautious when blending hot liquids, only filling the blender halfway and venting the lid. Once blended, return all the pureed apple butter to the Instant Pot.
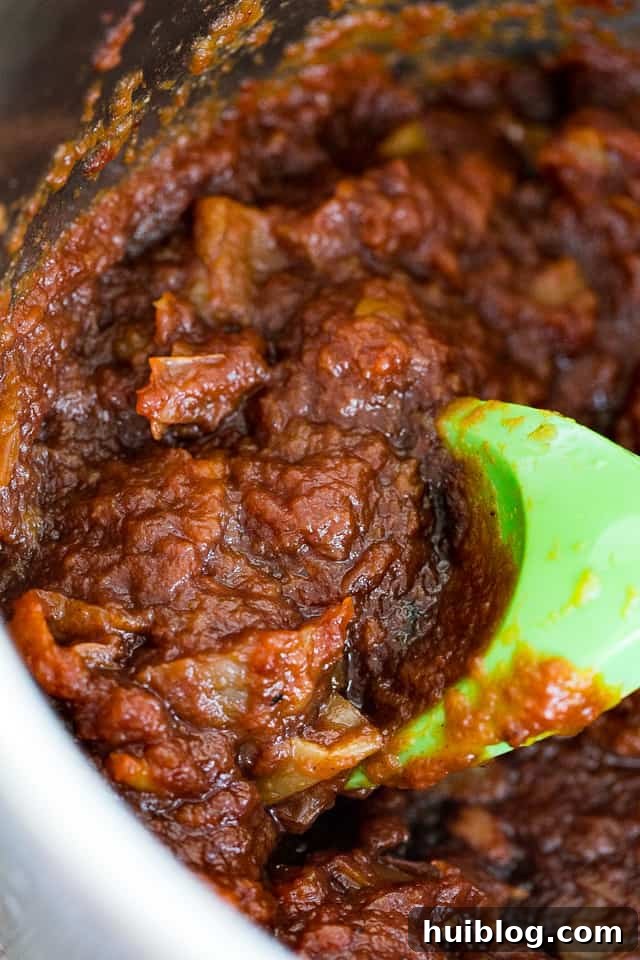
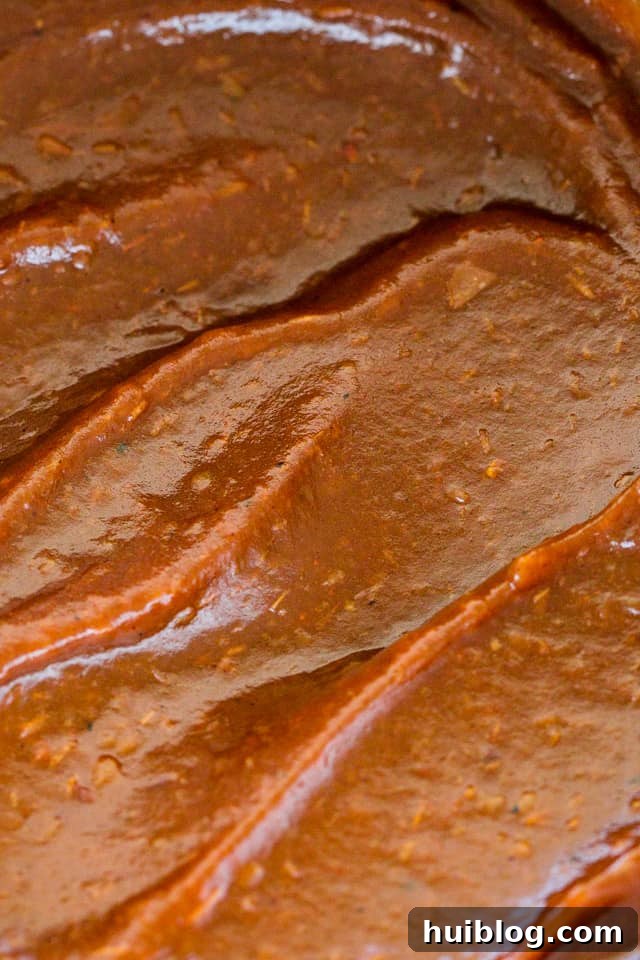
- Simmer and Thicken: Turn your Instant Pot to the “Sauté” function and press the “Minus” button (or adjust the setting) to set it to “LESS” or “Low” sauté mode. This gentle heat is perfect for simmering. Bring the apple puree to a gentle simmer, stirring frequently to prevent sticking. Continue to cook for approximately 12 to 15 minutes, or until the apple butter thickens to a spreadable consistency and develops a rich, dark golden-brown color. The longer you simmer, the more concentrated and caramelized the flavor will become.
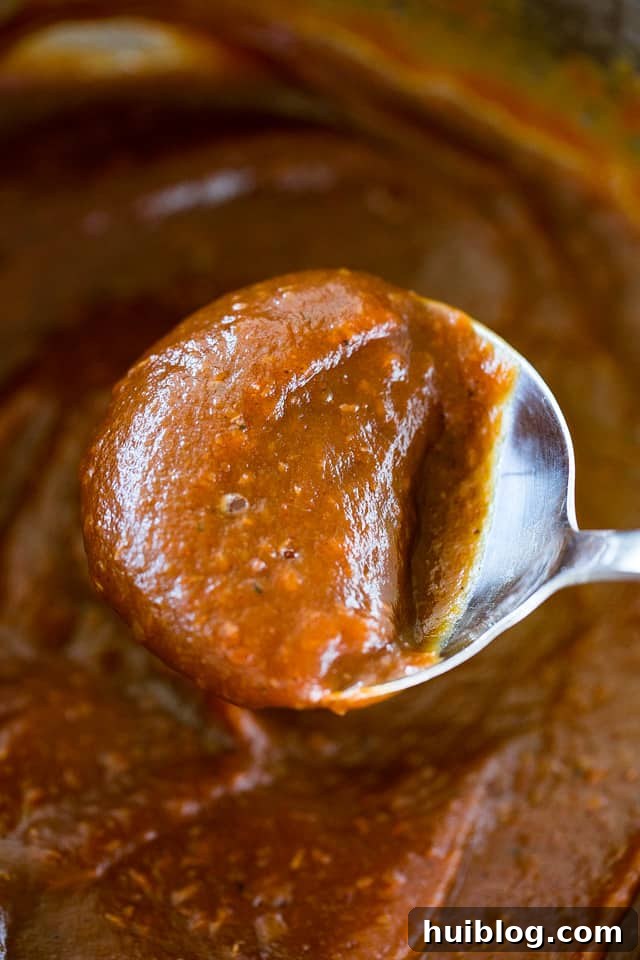
- Cool, Serve, and Store: Once the apple butter has reached your desired consistency, turn off the Instant Pot. For best results, allow the apple butter to cool completely inside the Instant Pot. This slow cooling helps prevent condensation and further thickens the butter. Once cooled, spoon your homemade apple butter into airtight containers. It’s now ready to be enjoyed!
Creative Ways to Enjoy Your Homemade Apple Butter
Homemade apple butter is incredibly versatile and can be enjoyed in countless ways beyond a simple spread. Its rich, spiced flavor makes it a fantastic addition to both sweet and savory dishes:
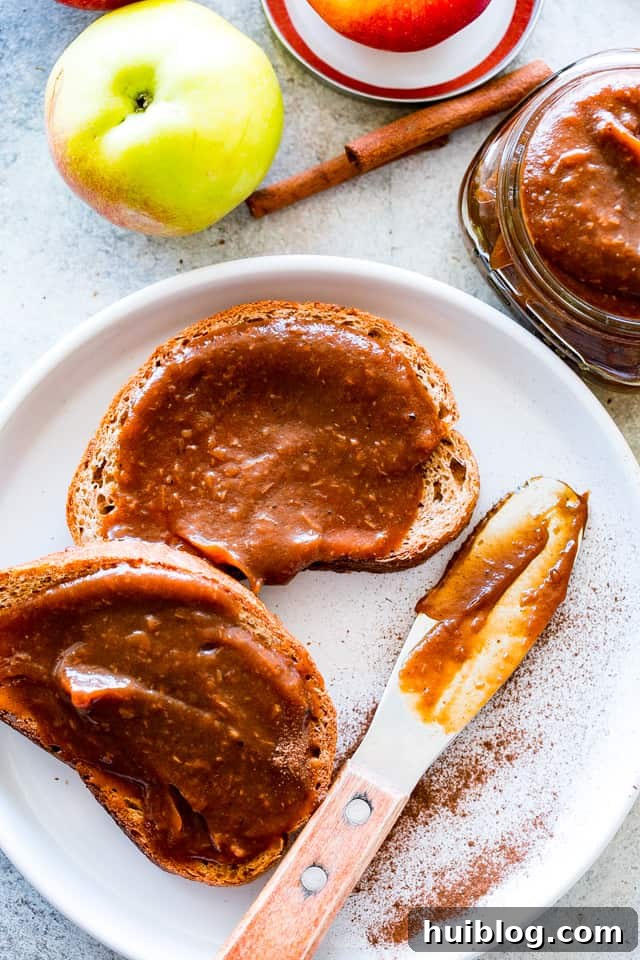
- Classic Breakfast & Brunch: Naturally, apple butter shines on warm toast, fluffy pancakes (try it with these!), golden waffles, tender biscuits, or even stirred into your morning oatmeal or yogurt. It’s also fantastic on English muffins, crumpets, and scones.
- Elegant Charcuterie Boards: Elevate your next cheese or charcuterie spread by including a small bowl of apple butter. Its complex sweetness and fruity mellowness pair beautifully with sharp cheddar, creamy goat cheese, robust blue cheese, and various cured meats. Serve it alongside artisanal crackers and crusty bread for a sophisticated appetizer.
- Baking & Desserts: Use apple butter as a flavorful ingredient in your baking. Swirl it into muffin batter, incorporate it into autumn-themed cakes and cupcakes, or use it as a filling for tarts and pies. It can even be dolloped onto vanilla ice cream or used to create a stunning apple butter cheesecake.
- Savory Dishes & Marinades: Don’t limit apple butter to sweet applications! Its sweet and tangy profile makes it an excellent addition to savory cooking. Whisk it into homemade barbecue sauces for pork ribs or chicken, use it as a glaze for roasted ham or turkey, or even add a spoonful to a pan sauce for pork chops. It can also be incorporated into vinaigrettes for fall salads.
- Smoothies & Drinks: For a touch of fall flavor, blend a spoonful of apple butter into your morning smoothie. It adds natural sweetness and a hint of spice. You can also warm it gently with a splash of apple cider for a comforting, spiced apple drink.
Choosing the Perfect Apples for Apple Butter
While many recipes for apple desserts often call for tart, firm apples, crafting the best Instant Pot Apple Butter benefits from a slightly different approach. For apple butter, many cooks prefer a sweeter, more mellow apple or a blend of sweet and tart varieties. The inherent sugars in sweeter apples are more pronounced, leading to a richer and more pronounced caramelization during the cooking process, which is the hallmark of excellent apple butter. A blend offers complexity: the sweetness for caramelization, and a touch of tartness to prevent the butter from becoming cloyingly sweet.
Consider these varieties for your next batch:
- Sweet Apples: Fuji, Gala, Honeycrisp, Golden Delicious, Pink Lady (Cripps Pink), Braeburn. These apples break down beautifully and contribute natural sweetness, reducing the need for excessive added sugar.
- Sweet-Tart Balancers: Jonathan, Granny Smith (in combination with sweeter apples), McIntosh. Adding a few tart apples can provide a lovely bright note that cuts through the richness and adds depth to the overall flavor.
Experiment with your favorite sweet apple varieties or combine two or three different types to discover your ideal flavor profile. This experimentation is part of the joy of making homemade apple butter!
Storing and Preserving Your Homemade Instant Pot Apple Butter
Once you’ve made a batch of this delightful Instant Pot Apple Butter, proper storage ensures you can enjoy its rich flavor for weeks or even months. Here are the best ways to keep your apple butter fresh:
- Refrigeration: For immediate enjoyment and short-term storage, simply transfer the cooled apple butter into clean, airtight containers or jars. Stored in the refrigerator, it will maintain its quality and flavor for up to 3 weeks. Always ensure the containers are sealed tightly to prevent any absorption of refrigerator odors.
- Freezing: Apple butter freezes exceptionally well, making it perfect for preparing larger batches. Spoon the cooled apple butter into freezer-safe airtight containers, leaving about half an inch of headspace to allow for expansion. Alternatively, you can use heavy-duty freezer bags; simply lay them flat to freeze for easy stacking. Properly sealed, homemade apple butter can be stored in the freezer for up to 6 months. Thaw it in the refrigerator overnight before use.
- Canning: For long-term, shelf-stable storage, canning is an excellent option. Apple butter is a high-acid food, which makes it safe for water bath canning. If you wish to can your apple butter, it’s crucial to follow tested and approved canning guidelines precisely to ensure food safety. We recommend referring to reliable sources like Ball’s Canning Guides for comprehensive, step-by-step directions on how to properly prepare your jars, process the apple butter, and seal them for extended storage. This method allows you to enjoy your delicious apple butter throughout the year.
Instant Pot Apple Butter Recipe Card
An easy Instant Pot version of classic Apple Butter is a delicious and warm apple spread, caramelized and spiced with cinnamon, allspice, and nutmeg.
- Prep Time: 5 minutes
- Cook Time: 40 minutes
- Cooling Time: 30 minutes
- Total Time: 1 hour 15 minutes
- Yields: 48 ounces
Ingredients
- 5 pounds apples, cored, and cut into wedges (peel is optional)
- 1 tablespoon fresh lemon juice
- ½ cup brown sugar
- ¼ cup granulated sugar
- ¼ cup apple cider (NOT apple cider vinegar, but you can use pure apple juice if you don’t have apple cider)
- 1 teaspoon ground cinnamon
- ½ teaspoon ground allspice
- ½ teaspoon ground nutmeg
- 1 tablespoon pure vanilla extract
Instructions
- Place the prepared apples in the Instant Pot and stir in the lemon juice.
- To the apples, add sugars, apple cider, cinnamon, allspice, nutmeg, and vanilla; stir until well combined.
- Secure the lid. Set the valve to sealing. Set to Pressure Cook on HIGH for 8 minutes.
- When cooking time is up, allow Natural Pressure Release for 15 minutes. Remove the lid.
- Using an immersion blender, blend the apple mixture until smooth. You can also use a high-powered blender or a food processor to blend the apples, but do it in batches and return the blended apples back to the Instant Pot.
- Turn the Instant Pot to Saute and press the MINUS button to set it to LESS.
- Bring the mixture to a simmer and continue to cook for 12 to 15 minutes or until thickened to desired consistency.
- Turn OFF the Instant Pot, but let the apple butter completely cool inside the pot.
- Once cooled, spoon the apple butter into an airtight container and keep refrigerated for 3 weeks. You can also freeze it for up to 6 months.
- If you want to preserve the Apple Butter in jars, use Ball’s Canning Guides for step-by-step directions.
Nutrition
Nutritional info is an estimate and provided as courtesy. Values may vary according to the ingredients and tools used. Please use your preferred nutritional calculator for more detailed info.
- Serving: 1 ounce
- Calories: 39 kcal
- Carbohydrates: 10g
- Protein: 1g
- Fat: 1g
- Saturated Fat: 1g
- Sodium: 1mg
- Potassium: 55mg
- Fiber: 1g
- Sugar: 8g
- Vitamin A: 26 IU
- Vitamin C: 2mg
- Calcium: 5mg
- Iron: 1mg
ENJOY!