
The Ultimate Guide to Delicious Homemade Cake Pops: Easy, Fun, and Perfect Every Time
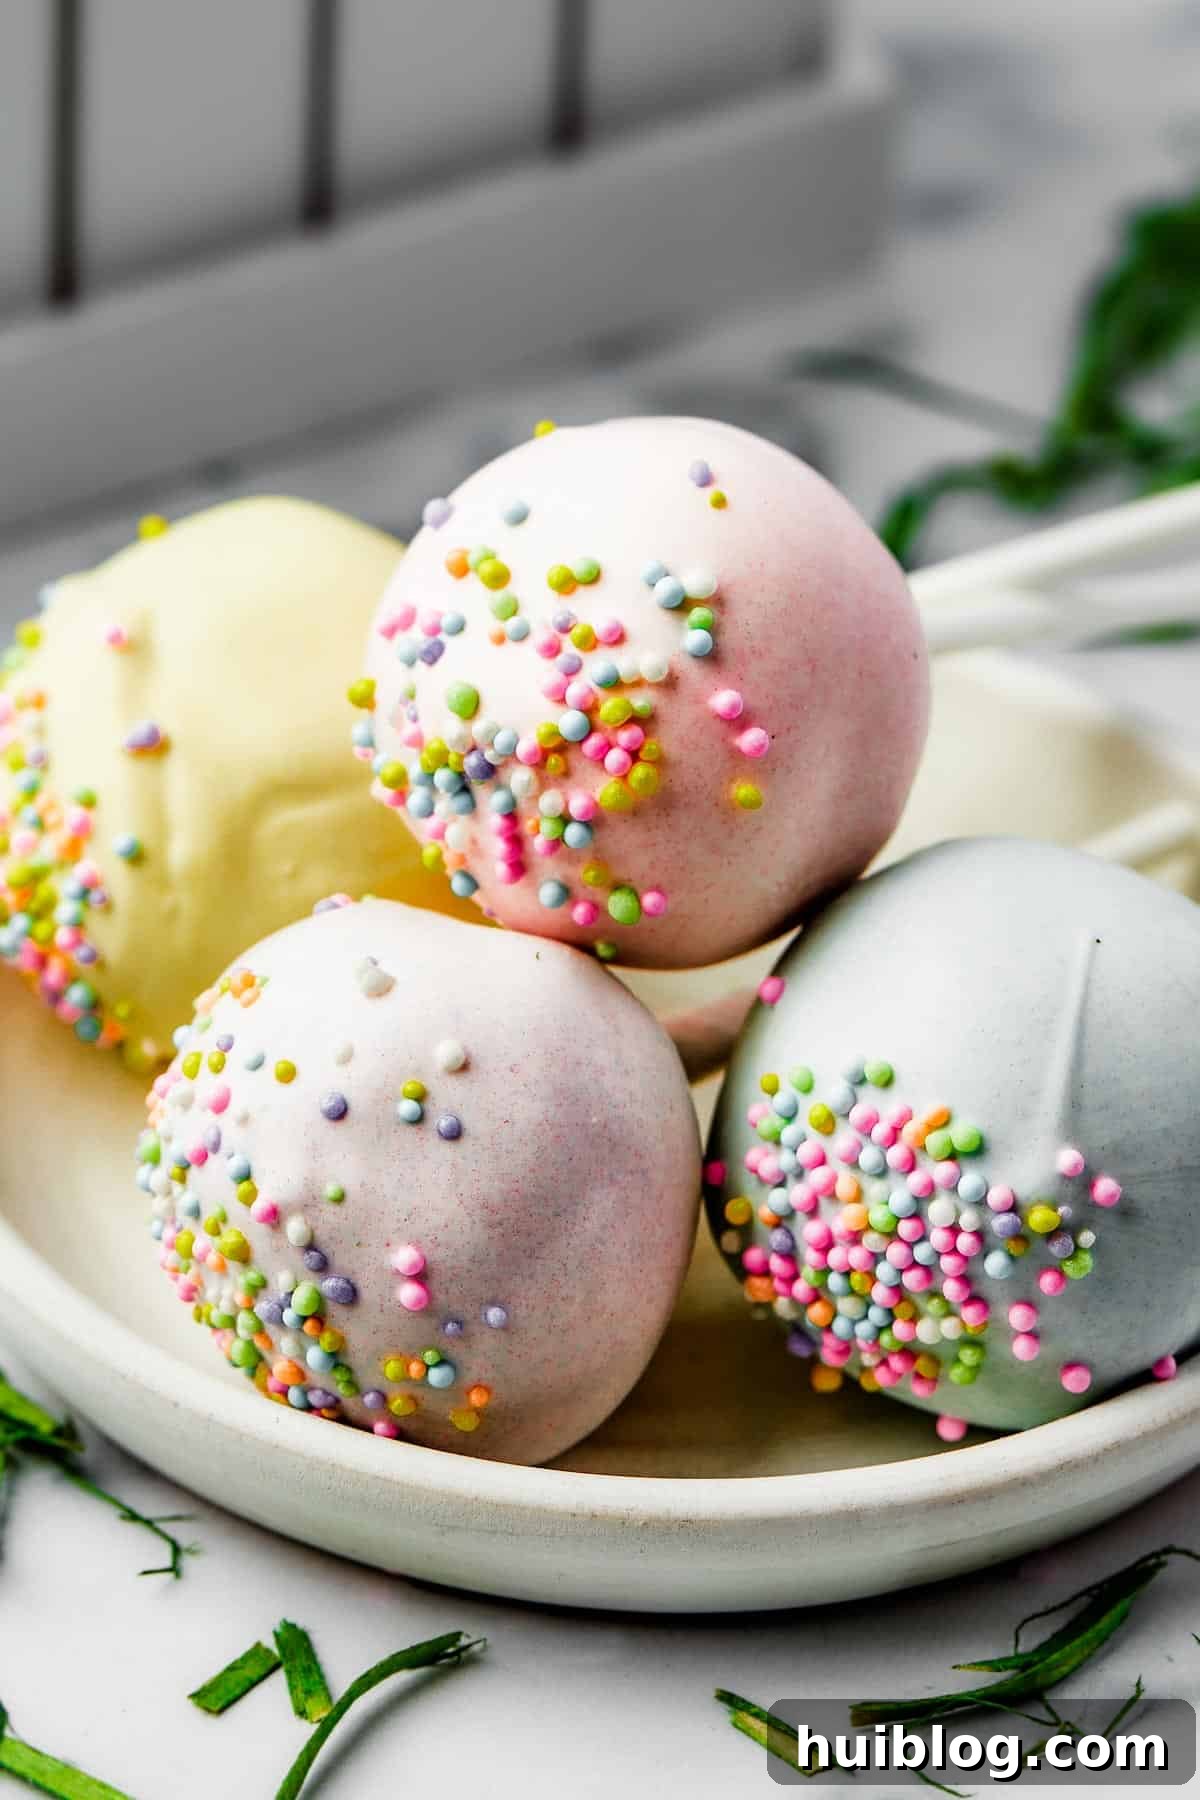
Prepare to delight your taste buds with these enchanting Homemade Cake Pops! A whimsical, bite-sized confection, these treats offer a delightful spin on traditional cake and frosting. Crafted effortlessly from a simple yellow cake mix and vibrant candy melts, each pop promises a moist, tender, and intensely flavorful experience. They are the quintessential sweet dessert that captivates hearts and palates of all ages.
Unleash Your Inner Baker: Why Homemade Cake Pops Reign Supreme
Cake pops have emerged as a global sensation in recent years, transforming the simple cake into a portable, charming lollipop-style treat. Imagine rich, buttery cake spheres enveloped in a smooth, vibrant candy shell, often adorned with playful sprinkles and decorations. It’s a dessert that’s hard to resist, especially for children who are instantly drawn to their fun appearance.
While bakeries and coffee shops like Starbucks offer their delightful versions, often at a premium price, there’s an unparalleled joy and satisfaction in crafting these beauties in your own kitchen. Not only does making cake pops at home prove to be significantly more budget-friendly, but it also opens up a world of creative possibilities. You gain complete control over flavors, colors, and designs, allowing you to perfectly match any occasion or simply indulge your family with personalized treats. Forget the bakery queues and exorbitant costs; your best cake pop experience starts here!
The Secret Behind Irresistibly Moist Cake Pops
One of the most appealing characteristics of a perfect cake pop, and arguably its greatest charm, is its incredibly moist and tender interior. This isn’t just cake; it’s a luscious, truffle-like consistency that melts in your mouth. The secret to achieving this sublime texture lies in the ingenious combination of crumbled cake and creamy frosting, meticulously blended together. This fusion creates a velvety richness that transforms ordinary cake into something extraordinary, making each bite a truly decadent experience.
Essential Ingredients and Tools: What You’ll Need to Get Started
Our approachable cake pop recipe begins with the convenience of a boxed cake mix, streamlining the baking process for busy schedules. However, for those who relish the art of baking from scratch, feel free to substitute with your favorite homemade cake recipe. For instance, our BEST-EST homemade Chocolate Cake makes an excellent base!
For the Cake Base:
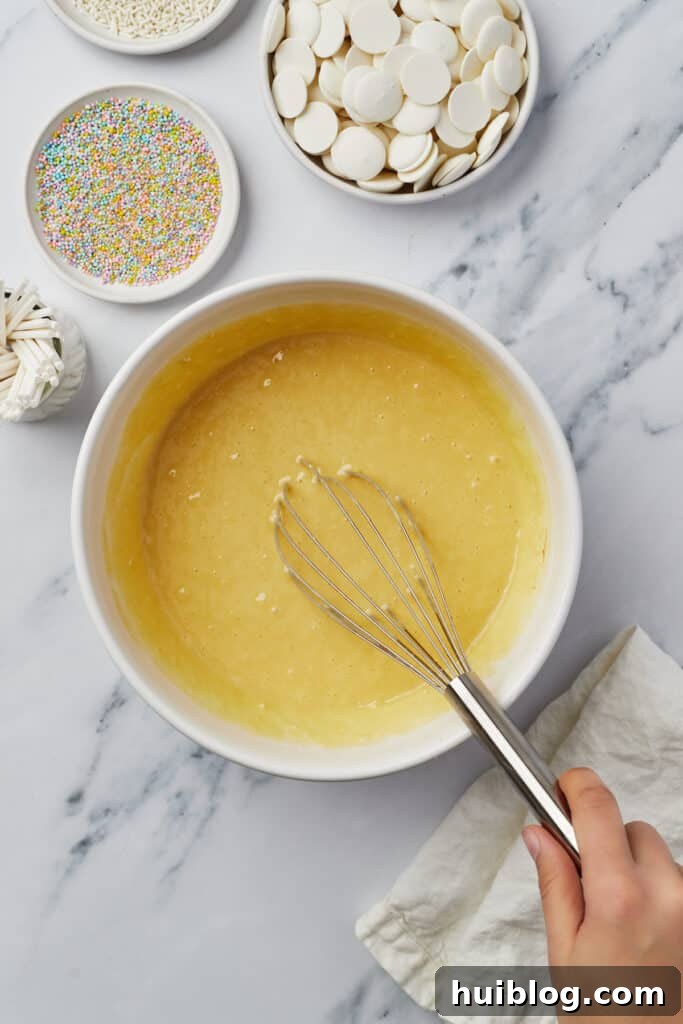
- Yellow Cake Mix: Any brand of a standard 16-ounce yellow cake mix will work beautifully. Its classic flavor provides a versatile canvas for various coatings.
- Water: As directed by your cake mix package, essential for proper batter consistency.
- Vegetable Oil: A mild-flavored oil is crucial for adding moisture and richness to the cake. Canola or sunflower oil are suitable alternatives.
- Eggs: Large, whole eggs are recommended for optimal structure, flavor, and moisture in your cake.
For the Silky Smooth Frosting:
- Unsalted Butter: Softened to room temperature, unsalted butter allows you to control the overall saltiness of your frosting. If using salted butter, reduce the added salt slightly.
- Powdered Sugar: Also known as confectioners’ sugar, this finely ground sugar is essential for a smooth, lump-free frosting. Granulated sugar will not yield the desired texture.
- Heavy Whipping Cream: A splash of heavy cream helps achieve that luscious, creamy consistency, bringing all the frosting ingredients together harmoniously.
- Vanilla Extract: Pure vanilla extract offers the best, most aromatic flavor. A scraped vanilla bean pod can also be used for an elevated taste. Vanilla flavoring can be used in a pinch.
- Salt: A small amount of salt balances the sweetness and enhances the overall flavor profile of your frosting.
Essential Tools & Decorating Supplies:
- Candy Melts: White candy melts are a versatile choice, easily colored with food coloring. Alternatively, pre-colored candy melts are fantastic for specific themes, eliminating the need for additional coloring.
- Food Coloring and Sprinkles: These are entirely optional but highly encouraged for adding a festive touch and vibrant personality to your cake pops.
- Lollipop Sticks: Commonly found in the baking aisle of most grocery stores or easily ordered online, these provide the classic stick for your pops.
- Styrofoam Block: An indispensable tool for holding your cake pops upright while the candy coating sets. This ensures an even, professional finish.
Step-by-Step Guide: Crafting Your Perfect Cake Pops
While making cake pops involves a few distinct stages, the process is wonderfully enjoyable and incredibly rewarding. It’s also a fantastic project to involve younger helpers, transforming baking into a fun, family-friendly activity!
1. Bake Your Cake to Perfection
- First, preheat your oven to a steady 350°F (175°C).
- In a generously sized mixing bowl, combine the yellow cake mix, water, vegetable oil, and eggs. Mix thoroughly until the batter is smooth and well-incorporated.
- Pour the prepared batter into a greased cake pan (a 13×9 inch pan is ideal). Bake the cake according to the specific directions on the cake mix package.
- Once baked, allow the cake to cool completely on a wire rack. This step is crucial for the texture of your cake pops.
- Once cooled, use your hands to crumble the entire cake into fine, even crumbs in a large bowl. Set this aside while you prepare the frosting.
2. Whip Up the Creamy Frosting
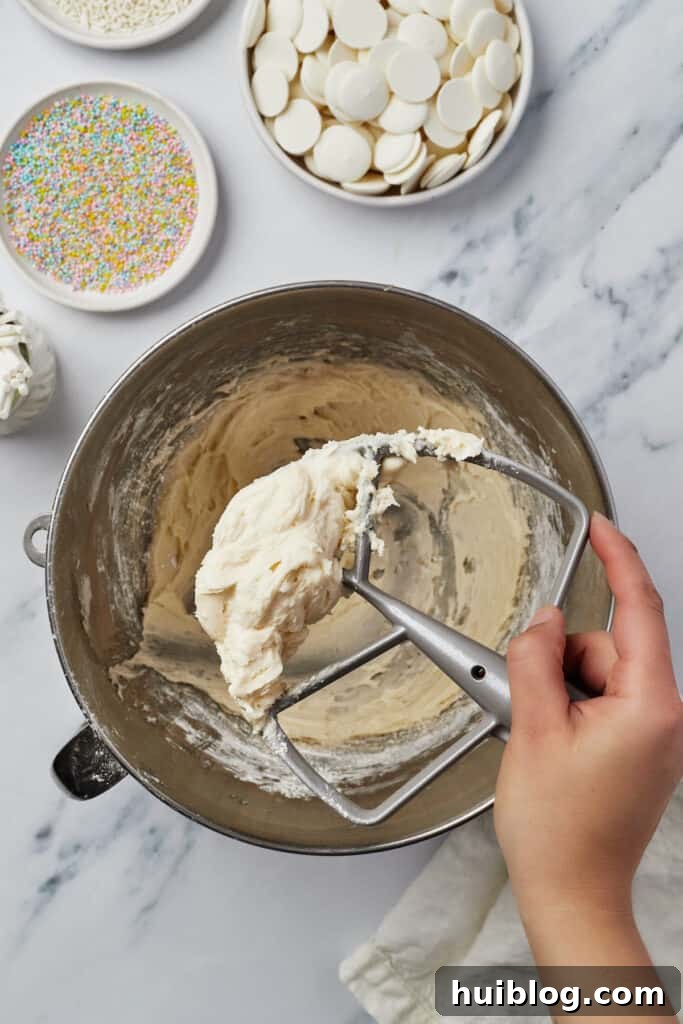
- To prepare the frosting, begin by beating the softened butter in a stand mixer fitted with a paddle attachment (a hand mixer works just as well). Beat on medium speed until the butter becomes noticeably light and fluffy, usually 2-3 minutes.
- Gradually add the powdered sugar, heavy whipping cream, vanilla extract, and salt to the butter. Continue beating on medium speed until the mixture is smooth, creamy, and free of lumps.
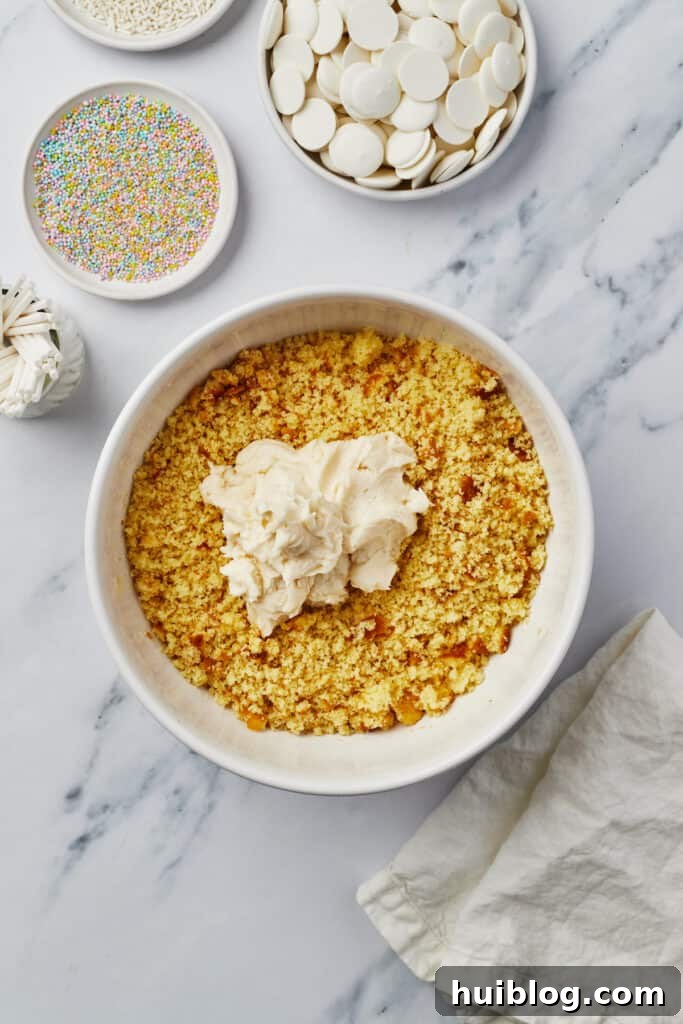
- Now, gently add small amounts of this delightful frosting to your crumbled cake, stirring it in evenly with a spatula or your hands. Continue adding frosting until the mixture is soft, cohesive, and easily moldable into a dough-like consistency. Be careful not to add too much frosting, or your cake pops may become too sticky.
3. Forming the Cake Pop Balls
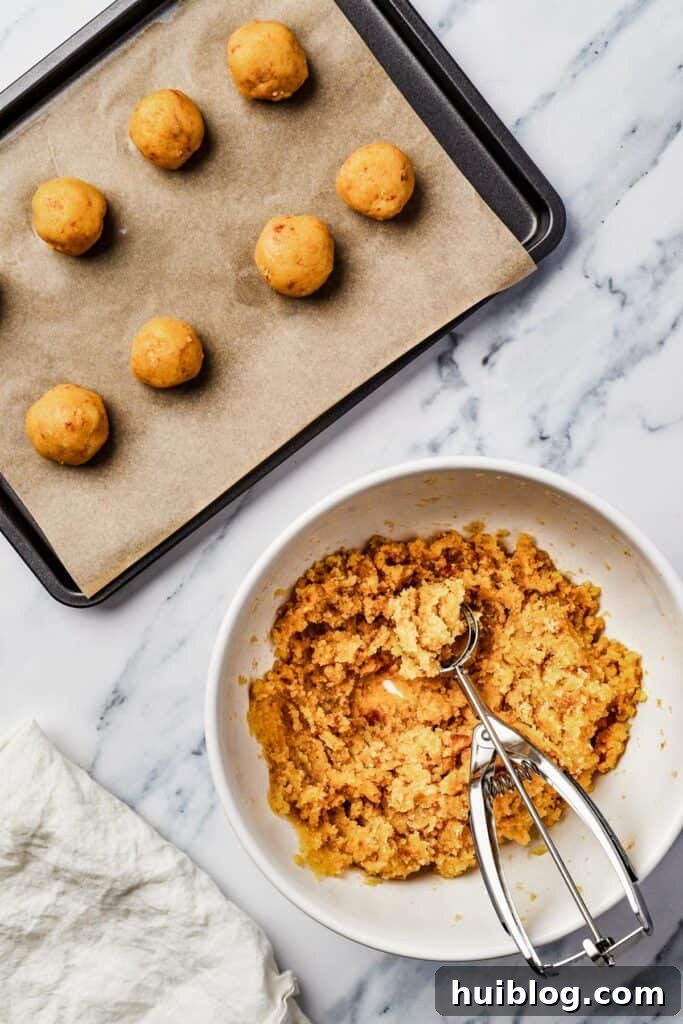
- Using a cookie scoop or tablespoon, portion out approximately two tablespoons of the cake mixture for each ball. Roll these portions tightly between your palms to form smooth, uniform spheres.
- As you form each cake pop ball, place them onto a baking tray or plate lined with parchment paper. This prevents sticking.
- Once all the cake mixture has been rolled, place the tray of cake pop balls into the freezer for at least one hour. This firming step is vital; it helps the balls hold their shape and stay securely on the lollipop sticks during dipping.
4. Melting and Preparing Your Candy Coating
- Just before you are ready to decorate, melt your candy melts according to the package directions. It’s often best to do this in a microwave-safe bowl, stirring frequently.
- Once melted and smooth, pour the candy melts into a deep, tall container. A glass jar or a tall drinking glass works perfectly, as it allows for easy, full dipping of the cake balls.
- If desired, stir a few drops of food coloring into the melted candy to achieve your preferred vibrant hue.
5. The Art of Dipping and Decorating
- Retrieve the chilled cake pop balls from the freezer. They should be very firm.
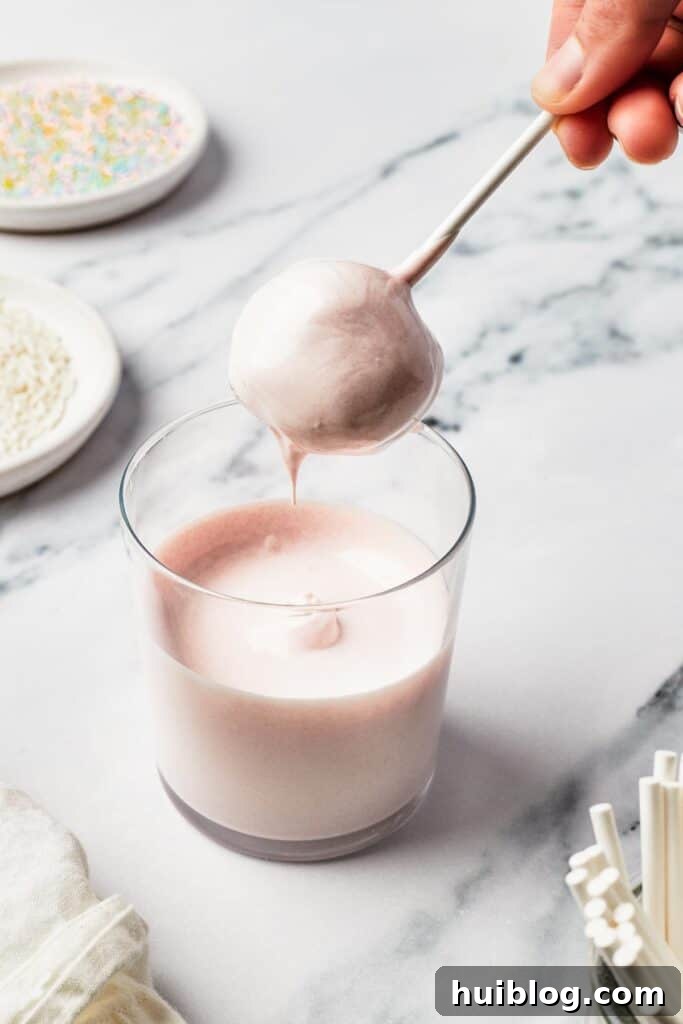
- To assemble, dip the very tip of a lollipop stick into the melted candy coating, then carefully insert the coated end halfway into a cake pop ball. This acts as an edible “glue” to secure the cake ball to the stick.
- Holding the stick, dip the entire cake pop into the melted candy, gently rotating it to ensure a complete and even coating. Slowly lift the pop out, allowing any excess candy to drip back into your container.
- Immediately after dipping (before the candy sets), sprinkle with your chosen decorations. This is the moment to add those fun sprinkles, crushed nuts, or edible glitter.
- Finally, push the lollipop stick of each finished cake pop into a styrofoam block to hold it upright. This allows the candy coating to set smoothly and evenly without flat spots.
- Repeat the dipping and decorating process with the remaining cake pops until they are all beautifully coated.
Expert Tips for Flawless Cake Pops Every Time
With these straightforward steps, you’re well on your way to creating festive, bakery-worthy cake pops. You’ll impress everyone with what looks like a gourmet treat, yet is surprisingly simple to make. For an even smoother and more successful cake pop journey, keep these expert tips in mind:
- Secure the Lollipop Sticks: To prevent your cake balls from slipping off the sticks, always pre-dip the tip of each lollipop stick into a bit of melted candy coating before inserting it into the cake ball. Allow this “glue” to set for a few seconds. When dipping the entire pop, make sure the candy coating extends all the way up to the stick, creating a stronger bond.
- Alternative Stands for Drying: No styrofoam block? No problem! Get creative with alternatives. A colander with small holes, an upside-down egg carton, or even a sturdy cardboard box with holes poked into it can serve as a perfect drying rack for your cake pops.
- Mind the Size: Resist the urge to make your cake balls too large. Larger balls tend to be heavier and may not stay securely on the sticks, especially when dipped. Aim for about 2 tablespoons per ball for optimal balance and stability.
- Thinning Your Candy Melts: If your candy melts seem too thick for smooth dipping, you can thin them slightly. Add a tiny amount of vegetable shortening (like Crisco) or a specialized candy oil (do not use water or milk, as it will cause the chocolate to seize). Stir well until you reach a pourable consistency.
- Working in Batches: To prevent your cake balls from warming up too much while you’re dipping, work in small batches. Keep the remaining balls in the freezer until you’re ready for them.
- Proper Cooling for Setting: Once dipped and decorated, allow your cake pops ample time to fully set. Depending on the room temperature, this can take 15-30 minutes. You can also place them in the refrigerator for faster setting.
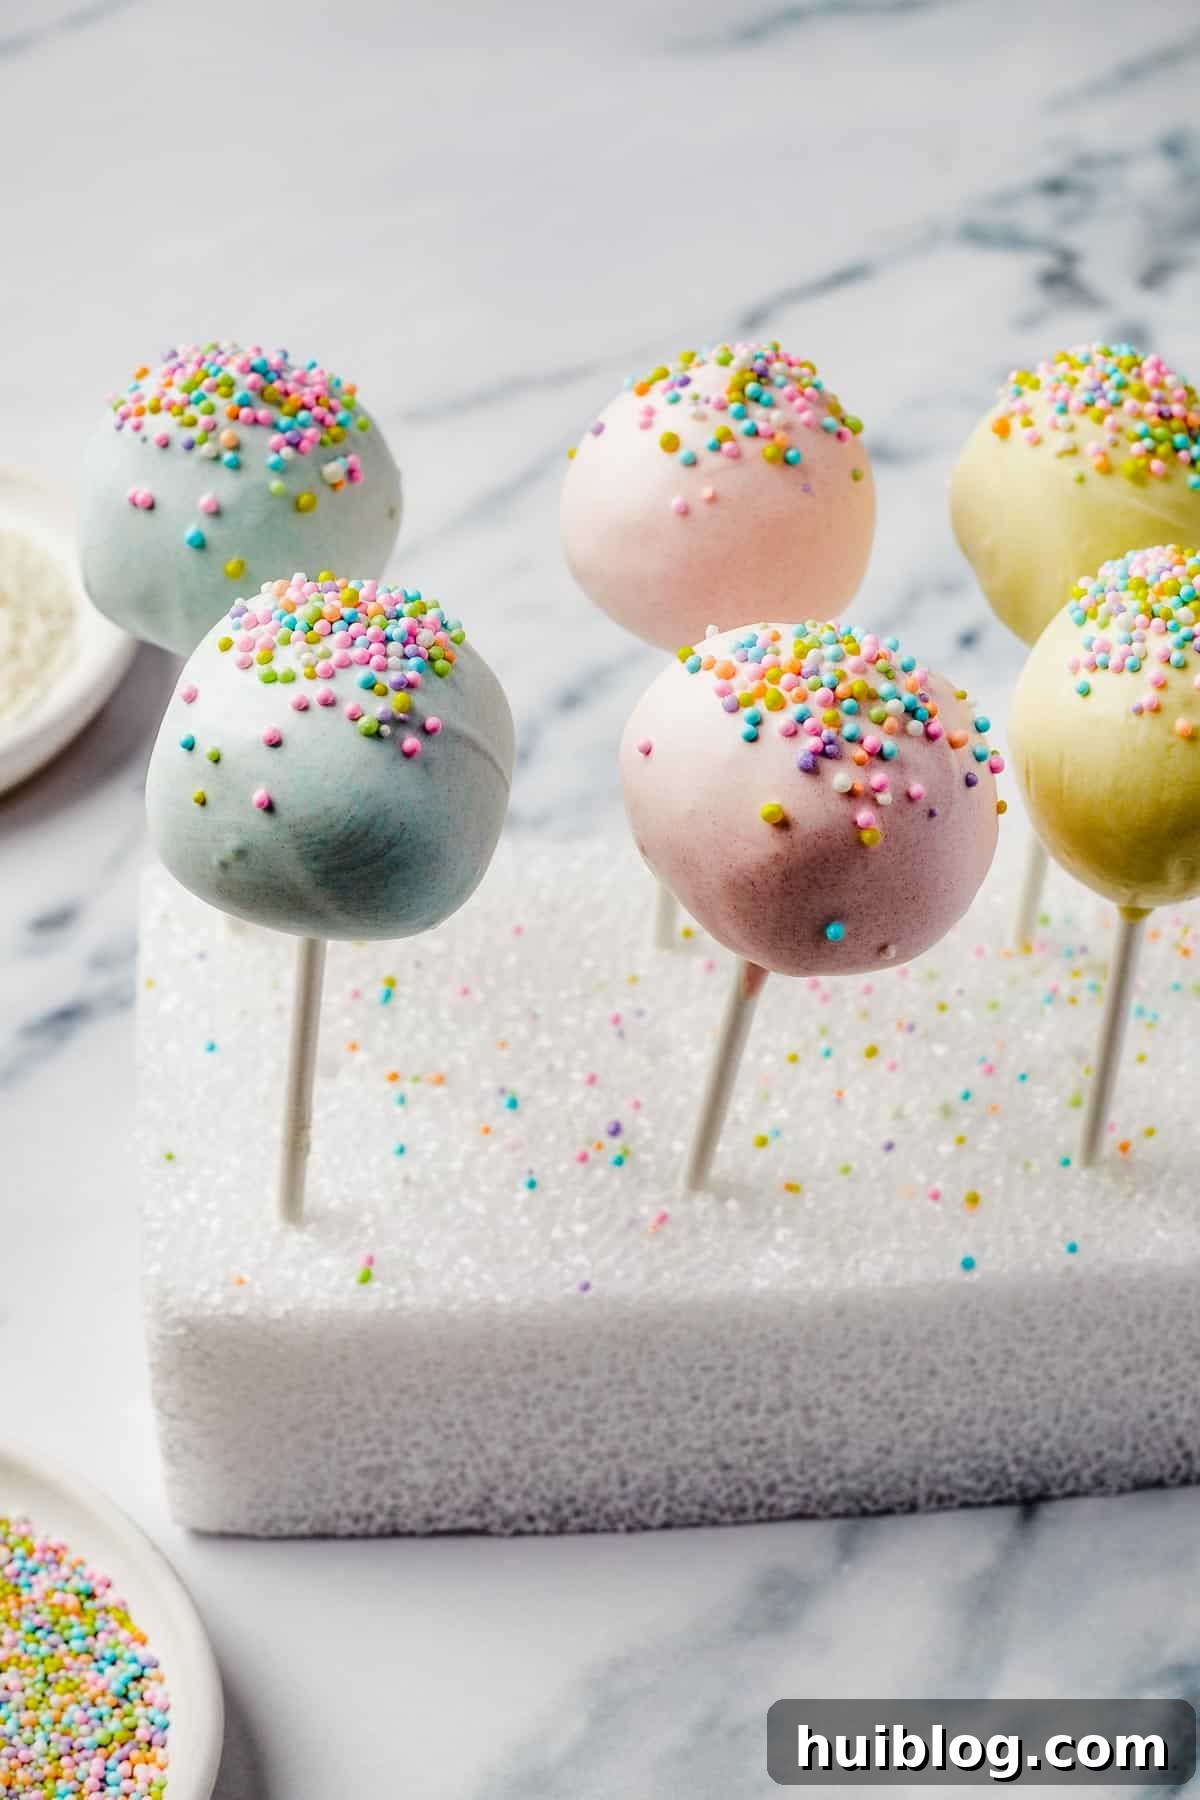
Creative Variations to Personalize Your Cake Pops
Cake pops are wonderfully versatile, offering endless possibilities for customization and flavor experimentation. Don’t be afraid to let your imagination run wild! Here are a few inspiring ideas to get you started:
- Explore Different Cake Flavors: While yellow cake provides a lovely, rich “custardy” base, feel free to experiment with any cake flavor you adore. Chocolate cake creates a decadent treat, red velvet offers a classic twist, and lemon cake brings a bright, zesty contrast. Even spice cake or funfetti can be fantastic options!
- Diverse Topping Ideas: Sprinkles are a classic, but the world of toppings is vast! Consider crushed peppermints for holiday pops, finely chopped pretzels for a sweet and salty crunch, or mini chocolate chips for added indulgence. A drizzle of contrasting melted chocolate or caramel sauce after the main coating sets also adds a gourmet touch. Shredded coconut, edible glitter, or even finely crushed cookies can elevate your cake pops.
- Frosting Shortcut for Convenience: For those days when time is of the essence, a quality store-bought frosting can be a lifesaver. While homemade frosting adds a luxurious richness, using pre-made frosting in a can is a perfectly acceptable and delicious shortcut, making your cake pop recipe even quicker and easier.
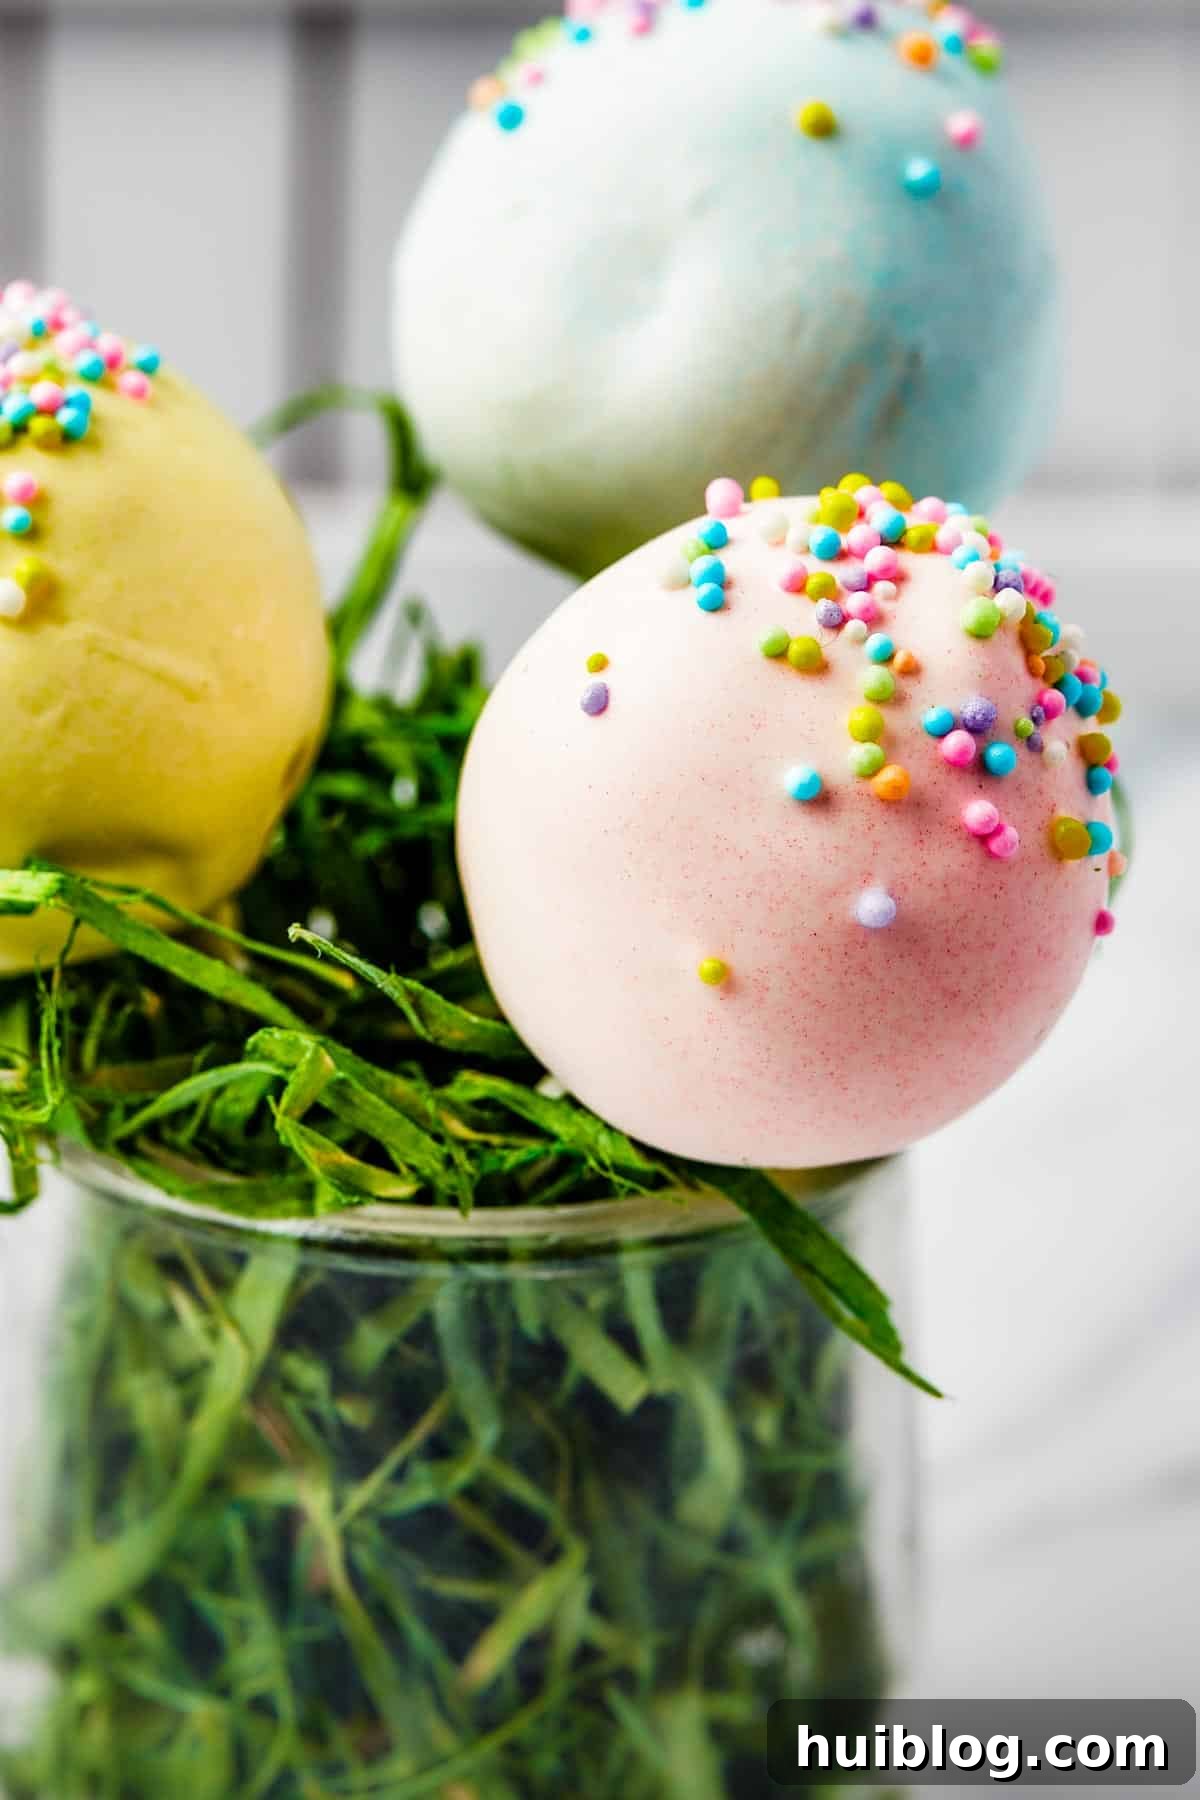
- Themed Cake Pops: Tailor your cake pops to specific holidays or events. Use orange and black candy melts for Halloween, red and green for Christmas, or pastel colors for Easter. You can also match school colors or party themes.
- Shape Shifters: Instead of round balls, consider using small cookie cutters to create heart, star, or animal shapes from your chilled cake mixture for an extra special touch.
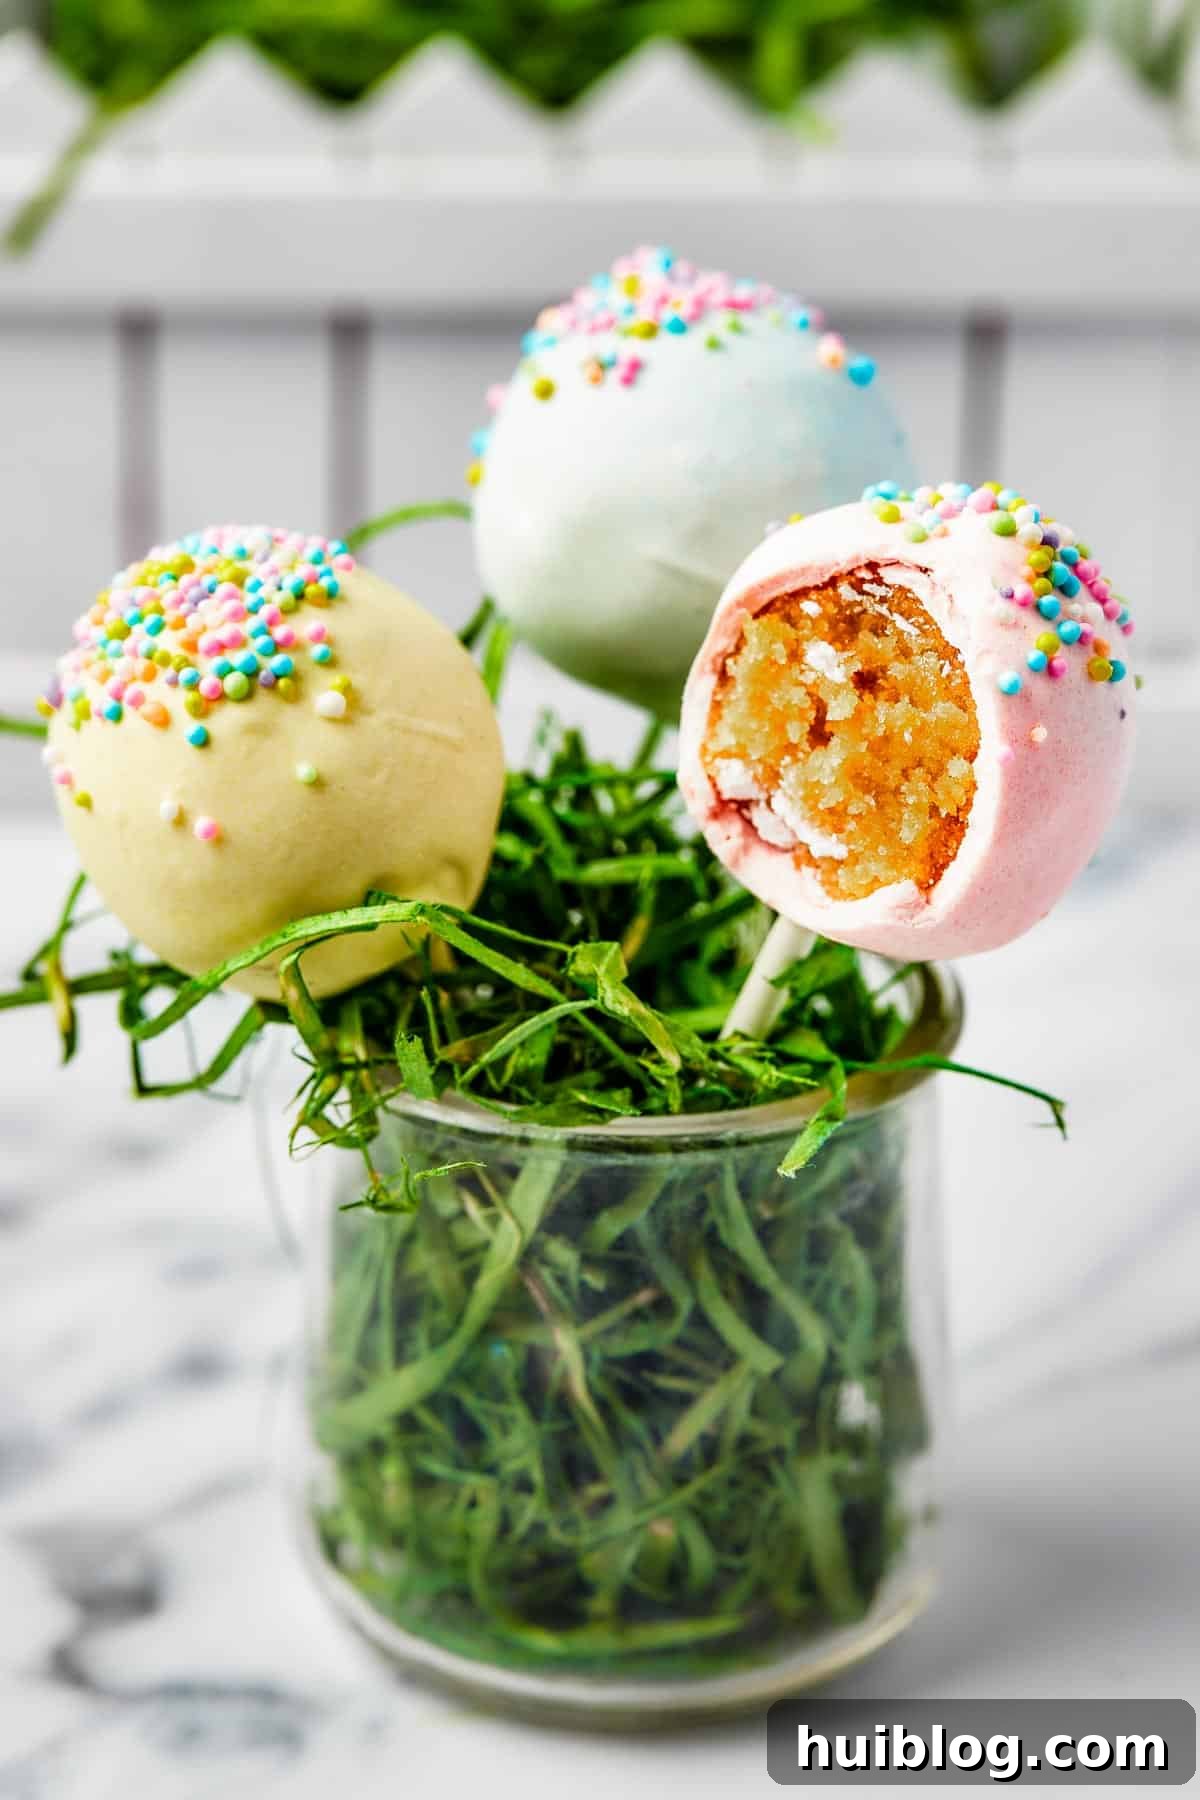
Storing Your Delicious Cake Pops
Proper storage ensures your homemade cake pops remain fresh and delicious for days after they’re made:
- To store these delightful treats, arrange them in an airtight container. Lay a piece of parchment paper or wax paper at the bottom of the container and between layers to prevent them from sticking together.
- They will stay wonderfully fresh and moist for several days when kept in the refrigerator.
Can I Freeze Cake Pops for Future Indulgence?
Absolutely! Cake pops freeze exceptionally well, making them perfect for preparing ahead or saving for later cravings:
- To freeze your cake pops, individually wrap each pop snugly in plastic wrap. This protects them from freezer burn and preserves their freshness.
- Once wrapped, place the individual pops into a sturdy plastic freezer bag or an airtight freezer-safe container.
- Stored correctly, frozen cake pops will maintain their quality for up to 6 months, allowing you to enjoy a sweet treat whenever the mood strikes.
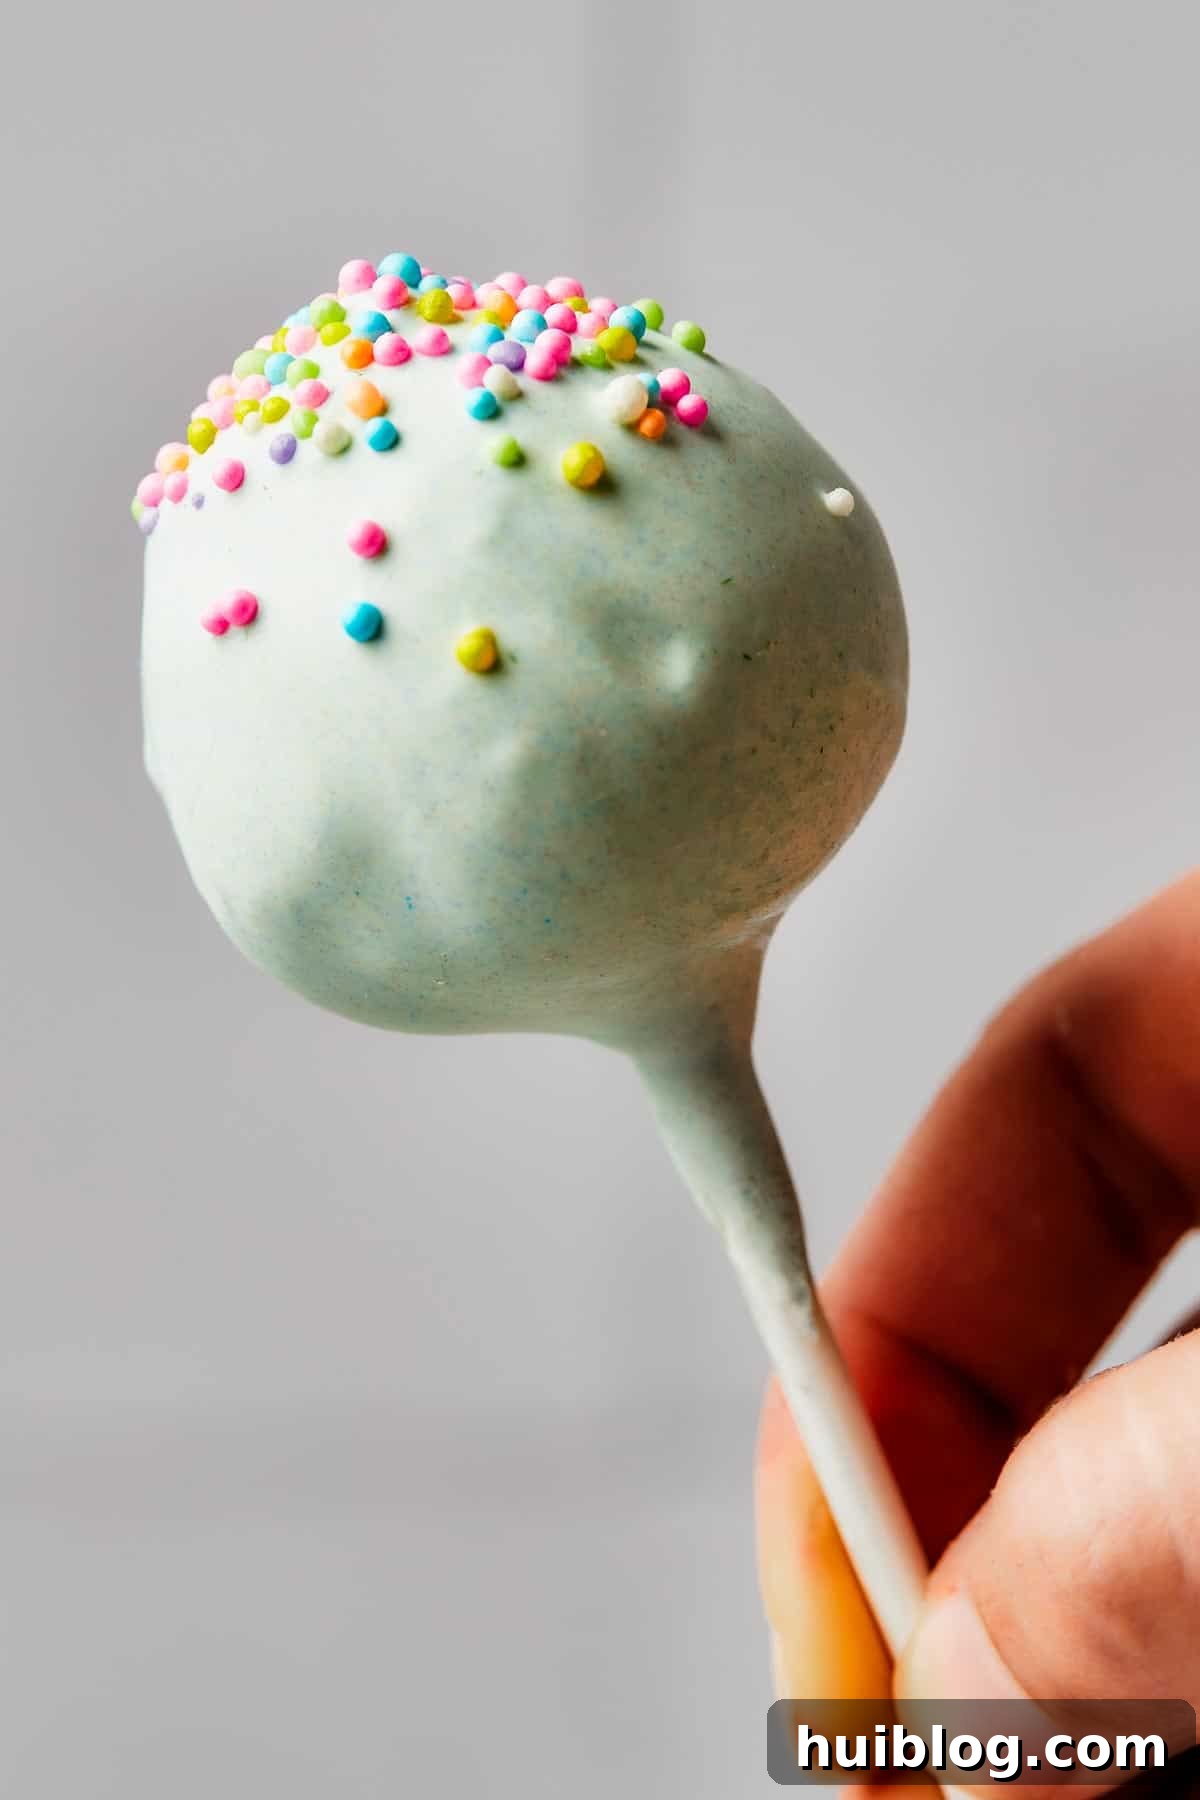
Easy Cake Pops Recipe
These delectable Cake Pops are a fun and pretty twist on ordinary cake and frosting. Made easily with yellow cake mix and candy melts, they’re moist, light, and flavorful!
Author: Katerina | Easy Weeknight Recipes
- Prep Time: 30 minutes
- Cook Time: 35 minutes
- Total Time: 1 hour 15 minutes
- Yields: 24 Servings
Ingredients
For the Cake
- 1 box (16 ounces) yellow cake mix
- 1 cup water
- ½ cup vegetable oil
- 3 eggs
For the Frosting
- 1 stick (8 tablespoons) unsalted butter, softened to room temperature
- 2 cups powdered sugar
- 2 tablespoons heavy whipping cream
- 1 teaspoon vanilla extract
- ⅛ teaspoon salt
For Assembly
- 24 ounces white candy melts
- Food coloring, optional
- Sprinkles, optional
- Lollipop sticks
- Styrofoam block, for holding the cake pops while decorating
Instructions
Make the Cake
- Preheat your oven to 350˚F (175°C).
- In a large bowl, combine the cake mix, water, oil, and eggs. Mix well.
- Pour into a greased 13×9 cake pan and bake according to package directions.
- Allow the cake to cool completely. Crumble the cooled cake into a large bowl and set aside.
Make the Frosting
- In a stand mixer fitted with a paddle attachment, beat butter on medium speed until it becomes light and fluffy.
- Add in the powdered sugar, heavy whipping cream, vanilla, and salt. Beat on medium speed until smooth.
- Gradually add the prepared frosting to the crumbled cake and mix until evenly incorporated into a soft, moldable dough.
Assemble the Cake Pops
- Scoop 2 tablespoons of cake mixture and roll into balls, then place them on a parchment-lined baking tray or plate. Continue until all dough is used. Place in the freezer for at least one hour.
- Right before removing the cake balls from the freezer, melt the candy melts according to package directions and pour them into a deep, tall container (a tall glass works well).
- Optionally, stir food coloring into the melted candy.
- Remove cake balls from the freezer. To assemble, dip the tip of a stick into the candy melt and insert halfway into the cake ball. Dip the cake ball into the candy melt, ensuring the part where the stick is inserted into the cake ball is covered in chocolate. This helps secure the cake ball onto the stick. Rotate the cake ball and allow any excess candy melt to drip back into the cup.
- Optionally, add sprinkles before the candy melt coating sets.
- Place the stick upright into a styrofoam block.
- Continue until all cake balls are coated.
Nutrition (per serving)
- Calories: 217kcal
- Carbohydrates: 33g
- Protein: 1g
- Fat: 9g
- Saturated Fat: 6g
- Polyunsaturated Fat: 1g
- Monounsaturated Fat: 1g
- Trans Fat: 1g
- Cholesterol: 32mg
- Sodium: 172mg
- Potassium: 19mg
- Fiber: 1g
- Sugar: 26g
- Vitamin A: 165IU
- Vitamin C: 1mg
- Calcium: 45mg
- Iron: 1mg
Nutritional information is an estimate and provided as a courtesy. Values may vary according to the ingredients and tools used. Please use your preferred nutritional calculator for more detailed information.
Explore More Delectable Dessert Recipes!
- Churros with Chocolate Dipping Sauce
- Hot Chocolate Sugar Cookies
- Chocolate Mug Cake