
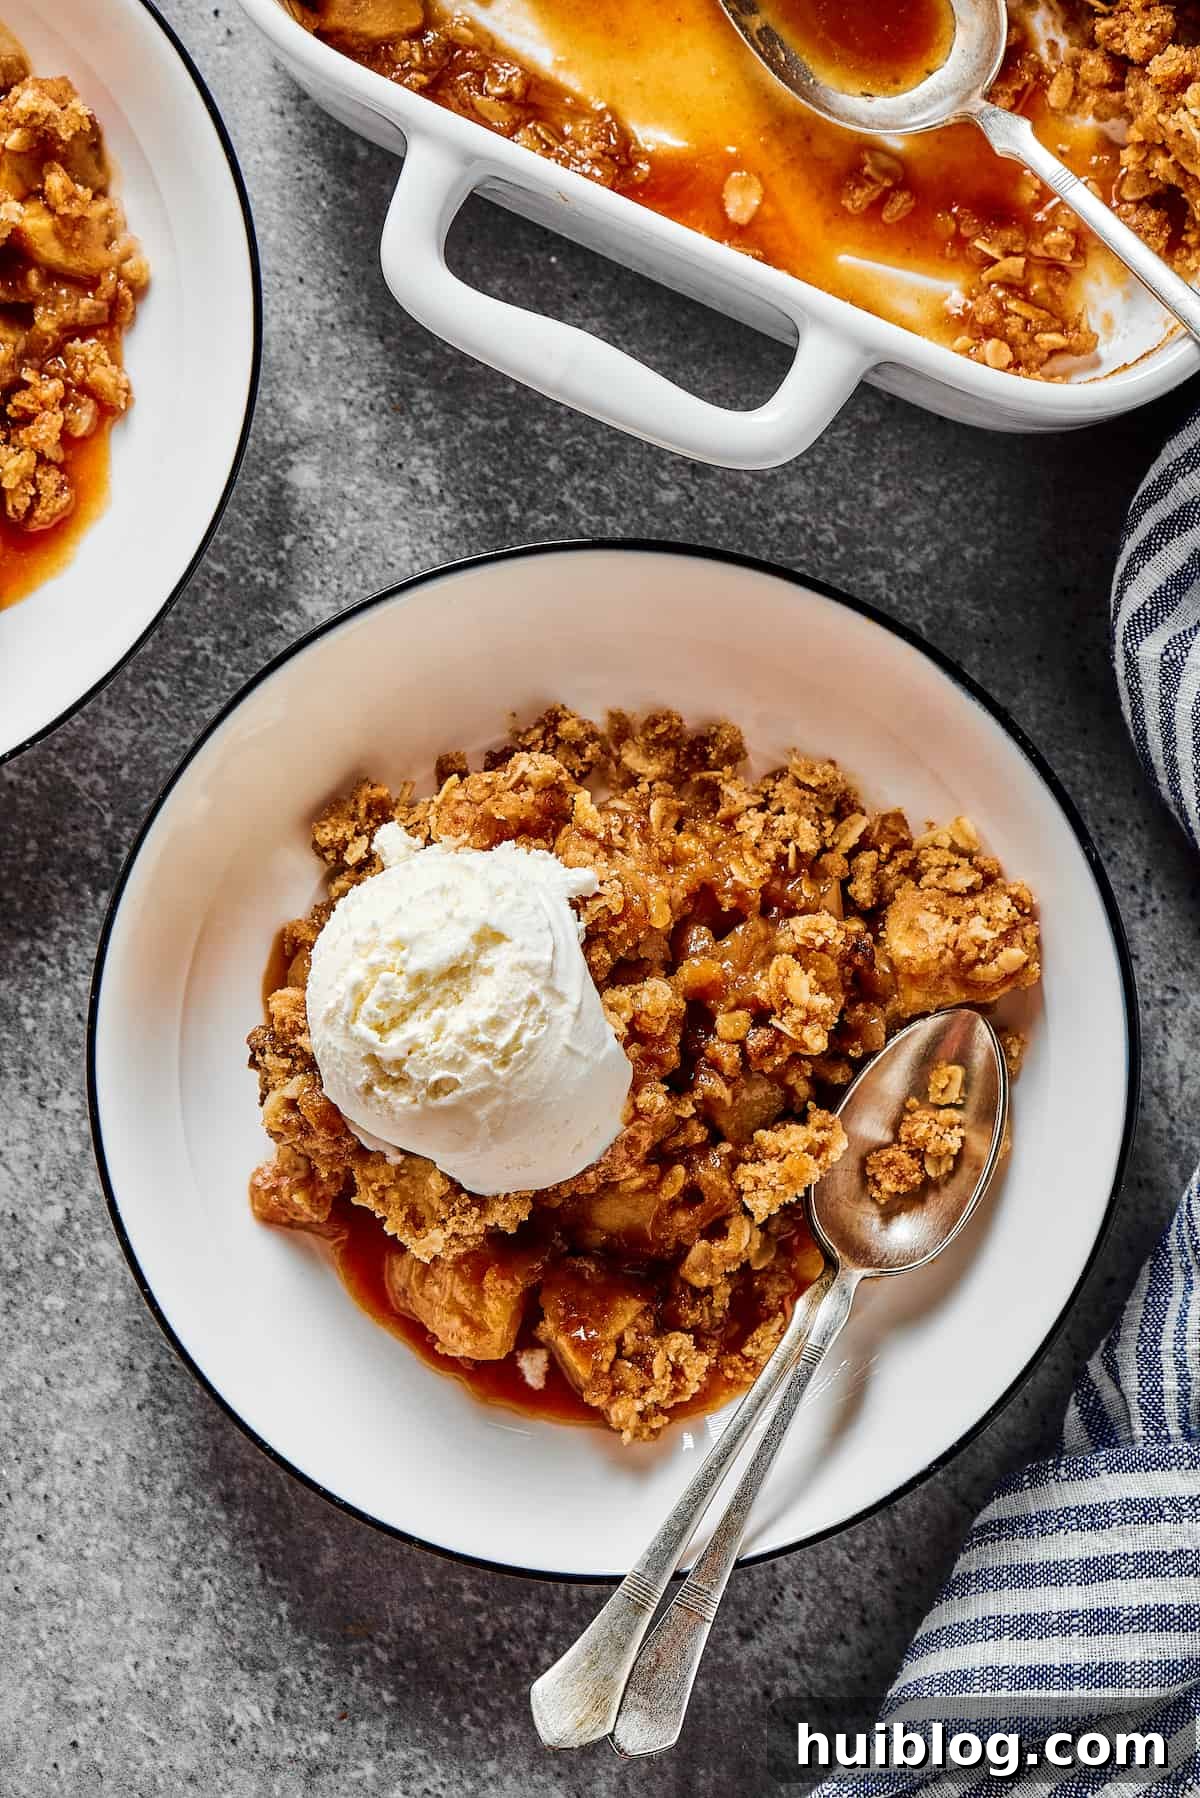
Welcome to the ultimate guide for creating the most delightful Easy Apple Crisp – a truly timeless treat that perfectly balances wholesome goodness with indulgent flavors. Imagine sinking your spoon into a warm, tender, spiced apple filling, beautifully crowned with a buttery, golden-brown oat topping that offers the ideal crunch. This isn’t just a dessert; it’s a hug in a bowl, destined to become your go-to fall recipe, a comforting staple for family gatherings, or a simple pleasure after a long day.
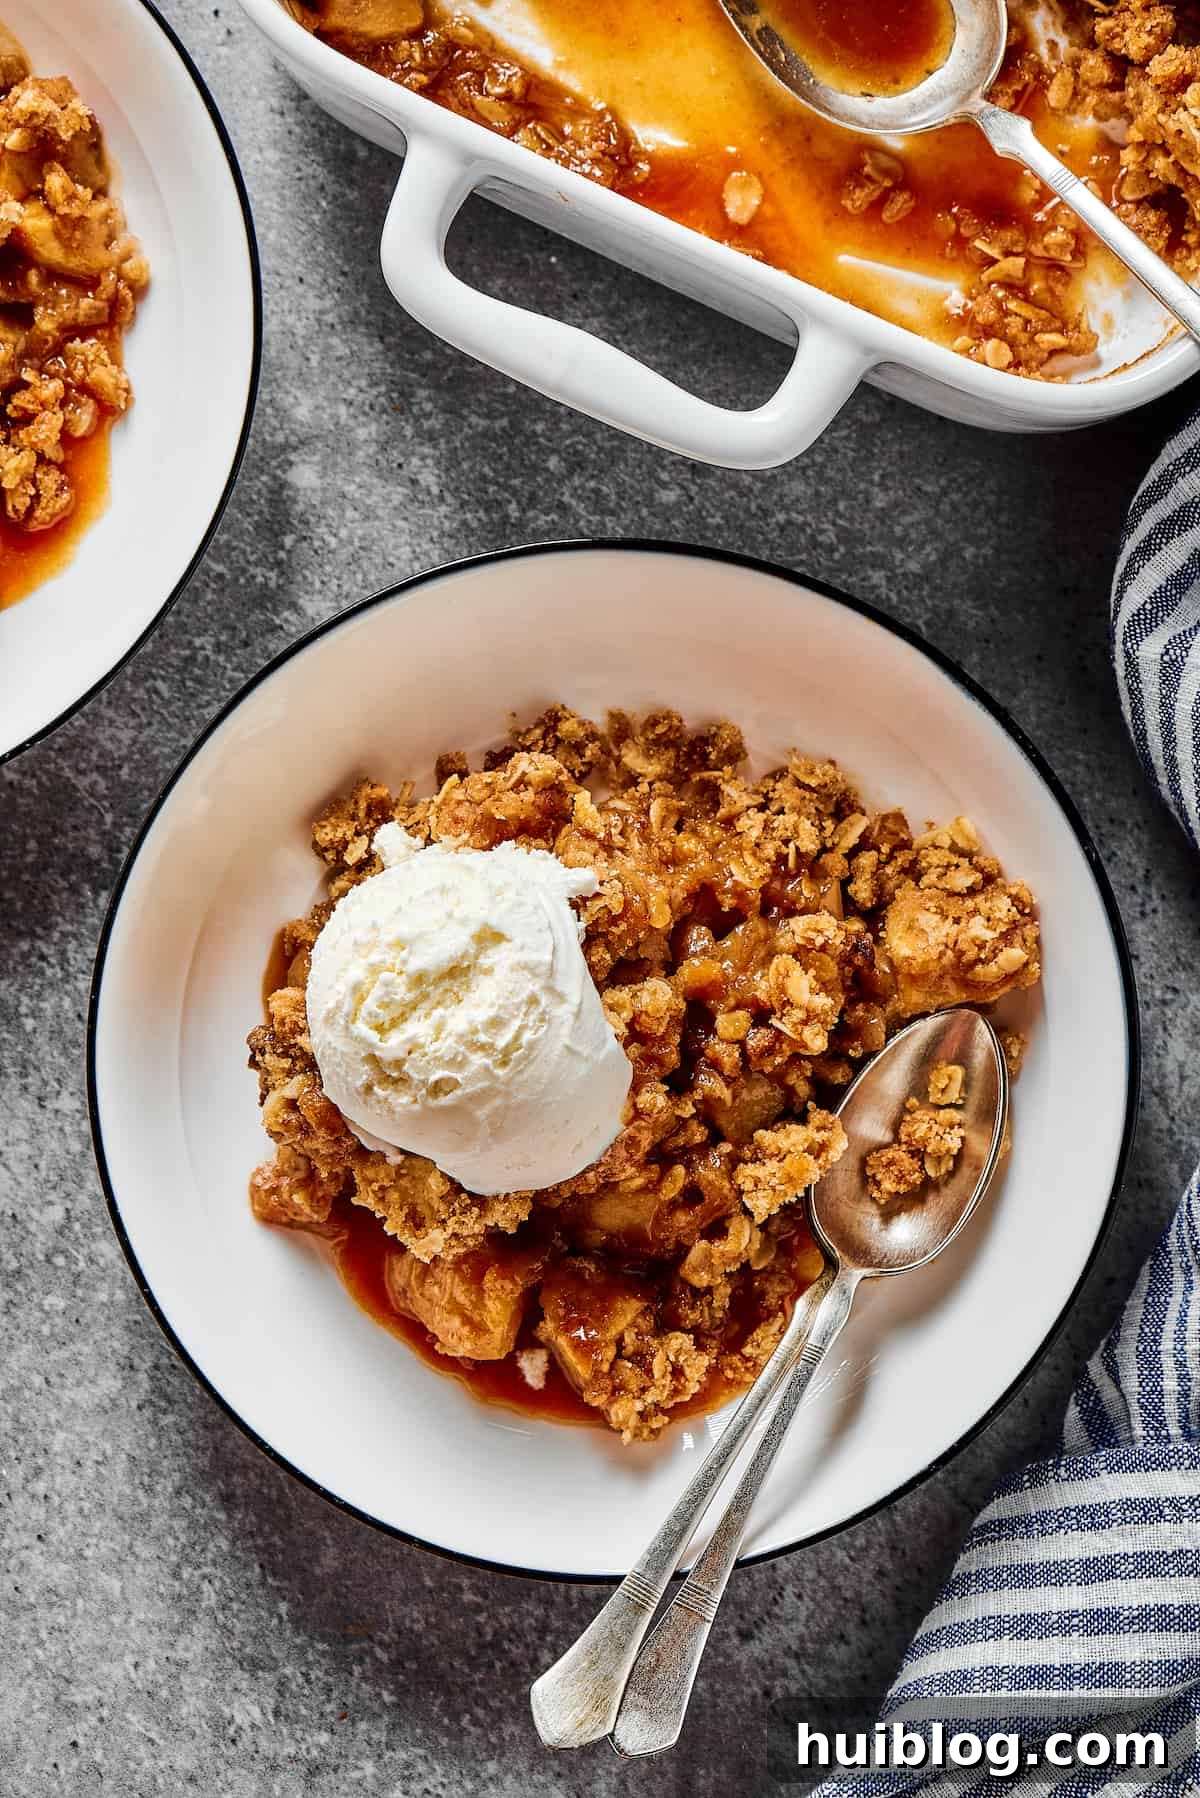
The Allure of Homemade Apple Crisp: A Wholesome Classic Dessert
As the leaves begin to turn and a crispness fills the air, there’s nothing quite like the aroma of freshly baked apples filling your home. Fall and winter usher in the season of abundant, high-quality apples, readily available at grocery stores and local farmer’s markets. These seasonal gems are not only bursting with juicy flavor, making them ideal for snacking, but they also become incredibly affordable. It’s hard to resist stocking up when they’re so plentiful, isn’t it? And when you find yourself with an abundance of fresh apples, it’s the perfect excuse to indulge in a variety of delicious baked goods.
While an Apple Pie from Scratch or Homemade Apple Butter are fantastic choices, there’s something uniquely comforting about a warm, bubbling apple crisp. Unlike a pie, which requires intricate crust work, an apple crisp offers a simpler, quicker path to pure apple bliss. Our Easy Apple Crisp recipe showcases tender, spiced apples beneath a generous layer of crunchy, buttery oat topping. It’s the ultimate comfort food, delivering intense apple flavor and a texture sensation that will leave everyone reaching for seconds.
Apple Crisp vs. Apple Crumble: Understanding the Delicious Difference
Many people use the terms “crisp” and “crumble” interchangeably, and it’s easy to see why. Both desserts feature a sweet, baked fruit filling topped with a delightful crumbly layer. However, a key distinction sets them apart, primarily revolving around their signature toppings.
An apple crisp, as the name suggests, is characterized by its crispy, granola-like topping. This texture is achieved through the inclusion of oats, which toast up beautifully during baking, creating a delightful crunch. The oats, often combined with flour, sugar, and butter, give the topping a hearty, chewy bite that perfectly complements the soft fruit below.
On the other hand, an apple crumble typically features a streusel-like topping made from a mixture of flour, sugar, and butter, but without oats. This results in a finer, more uniform crumb that bakes into a softer, more cake-like texture compared to the crisp’s crunch. While both are undeniably delicious, if you’re craving that satisfying crispiness and chewy texture, our apple crisp recipe is exactly what you need.
Essential Ingredients for the Perfect Easy Apple Crisp
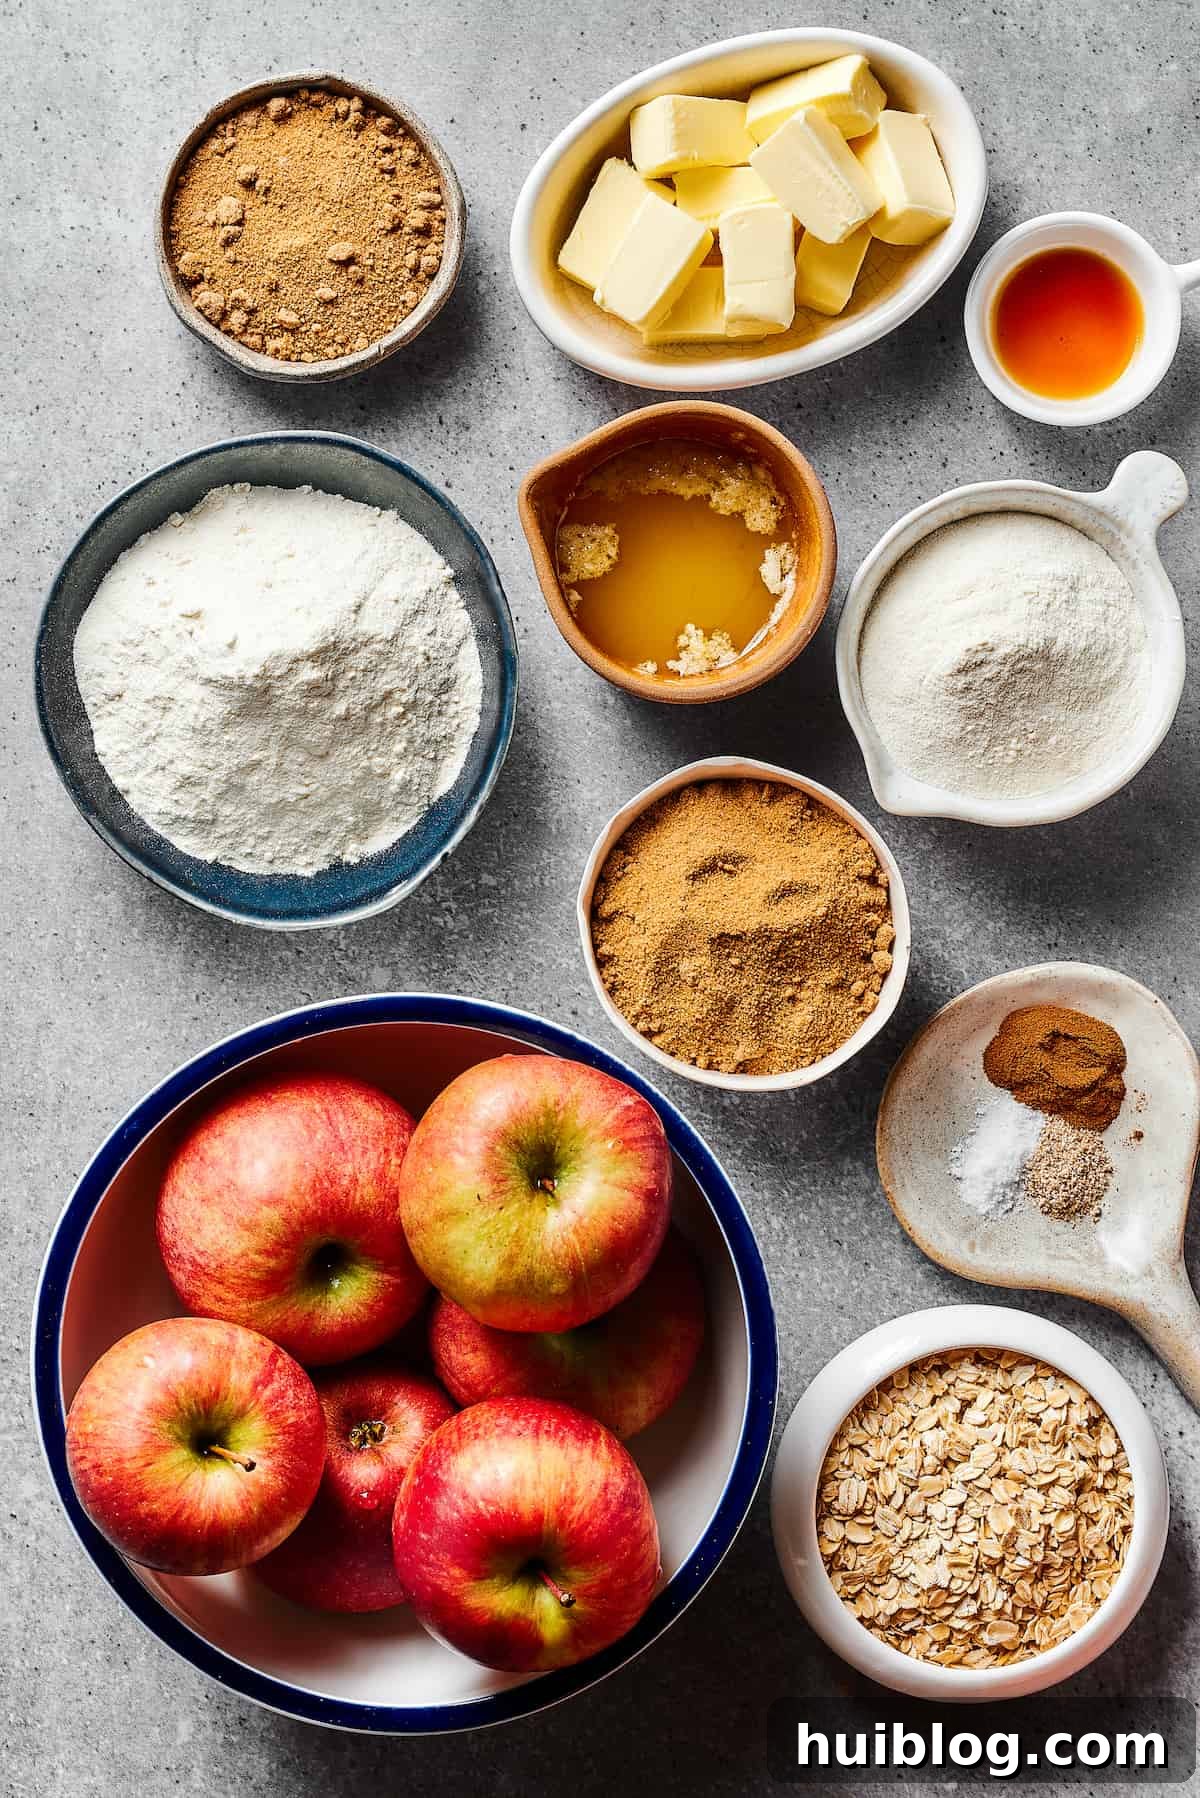
One of the beauties of this old-fashioned dessert is its simplicity. You don’t need a pantry full of exotic ingredients to create something truly spectacular. With just a few basic staples like fresh apples, flour, and butter, you can conjure up a dessert that tastes like it took hours of intricate work. Here’s what you’ll need:
For the Irresistible Apple Filling
- Apples: Approximately 6 to 8 medium apples. Ensure they are peeled, cored, and cut into uniform chunks. The type of apple you choose can significantly impact the final flavor and texture (more on this below!).
- Brown Sugar: About ⅓ cup. Both dark and light brown sugar work wonderfully. Dark brown sugar will impart a richer, deeper molasses flavor, while light brown sugar offers a milder sweetness.
- All-Purpose Flour: ⅔ cup. This helps to thicken the apple juices, creating a luscious, syrupy filling that clings beautifully to the apples.
- Unsalted Butter: ⅓ cup, melted. Melted butter ensures the apples are evenly coated, contributing to a rich flavor and tender texture.
- Vanilla Extract: 1 teaspoon of pure vanilla extract enhances the overall sweetness and adds a warm, inviting aroma.
- Warm Spices: 1 teaspoon ground cinnamon and a generous pinch of ground nutmeg. These classic fall spices are non-negotiable for that cozy, aromatic apple crisp flavor.
- Salt: A tiny pinch of salt (about ¼ teaspoon) is crucial for balancing the sweetness and bringing out the natural flavors of the apples and spices.
Crafting the Golden Oat Topping
- All-Purpose Flour: 1 cup. Provides structure and a base for the crumbly texture.
- Brown Sugar: ¾ cup. Again, your choice of dark or light brown sugar. It caramelizes beautifully, adding depth to the topping.
- Unsalted Butter: ⅔ cup, crucially chilled and cut into small cubes. Cold butter is essential for creating a crumbly, not greasy, topping. It melts slowly in the oven, creating steam that results in a wonderfully crispy texture.
- Old-Fashioned Rolled Oats: 1 cup. These are the star of the crisp topping! Old-fashioned oats provide the chewy, crispy bite that gives apple crisp its distinctive texture. Avoid instant oats, which can become mushy or powdery, and steel-cut oats, which won’t soften enough during baking.
Elevating Your Serving Experience
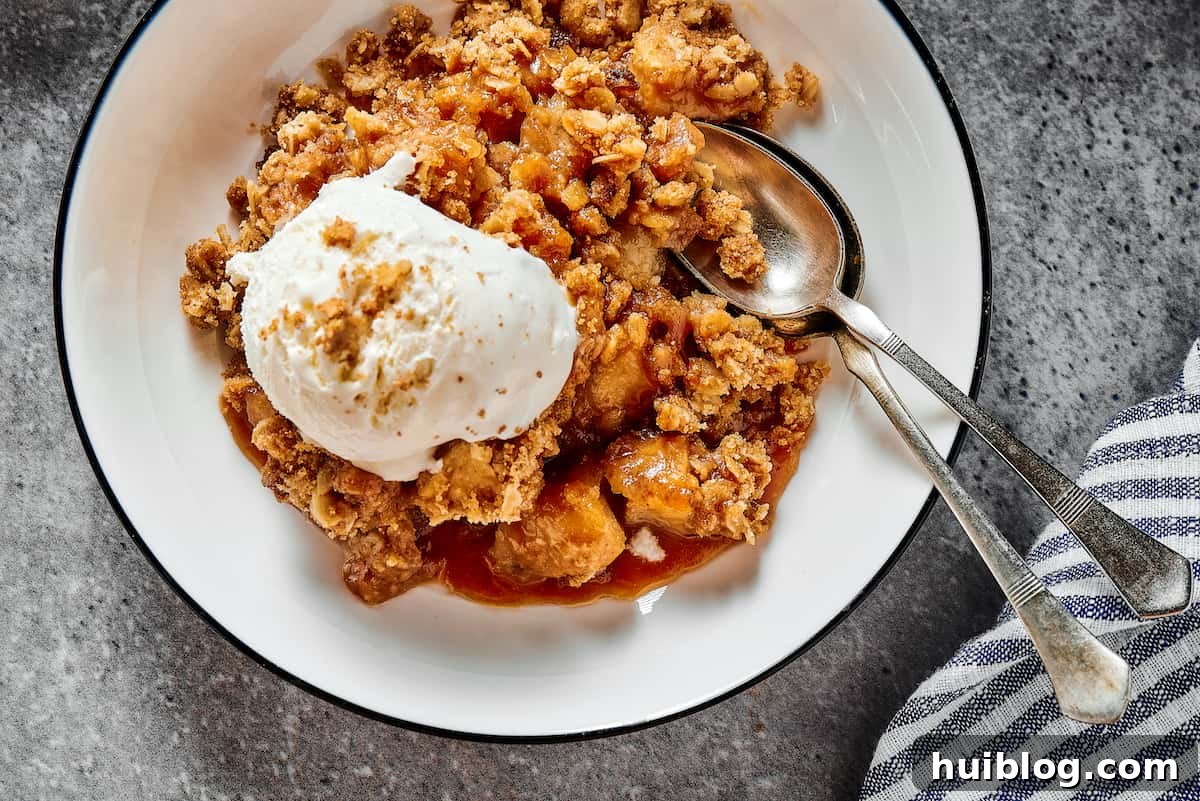
- Vanilla Ice Cream: A scoop of creamy vanilla ice cream melting over warm apple crisp is a match made in heaven.
- Caramel Sauce: A drizzle of rich caramel sauce adds another layer of decadent sweetness.
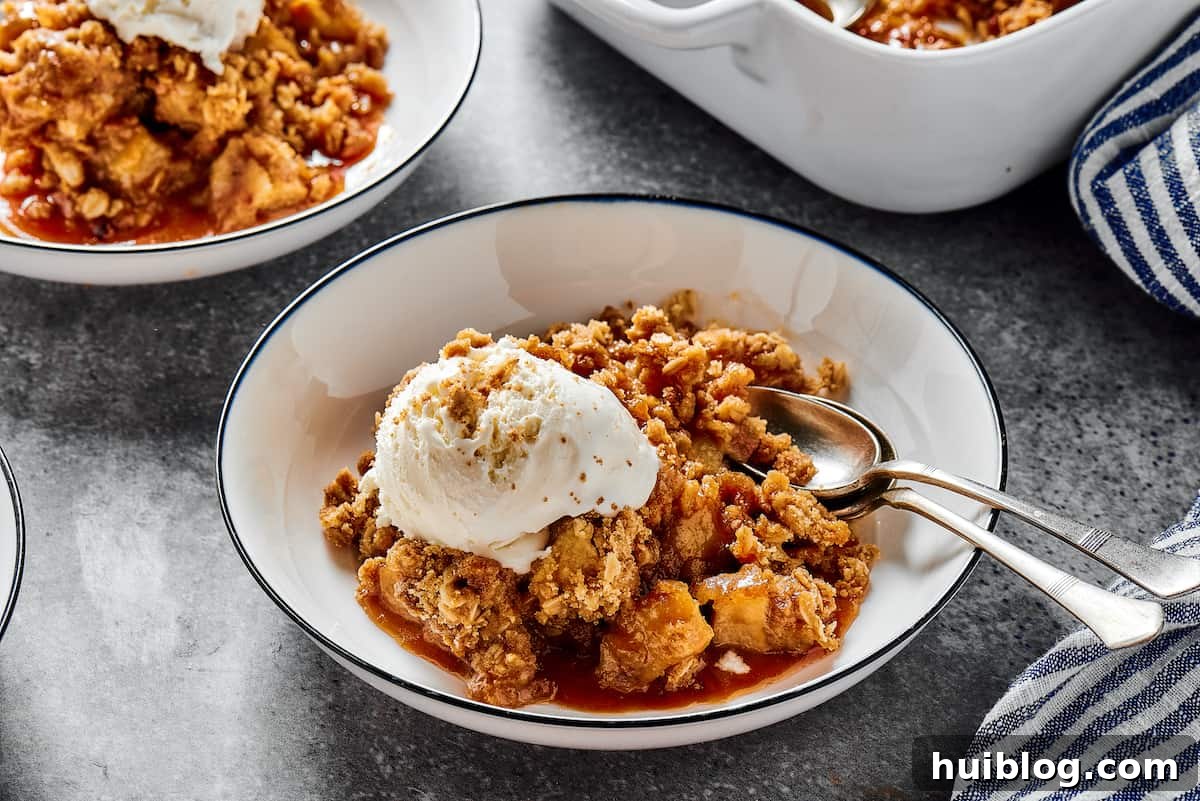
What Is the Best Apple for Apple Crisp?
Choosing the right apple is crucial for achieving the perfect balance of flavor and texture in your apple crisp. While personal preference plays a role, certain varieties stand out for their baking qualities:
- For Tartness & Structure: Many bakers swear by Granny Smith apples. Their firm texture holds up well during baking, preventing mushiness, and their tartness provides a wonderful contrast to the sweet filling and topping.
- For Crispness & Sweetness: If you prefer a sweeter crisp with a good bite, Honeycrisp or Pink Lady are excellent choices. They retain their shape and offer a satisfying crunch even after baking.
- For Balanced Flavor: Fuji and Gala apples offer a lovely sweet-tart balance and generally hold their structure well.
- For Classic Sweetness: The reliable Golden Delicious apple is a sweet standby that softens beautifully and infuses the crisp with a classic apple flavor.
Pro Tip: The secret to an extraordinary apple crisp often lies in using a combination of apples! Mixing a tart apple (like Granny Smith) with a sweeter, firmer apple (like Honeycrisp or Fuji) creates a more complex flavor profile and a delightful variation in textures, from tender to slightly chewy. Experiment to find your favorite blend!
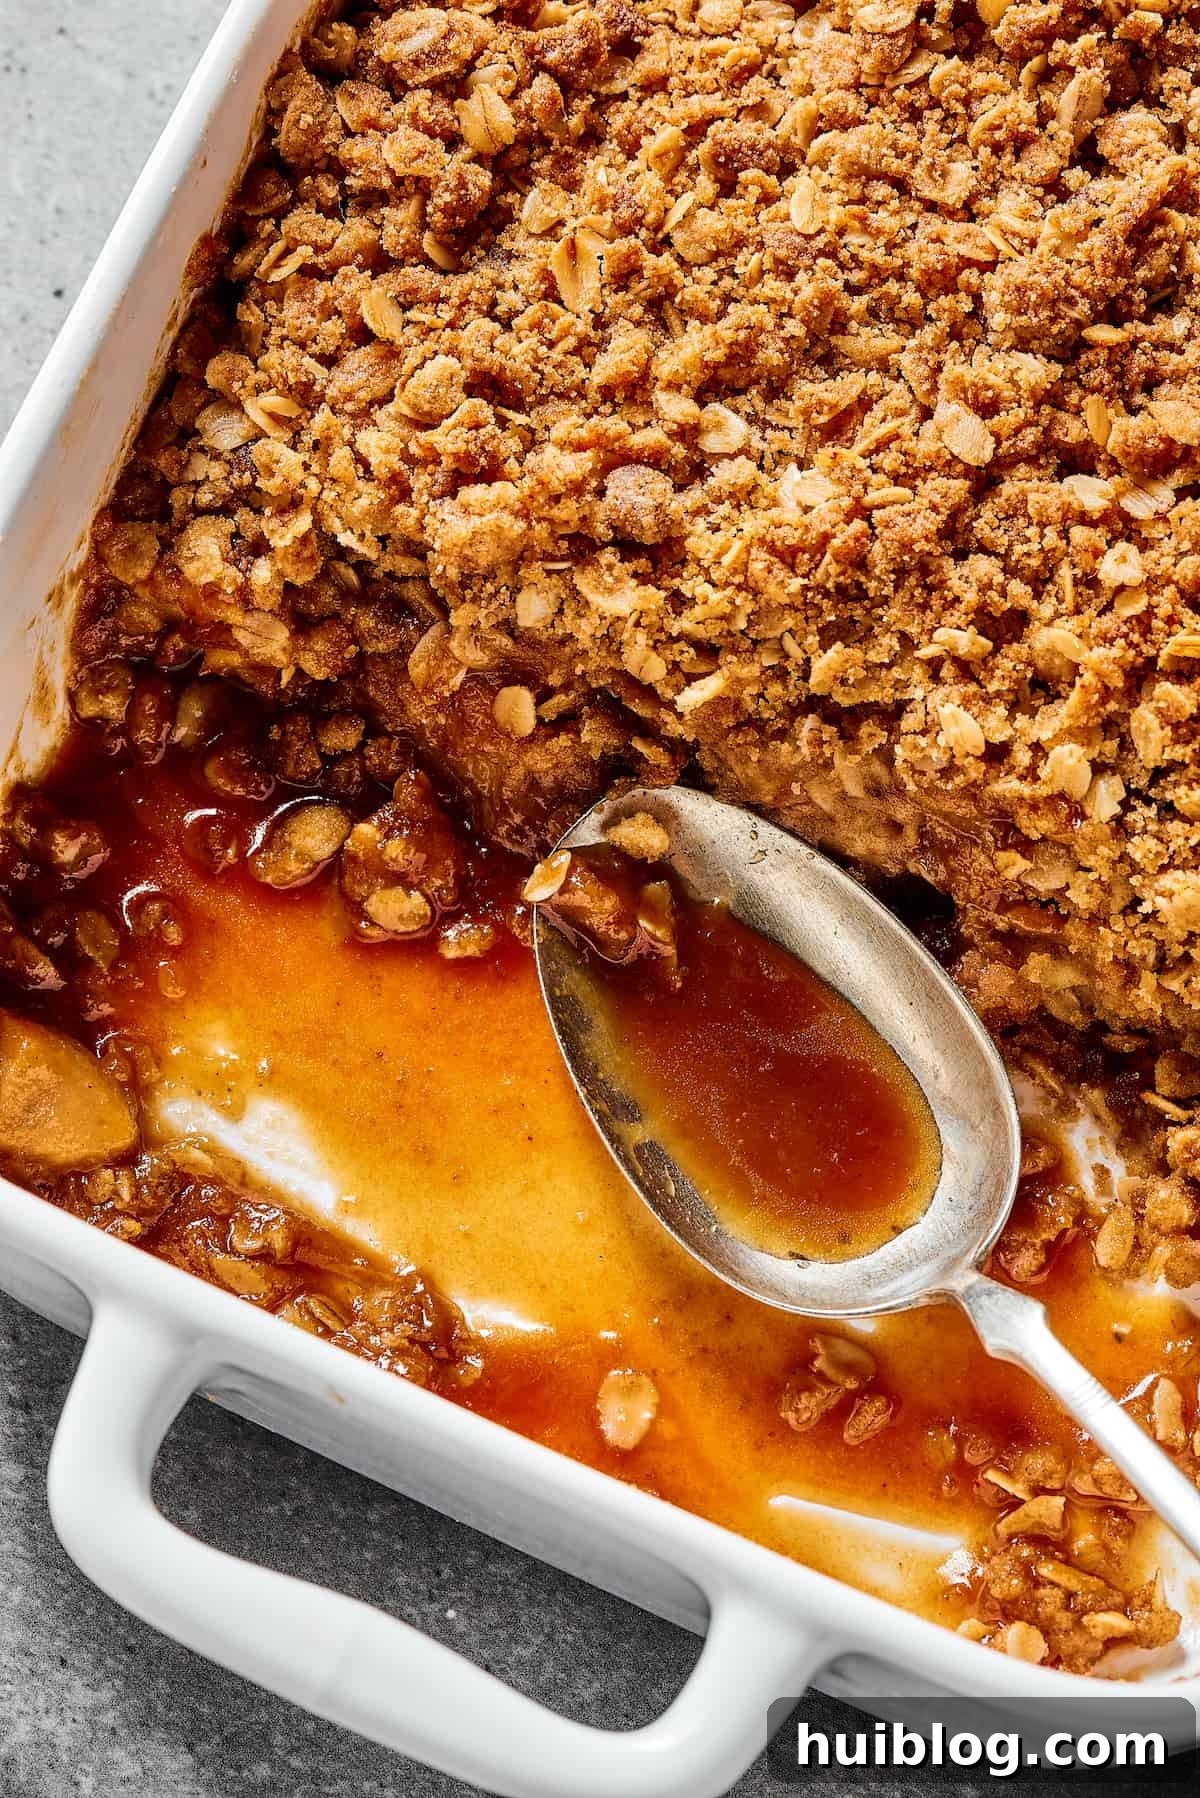
How to Make It: Your Easy Step-by-Step Guide to Apple Crisp
One of the biggest advantages of making apple crisp is how wonderfully straightforward it is compared to other apple desserts like pies. This ease and speed make it a beloved recipe for busy home cooks who want maximum flavor with minimal fuss. Let’s get baking!
1. Prepare Your Baking Dish and Preheat the Oven
- Begin by selecting a 9×13-inch casserole dish or baking pan. Generously grease it with butter to prevent sticking and ensure easy serving.
- Preheat your oven to 350°F (175°C). Allowing the oven to come to temperature before baking ensures even cooking and a perfectly golden topping. While the oven heats, you can start on the apple filling.
2. Craft the Flavorful Apple Filling
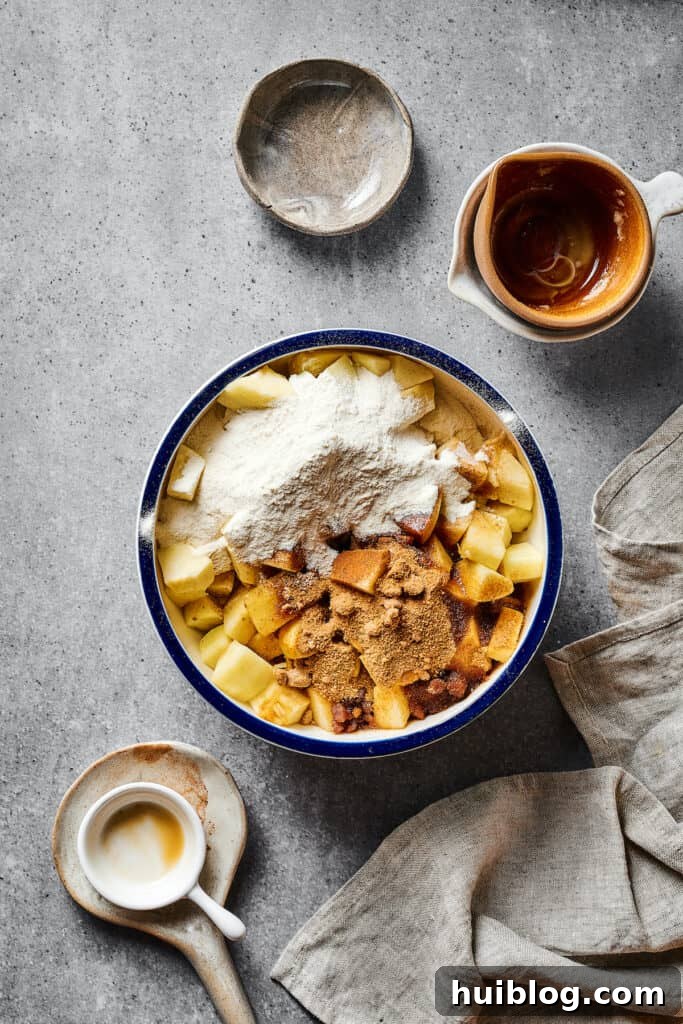
- In a large mixing bowl, combine the all-purpose flour, brown sugar (light or dark), ground cinnamon, a pinch of ground nutmeg, and a dash of salt. Whisk these dry ingredients together until well combined.
- Add your peeled, cored, and chopped apples to this spice and sugar mixture. Toss gently but thoroughly, ensuring every apple piece is coated. This step is crucial for distributing the spices and preventing the apples from oxidizing.
- Finally, drizzle in the melted unsalted butter and toss everything once more. Make sure the apples are evenly moistened – this will create a rich, tender filling.
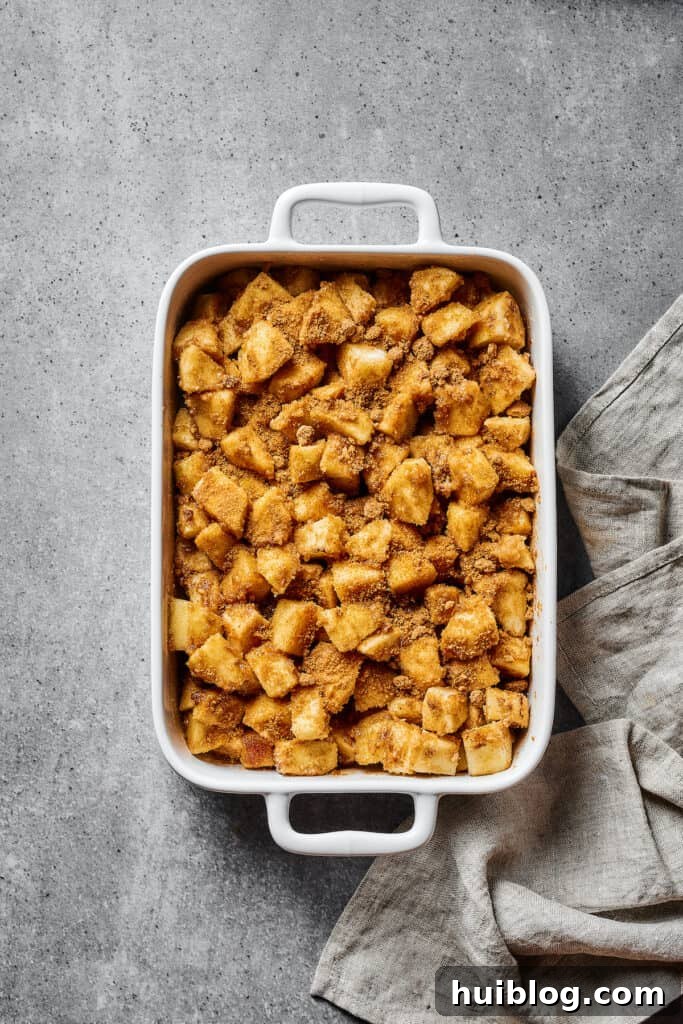
- Spoon and scrape the coated apples into your prepared baking dish, spreading them into an even layer. Set this aside while you prepare the topping.
3. Create the Perfect Crumbly Oat Topping
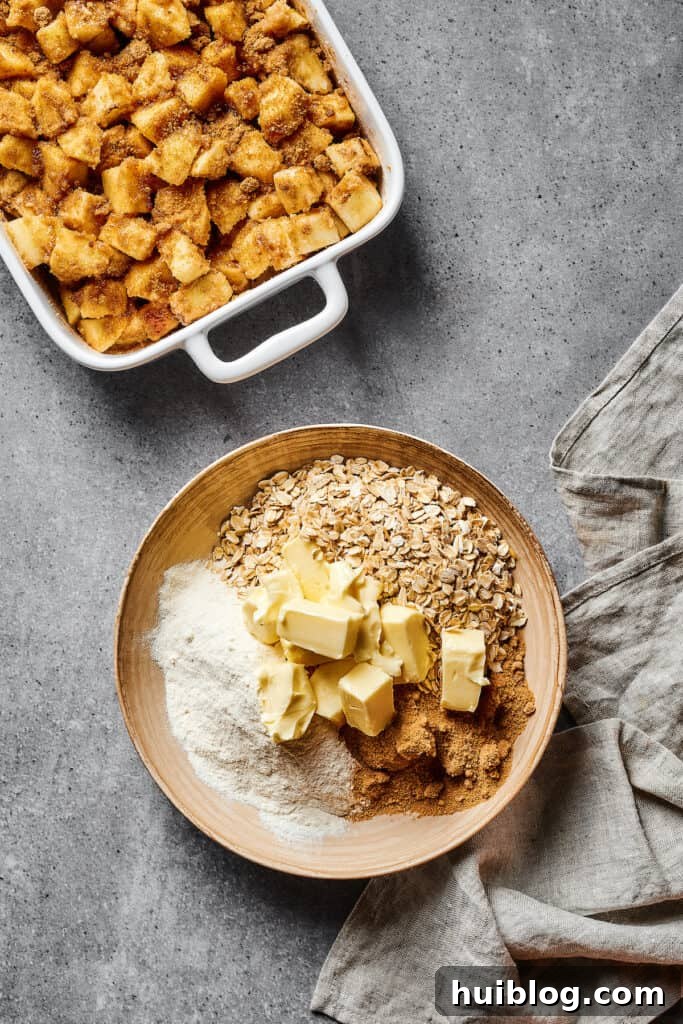
- In a separate, medium-sized bowl, combine the old-fashioned rolled oats, the remaining all-purpose flour, and the brown sugar. Give these dry ingredients a quick stir.
- Add the chilled, cubed unsalted butter to the oat mixture. Now, it’s time to get your hands dirty! Use your fingertips or a pastry blender to work the butter into the dry ingredients. The goal is to break down the butter until the mixture resembles coarse sand with some pea-sized lumps of butter still visible. These butter pockets are what create those delightful crispy bits in the topping.
- Once your topping mixture is perfectly crumbly, sprinkle it evenly over the apples in the baking dish, ensuring the apples are well covered from edge to edge.
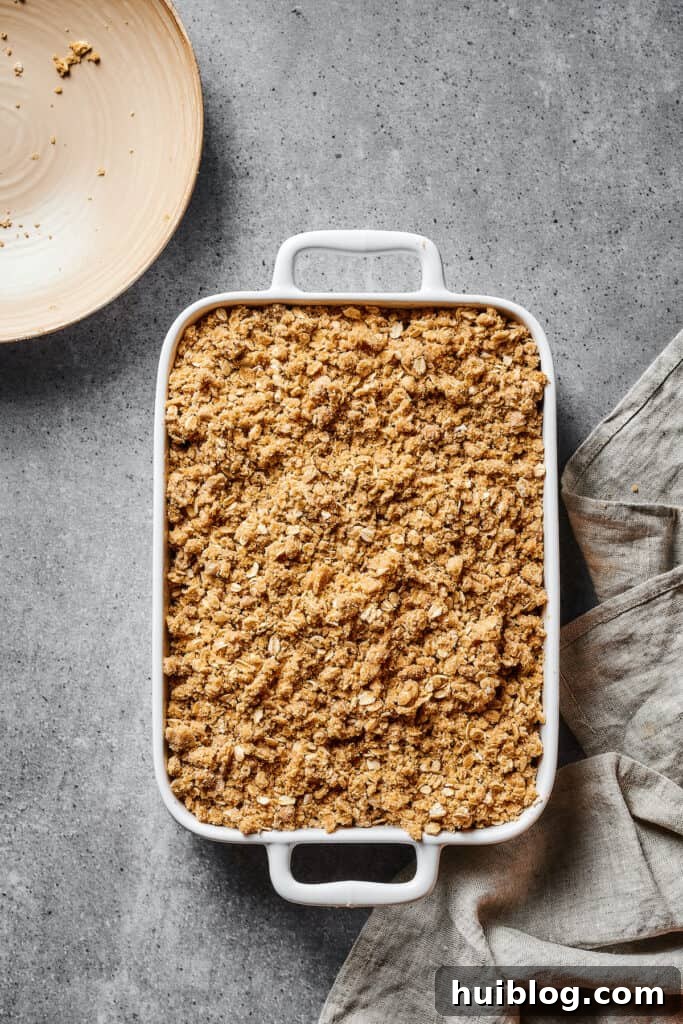
4. Bake to Golden Perfection
- Carefully transfer the baking dish to your preheated oven. Bake for approximately 40 to 45 minutes.
- The apple crisp is perfectly done when the topping is a beautiful golden-brown, the fruit juices around the edges are visibly bubbling, and a fork inserted into the apples reveals them to be tender.
- Once baked, remove the crisp from the oven and allow it to rest for 10 to 15 minutes. This resting period allows the filling to set slightly and prevents it from being too watery.
5. Enjoy Your Delicious Creation!
- Serve your Easy Apple Crisp warm, straight from the oven, or at room temperature – both are equally delightful.
- For the ultimate indulgence, top each serving with a generous scoop of vanilla ice cream, allowing it to melt into the warm apples, and a decadent drizzle of caramel sauce. Enjoy!
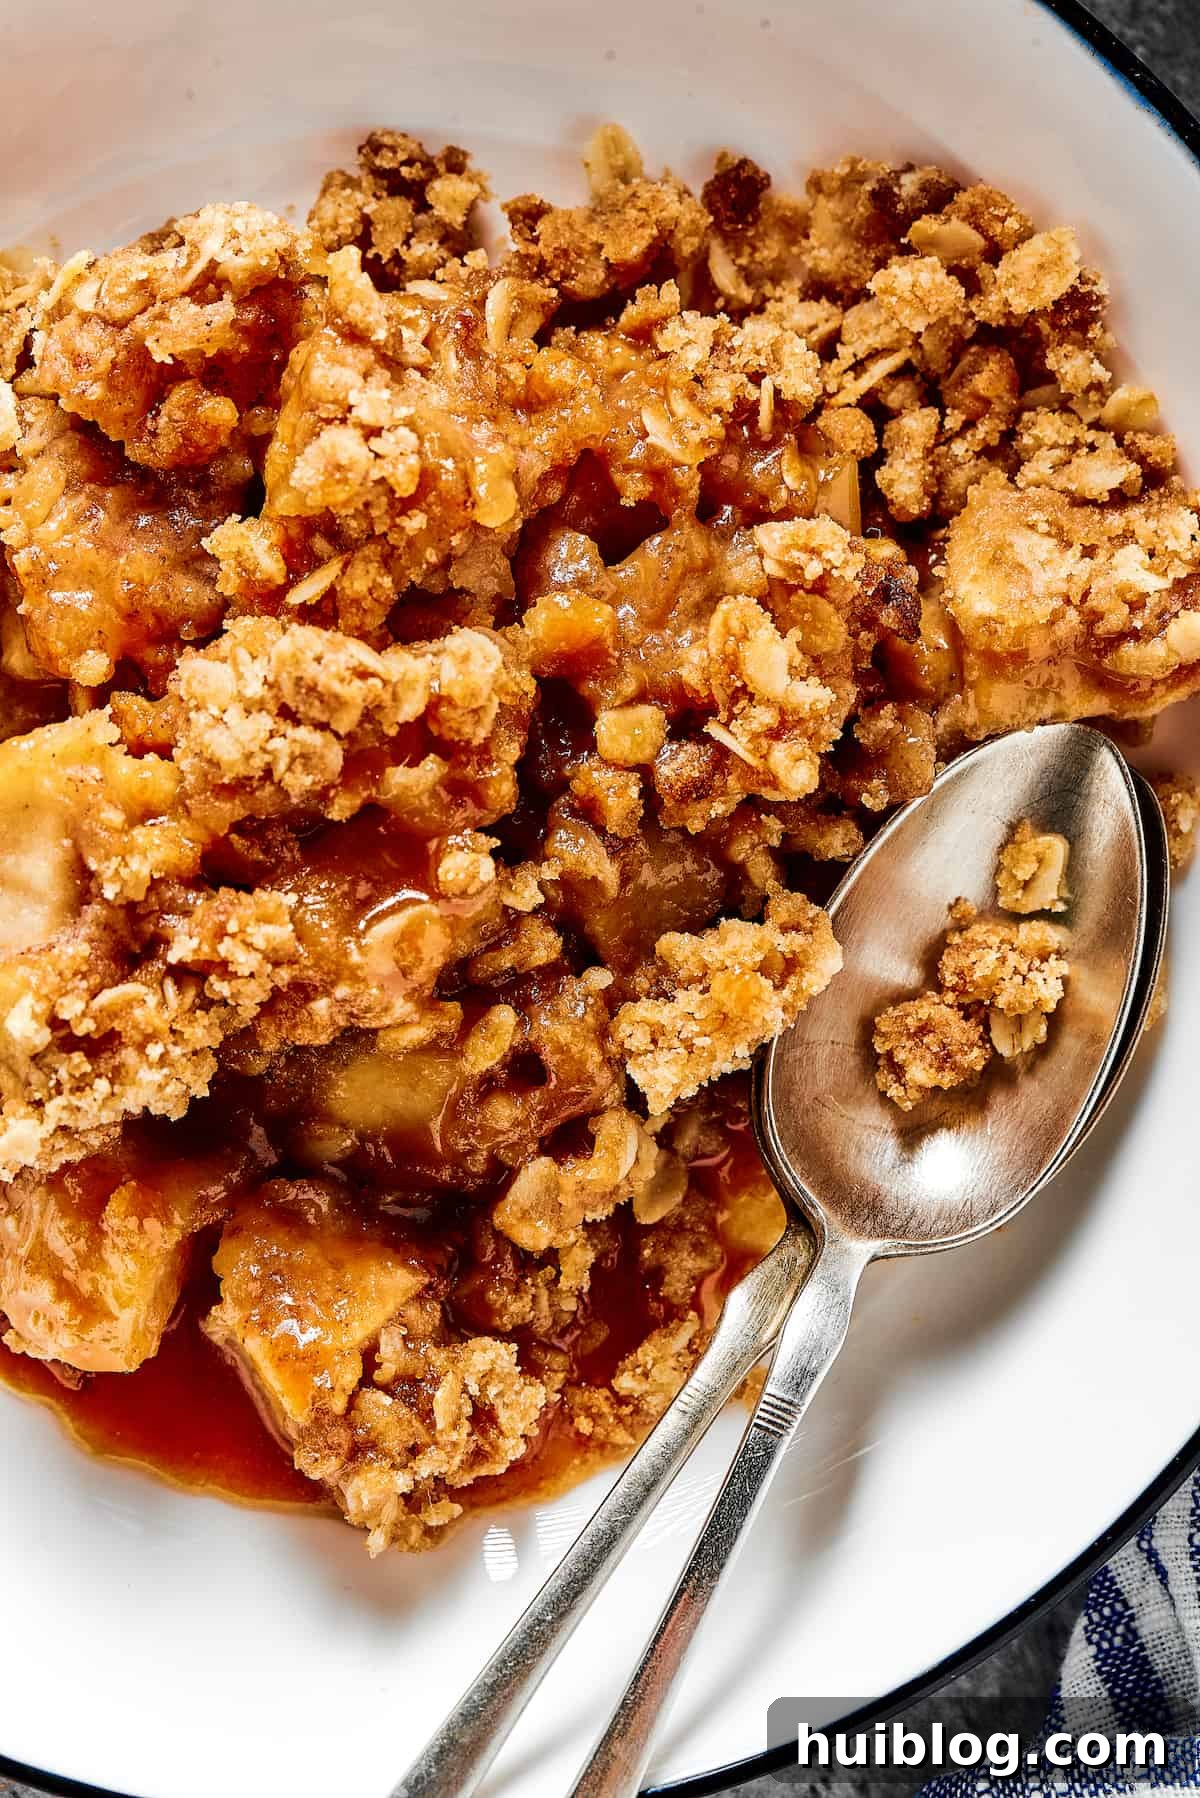
Pro Tips and Delicious Variations for Your Easy Apple Crisp
While this simple recipe is perfect as it is, there are always ways to customize and enhance your apple crisp to suit your taste. Here are some easy tweaks and variations to try:
- Add Nuts or Seeds for Extra Crunch: For an additional layer of texture and nutty flavor, stir in ½ cup of chopped pecans, walnuts, or pepitas (pumpkin seeds) into your oat topping mixture before sprinkling it over the apples. They toast beautifully in the oven, adding a delightful crunch.
- Customize Apple Cut: How you cut your apples influences their final texture. Chunky pieces (as recommended) offer a satisfying bite, but uniform slices also work well and might cook slightly faster or yield a softer filling. The thinner the pieces, the more tender they will become.
- Spice It Up: Don’t limit yourself to just cinnamon and nutmeg! Feel free to use a pre-made apple pie spice blend for a convenient and well-rounded flavor. A pinch of allspice, ground ginger, or even a touch of cardamom can also add intriguing depth to the apple filling.
- Beyond Ice Cream: Serving Enhancements: While ice cream is a classic pairing, consider other delicious options. A dollop of fresh whipped cream, a spoonful of creamy Greek yogurt drizzled with honey or maple syrup, or even a simple pour of heavy cream can elevate your serving experience. For a more sophisticated touch, try warm vanilla custard.
- A Hint of Citrus: A teaspoon of lemon zest added to the apple filling can brighten the flavors and provide a subtle tang that complements the sweetness of the apples.
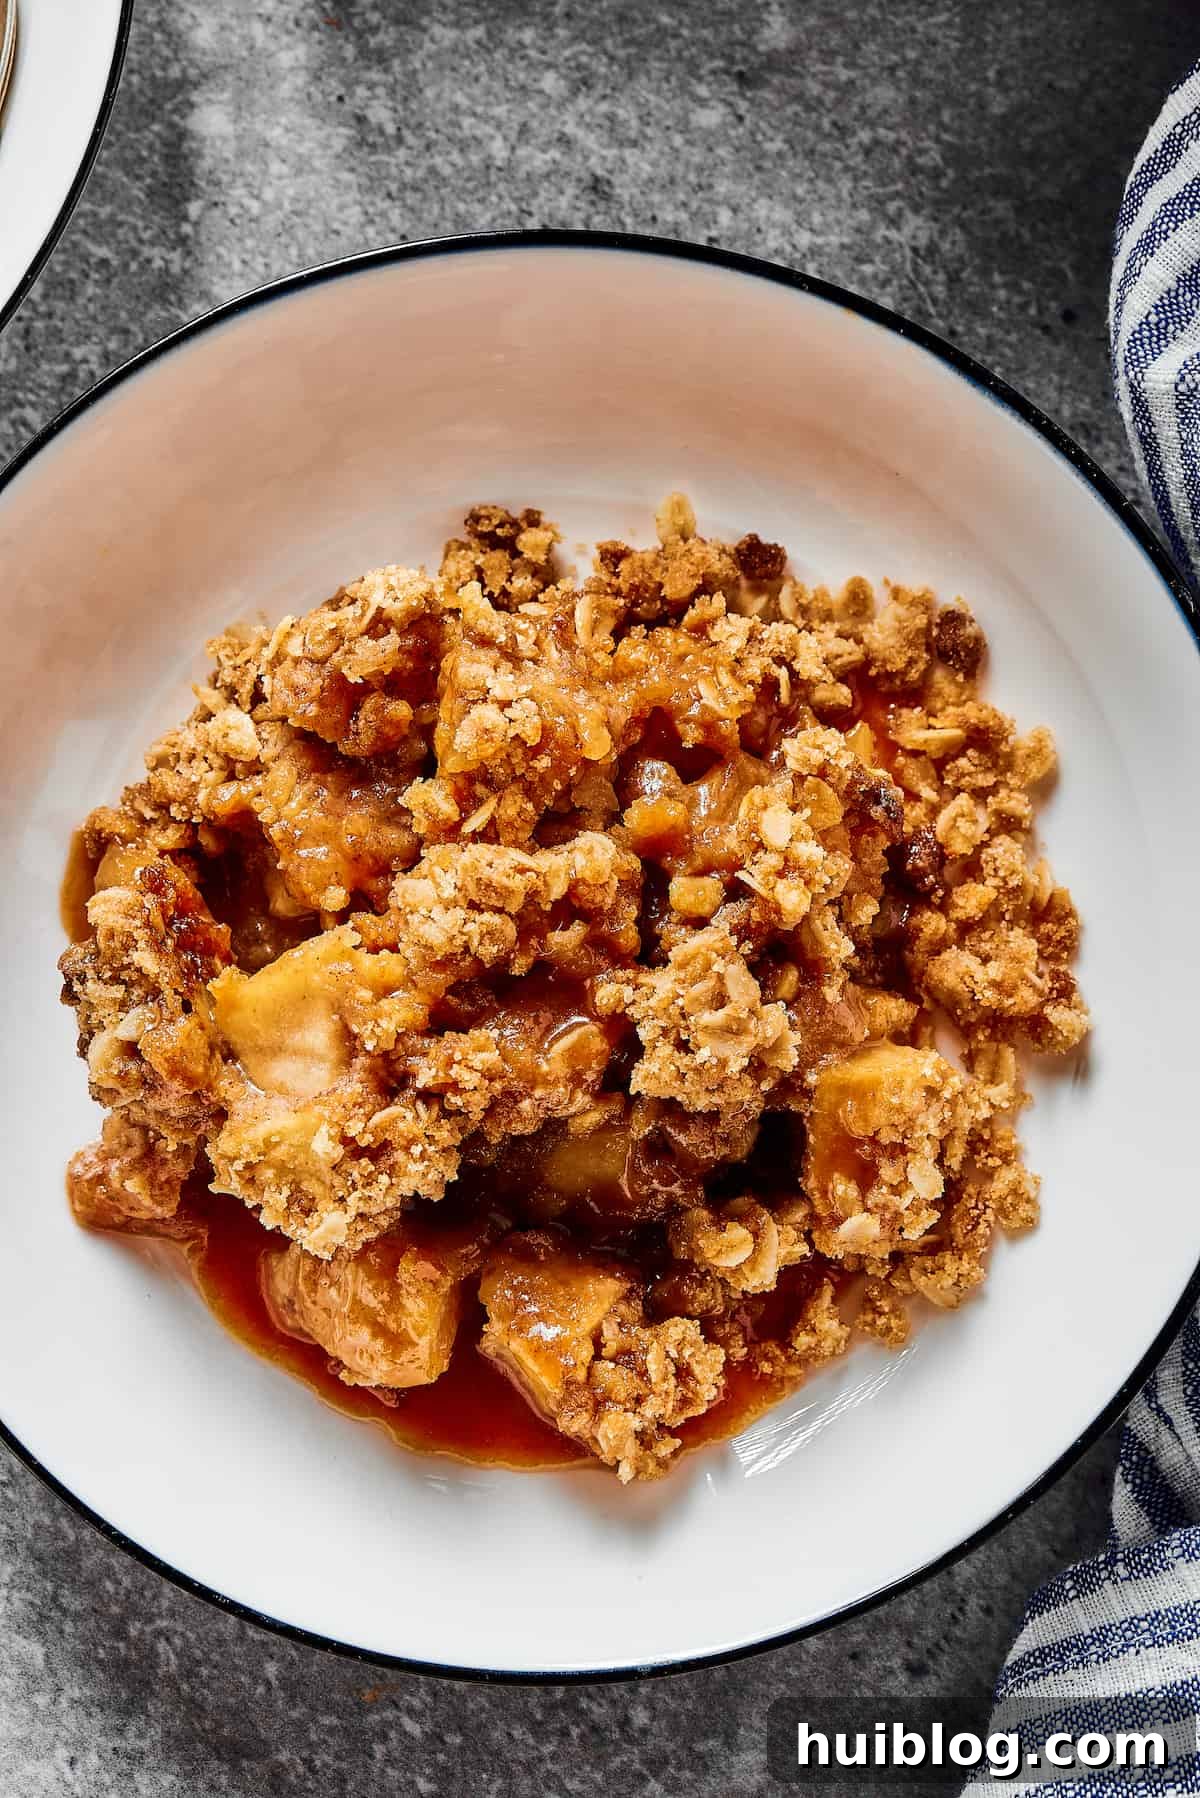
Storing and Reheating Instructions for Your Apple Crisp
Leftover apple crisp is a rare delight, but when you do have some, it’s good to know how to keep it fresh and delicious. Proper storage ensures your crisp remains flavorful and retains as much of its wonderful texture as possible.
- Refrigeration: Once cooled to room temperature, cover the apple crisp tightly with plastic wrap or transfer it to an airtight container. It will keep beautifully in the refrigerator for up to five days. For best results in maintaining a crispy topping, you can place a paper towel directly over the topping before covering, as this helps absorb excess moisture.
- Reheating: To reheat, the oven is your best friend for restoring that coveted crispy topping. Place individual servings or the entire dish (uncovered) in an oven preheated to 350°F (175°C) for 15-20 minutes, or until warmed through and the topping crisps up again. You can also microwave individual portions, but be aware that the topping may lose some of its crispness.
Does Apple Crisp Freeze Well? Yes! And Here’s How
Absolutely! Apple crisp is an excellent candidate for freezing, whether you want to prepare it ahead of time for a special occasion or simply save leftovers. Freezing allows you to enjoy this delightful dessert whenever a craving strikes. Here’s how to do it effectively:
- Freezing Baked Apple Crisp: If you’ve already baked your apple crisp and have leftovers you want to save, first ensure it has cooled completely to room temperature. Scoop individual portions into freezer-safe, airtight containers or wrap slices tightly in plastic wrap, then foil. Label with the date. Baked apple crisp can be stored in the freezer for 2 to 3 months. When ready to enjoy, you can reheat portions directly from frozen in a 350°F (175°C) oven until warmed through, or microwave individual servings.
- Freezing Unbaked Apple Crisp: This is a fantastic option for meal prep or if you want a fresh-baked dessert with minimal effort later. Assemble the apple crisp completely in its baking dish, but do not bake it. Instead, wrap the entire baking dish tightly with a layer of plastic wrap (or press ‘n’ seal), followed by a layer of heavy-duty aluminum foil. Label with the date. Unbaked apple crisp can be frozen for 2 to 3 months. A disposable aluminum baking pan is particularly convenient for this method, as you won’t tie up one of your reusable dishes.
- Baking from Frozen: Whether baked or unbaked, you can often bake or reheat apple crisp directly from the freezer. Place the frozen crisp (uncovered, or remove plastic wrap and re-cover loosely with foil if already baked) in a 350°F (175°C) oven. Keep in mind that baking from frozen will significantly increase the cooking time—it could take up to double the usual baking time, or even longer, for the apples to become tender and the filling to bubble. If the topping starts to brown too quickly, simply cover it loosely with foil for the remainder of the baking time to prevent burning.

Easy Apple Crisp
Ingredients
For the Apple Filling
- 6 to 8 medium apples, peeled and cut into chunks
- ⅓ cup brown sugar
- ⅔ cup all-purpose flour
- ⅓ cup unsalted butter, melted
- 1 teaspoon pure vanilla extract
- 1 teaspoon ground cinnamon
- Pinch of salt
- Pinch of ground nutmeg
For the Crisp Topping
- 1 cup all-purpose flour
- ¾ cup brown sugar
- ⅔ cup unsalted butter, chilled and cubed
- 1 cup old fashioned rolled oats
For Serving
- Ice cream
- Caramel sauce
Instructions
-
Preheat the oven to 350°F (175°C). Grease a 9×13-inch baking dish with butter. Set aside.
-
In a large bowl, combine the flour, brown sugar, cinnamon, nutmeg, and salt. Add the peeled and chopped apples to the mixture, and toss to coat thoroughly. Drizzle in the melted butter, and toss again until evenly moistened.
-
Transfer the coated apples to the prepared baking dish, spreading them into an even layer. Set aside.
-
In a separate bowl, combine the rolled oats, flour, brown sugar, and chilled, cubed butter. Use your fingers or a pastry blender to mix until the butter is incorporated and the mixture is crumbly, resembling coarse sand with pea-sized lumps. Sprinkle this topping evenly over the apples in the baking dish.
-
Bake in the preheated oven for 40 to 45 minutes, or until the topping is golden-brown, the fruit juices are bubbling around the edges, and the apples are fork-tender.
-
Remove from the oven and let rest for 10 to 15 minutes to allow the filling to set.
-
Serve warm or at room temperature. Garnish with a scoop of ice cream and a drizzle of caramel sauce, if desired.
Nutrition
Carbohydrates: 75g |
Protein: 5g |
Fat: 24g |
Saturated Fat: 15g |
Polyunsaturated Fat: 1g |
Monounsaturated Fat: 6g |
Trans Fat: 1g |
Cholesterol: 61mg |
Sodium: 14mg |
Potassium: 259mg |
Fiber: 5g |
Sugar: 43g |
Vitamin A: 784IU |
Vitamin C: 6mg |
Calcium: 51mg |
Iron: 2mg
Nutritional info is an estimate and provided as courtesy. Values may vary according to the ingredients and tools used. Please use your preferred nutritional calculator for more detailed info.
More Cozy Fall Baking Recipes to Explore
If you love the warm, inviting flavors of fall as much as we do, you’re in for a treat! Apple crisp is just the beginning. Here are a few more delightful recipes to fill your kitchen with irresistible aromas and your tummy with comforting goodness:
- Baked Apple Cider Doughnuts with Maple Glaze: A taste of the apple orchard right at home.
- Soft Pumpkin Cookies: Pillowy cookies packed with seasonal pumpkin spice.
- Easy Pumpkin Muffins from Scratch: Perfect for breakfast or a sweet snack, these muffins are quick to make and full of flavor.