
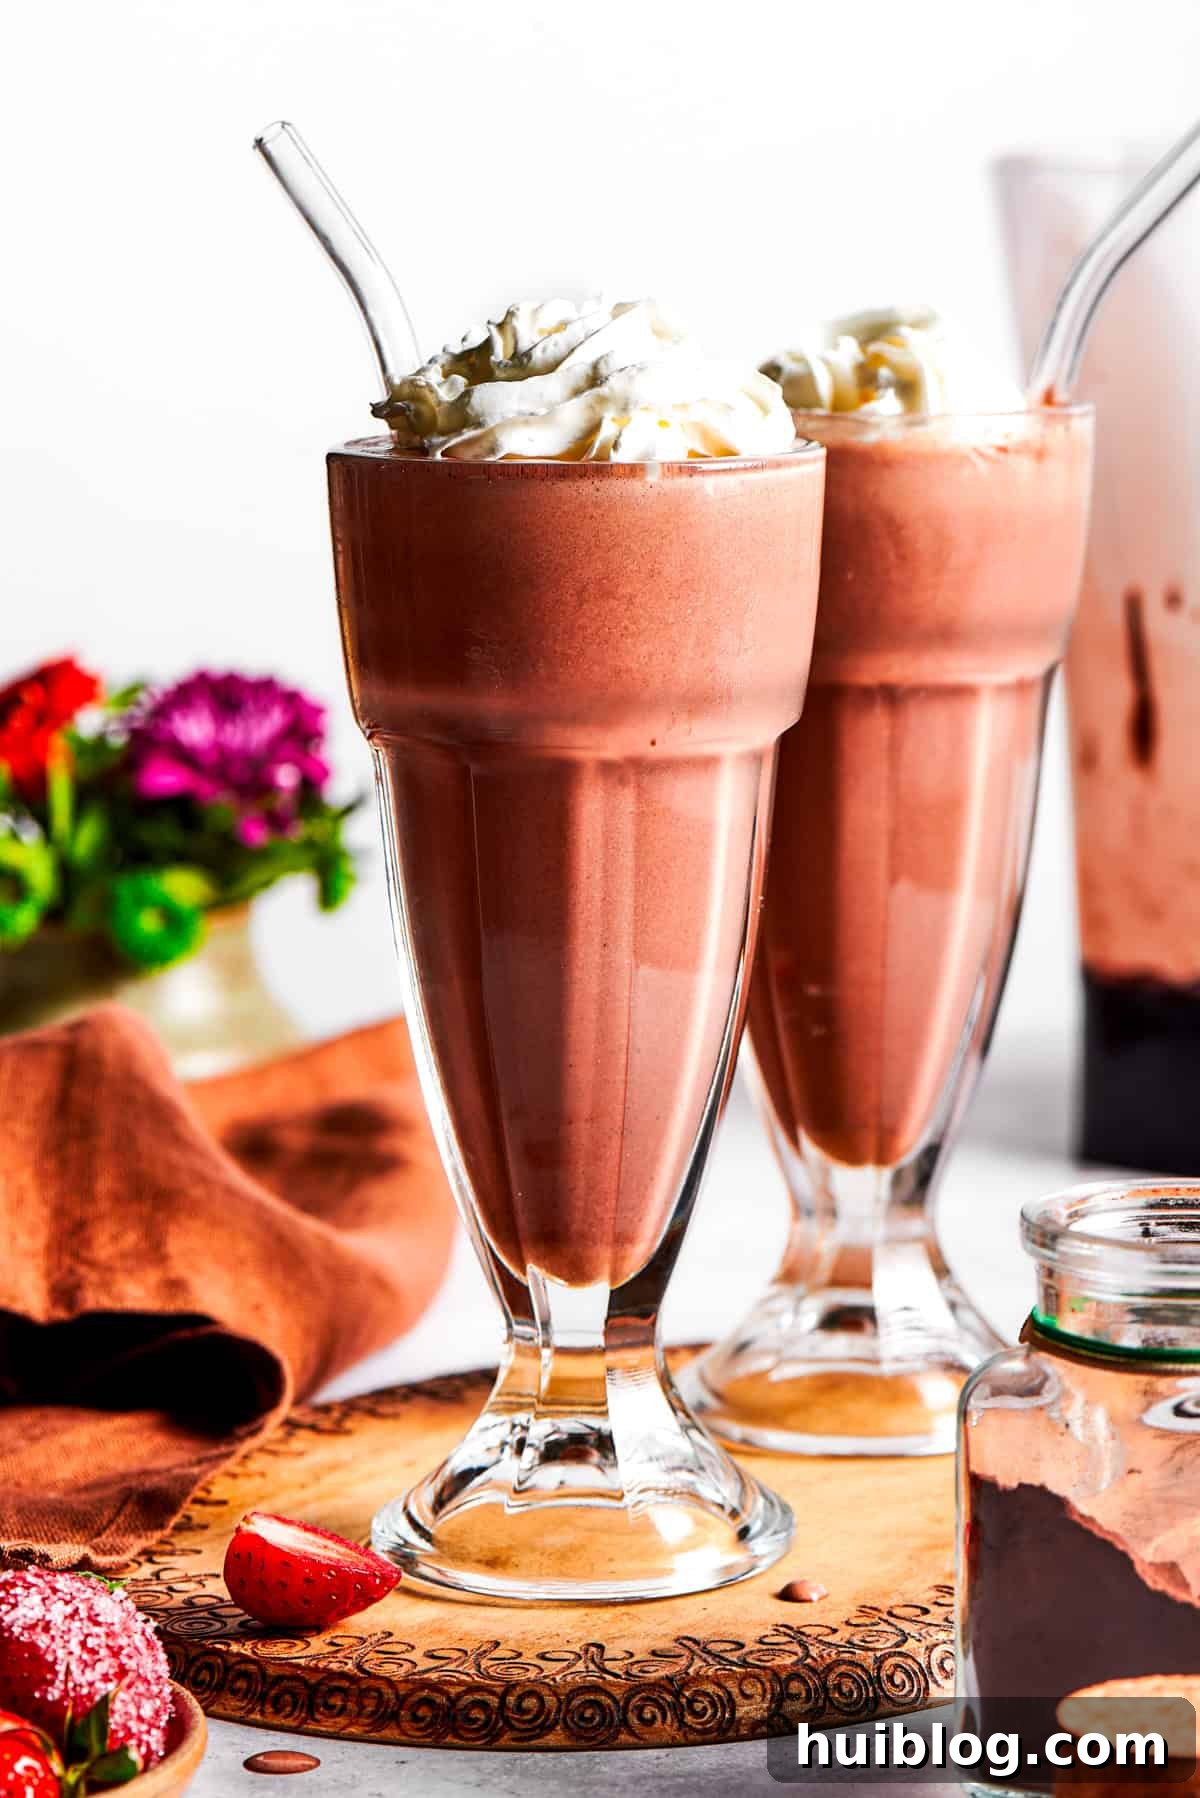
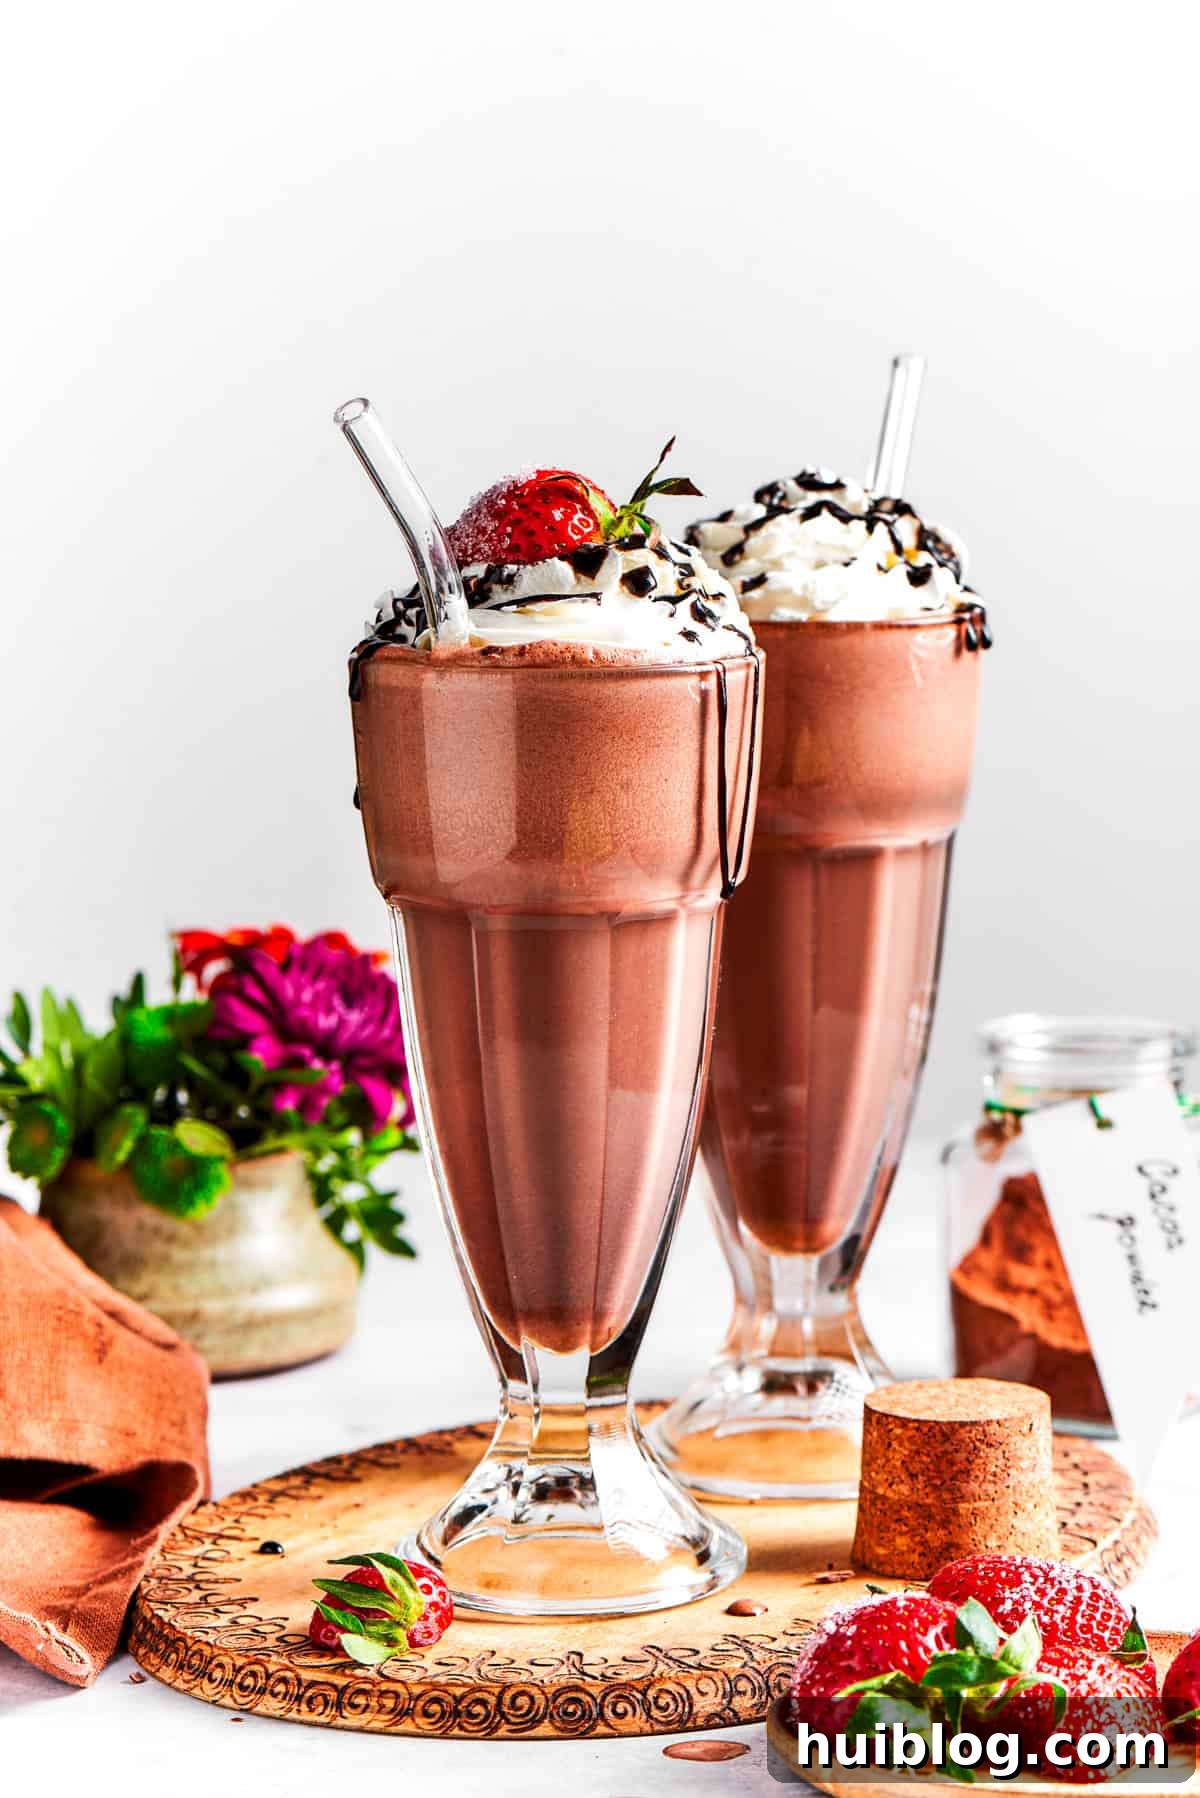
Unlock the secret to crafting the ultimate chocolate milkshake at home, a decadent delight that rivals any classic diner creation. This isn’t just a drink; it’s an experience – rich, creamy, and irresistibly smooth, transforming simple ingredients into a luxurious treat. Imagine a rich chocolate cake, but in a frosty, sip-able form, ready in just minutes. With my expert tips and simple recipe, you’ll learn how to whip up a perfectly thick, unbelievably delicious chocolate milkshake every single time, turning your kitchen into the most popular spot in the house.
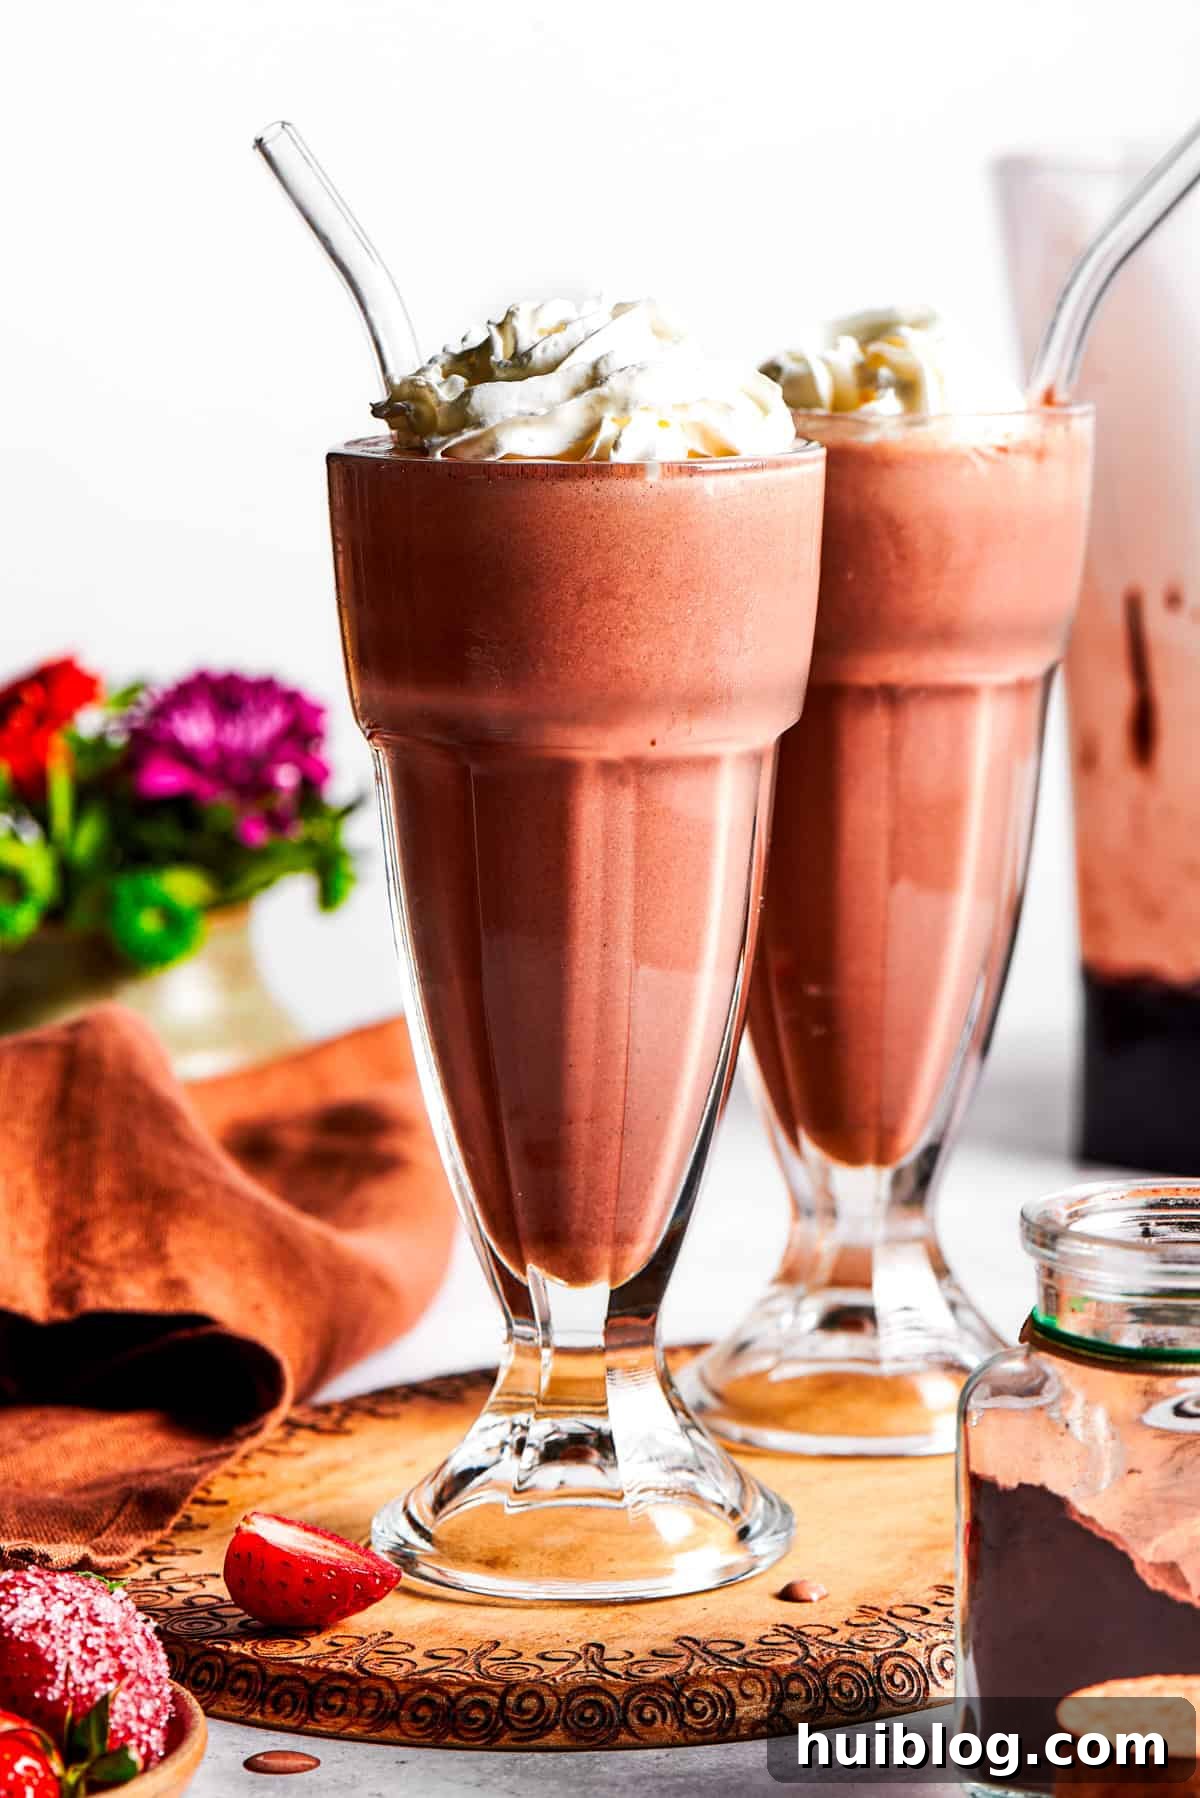
There’s a universal appeal to a classic chocolate milkshake, a treat that crosses generations and brings smiles. While my kids might be the most vocal fans, often requesting one almost daily, it’s a secret indulgence for us adults too! This recipe takes the beloved, classic chocolate shake and elevates it with carefully selected, high-quality ingredients like premium cocoa powder and luxurious hot fudge sauce. The result is a profoundly rich, wonderfully creamy, and flawlessly smooth beverage that’s far superior to anything you’d buy ready-made. You can keep it delightfully simple with just a dollop of whipped cream, or go all out with an array of toppings such as fresh berries, delicate chocolate shavings, or a swirl of luscious caramel sauce. The beauty of homemade lies in the endless possibilities for customization.
Why This Homemade Chocolate Milkshake Will Become Your New Favorite
Once you try this recipe, you’ll understand why it’s a game-changer for chocolate milkshake enthusiasts. Here are just a few reasons why this classic chocolate milkshake will quickly earn a permanent spot in your dessert repertoire:
- Lightning Fast Preparation: In today’s busy world, who has time for complicated recipes? This chocolate milkshake comes together in just 5 minutes from start to finish. Yes, you read that correctly! It’s the perfect quick fix for a sudden craving or an impromptu treat.
- Unmatched Homemade Quality: Forget trekking to a diner or a fast-food joint. When a craving strikes, you can create a superior milkshake right in your own kitchen. Making it at home means you control every ingredient, ensuring a fresher, higher-quality, and more delicious result. Plus, the freedom to personalize with your favorite toppings and flavors is unparalleled. Imagine pairing it with the delectable chocolate sauce from my Homemade Churros with Chocolate Sauce for an extra special touch.
- Perfectly Thick & Incredibly Creamy: This isn’t a watery, insipid shake. This is a genuinely decadent chocolate milkshake experience! It’s lusciously creamy and can be made as thick or as thin as you prefer. You have complete control over the consistency by simply adjusting the amount of added milk or cream, ensuring it’s exactly to your liking.
- Endless Customization Options: From simple whipped cream to elaborate drizzles and fresh fruit, this recipe is a canvas for your creativity. Tailor it to your mood, the season, or whatever ingredients you have on hand.
- A Nostalgic Treat for All Ages: There’s something inherently nostalgic about a chocolate milkshake. This recipe captures that timeless charm, bringing joy to both children and adults alike, making it the perfect family-friendly dessert.
Essential Ingredients for Your Perfect Chocolate Milkshake
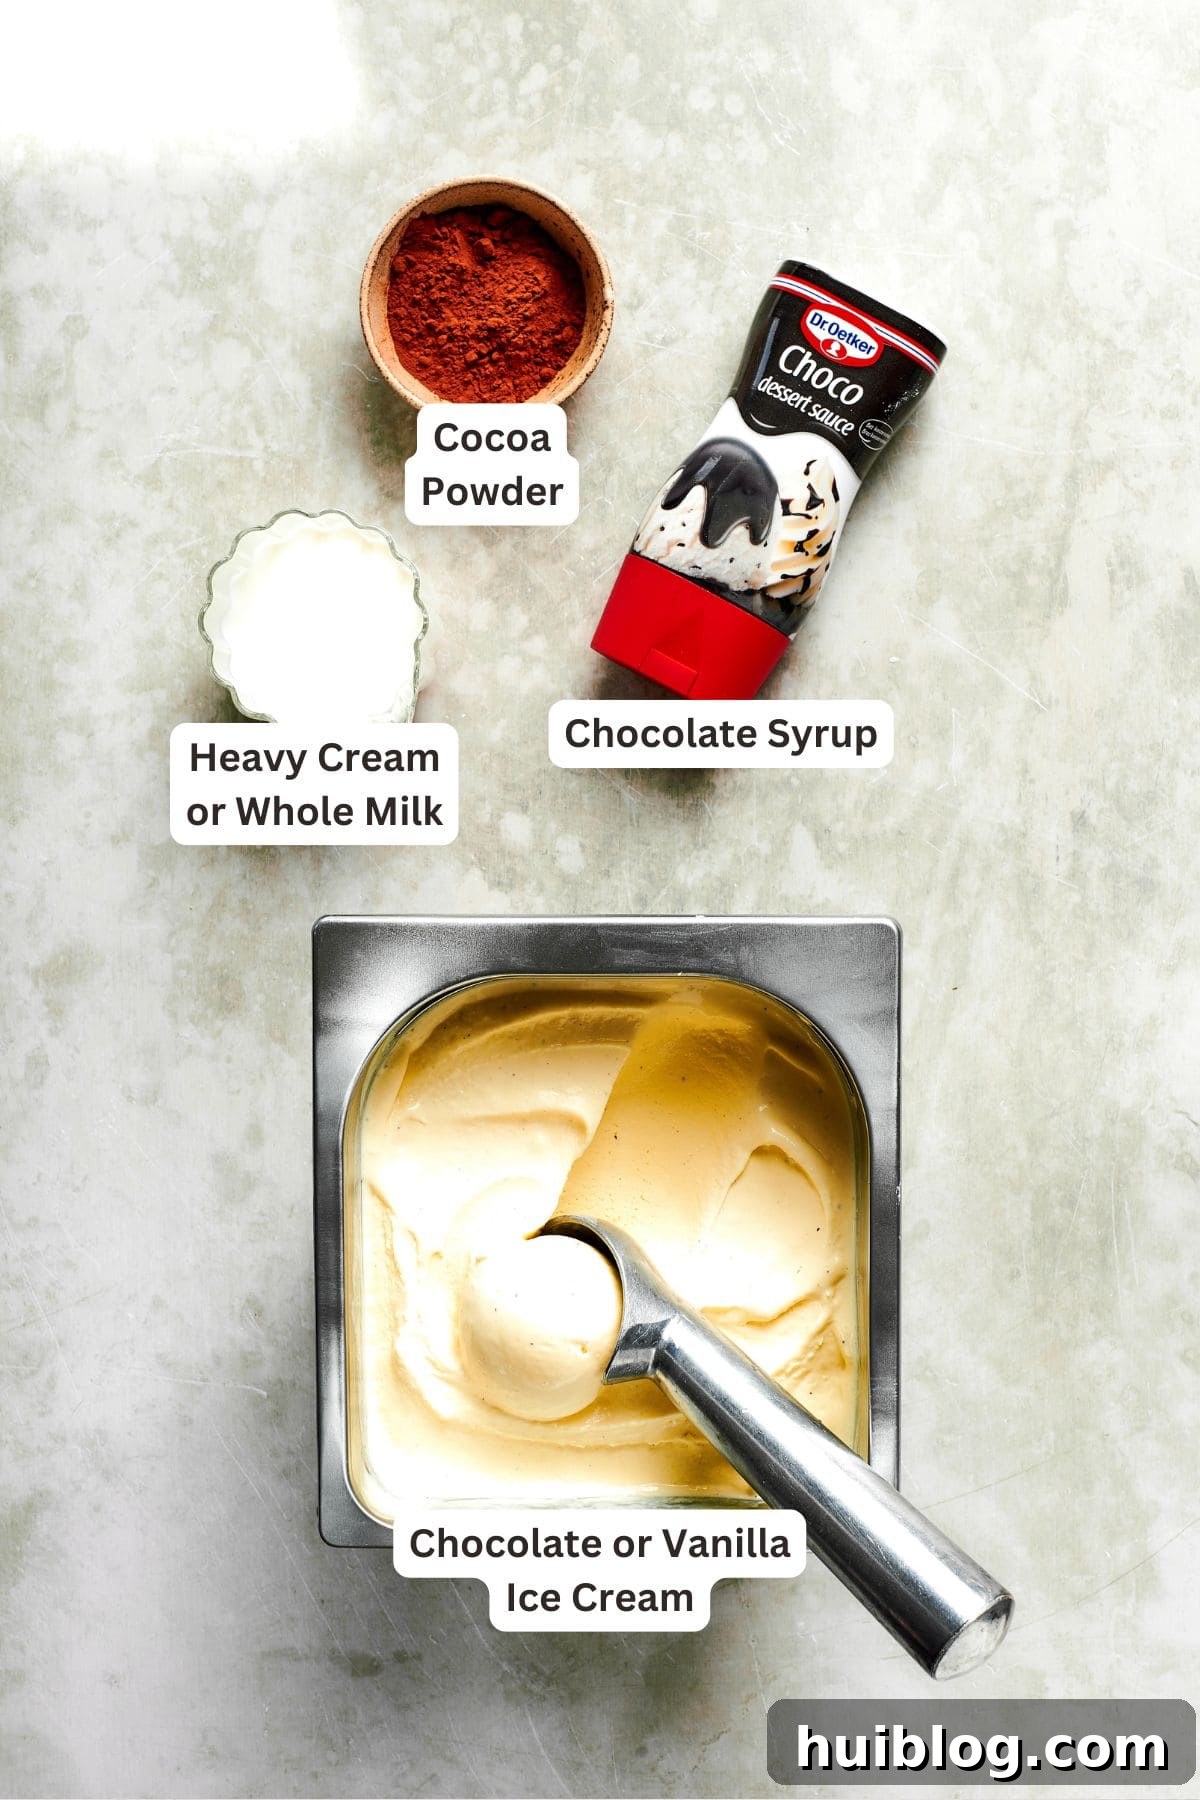
Creating a truly spectacular homemade chocolate milkshake requires only a few simple yet high-quality ingredients. For the richest and most authentic diner-style results, I highly recommend investing in a good-quality ice cream brand. The full list of exact ingredient amounts can be found in the comprehensive recipe card at the end of this post.
- Ice Cream: The foundation of any great milkshake! Opt for plain vanilla or classic chocolate ice cream. Using a high-quality brand makes a significant difference in both flavor and texture. Avoid ice creams with chunky mix-ins like cookie pieces or candy, as these can make blending more challenging and result in a less smooth shake. Vanilla provides a versatile base allowing the chocolate flavors to shine, while chocolate ice cream will intensify the overall chocolate experience.
- Heavy Cream or Whole Milk: For an ultra-rich and thick milkshake, heavy cream is your best friend. It adds an unparalleled creaminess and body. If you prefer a slightly lighter shake or want to adjust the thickness, whole milk works wonderfully too. You can always start with a smaller amount and add more to achieve your desired consistency.
- Cocoa Powder: This is where much of the intense chocolate flavor comes from. I personally love using unsweetened Dutch-processed cocoa powder. Dutch-processed cocoa has a milder, less bitter chocolate flavor and a darker color compared to natural cocoa powder, resulting in a beautifully rich and deep chocolate hue. You can use regular unsweetened cocoa powder if that’s what you have on hand, but be aware it might yield a slightly brighter color and a more robust chocolate note.
- Chocolate Sauce: To enhance the sweetness and provide that luscious, drippy texture, a good chocolate sauce is essential. Hot fudge sauce offers a richer, more indulgent flavor and thicker consistency, while chocolate syrup provides a classic, slightly lighter touch. Choose your favorite, or even combine them for complex chocolate notes.
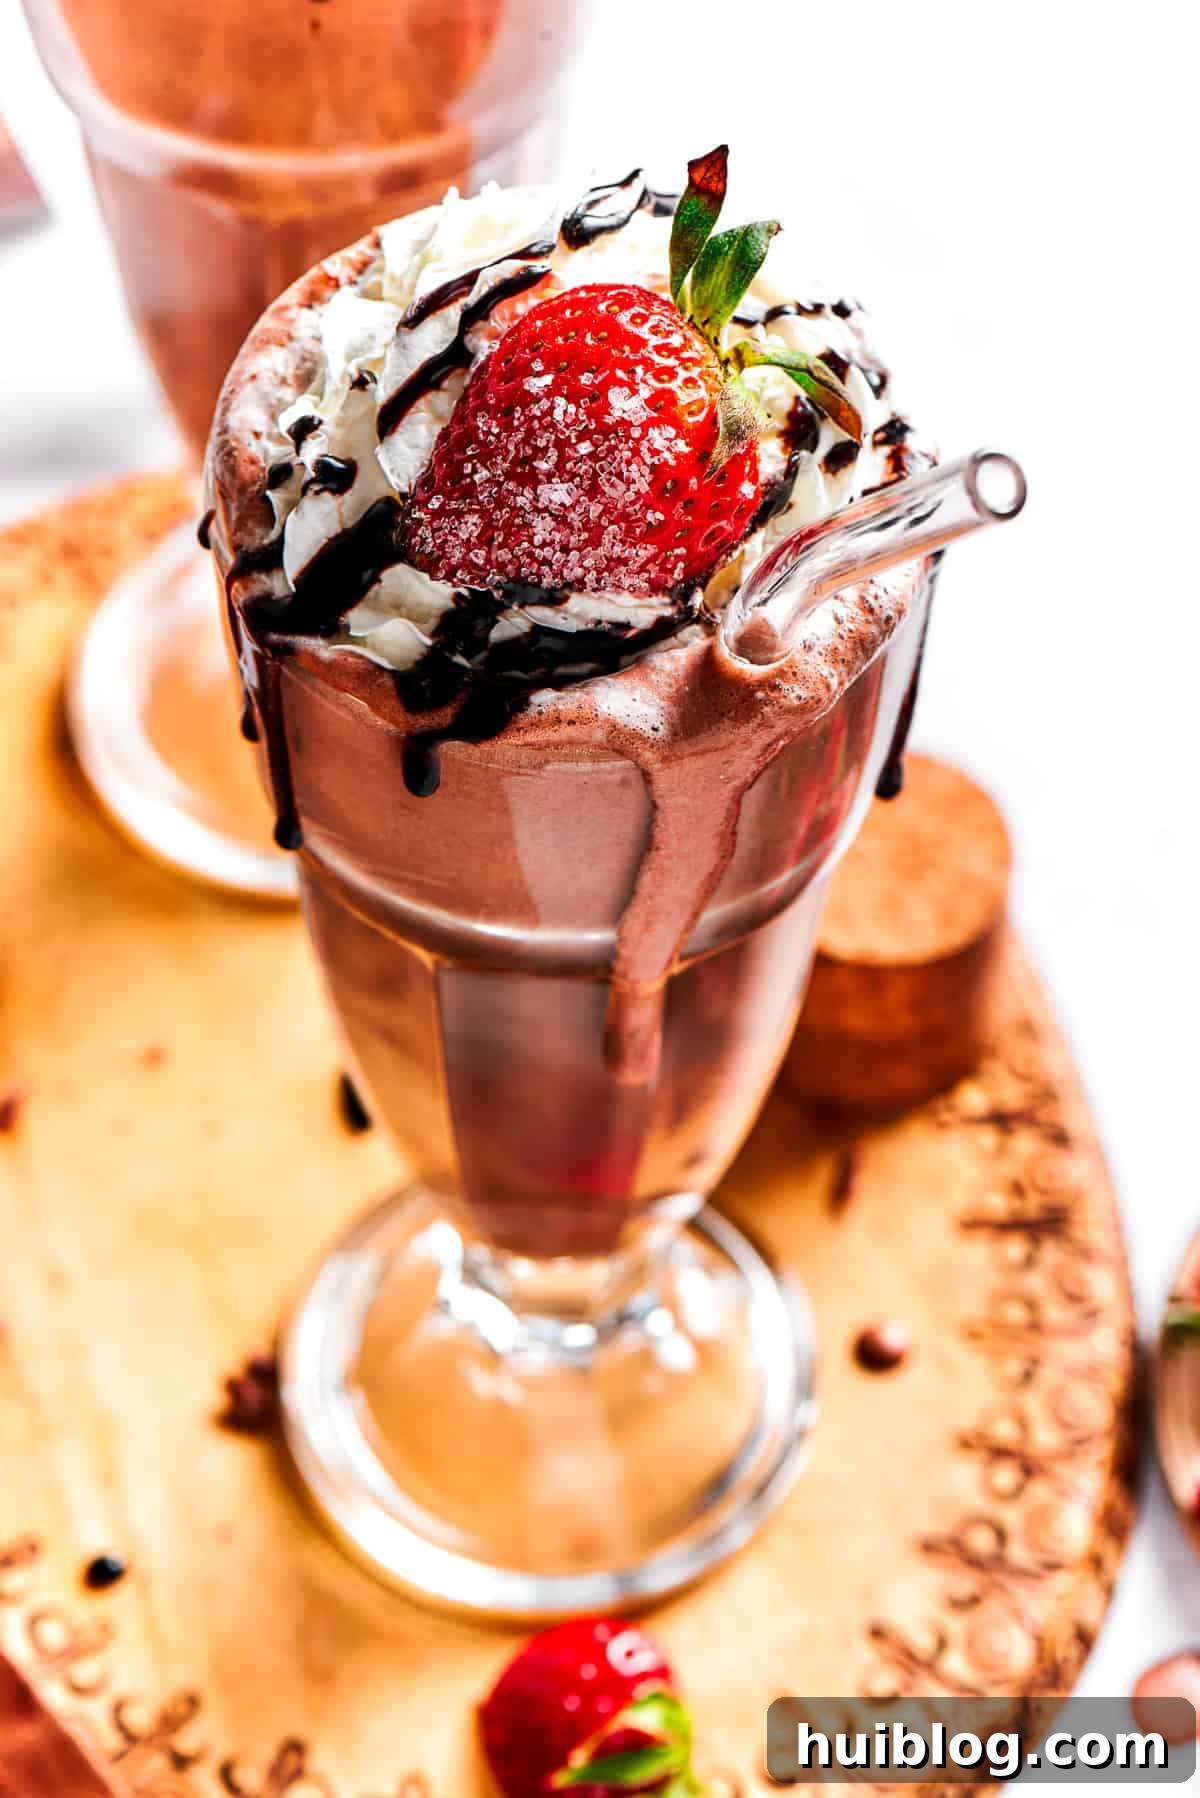
- Optional Toppings: This is where you can truly make your milkshake your own! Don’t skimp on the garnishes. Some fantastic options include freshly whipped cream (sweetened, of course!), delicate chocolate shavings, vibrant fresh strawberries for a pop of color and freshness, or an extra drizzle of that delicious chocolate sauce.
Selecting the Best Ice Cream for Milkshakes
The choice of ice cream significantly impacts the final product. A premium ice cream with a higher fat content will yield a creamier, richer milkshake. Cheaper brands often have more air and water, which can lead to a less satisfying, icier texture. Consider flavors beyond just plain vanilla or chocolate; for instance, a good quality French vanilla can add extra depth. Remember to let your ice cream soften slightly before blending for optimal results.
Expert Tips for Crafting the Perfect Chocolate Milkshake
Achieving that perfect diner-style thickness and creaminess is easier than you think with a few simple tricks. Follow these expert tips for a truly irresistible chocolate milkshake:
- Soften the Ice Cream First: This is a crucial step that many overlook! Allow your ice cream to sit out on the counter at room temperature for about 10-15 minutes before you plan to blend your shakes. This slight softening makes the ice cream much easier to blend, ensuring a super creamy, smooth texture without overworking your blender or diluting the shake with too much liquid.
- Layer Ingredients Strategically: For the most efficient blending and to protect your blender blades, always add your liquid ingredients first. Place the heavy cream or milk into the blender pitcher, then scoop the softened ice cream on top, followed by the cocoa powder and chocolate sauce. The liquid at the bottom helps the blades get started and creates a vortex that pulls the thicker ingredients down.
- Start Slow, Then Increase Speed: Don’t blast your blender on high right away. Begin blending on a low speed to gradually combine the ingredients. Once they start to come together, increase the speed to medium. This prevents splashes and ensures an even, consistent blend. If needed, stop the blender and scrape down the sides with a spatula to incorporate any unblended bits. Blend for approximately 1 minute, or until completely smooth.
- No Blender? No Problem!: If you don’t have a blender, you can still enjoy a fantastic homemade milkshake! Simply let your ice cream soften a bit more, then combine all ingredients in a large bowl. Use a sturdy whisk or a hand mixer to vigorously whisk until the mixture is smooth and reaches your desired consistency. It might take a bit more elbow grease, but the result is equally delicious.
- Always Chill Your Glasses: Recreate that authentic diner experience by serving your milkshake in frosty glasses! Place your serving glasses in the freezer for at least 15-30 minutes before you start preparing your shake. This keeps your milkshake colder for longer and prevents it from melting too quickly.
- Can I Prepare it in Advance? While chocolate milkshakes are definitely best enjoyed immediately for peak freshness and texture, you can store any leftovers. Pour the remaining milkshake into an airtight container and place it in the freezer for a few hours. When you’re ready to drink it, let it sit at room temperature for 10-15 minutes to soften slightly, then give it a good stir or re-blend briefly if it’s too solid. Note that the texture might be slightly different than freshly made.
- Adjust for Perfect Thickness: The beauty of homemade is control. If your milkshake is too thick, add more heavy cream or milk, one tablespoon at a time, blending after each addition until you achieve your preferred consistency. If it’s too thin, add another scoop of ice cream and blend again.
Creative Topping & Flavor Variation Ideas for Your Milkshake
This chocolate milkshake method is incredibly versatile, serving as a perfect base for a myriad of flavors and creative toppings. Don’t hesitate to experiment and make it your own! Here are some exciting suggestions to inspire your next milkshake masterpiece:
- Strawberry Chocolate Milkshake: For a delightful fruity and chocolatey fusion, swap out the vanilla or chocolate ice cream for strawberry ice cream. Keep the cocoa powder in the recipe to ensure that rich chocolate undertone, resulting in a vibrant, sweet, and indulgently fruity chocolate shake. A drizzle of strawberry syrup would also be a fantastic addition!
- Make it a Mocha Dream: Elevate your chocolate milkshake with a sophisticated coffee kick. Add a shot (about 1-2 tablespoons) of cooled espresso or strong brewed coffee to the blender along with the other ingredients for a fantastic mocha twist. Alternatively, for an even more pronounced coffee flavor, use coffee ice cream instead of vanilla or chocolate ice cream.
- Peanut Butter & Chocolate Shake: A match made in heaven! Blend in about 1/4 to 1/2 cup of creamy or crunchy peanut butter (depending on your preference) for a rich, nutty, and utterly satisfying peanut butter and chocolate milkshake. This is a truly indulgent combination.
- Go Dairy-Free & Vegan: It’s easy to adapt this recipe for those with dietary restrictions. For a delicious vegan variation, simply use your favorite dairy-free ice cream (such as almond milk, coconut milk, or soy-based) and substitute the heavy cream with a plant-based milk alternative like almond milk, oat milk, or cashew milk. Ensure your chocolate sauce and any toppings are also dairy-free.
- Mint Chocolate Chip Milkshake: Add 1/4 teaspoon of peppermint extract and a handful of mini chocolate chips for a refreshing mint chocolate experience. Using mint chocolate chip ice cream can also achieve a similar effect.
- Banana Chocolate Milkshake: For a naturally thicker and fruitier shake, add half a ripe banana to the blender. The banana adds sweetness and a wonderful creaminess that pairs beautifully with chocolate.
- Caramel Swirl: Drizzle caramel sauce into the blender before blending, or swirl it into the glass before pouring the milkshake for an extra layer of sweetness and flavor.
- Even More Topping Ideas: Beyond the classics, get creative with your garnishes! Try a sprinkle of mini chocolate chips, colorful sprinkles for a festive touch, miniature marshmallows, crushed cookies (like Oreos or graham crackers), chopped nuts, or for that iconic diner look, don’t forget a bright red maraschino cherry on top!
Print Recipe
The Ultimate Homemade Chocolate Milkshake Recipe
by Katerina | Easy Weeknight Recipes
My chocolate milkshake recipe delivers perfectly decadent shakes every time! Learn how to easily make a diner-worthy milkshake at home with my expert tips, then kick back and sip this classic treat.
Prep Time: 5 minutes
Total Time: 5 minutes
Servings: 2 servings
Ingredients
- 4 cups vanilla ice cream, or chocolate ice cream
- ¼-½ cup heavy cream, or whole milk
- 1½ tablespoons Dutch-processed cocoa powder, or regular cocoa powder
- ⅓ cup hot fudge sauce, or chocolate syrup
- Optional toppings: sweetened whipped cream, chocolate shavings, fresh strawberries, chocolate sauce
Instructions
- Prepare the Blender: Ensure your blender is clean and dry before you begin.
- Combine Ingredients: Scoop the softened vanilla or chocolate ice cream into the blender pitcher. Remember, chocolate ice cream will result in a richer, deeper chocolate flavor, while vanilla provides a more balanced base allowing the added chocolate to shine. Add the cocoa powder to enhance the chocolate taste. Next, pour in the hot fudge sauce or chocolate syrup; opt for hot fudge sauce for a more intense and decadent flavor. Finally, add the heavy cream or whole milk, starting with the smaller amount, as you can always adjust the thickness later.
- Blend Until Smooth: Secure the blender lid firmly. Start blending on a low speed to incorporate the ingredients, then gradually increase to medium speed until the mixture is completely smooth and wonderfully creamy. If the milkshake appears too thick to blend easily, add more cream or milk, a tablespoon at a time, blending after each addition until you reach your desired consistency. Be sure to scrape down the sides of the blender with a spatula as needed to ensure everything is thoroughly combined.
- Taste and Adjust: Take a small taste of your milkshake. If you prefer a sweeter flavor profile, simply add a bit more chocolate sauce and blend briefly again to incorporate.
- Serve & Enjoy: Carefully pour the freshly blended milkshake into your pre-chilled glasses. Garnish generously with optional toppings such as sweetened whipped cream, a sprinkle of chocolate shavings, a few fresh strawberries, or an extra enticing drizzle of chocolate sauce. Serve immediately with a wide straw or a long spoon and savor every delicious sip of your homemade chocolate milkshake!
Equipment
-
High Powered Blender
Nutrition Information (Per Serving Estimate)
Calories: 834kcal | Carbohydrates: 97g | Protein: 13g | Fat: 45g | Saturated Fat: 27g | Polyunsaturated Fat: 2g | Monounsaturated Fat: 13g | Cholesterol: 150mg | Sodium: 395mg | Potassium: 755mg | Fiber: 5g | Sugar: 75g | Vitamin A: 1550IU | Vitamin C: 2mg | Calcium: 387mg | Iron: 1mg
Nutritional information provided is an estimate and serves as a courtesy only. Values may vary based on specific ingredients used, brands, and preparation methods. For precise and detailed nutritional data, please consult your preferred nutritional calculator.
Did you make this delicious recipe? We’d love for you to leave a rating and review!
Step-by-Step Guide: How to Craft Your Chocolate Milkshake
Creating this irresistible chocolate milkshake is incredibly straightforward, especially when you follow these simple steps. Gather your ingredients and get ready to blend up some magic!
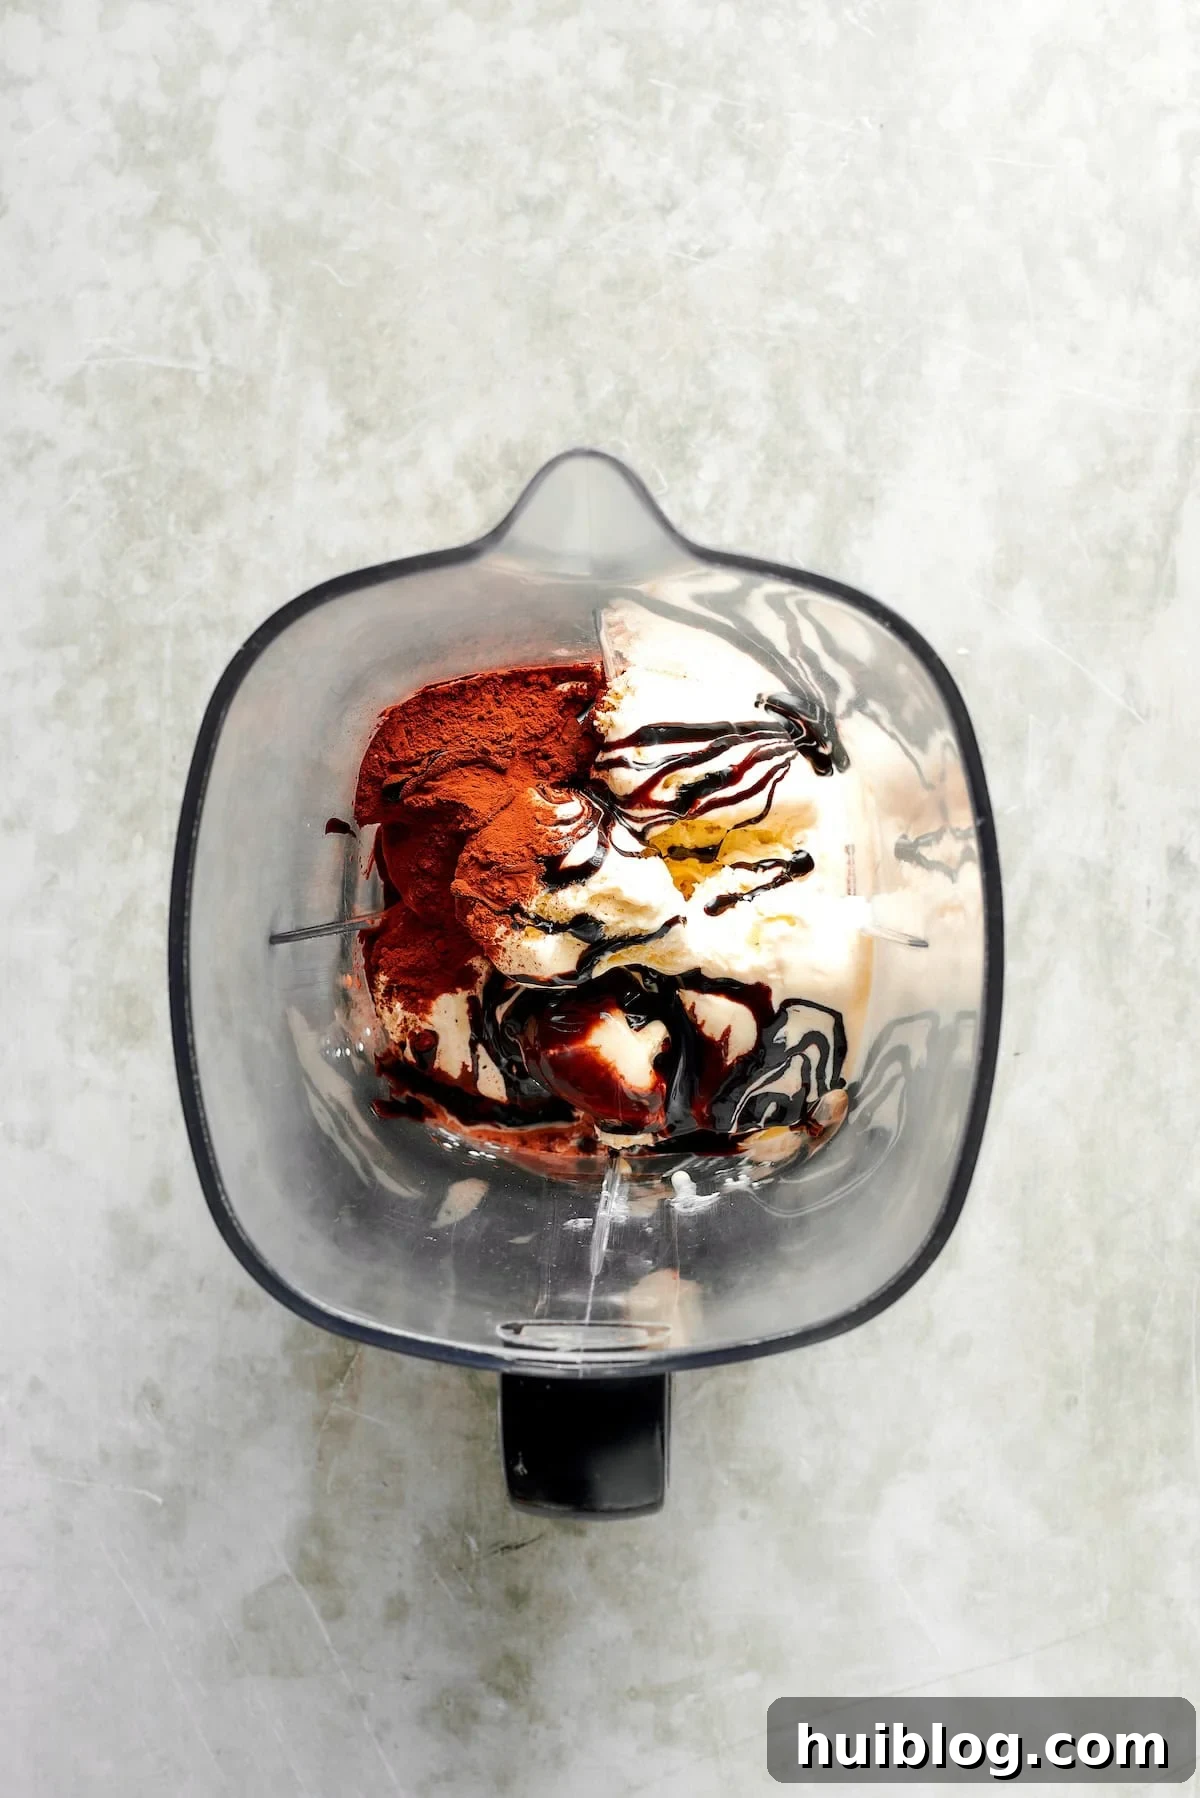
- Layer Ingredients in Blender: Begin by adding all of your milkshake ingredients into your high-powered blender. For best results and easier blending, follow this specific order: first, pour in the heavy cream or whole milk, then carefully scoop in the softened ice cream, followed by the cocoa powder, and finally, the chocolate syrup or hot fudge sauce.
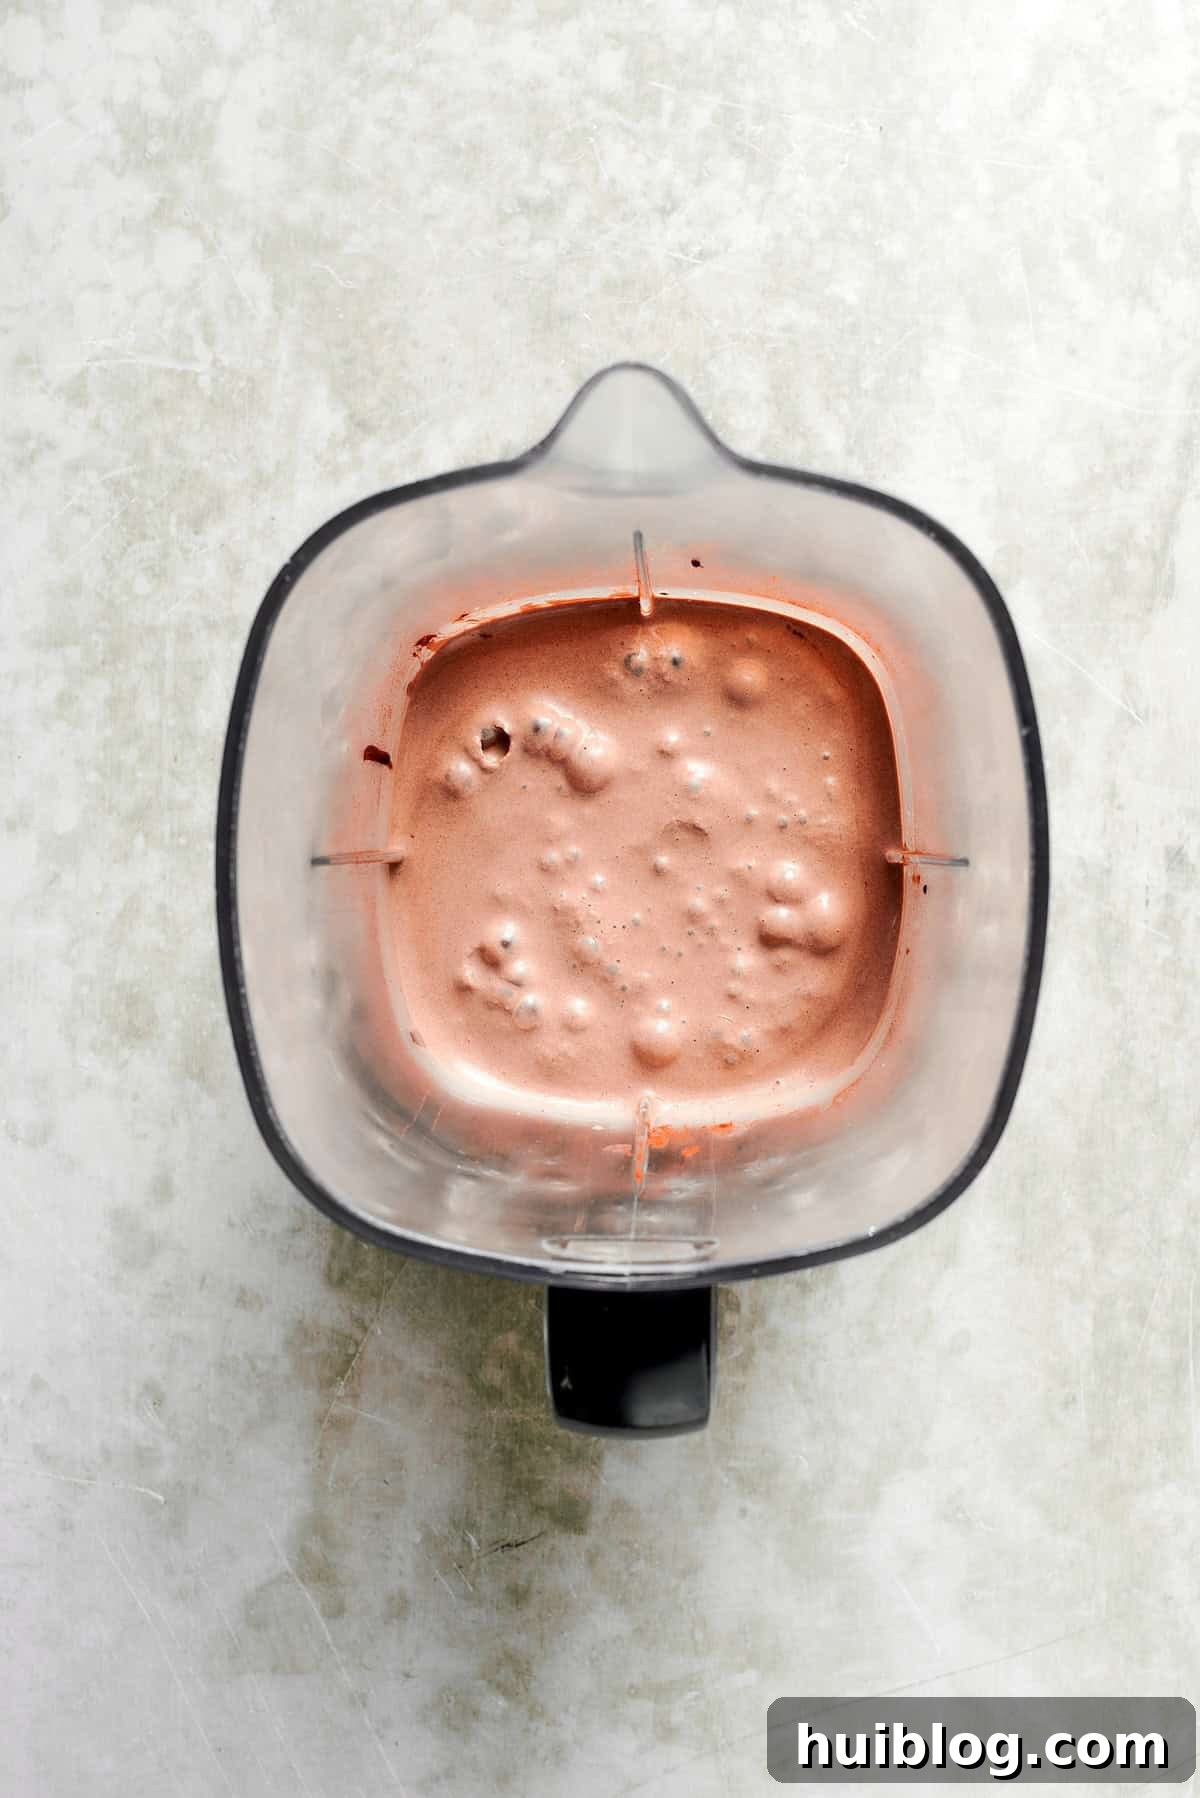
- Achieve Creamy Perfection: Secure the blender lid tightly. Start blending on a low speed to gently combine the ingredients, then gradually increase to a medium speed. Continue to mix until the shakes are completely smooth, thick, and wonderfully creamy, with no visible ice cream chunks or lumps. This usually takes about 60 seconds.
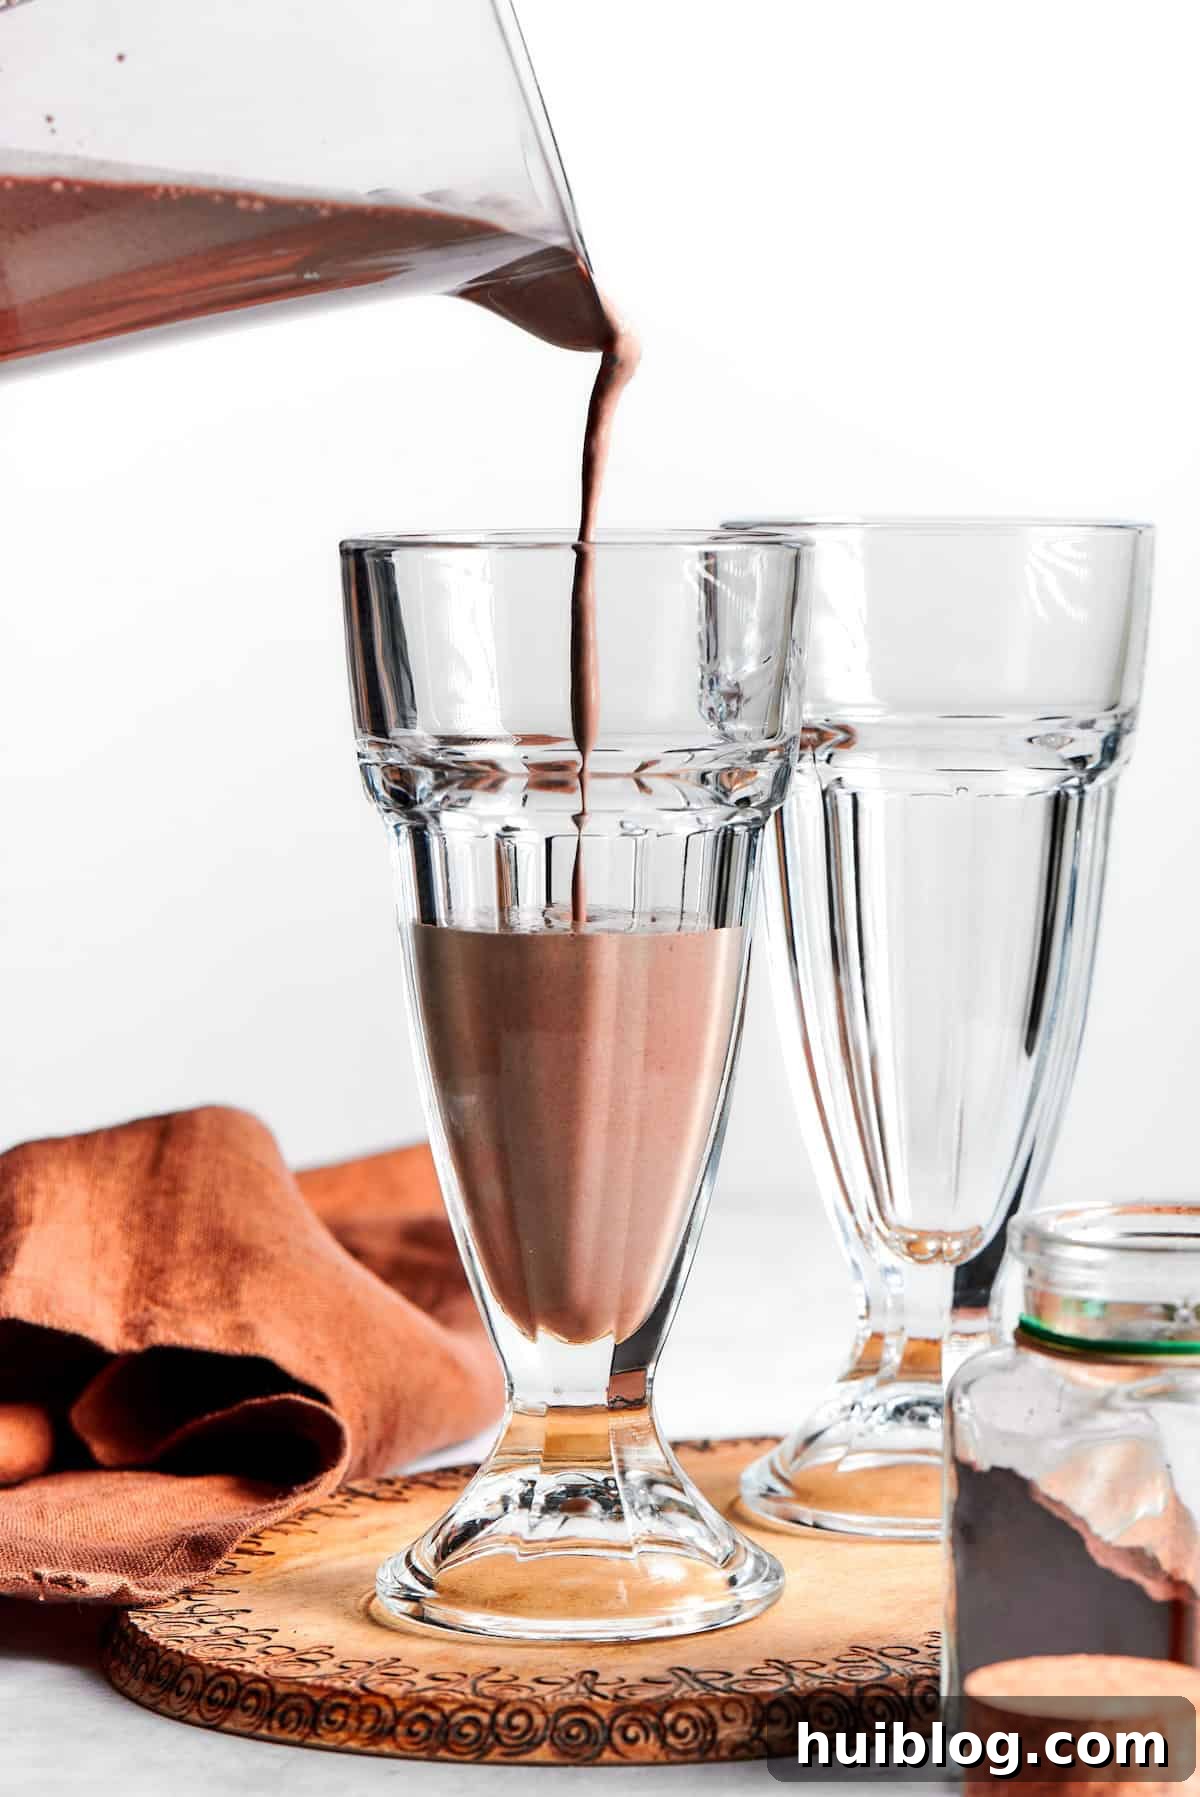
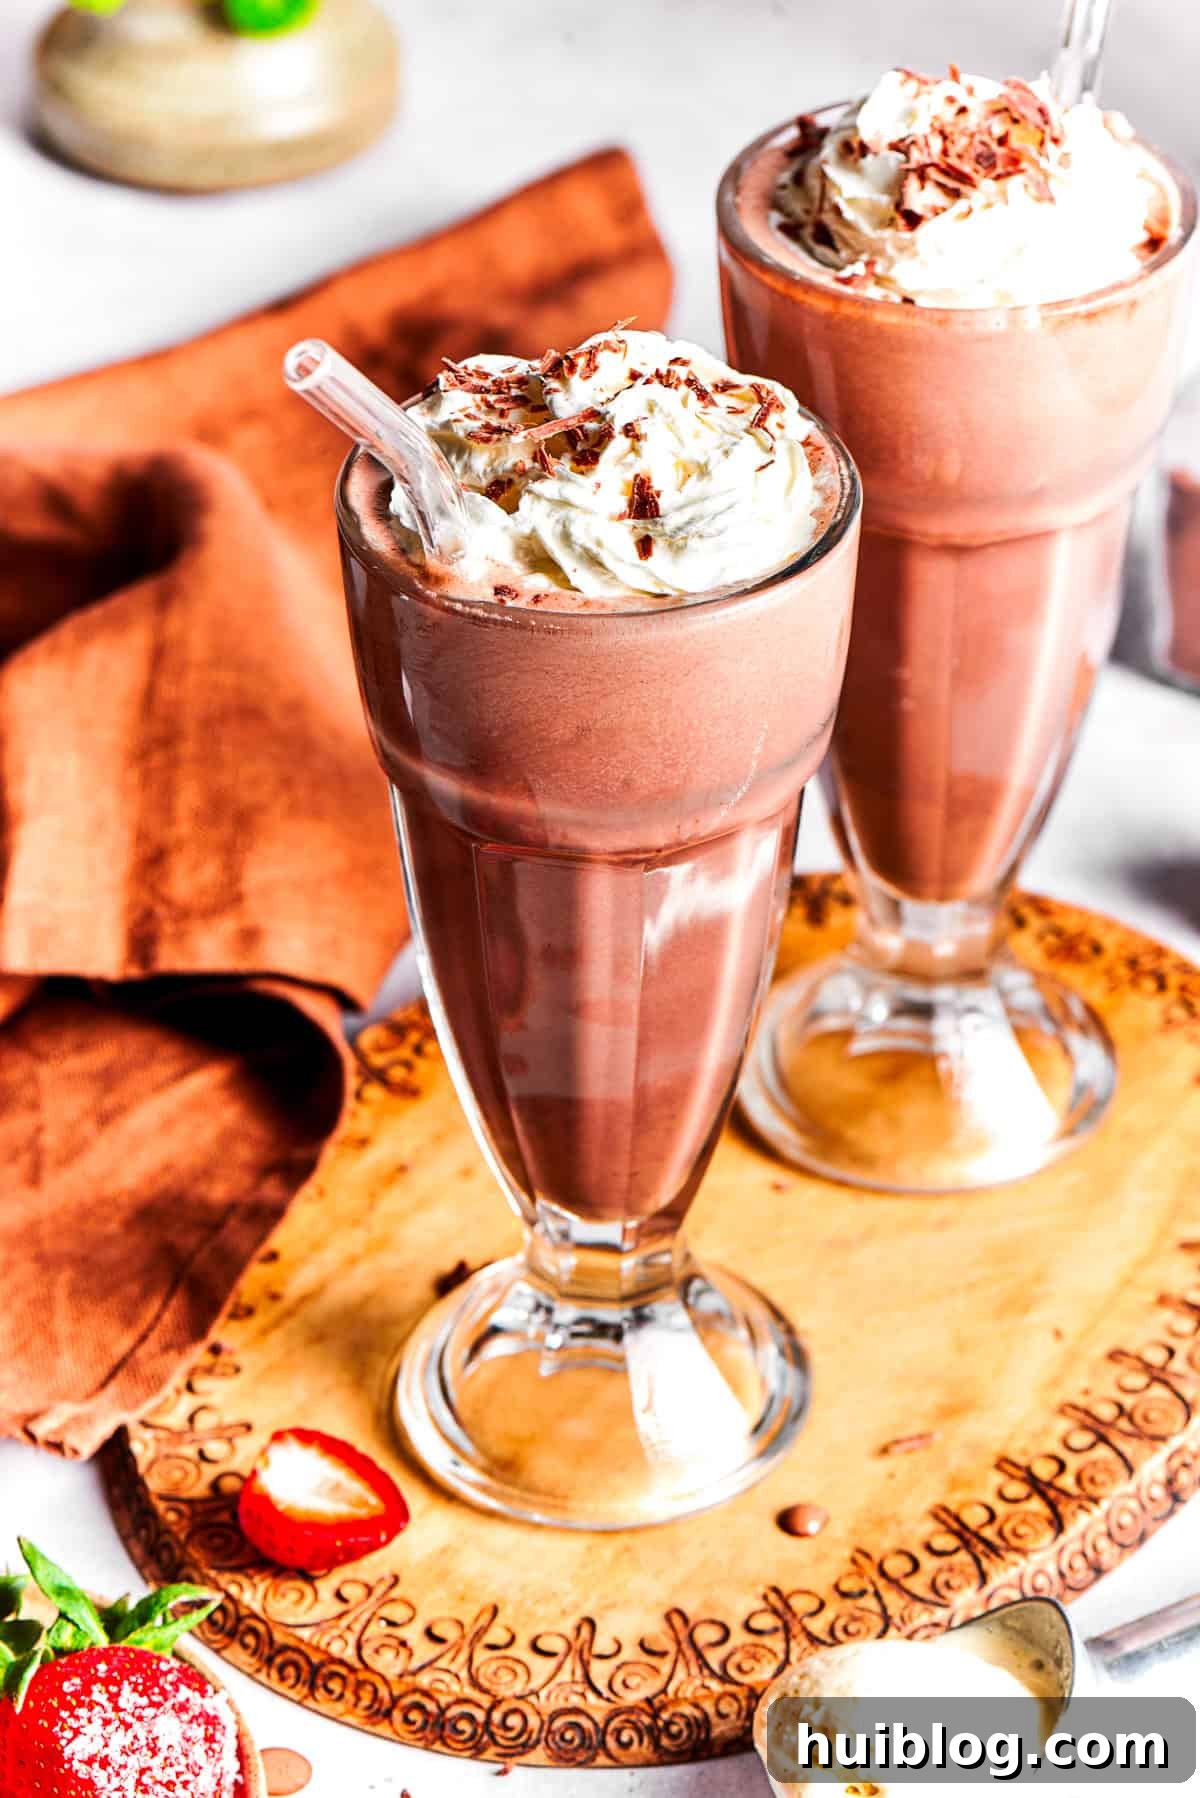
- Pour into Chilled Glasses: Once blended to your desired consistency, immediately pour the luscious chocolate milkshake into your pre-chilled serving glasses. This keeps your shake frosty and delightful.
- Garnish & Serve: Now comes the fun part! Get creative with your toppings. A classic choice is a generous swirl of sweetened whipped cream. Elevate it further with a sprinkle of delicate chocolate shavings, a few fresh, vibrant strawberries, or an extra tempting drizzle of chocolate sauce. Serve immediately with a sturdy straw and a spoon, and enjoy every decadent sip of your homemade masterpiece!
Frequently Asked Questions (FAQs) About Homemade Chocolate Milkshakes
Q: How can I make my milkshake thicker?
A: To achieve a thicker milkshake, use less liquid (heavy cream or milk) to start. You can also add more ice cream, or even a tablespoon of malt powder, which helps with thickening and adds a classic malted flavor. Ensure your ice cream is very cold, not too soft. For an extra rich and thick shake, you can even add a frozen banana slice, which also boosts creaminess.
Q: What type of chocolate sauce is best?
A: Both hot fudge sauce and chocolate syrup work well, but they offer different results. Hot fudge is typically richer, thicker, and provides a deeper, more luxurious chocolate flavor. Chocolate syrup is often thinner and sweeter, giving a classic, lighter chocolate taste. For the ultimate decadent experience, I recommend a high-quality hot fudge. You can also use melted good-quality chocolate for an intense flavor, but let it cool slightly before adding to the blender.
Q: Can I use different flavored ice cream?
A: Absolutely! While vanilla or chocolate ice cream provides a classic base, feel free to experiment. Mint chocolate chip, coffee, or even strawberry ice cream can create fantastic flavor variations. Just remember that the flavor of the ice cream will significantly impact the overall taste of your chocolate milkshake.
Q: My milkshake is too thin/watery. What went wrong?
A: The most common reasons for a thin milkshake are using too much liquid (milk/cream), ice cream that’s too soft or melted, or not enough ice cream. Make sure your ice cream is adequately cold and only slightly softened. Start with the minimum amount of liquid recommended and add more gradually. If it’s already thin, add another scoop or two of cold ice cream and blend again.
Q: Can I add fresh fruit to my chocolate milkshake?
A: Yes, fresh fruits like strawberries, raspberries, or bananas blend beautifully with chocolate. Just ensure the fruit is ripe and cut into smaller pieces to blend smoothly. Frozen fruit can also be used and will help maintain a thick, cold consistency.
Q: How do I store leftover milkshake?
A: While best enjoyed fresh, you can pour any leftover milkshake into an airtight container and freeze it for a few hours. It will likely become very solid. When you’re ready to enjoy it, let it sit at room temperature for 10-15 minutes to soften, then stir vigorously or re-blend briefly until it reaches a drinkable consistency. The texture might be slightly icier than a freshly made shake.
Explore More Easy & Decadent Dessert Ideas
If you loved this simple yet incredibly satisfying chocolate milkshake recipe, you’ll definitely want to explore these other delightful and easy dessert creations. Perfect for any weeknight craving or a special treat!
- Brown Butter Chocolate Chip Cookies: A classic cookie elevated with the rich, nutty flavor of brown butter. Irresistible!
- Shamrock Oreo McFlurry Copycat: Recreate your favorite seasonal fast-food treat with this easy and refreshing recipe.
- Millionaire Bars: Indulge in layers of shortbread, rich caramel, and decadent chocolate with these impressive bars.
- Peanut Butter Rice Crispy Treats: A nostalgic, no-bake favorite made even better with the addition of creamy peanut butter.