
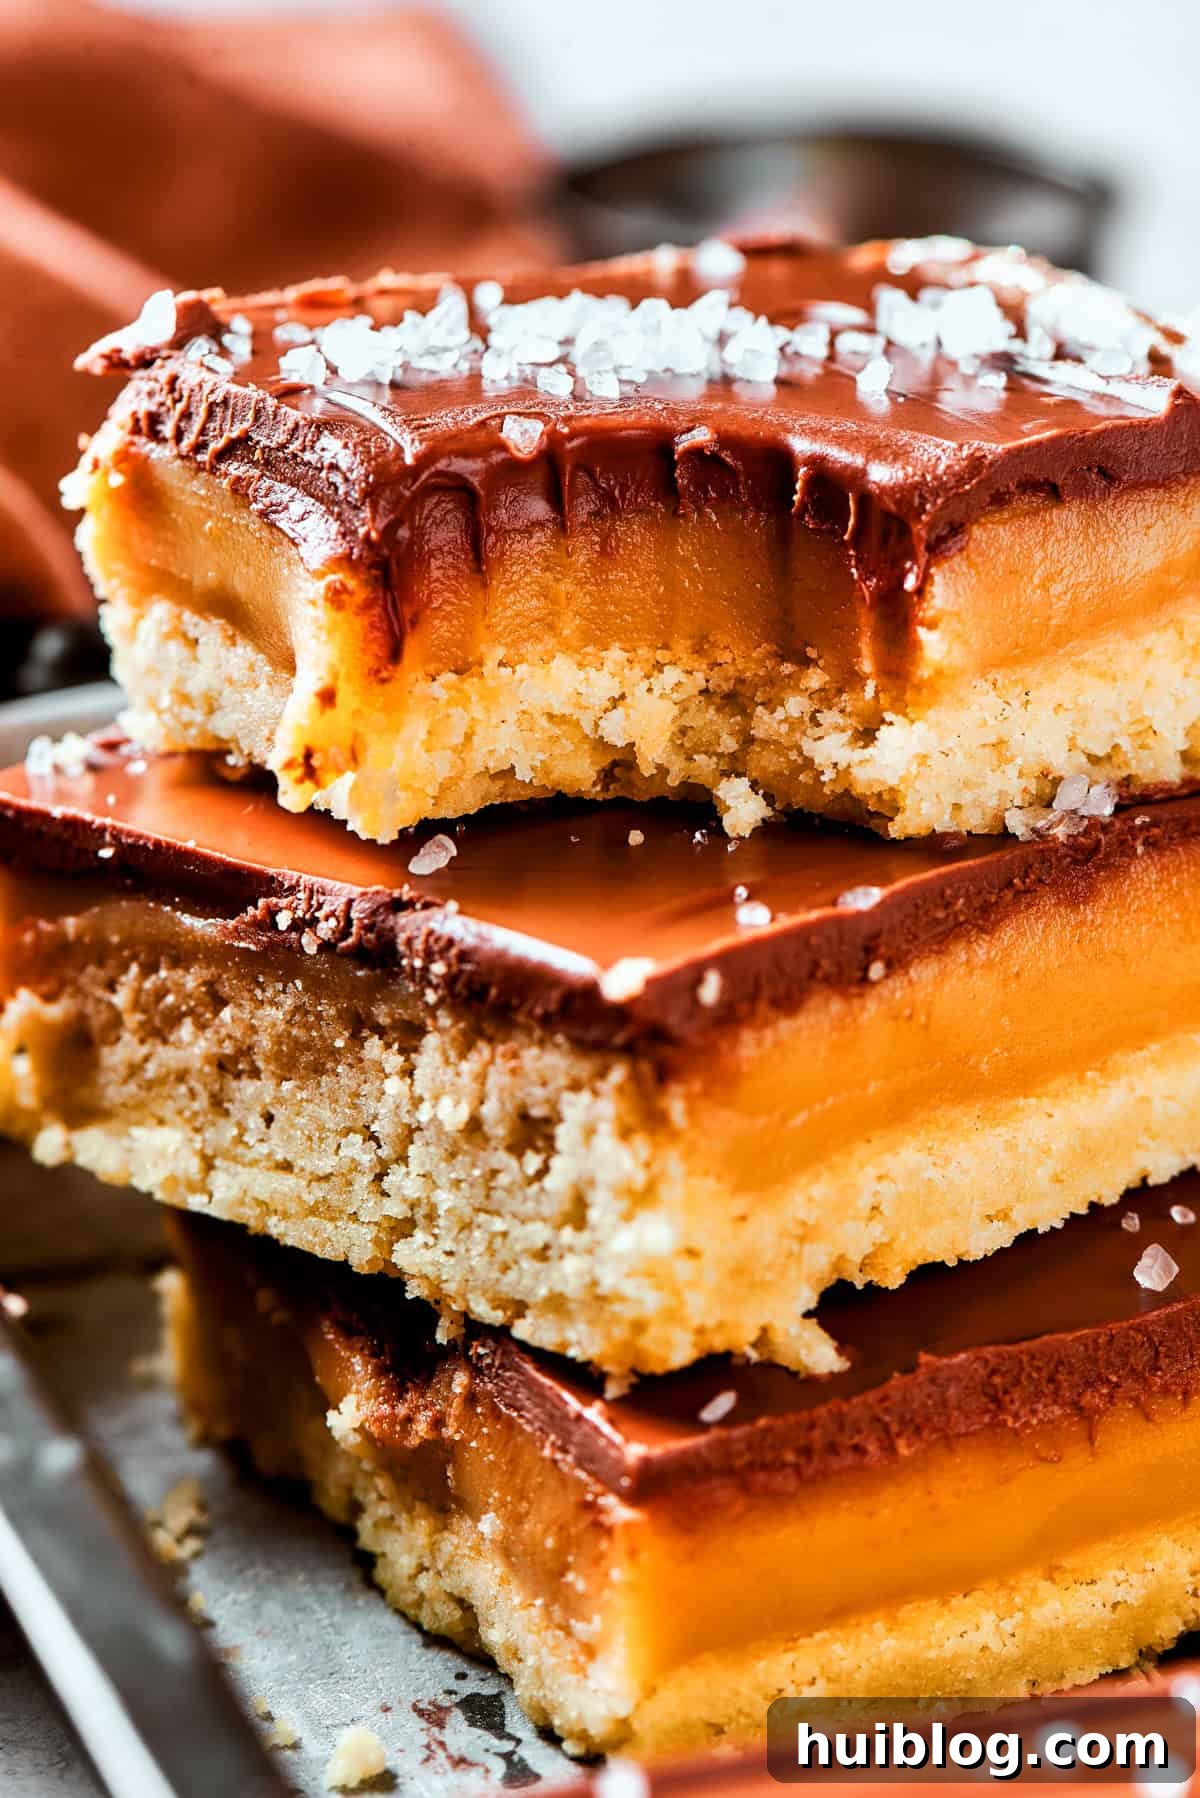
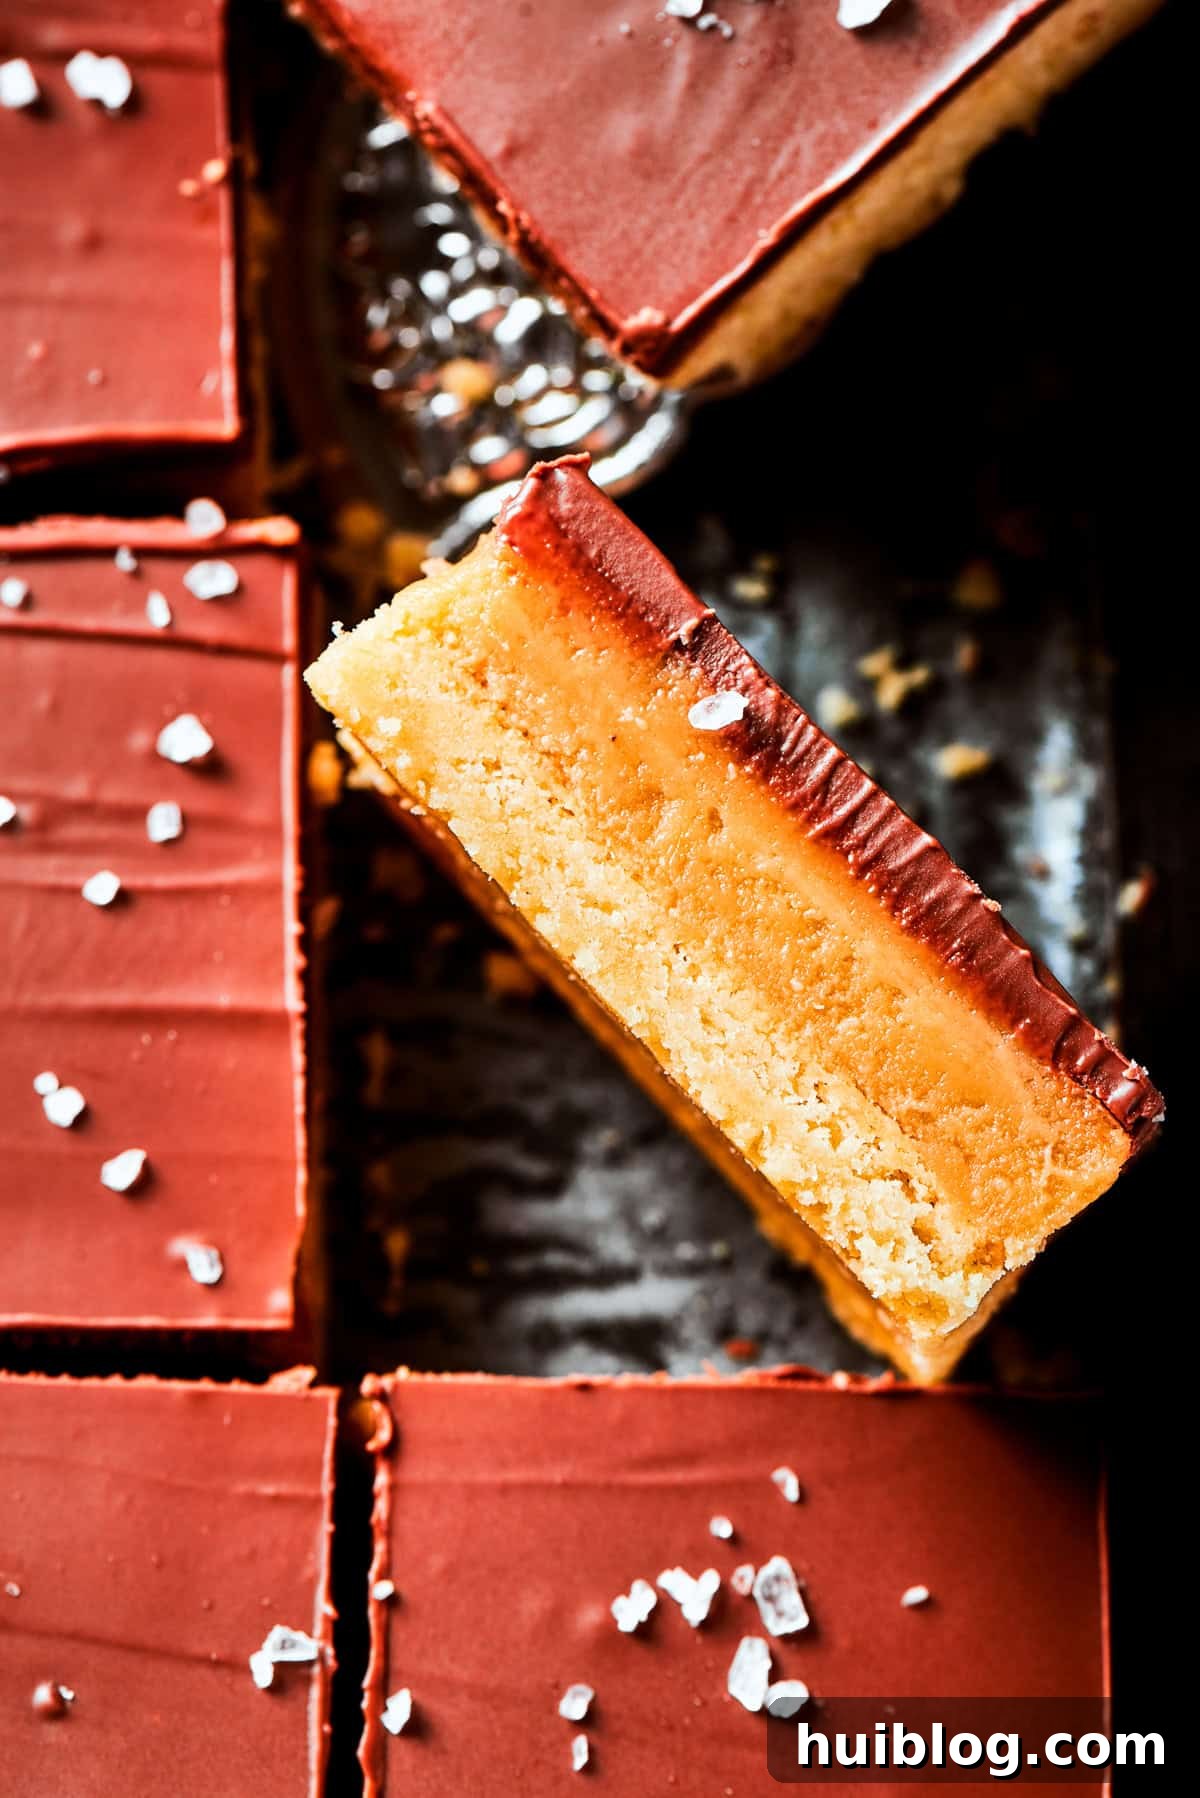
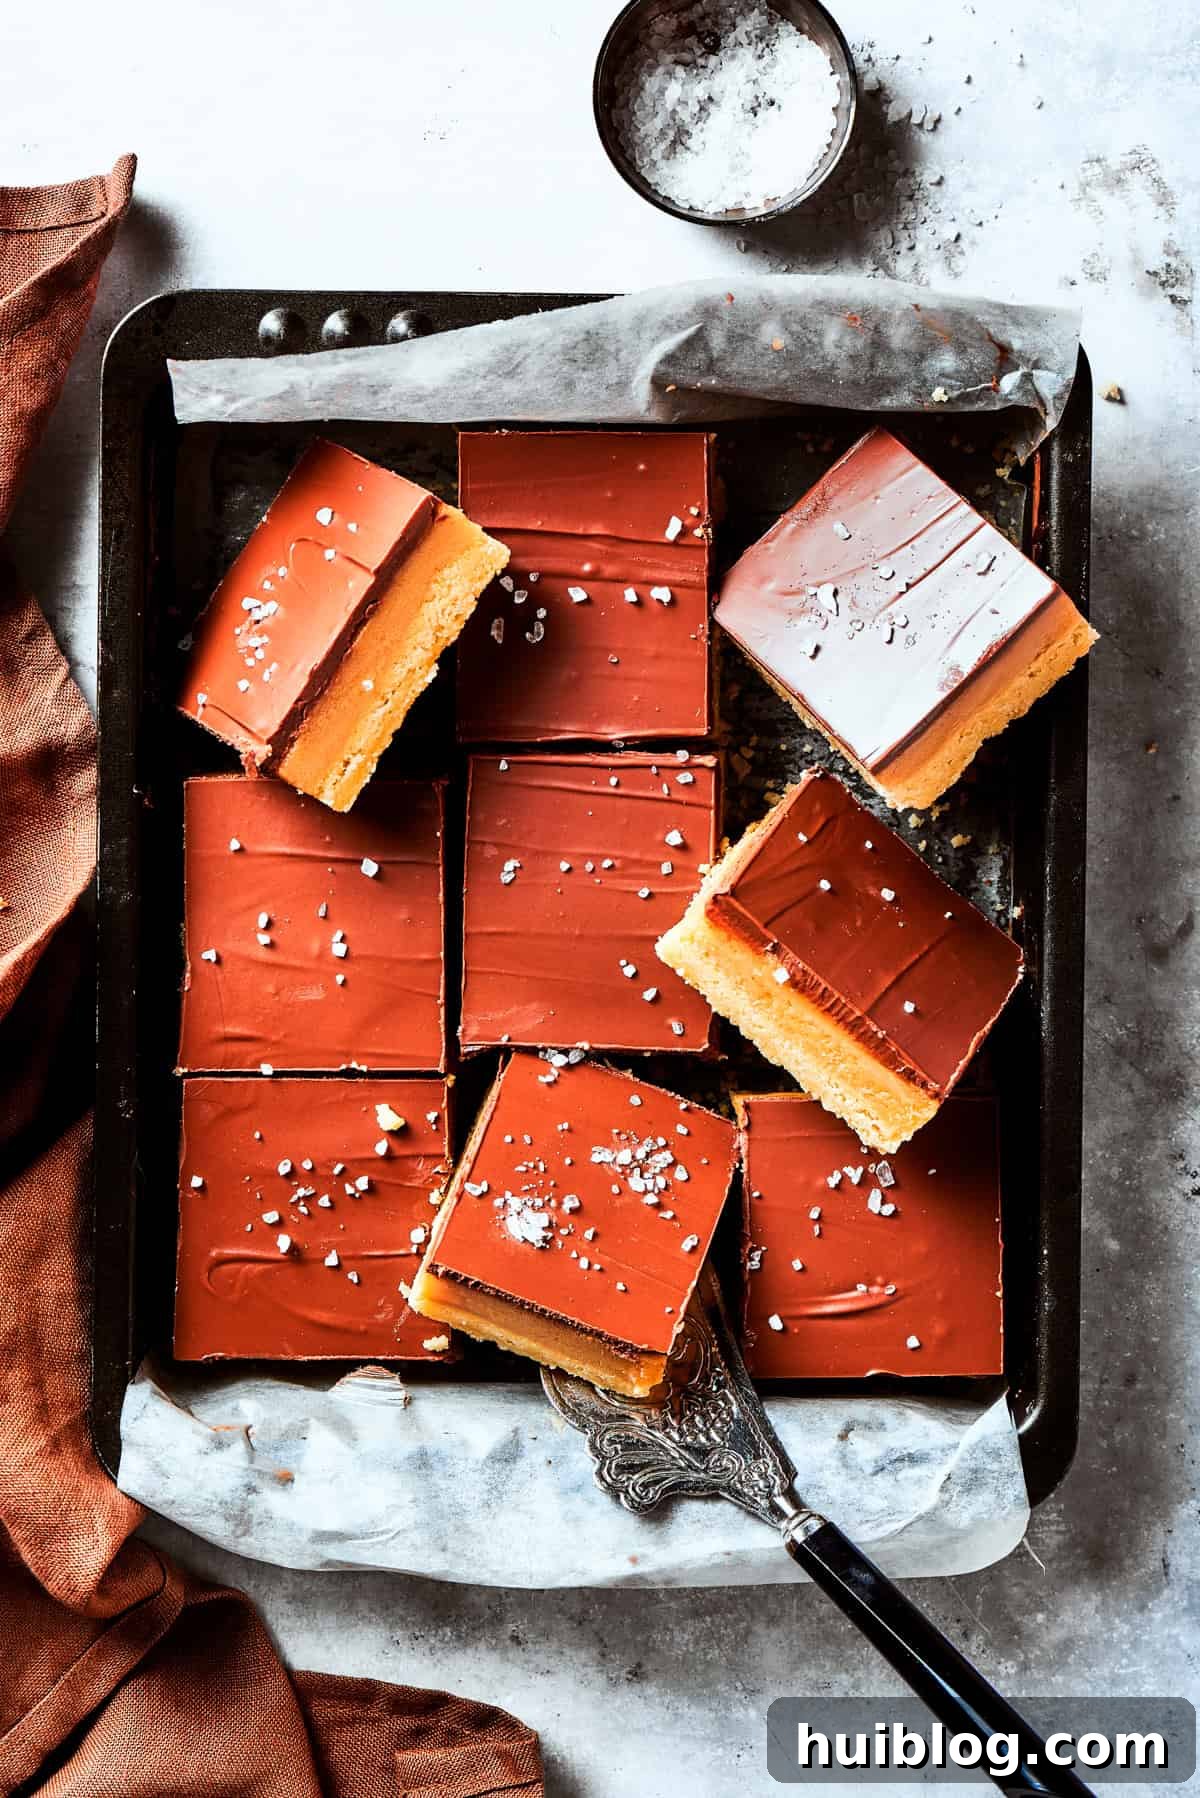
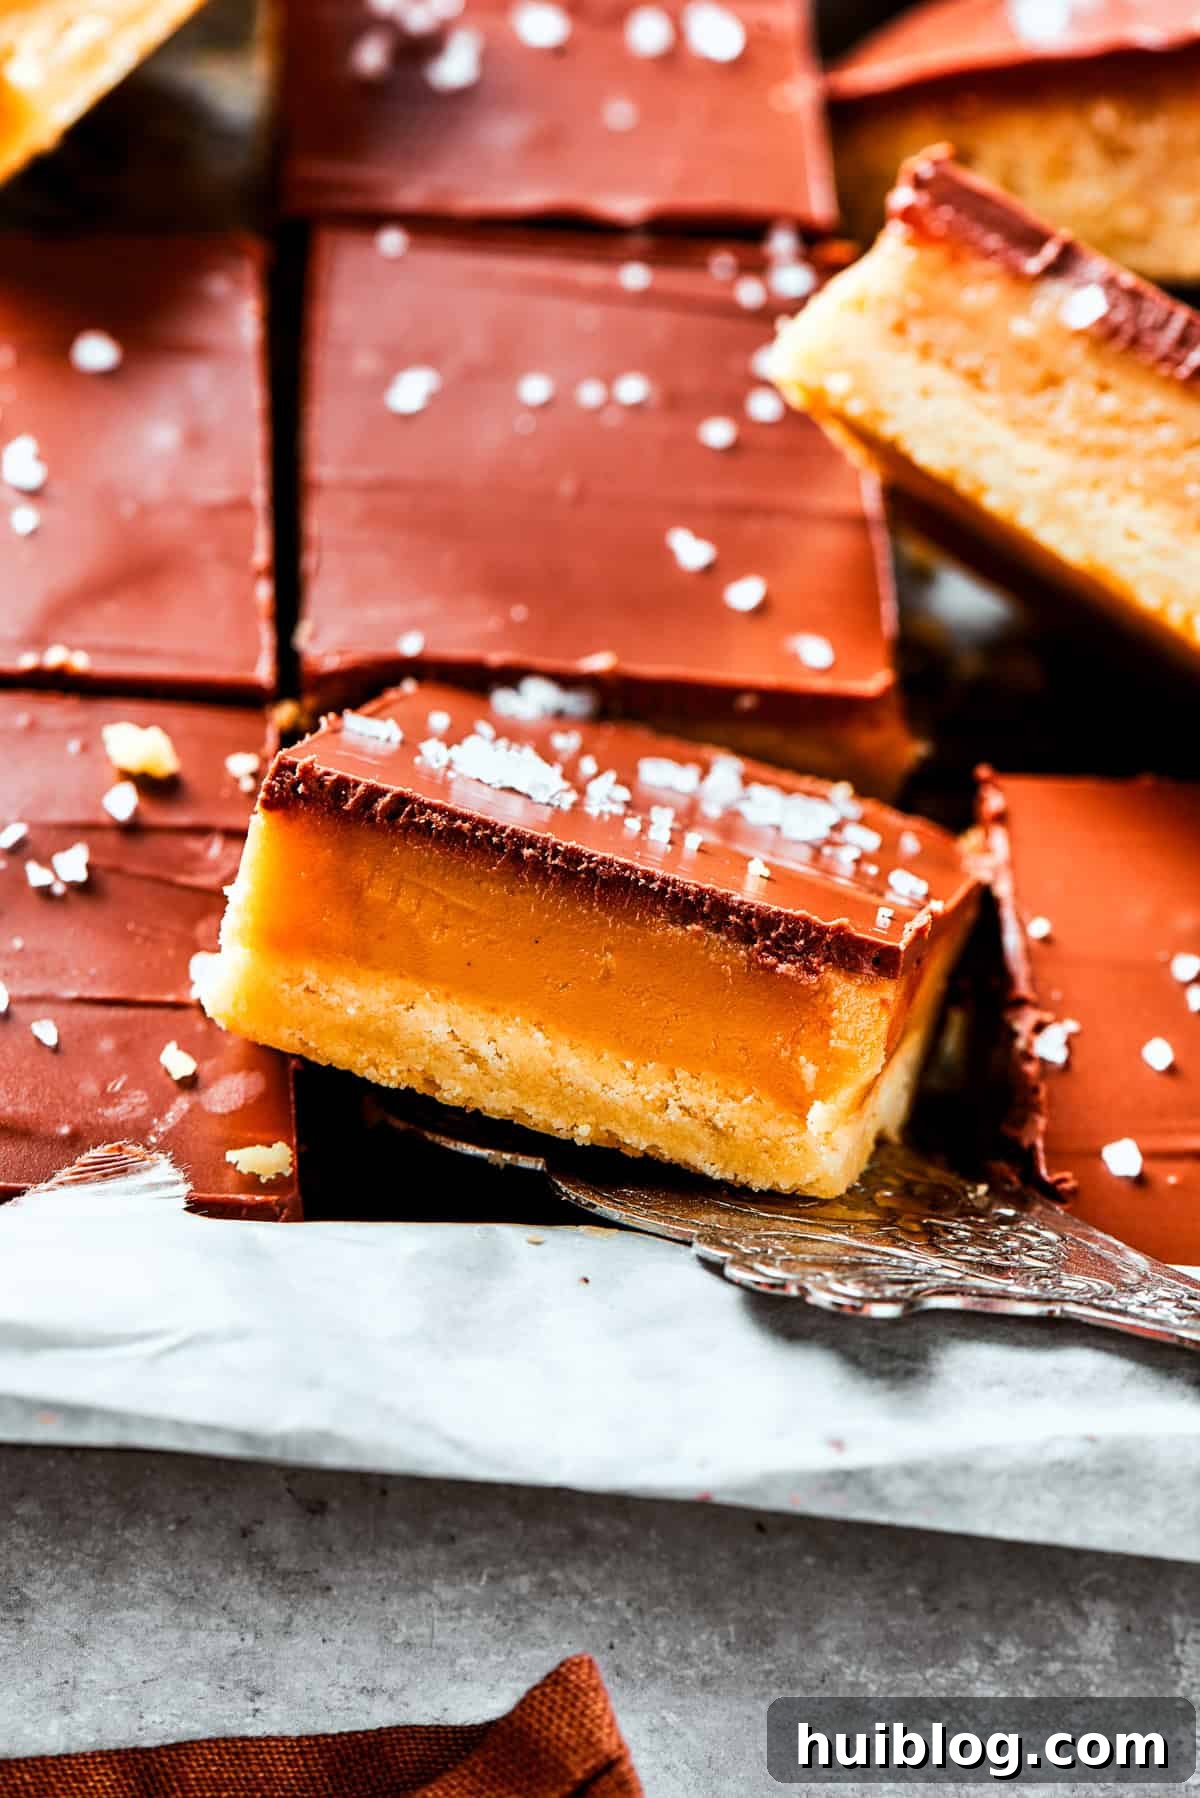
Welcome to a realm of unparalleled dessert indulgence with our exquisite Millionaire Bars. Imagine a symphony of textures and flavors, meticulously layered to create a truly unforgettable treat. Each bar begins with a foundation of golden, buttery shortbread, baked to crisp perfection. This is then crowned with a rich, velvety homemade caramel that melts in your mouth, followed by a generous, thick layer of luscious chocolate ganache. To elevate this already divine creation, a delicate sprinkle of flaky sea salt provides that irresistible sweet-and-salty counterpoint, making every bite a luxurious experience.
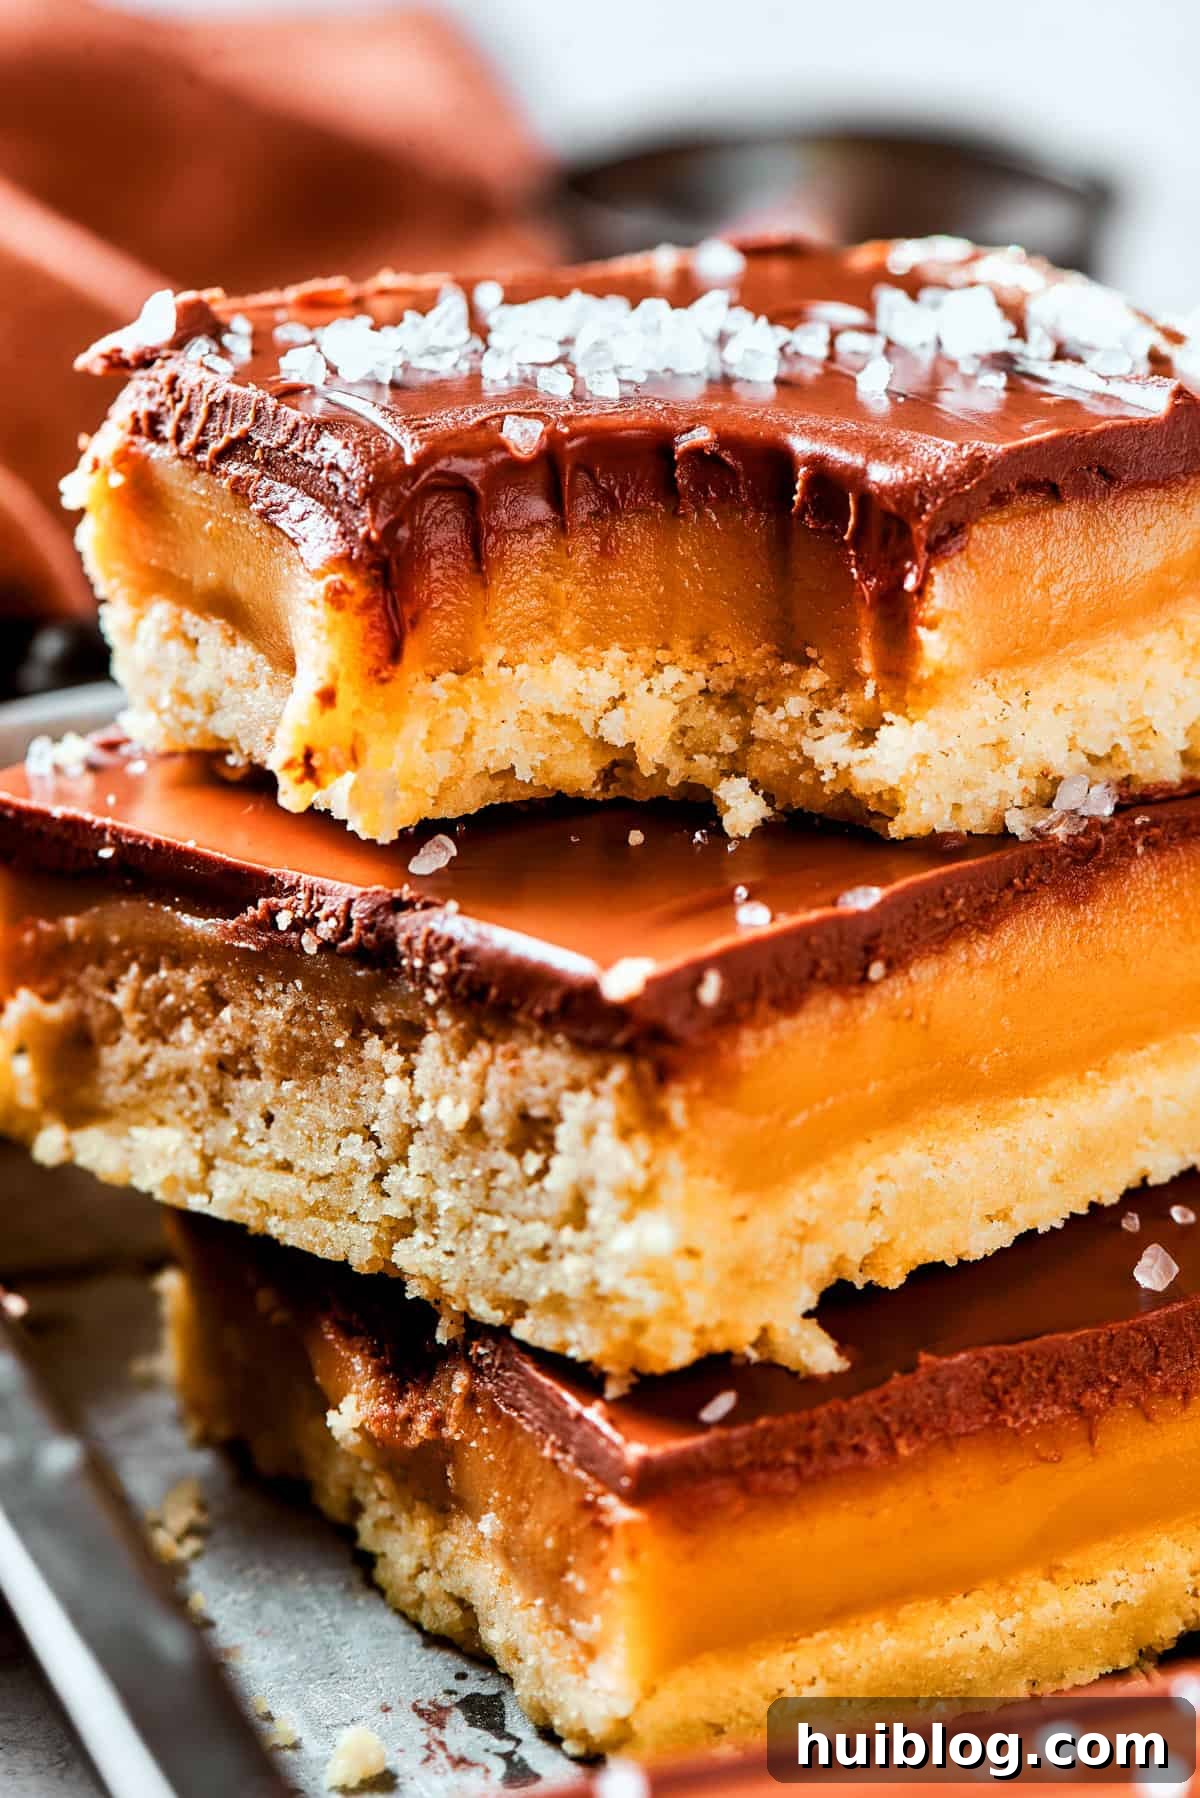
Get ready to discover your new ultimate favorite dessert – these incredible millionaire bars! They encapsulate everything you crave in a sweet treat: a wonderfully crisp and tender shortbread crust, an irresistibly smooth and creamy caramel filling, and a luxurious fudgy chocolate topping that ties it all together. What could possibly be more satisfying? While each component of this classic dessert is crafted entirely from scratch, the process is surprisingly straightforward and achievable for home bakers of all skill levels. I am here to guide you through every step of making this iconic layered dessert, ensuring you can recreate and savor it time and time again.
Much like our popular turtle cheesecake and refreshing lemon tiramisu, these millionaire bars stand out as a truly rich, unique, and highly sought-after dessert, consistently earning rave reviews from everyone who tries them. So, let’s dive into the delightful process of layering up these amazing cookies, caramel, and ganache, and prepare to dig in. You might initially consider cutting them into small, delicate pieces – but then again, once you taste them, you might just decide against it and enjoy a more generous slice!
Why These Millionaire Bars Will Be Your Go-To Dessert
- Unforgettable Flavor Profile: Every single bite of a homemade millionaire bar is an explosion of meticulously balanced flavors. From the rich, buttery notes of the shortbread base to the complex sweetness of the gooey caramel and the deep, satisfying intensity of the dark chocolate, your taste buds will embark on a truly sensational journey. The optional sprinkle of flaky sea salt adds a sophisticated contrast that elevates the entire experience, making it utterly irresistible.
- A Special, Unique Homemade Treat: While many candy bars attempt to replicate these classic flavors, nothing compares to the unparalleled quality and depth of a homemade millionaire bar. These bars feel incredibly special because they aren’t an everyday sight. Their distinctive layers and from-scratch preparation make them a truly unique and impressive dessert to serve for special occasions, holidays, or simply when you want to treat yourself to something extraordinary.
- Universally Adored by All Ages: Millionaire’s shortbread possesses a magical appeal that spans generations. Whether you’re delighting adults with sophisticated palates or pleasing younger guests, there’s something in these bars for everyone to love. For the little ones or those who prefer a less intense sweet-salty combination, you can easily omit the flaky salt from the entire pan, or simply sprinkle it over half, allowing you to cater to diverse tastes and ensure everyone can enjoy this delightful treat.
- Impressive Yet Achievable: Despite their luxurious appearance and complex flavor, creating these millionaire bars at home is surprisingly straightforward. Our detailed instructions break down each layer into manageable steps, ensuring even novice bakers can achieve stunning, professional-looking results. You’ll be amazed at how easily you can create such a decadent dessert that looks like it came from a high-end bakery.
- Perfect for Any Occasion: From casual family gatherings to elegant dinner parties, these millionaire bars fit seamlessly into any event. They are robust enough for potlucks and bake sales, yet refined enough to be the star of your holiday dessert table. Their easy portability and make-ahead nature also make them a fantastic option for entertaining without last-minute stress.
What Exactly is Millionaire’s Shortbread?
Millionaire’s shortbread, often affectionately known as millionaire bars, is a classic and irresistibly rich layered dessert that traces its origins back to Scotland. This decadent confection is traditionally composed of three distinct and delicious strata: a firm, buttery homemade shortbread biscuit base, followed by a luscious and chewy layer of sweet caramel, and finally, a smooth, glossy coating of rich chocolate ganache. The name itself is a playful nod to the dessert’s incredible richness and indulgent quality. Taking a single bite of this luxurious treat makes you feel like you’ve struck gold – truly like a million bucks! It’s this profound sense of opulence and the harmonious blend of textures and intense flavors that earned this classic its memorable and evocative name.
Essential Ingredients for Perfect Millionaire Bars
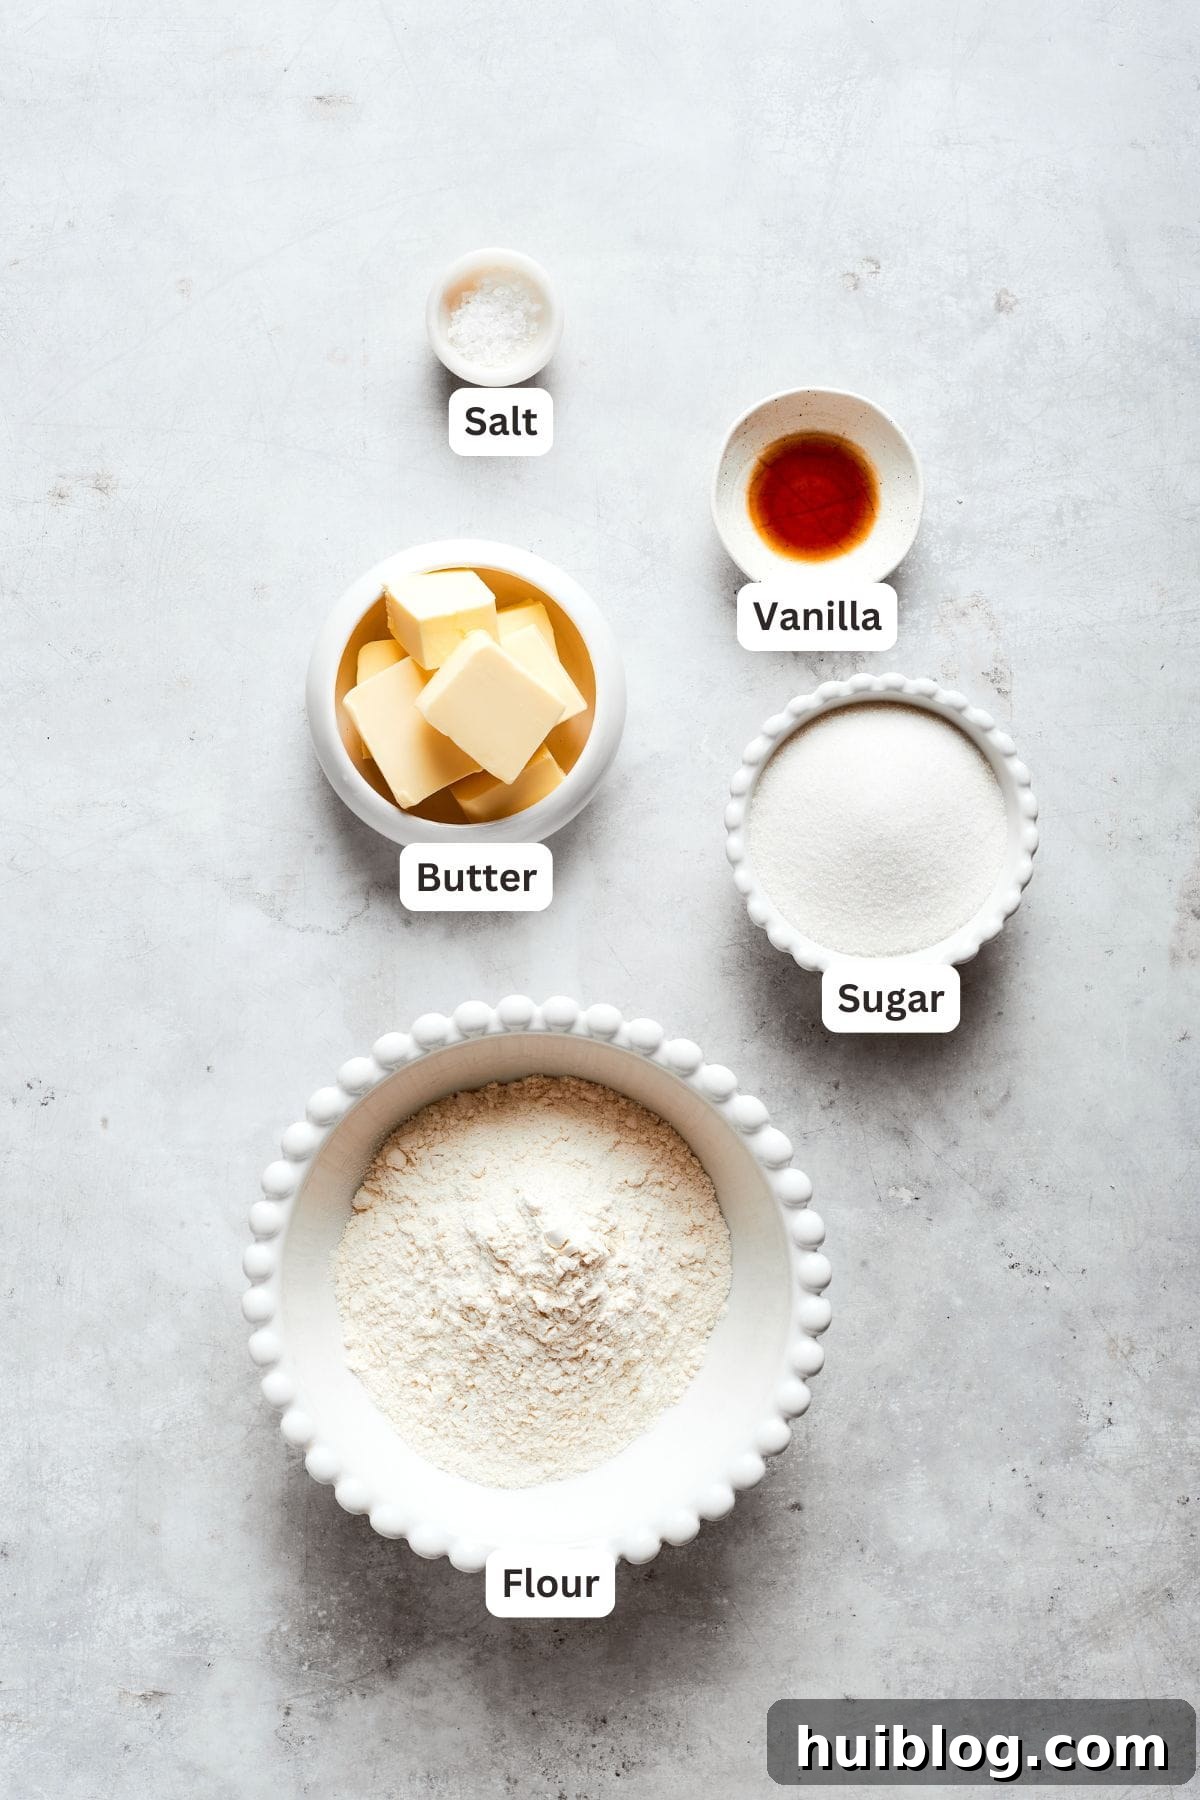
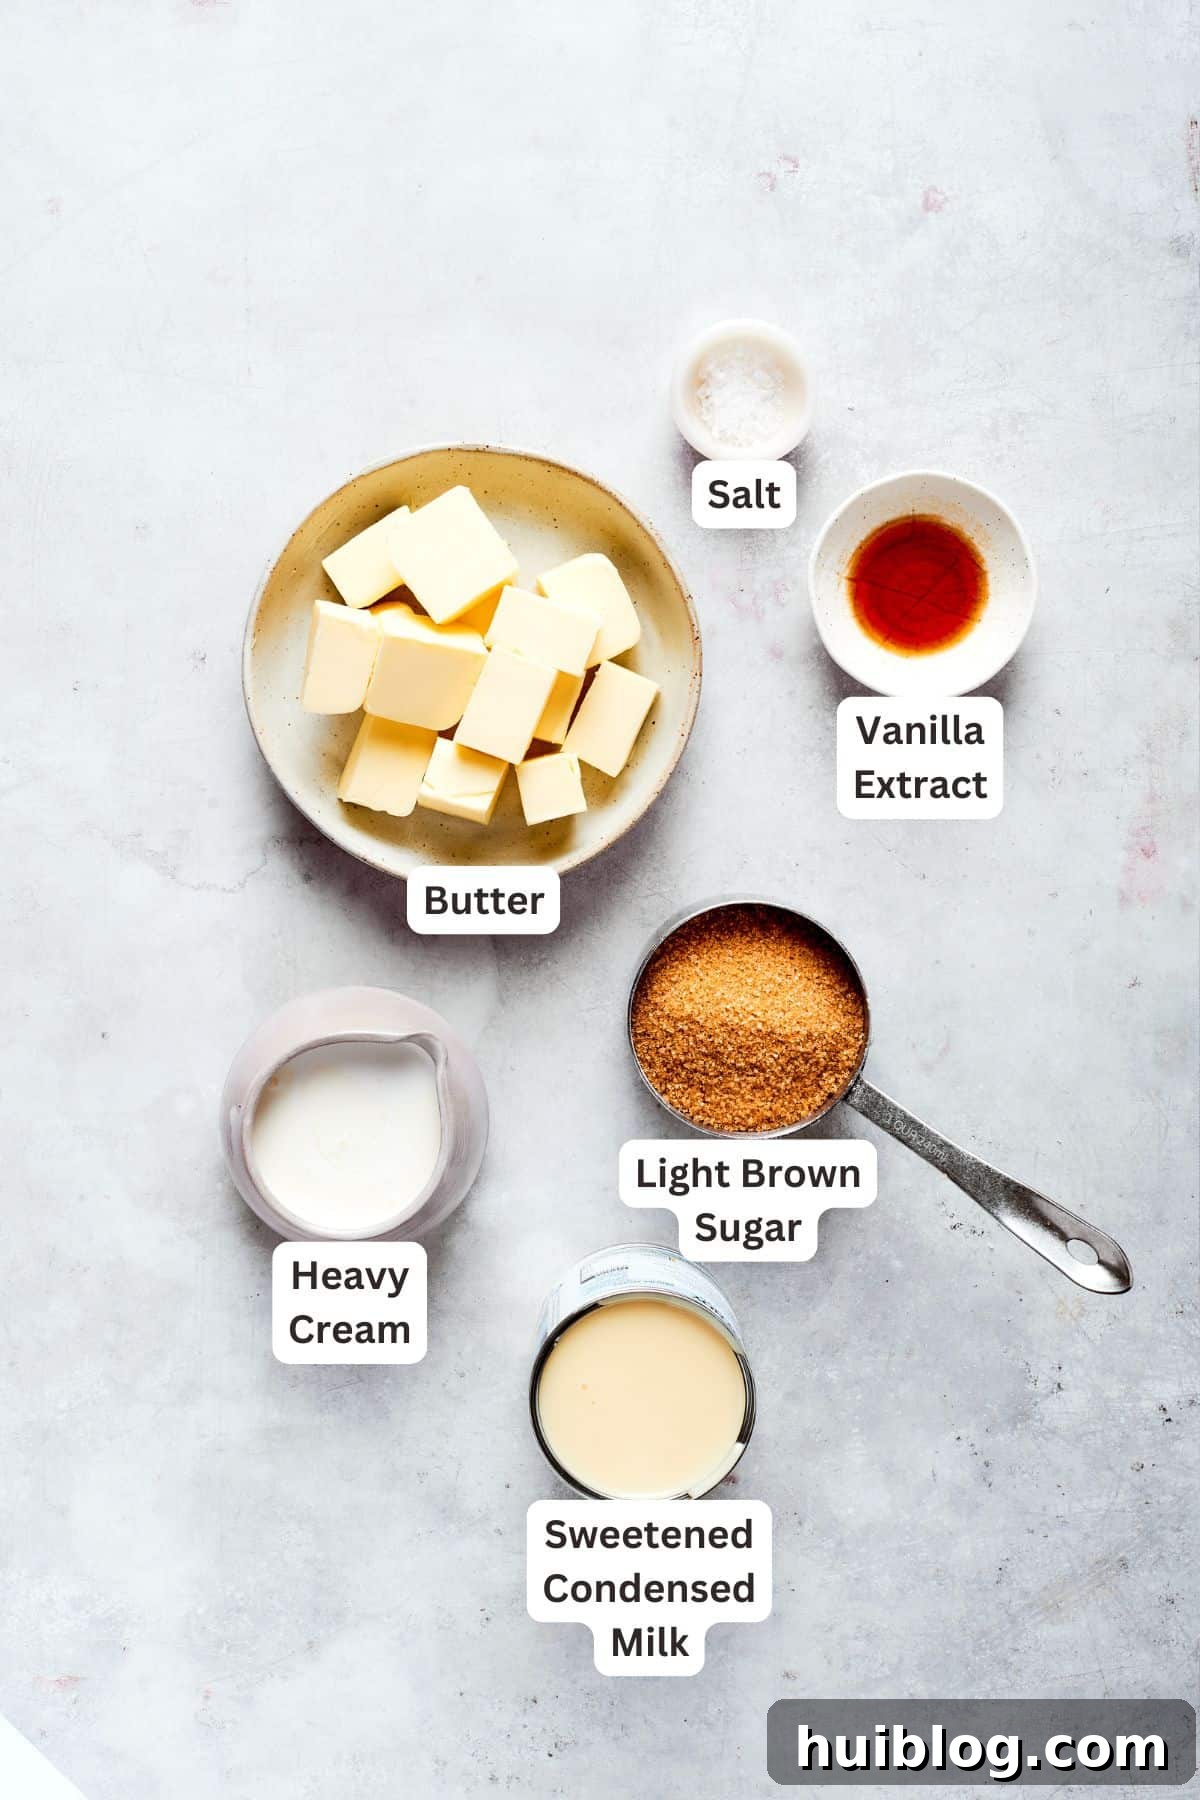
Crafting these sensational millionaire bars requires a selection of quality ingredients, each playing a crucial role in developing the distinct flavors and textures of this layered dessert. Below, you’ll find a detailed overview of what you’ll need for each layer. For the precise measurements and quantities, please refer to the complete recipe card located at the conclusion of this post.
For the Buttery Shortbread Crust
- Unsalted Butter: This is the heart of your shortbread. Always opt for unsalted butter when baking. This allows you complete control over the overall salt content of your dessert, preventing it from becoming overly salty and ensuring a perfectly balanced flavor profile that complements the sweetness of the caramel and chocolate. Make sure it’s at room temperature for optimal creaming.
- Superfine Granulated Sugar (Caster Sugar): This finer granulated sugar dissolves more easily and evenly into the butter, contributing to a wonderfully tender and consistent shortbread texture. If you don’t have superfine sugar on hand, you can easily create it by pulsing regular granulated sugar in a food processor for a few seconds until it reaches a finer consistency. Alternatively, regular granulated sugar will also work, though the texture might be slightly different.
- All-Purpose Flour: The structural foundation of your shortbread. For the most accurate measurement, which is crucial for perfect shortbread, use the “spoon and sweep” method. Gently spoon the flour into your measuring cup until overflowing, then level it off with a straight edge without packing it down. This prevents adding too much flour, which can result in a tough crust.
- Pure Vanilla Extract: A splash of high-quality pure vanilla extract adds a warm, aromatic depth that beautifully enhances the buttery notes of the shortbread, creating a more complex and inviting flavor.
- Fine Salt: Just a half teaspoon of salt is vital. It’s not just for seasoning; salt expertly balances the sweetness of the sugar, brings out the rich flavor of the butter, and ensures the shortbread isn’t bland.
For the Luxurious Caramel Filling
- Sweetened Condensed Milk: The absolute cornerstone of a rich, creamy, and wonderfully chewy caramel. It’s critical to ensure you purchase sweetened condensed milk, not evaporated milk, as the sugar content is essential for the caramelization process and the desired texture.
- Unsalted Butter: Similar to the shortbread, using unsalted butter for the caramel allows you to precisely manage the saltiness, ensuring the caramel is perfectly sweet and rich without being overwhelmingly salty. Use it at room temperature.
- Light Brown Sugar: This provides a depth of molasses flavor and helps achieve that classic golden-brown caramel hue. Light brown sugar is ideal for a classic caramel flavor, but dark brown sugar can be used if you desire a deeper, more robust molasses note in your caramel.
- Heavy Cream: Essential for creating an incredibly smooth, velvety, and pourable caramel that sets to a perfect chewiness. In a pinch, half-and-half can be substituted, but for the most luxurious and thick caramel, heavy cream is undeniably the best choice. Ensure it’s at room temperature for smooth incorporation.
- Pure Vanilla Extract: Added at the end of the cooking process, vanilla extract infuses the caramel with a beautiful aromatic warmth, complementing its rich sweetness.
- Fine Salt: A small amount of salt is indispensable in the caramel. It cuts through the sweetness, enhancing all the other flavors and preventing the caramel from tasting one-dimensional. The slight salty contrast makes the caramel even more addictive.
For the Rich Chocolate Ganache
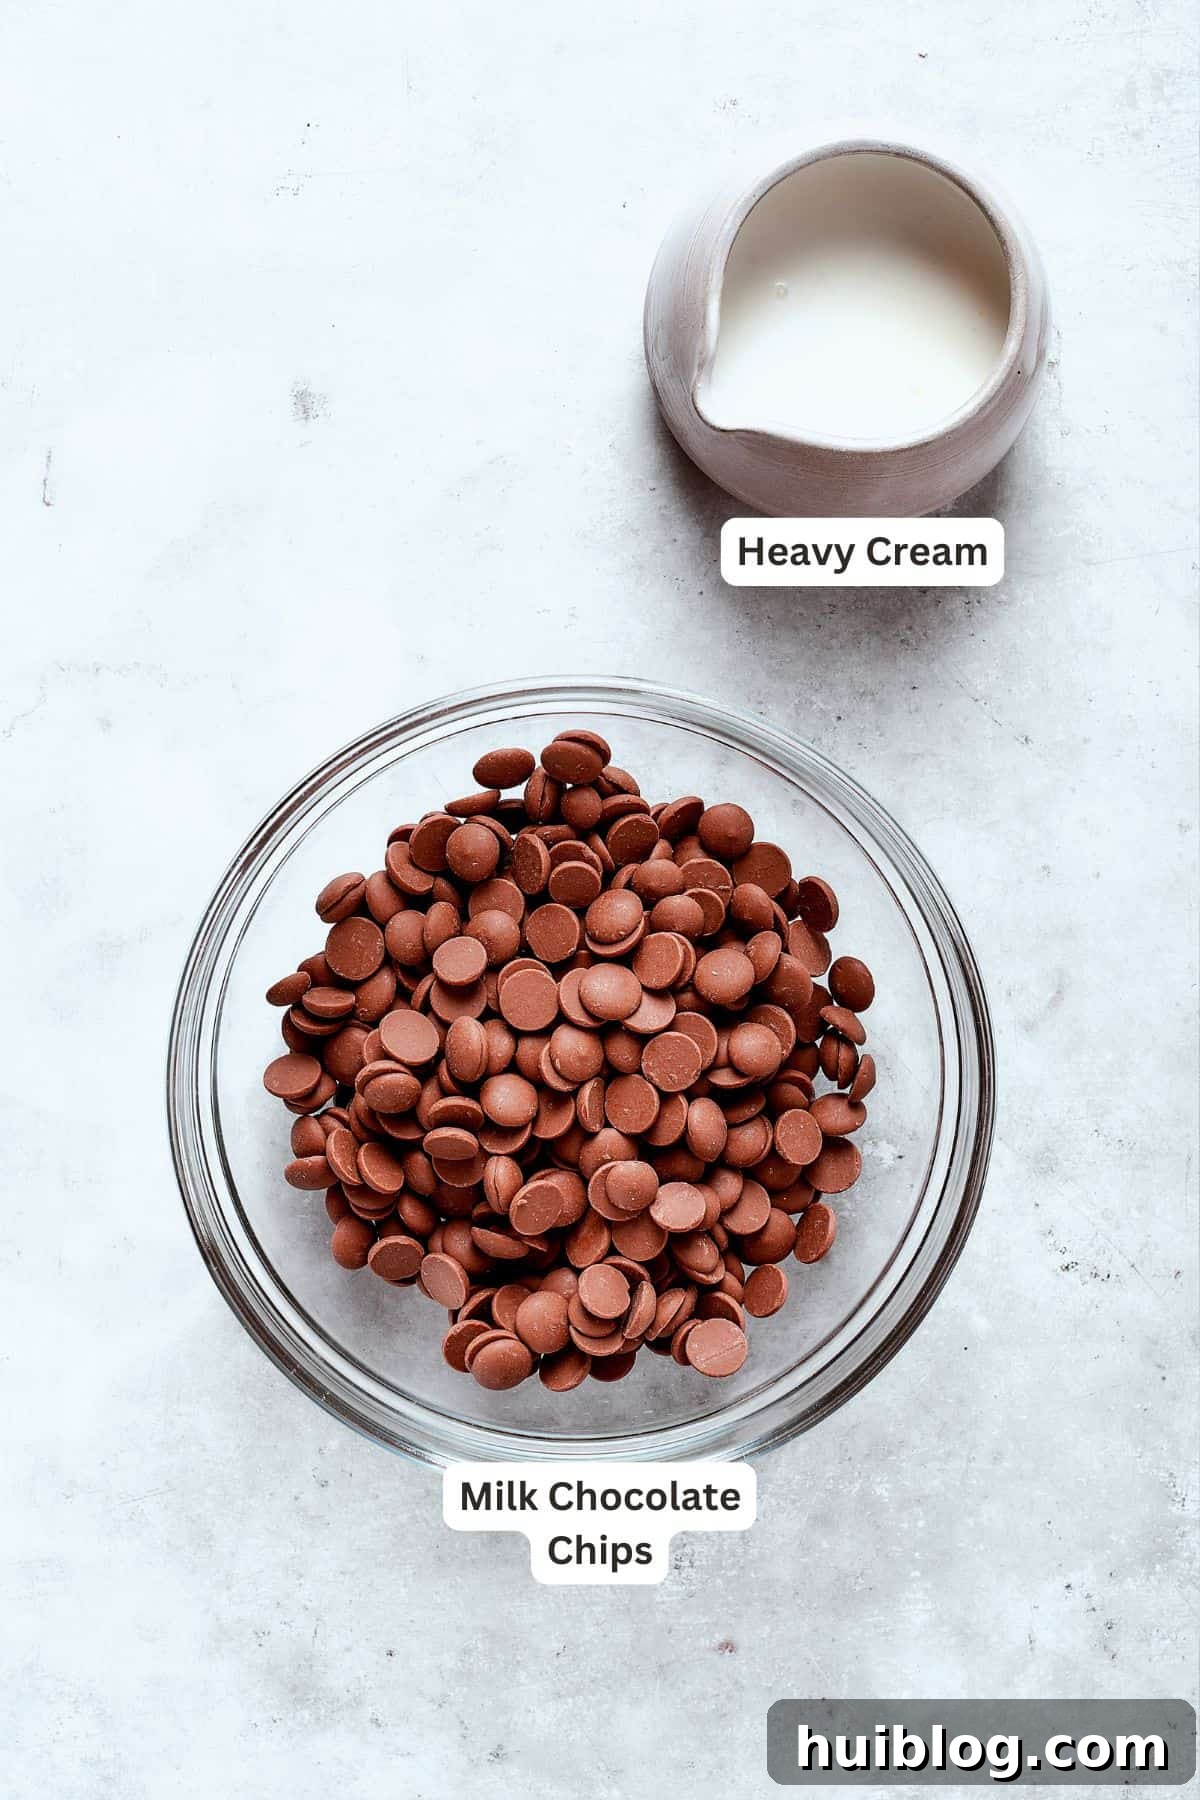
- Milk Chocolate Chips: For a classic, sweeter millionaire bar, milk chocolate chips are perfect, providing a smooth, creamy, and undeniably rich top layer. You can also experiment with different types of chocolate for varied flavor profiles (see tips below).
- Heavy Cream: When heated and combined with chocolate, heavy cream forms a beautiful, smooth, and glossy ganache. It’s crucial for achieving a creamy texture that sets up perfectly but remains soft and spreadable, preventing the chocolate from becoming brittle or cracking when the bars are cut.
- Flaky Sea Salt: This optional but highly recommended ingredient is sprinkled over the finished ganache. The coarse flakes of sea salt provide a delightful textural contrast and an exquisite pop of salty flavor that perfectly balances the sweetness of the caramel and chocolate, creating that coveted sweet-and-salty finish.
Crafting Your Own Millionaire Bars: A Step-by-Step Guide
Creating these heavenly millionaire bars is a rewarding process, and I’m here to guide you through each layer. The visual steps below, accompanied by detailed explanations, will help you understand the transformation of simple ingredients into a gourmet dessert. For the complete, detailed instructions and precise timings, please refer to the comprehensive recipe card further down this page.
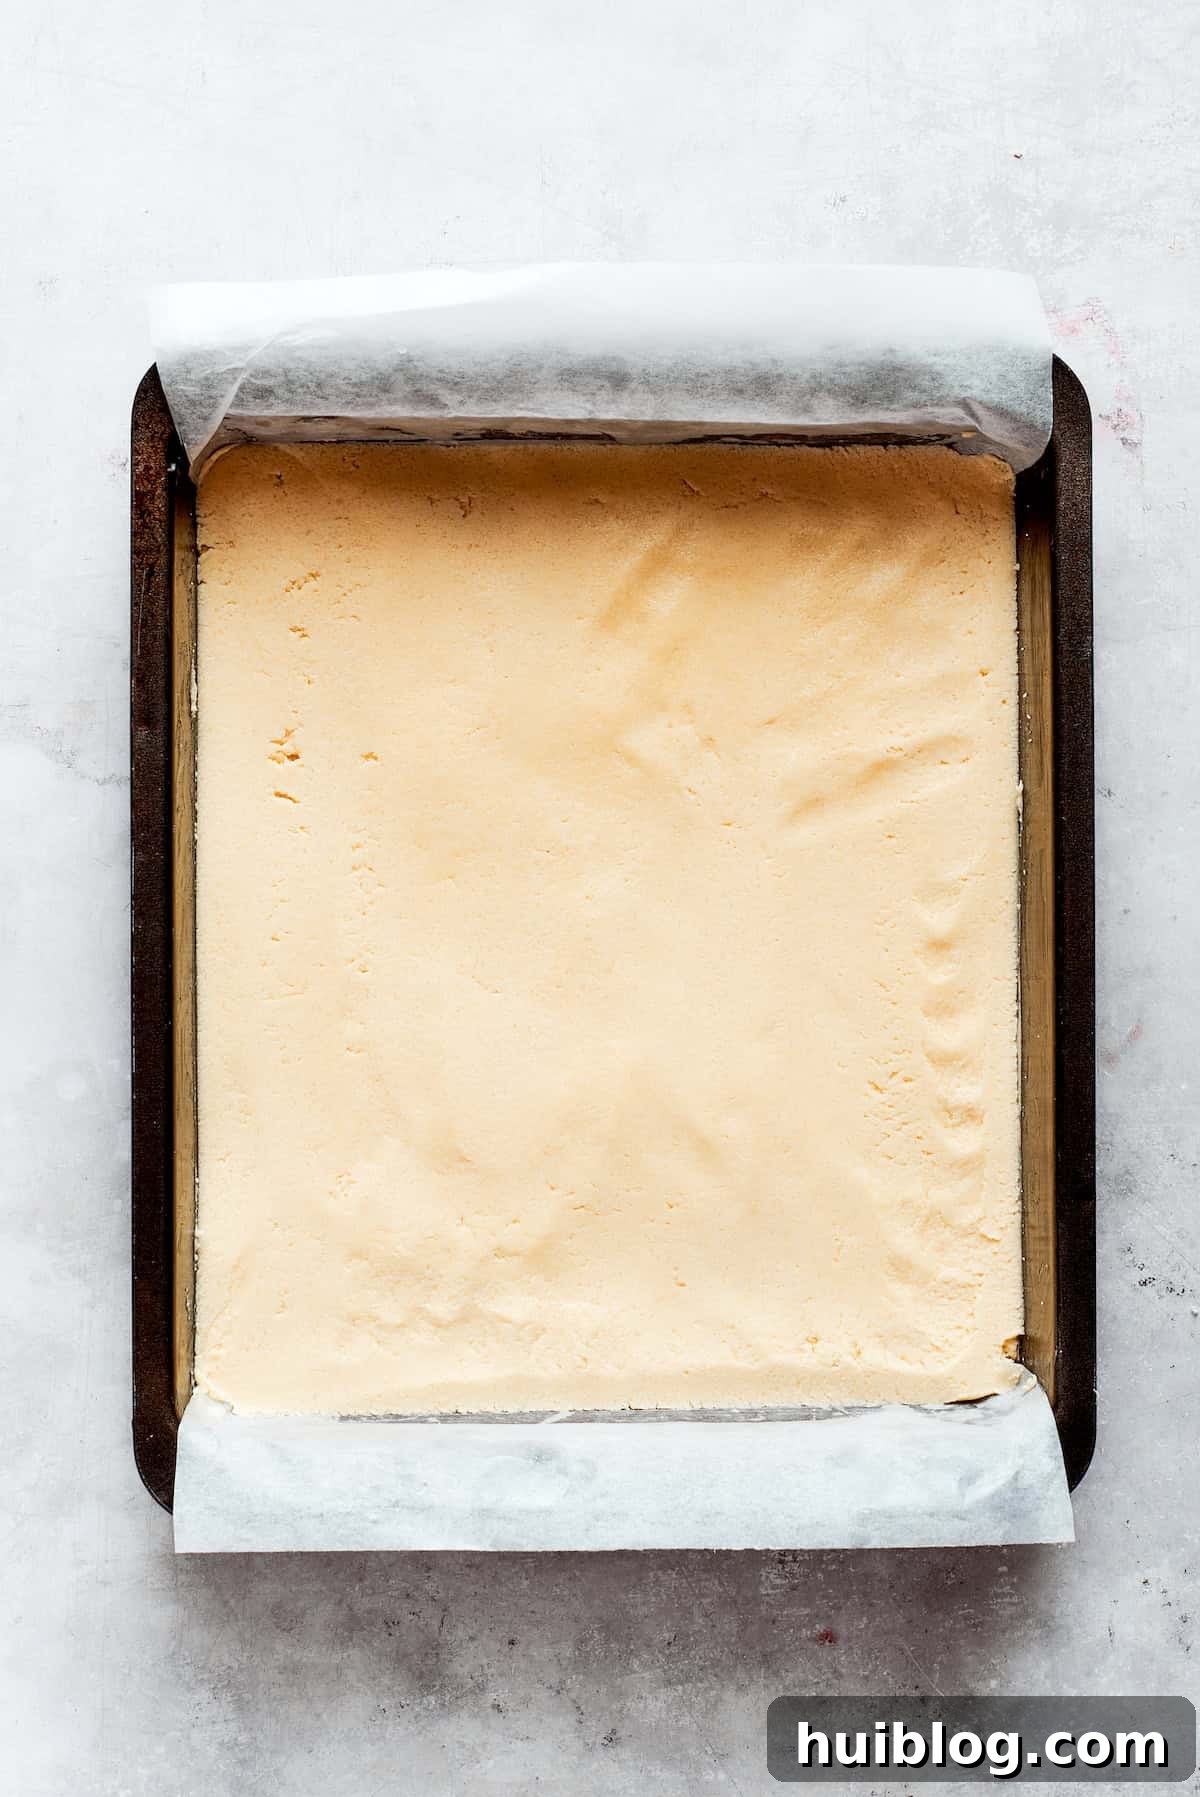
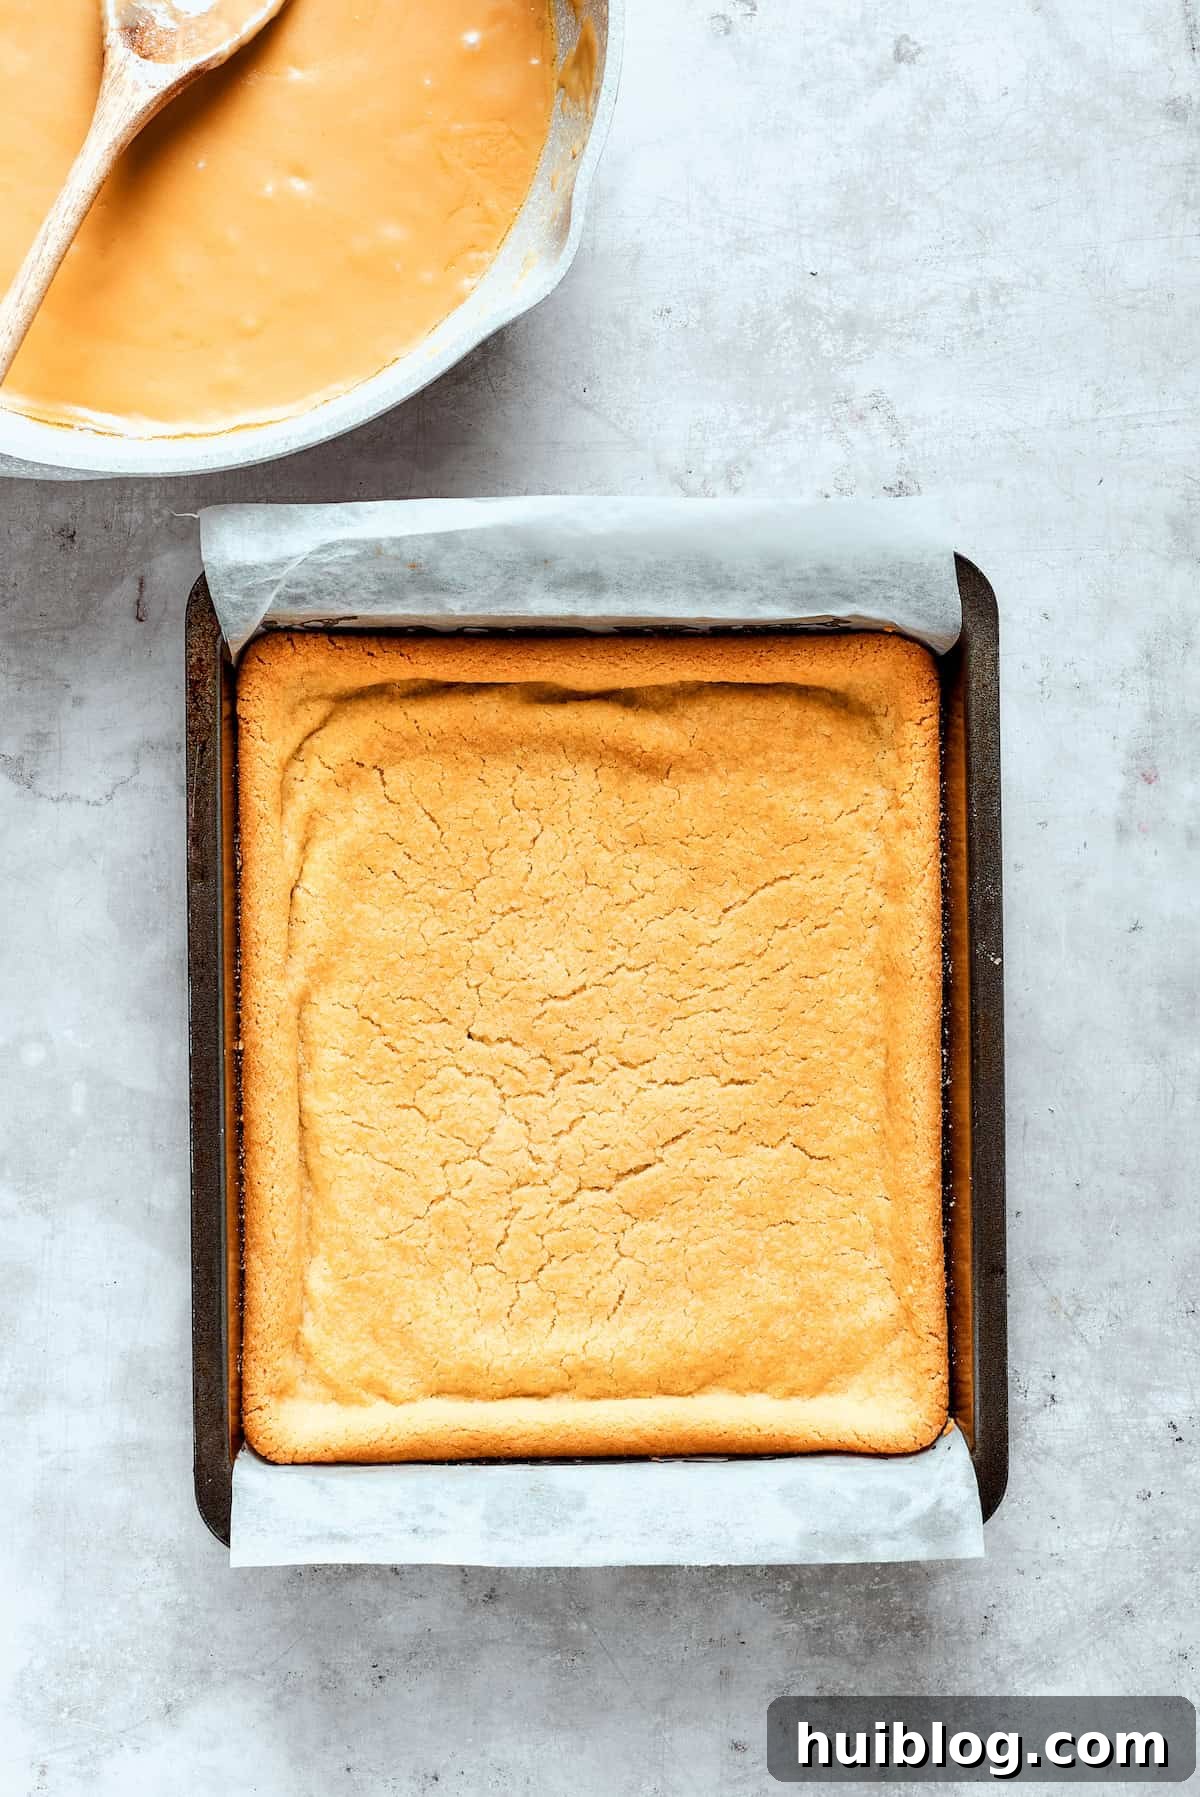
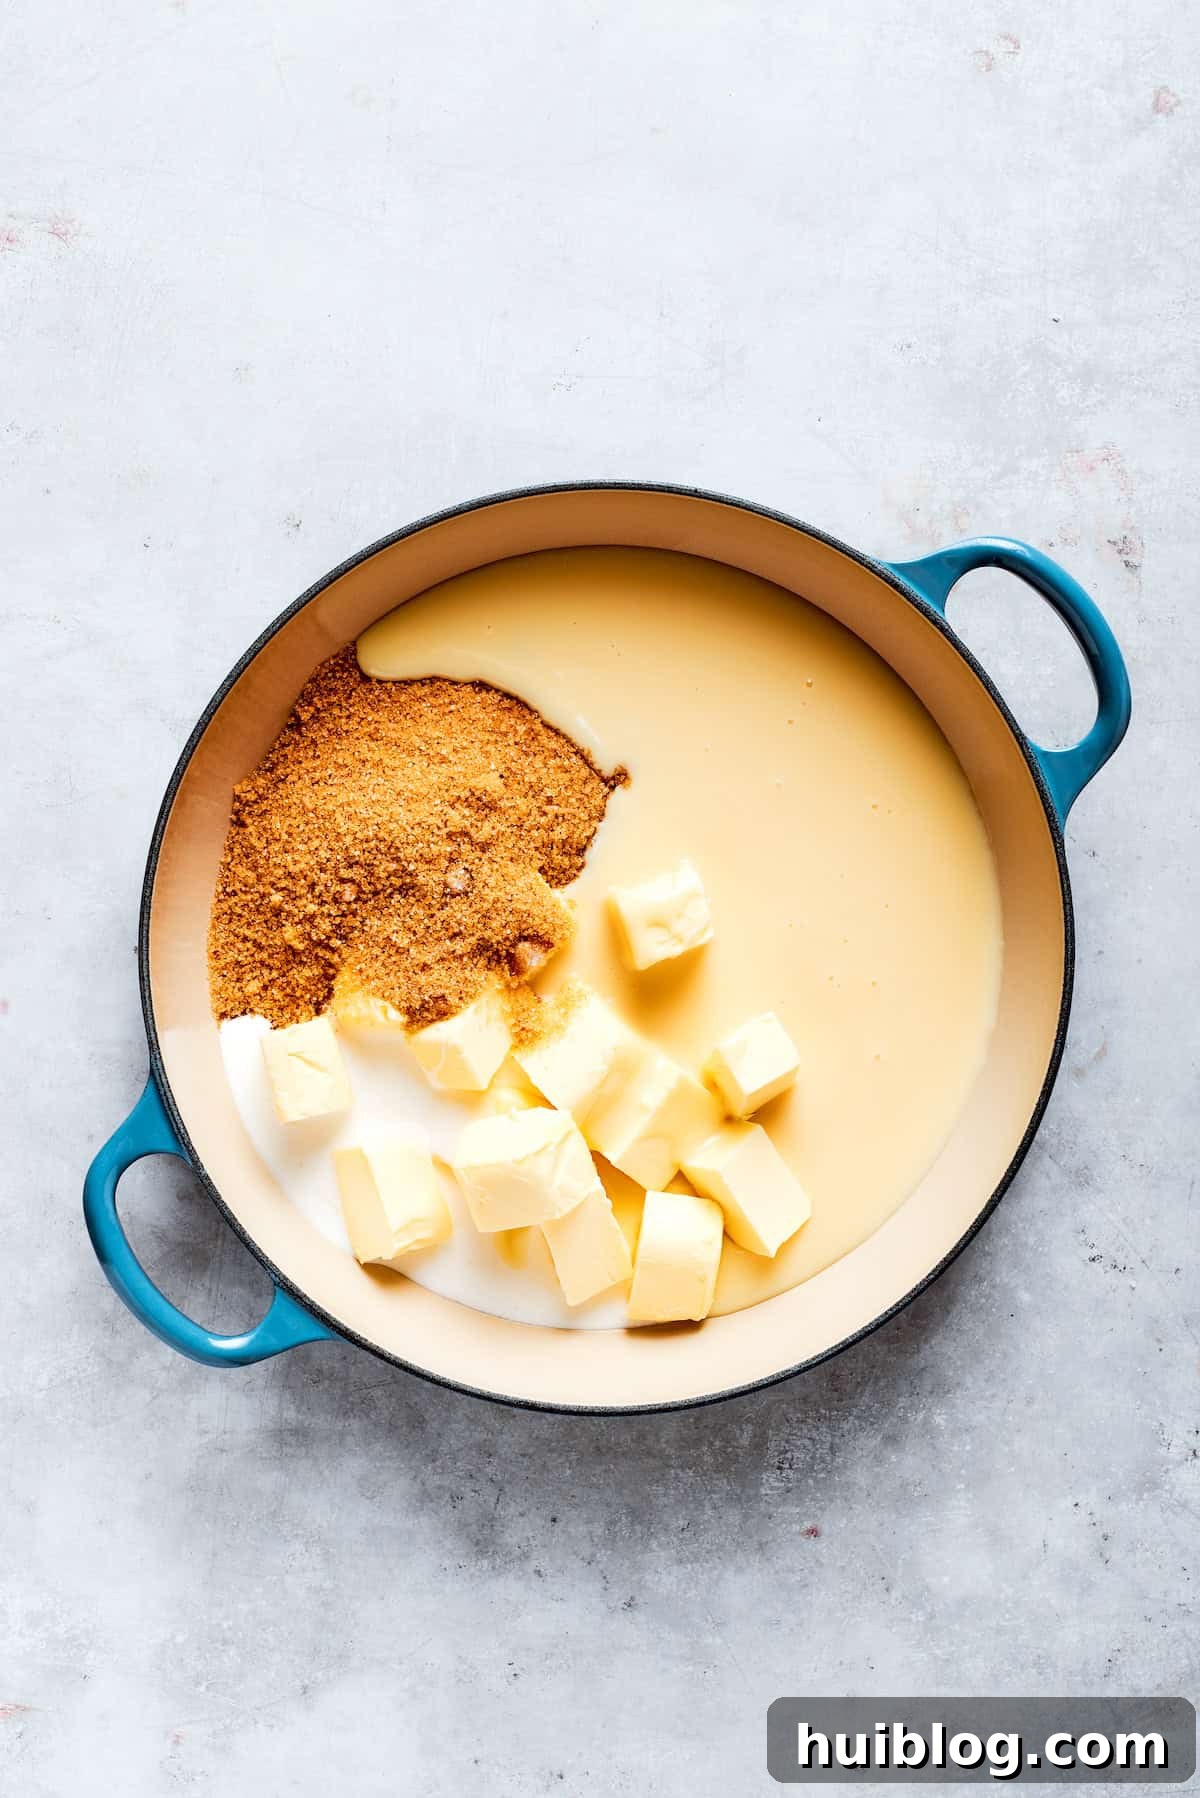
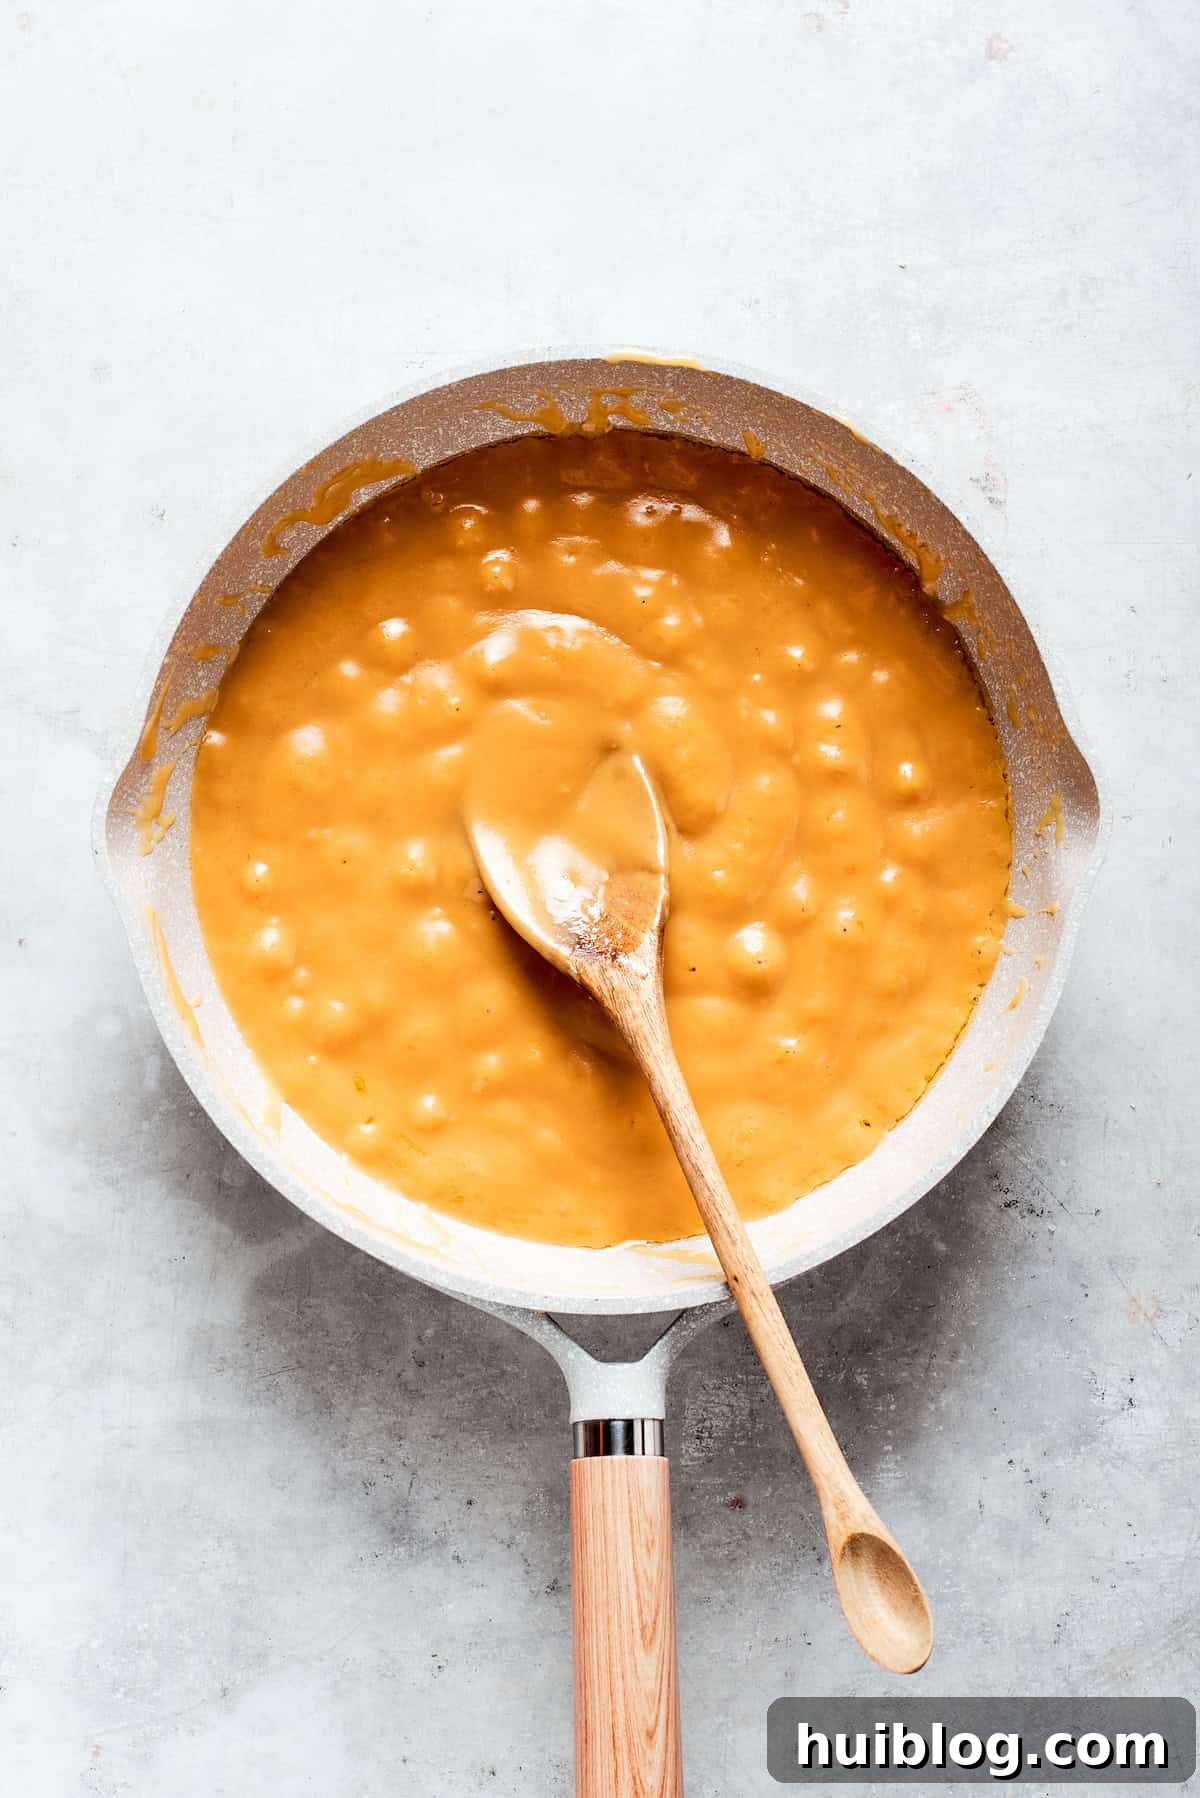
- Prepare the Shortbread Crust: Begin by preheating your oven to 350°F (175°C). Line a 9×9-inch baking pan with parchment paper, allowing an overhang on two sides. This overhang will serve as handles, making it incredibly easy to lift the entire batch of bars out of the pan once they are chilled and set.
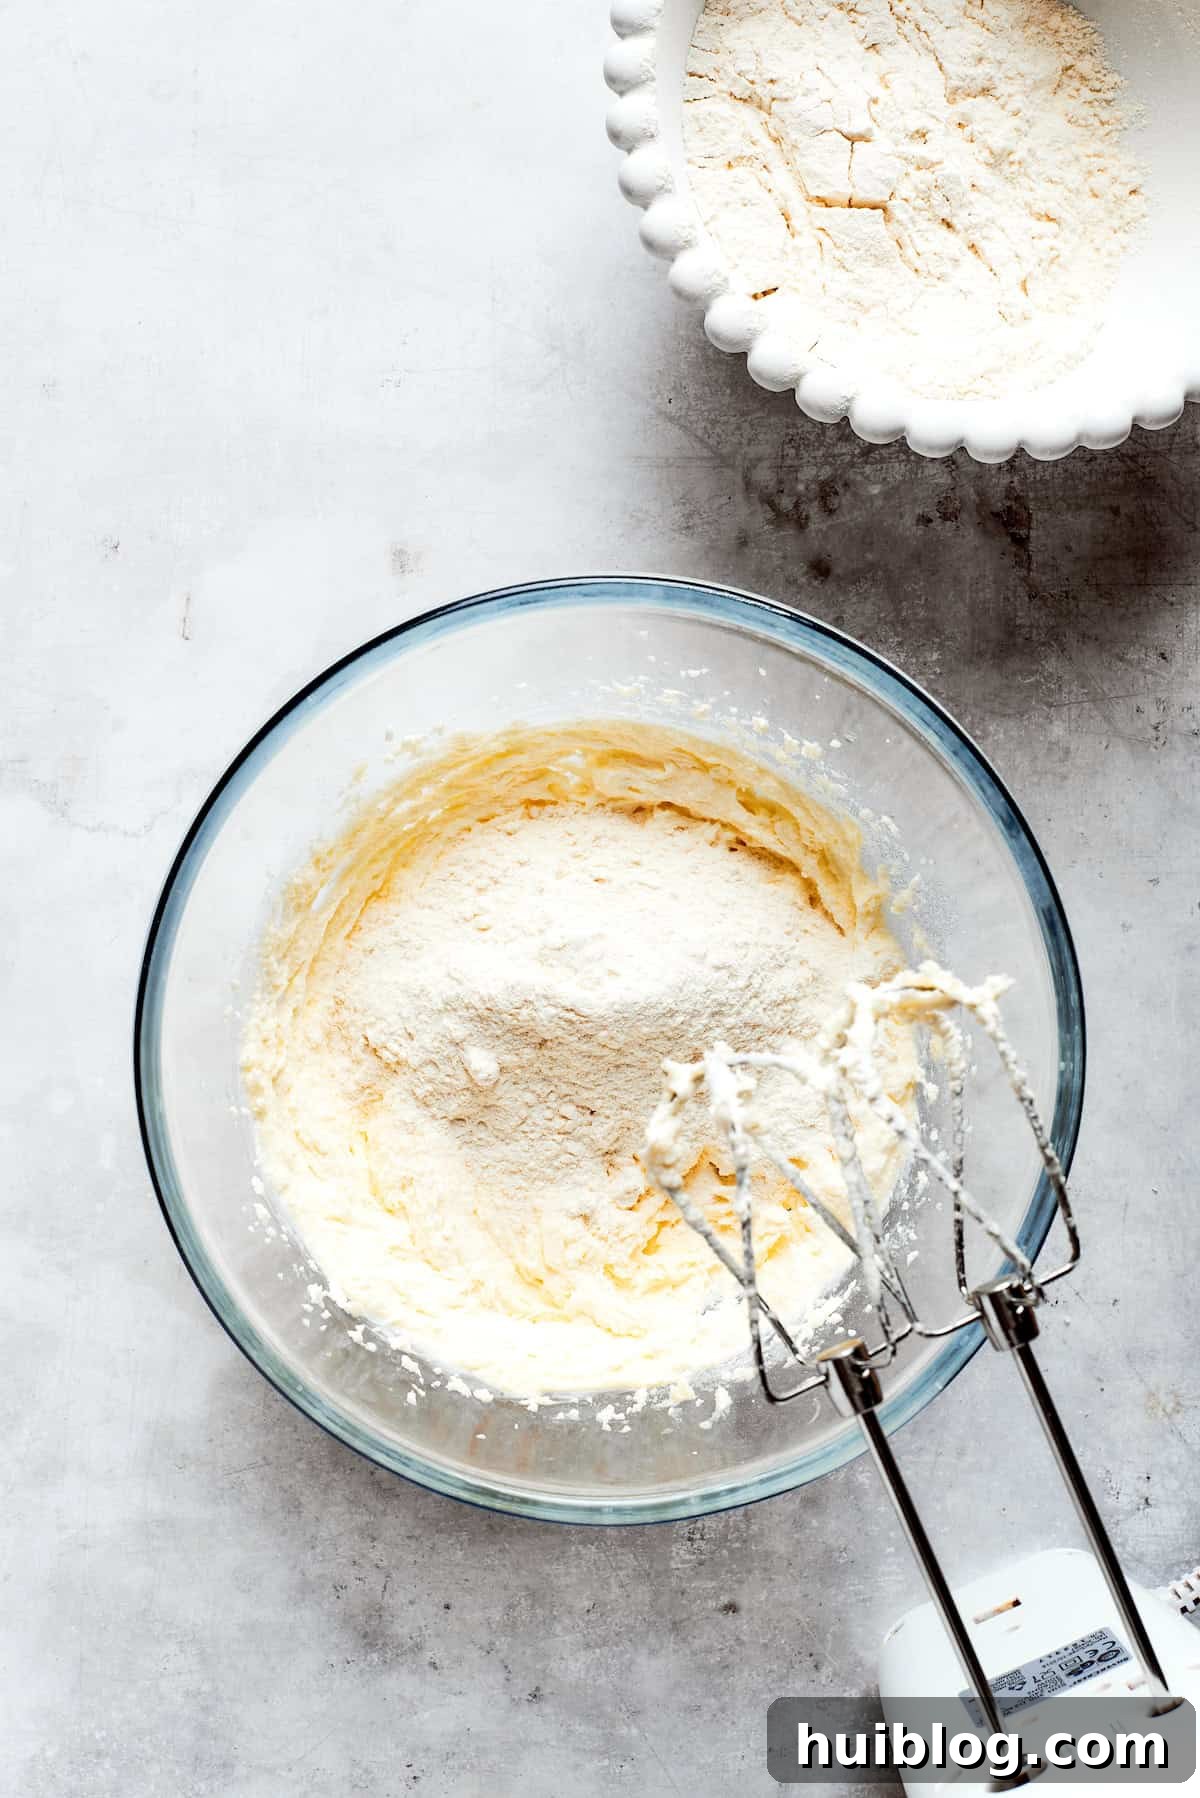
- Cream Butter and Sugar: In a large mixing bowl, either with a stand mixer fitted with a paddle attachment or using a hand mixer, cream together the softened unsalted butter and superfine granulated sugar until the mixture is light, fluffy, and pale in color. This typically takes about 2-3 minutes of beating on medium speed, incorporating air for a tender crust.
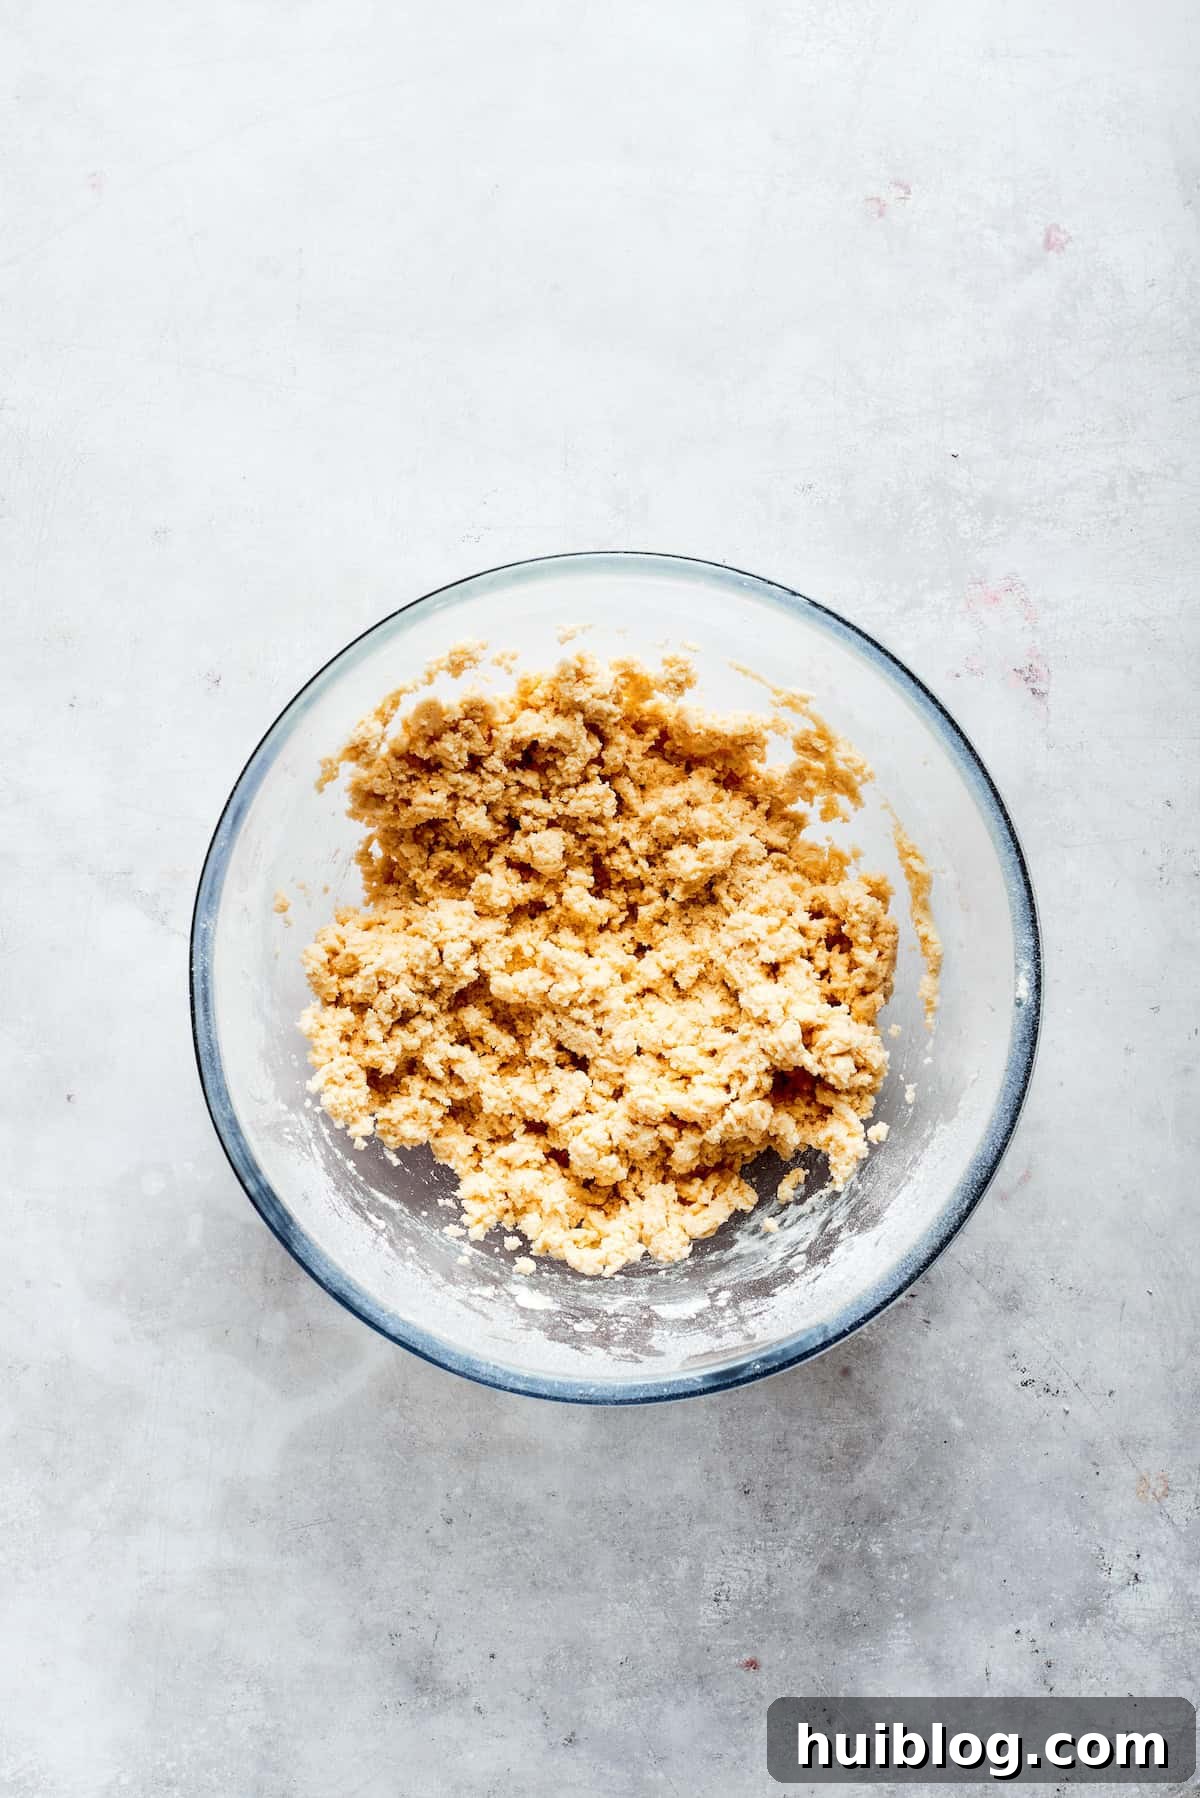
- Incorporate Dry Ingredients and Flavor: Gradually add the all-purpose flour, pure vanilla extract, and fine salt to the creamed butter and sugar mixture. Mix on low speed until the ingredients are just combined and the dough begins to come together. Be careful not to overmix, as this can develop the gluten in the flour and lead to a tough shortbread. The dough should have a smooth, crumbly, yet cohesive texture.
- Press and Bake the Dough: Transfer the prepared shortbread dough into your parchment-lined baking pan. Using your fingertips or the back of a spoon, press the dough evenly and firmly into the bottom of the pan, ensuring a uniform layer from edge to edge. Bake in the preheated oven for approximately 20-25 minutes, or until the edges of the shortbread are lightly golden brown. The center might still appear pale, which is perfectly fine.
- Cool the Shortbread: Once baked, remove the pan from the oven and allow the shortbread crust to cool completely in the pan on a wire rack. It’s essential for the crust to be entirely cool before adding the caramel layer, as warmth can cause the caramel to melt or separate.
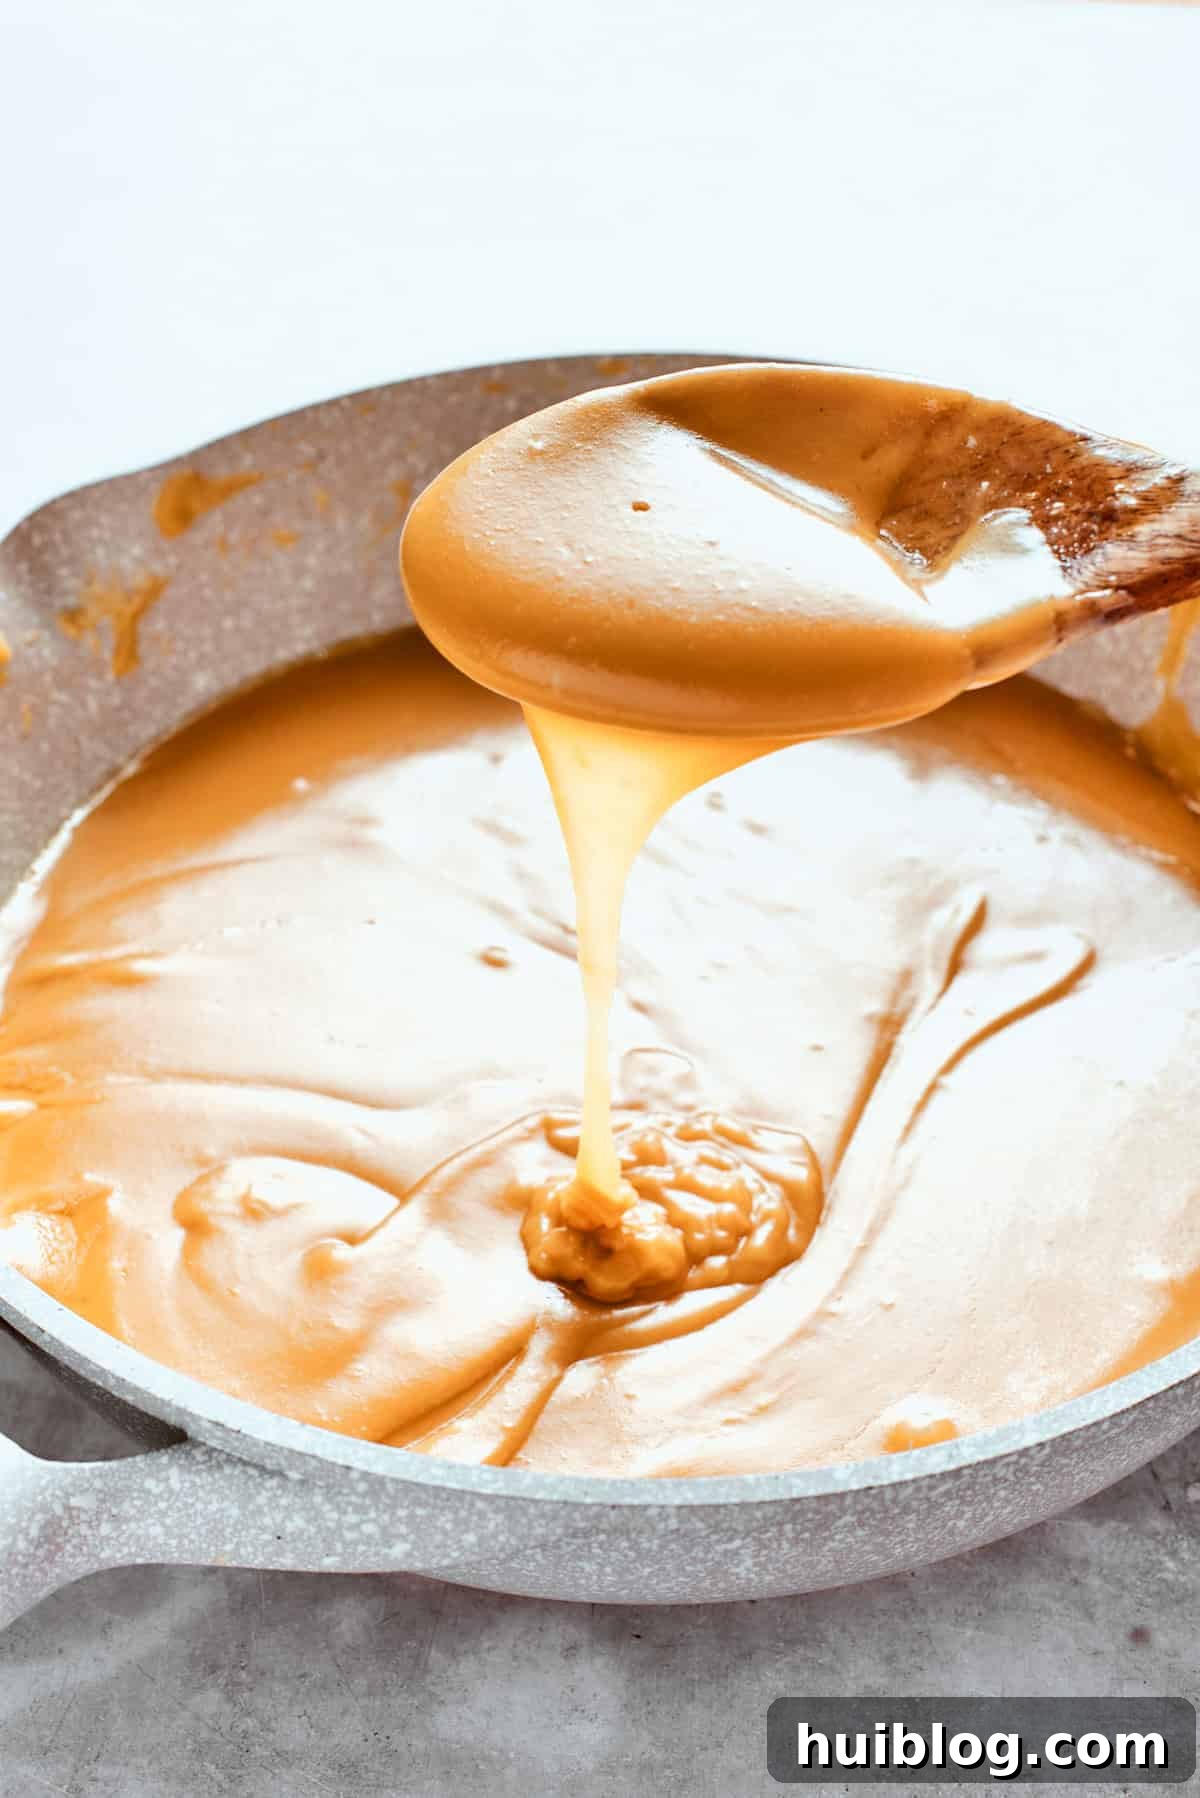
- Prepare the Rich Caramel Filling: In a medium-sized, heavy-bottomed saucepan, combine the sweetened condensed milk, unsalted butter, light brown sugar, and heavy cream. Place the saucepan over medium heat, stirring continuously with a rubber spatula or wooden spoon. It’s crucial to stir constantly to prevent the mixture from sticking to the bottom and burning.
- Cook the Caramel to Perfection: Continue to cook the caramel mixture over medium heat for about 10-15 minutes, stirring frequently. As it heats, the butter and sugar will melt, and the mixture will begin to thicken and turn a beautiful deep golden brown. The key here is patience and consistent stirring to achieve a smooth, rich, and perfectly chewy caramel.
- Add Flavor to Caramel: Once the caramel has reached its desired color and consistency, remove the saucepan from the heat. Stir in the pure vanilla extract and salt until they are thoroughly combined into the warm caramel.
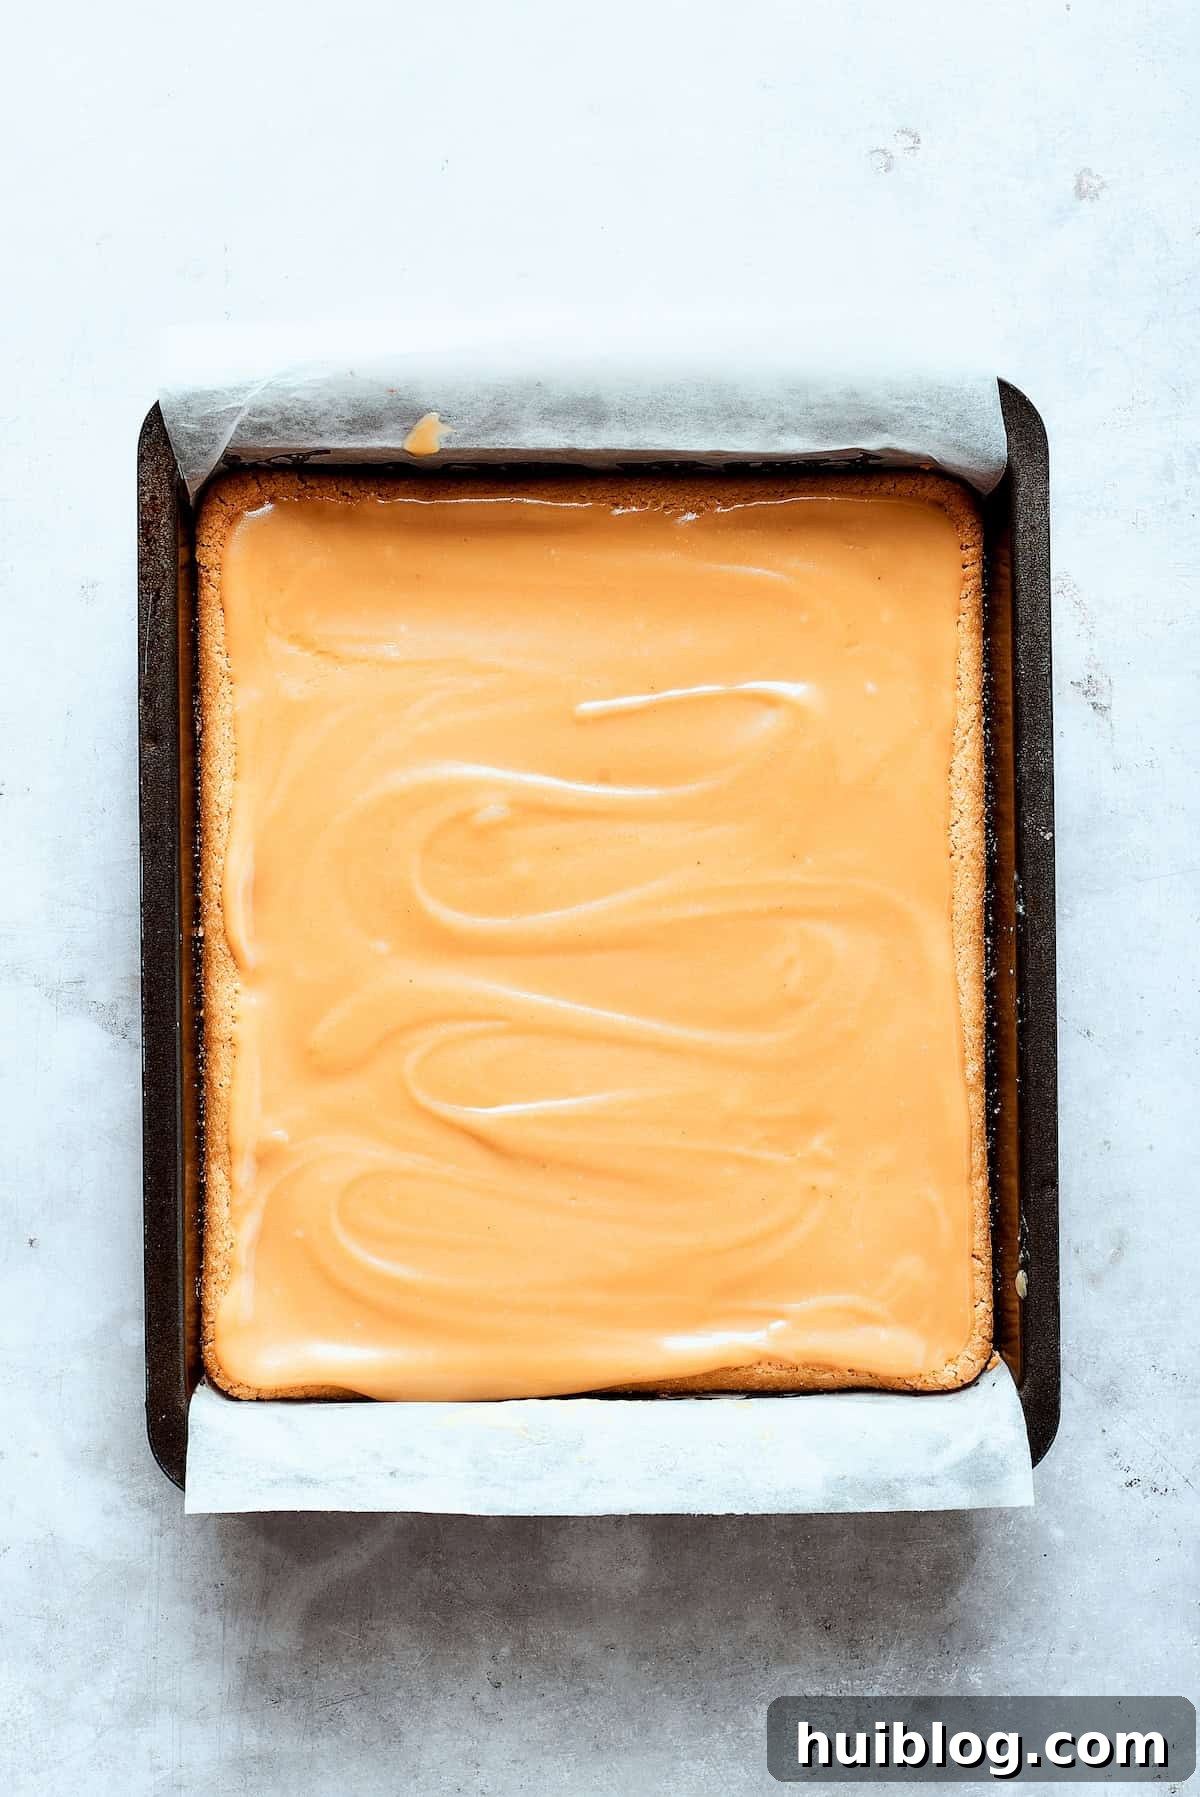
- Layer the Caramel and Set: Carefully pour the hot caramel filling evenly over the completely cooled shortbread crust in the baking pan. Use a spatula to gently spread it if needed, ensuring a smooth, consistent layer. Allow the caramel to set at room temperature for approximately 20-30 minutes, or until it becomes firm to the touch. This step is important for preventing the chocolate ganache from bleeding into the caramel.
- Prepare the Silky Chocolate Ganache: While the caramel is setting, prepare your chocolate ganache. In a microwave-safe bowl, combine the milk chocolate chips and heavy cream. Microwave in short bursts of 20 seconds, stirring well after each interval, until the chocolate chips are fully melted and the mixture is smooth, glossy, and perfectly uniform. Be careful not to overheat the chocolate.
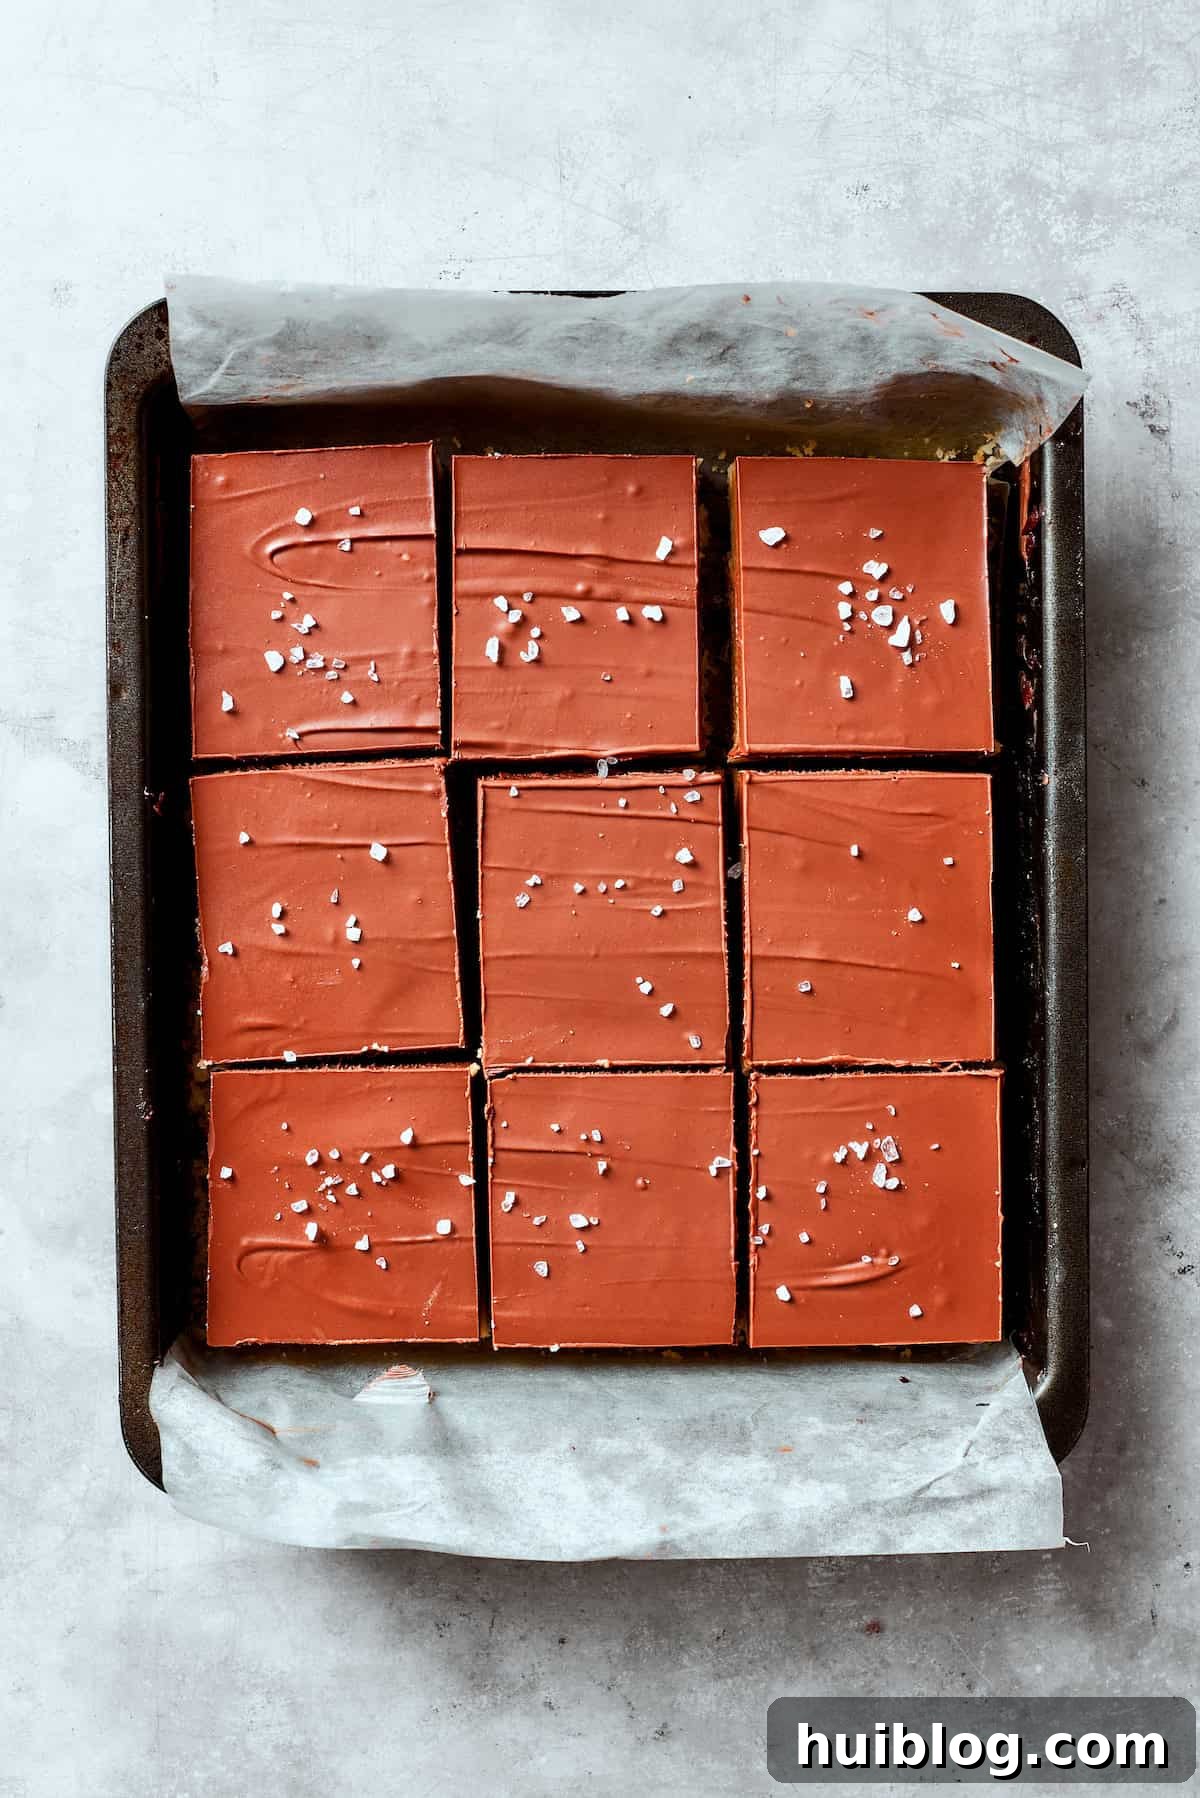
- Top with Ganache: Once the caramel layer is firm, pour the warm, smooth chocolate ganache over it, spreading it carefully and evenly with a spatula to create a luscious, consistent top layer that covers the caramel entirely.
- Sprinkle with Sea Salt (Optional): If you desire that exquisite sweet-salty contrast, lightly sprinkle flaky sea salt over the still-wet chocolate ganache. This adds both visual appeal and a burst of flavor.
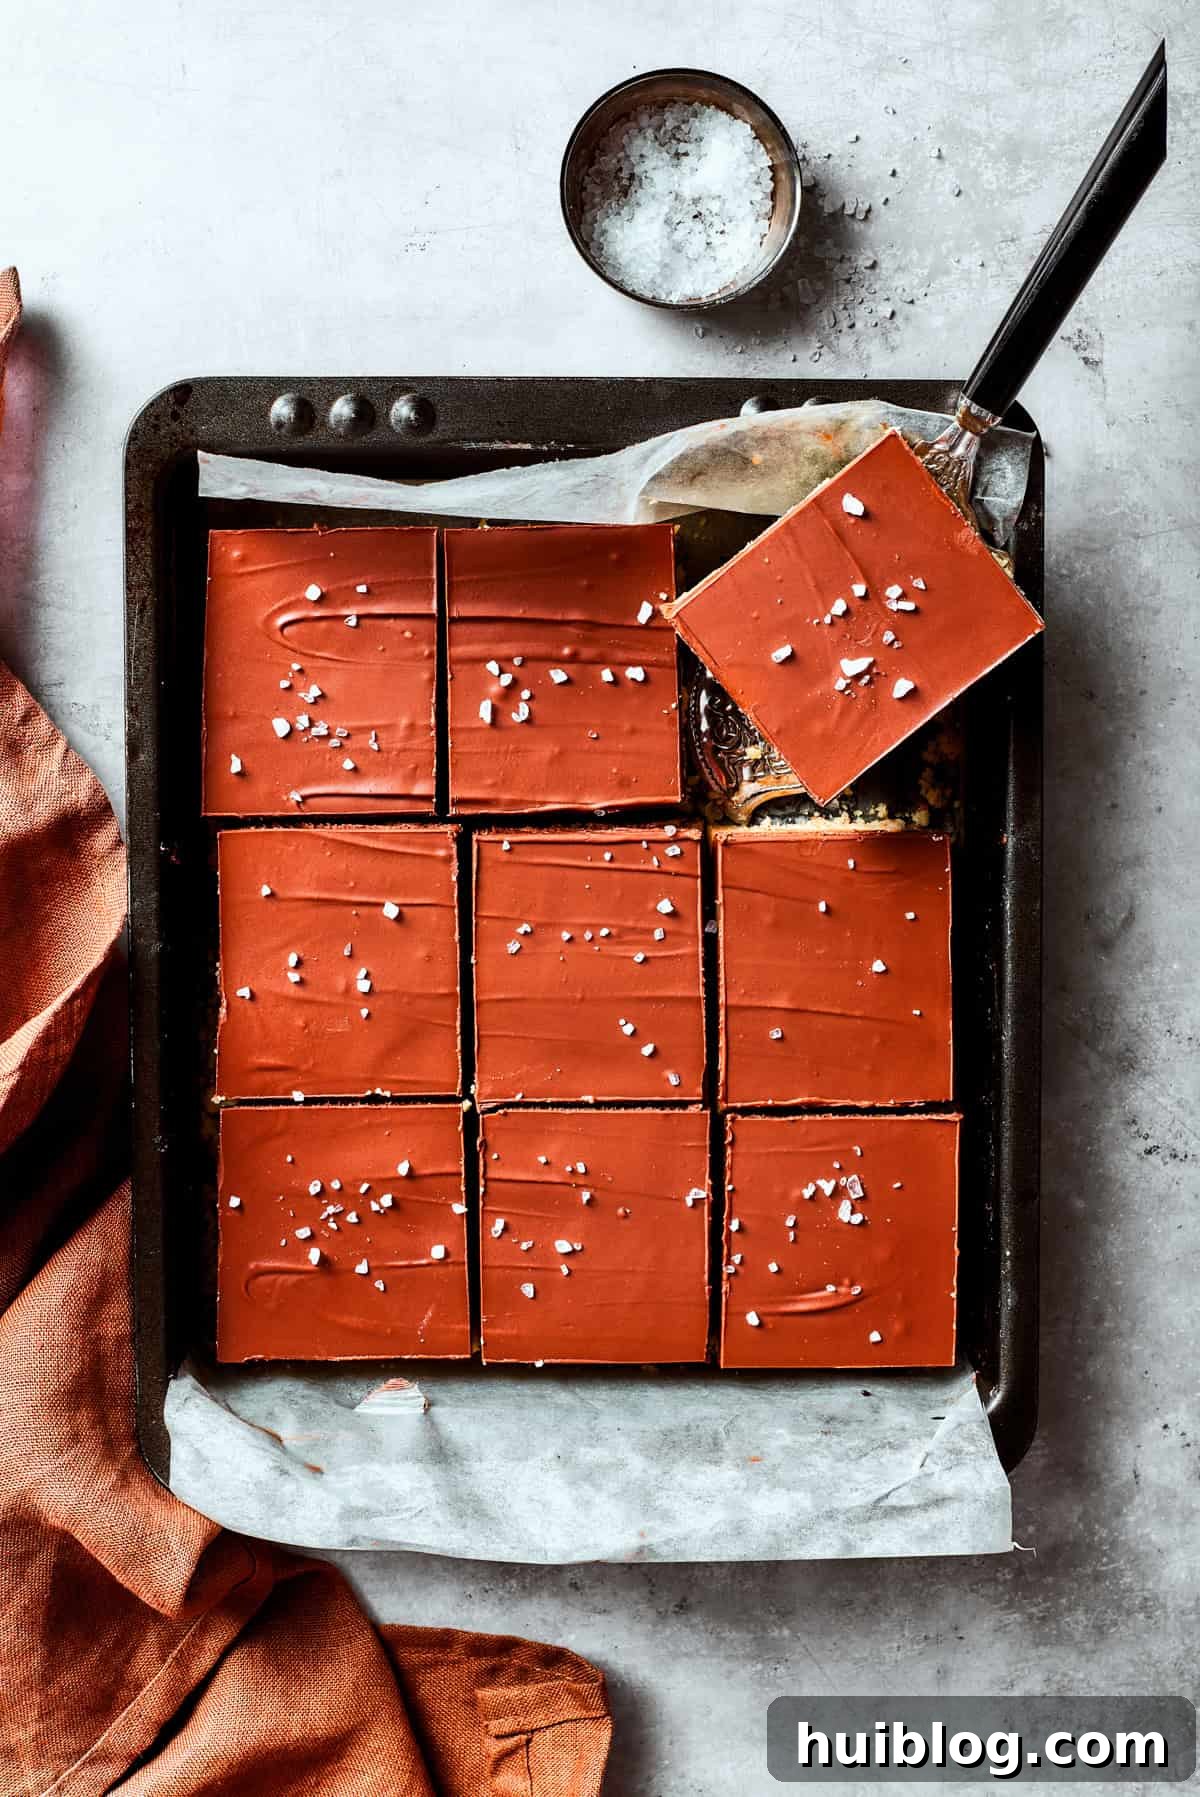
- Chill to Set and Serve: Refrigerate the assembled millionaire bars for at least 1-2 hours, or until the chocolate ganache has completely set and firmed up. Once thoroughly chilled, use the parchment paper overhang to lift the entire slab of bars out of the pan. Place them on a sturdy cutting board and, using a sharp, warm knife (wiped clean between cuts), slice them into your desired square or rectangular portions. Serve chilled or at room temperature, and store any leftovers in an airtight container in the refrigerator.
Expert Tips for Millionaire Bar Perfection
- Mastering the Perfect Caramel: The caramel layer is arguably the most crucial for truly exceptional millionaire bars. Your undivided attention is key here. Never leave the caramel unattended, as it can quickly burn, resulting in a bitter, unpalatable flavor that will require you to start over. The secret to a rich, smooth, and perfectly chewy caramel lies in consistent stirring and patience. Stir the mixture constantly over medium heat to prevent any sticking or scorching at the bottom of the saucepan. Continue cooking until the caramel achieves a beautiful, deep golden-amber color. For absolute precision, especially if you’re new to making caramel, consider using a candy thermometer. The ideal temperature range for a firm yet pliable caramel is between 340°F and 350°F (170°C to 175°C).
- Choosing Quality Chocolate for Ganache: The quality of your chocolate directly impacts the richness and smoothness of your ganache. For the best results and a truly luxurious chocolate layer, we highly recommend using high-quality milk chocolate chips, such as Guiittard, which melt beautifully and create a silky ganache. Alternatively, you can achieve an excellent ganache by finely chopping a good-quality chocolate bar into small pieces, ensuring it melts evenly and smoothly when combined with warm cream.
- Experiment with Chocolate Varieties: While milk chocolate offers a classic, sweeter profile, don’t hesitate to explore other chocolate types to tailor the flavor to your preference. If you prefer a more pronounced flavor contrast and a less intensely sweet dessert, try using semi-sweet or even bittersweet chocolate chips for the ganache. These darker chocolates will provide a deeper cocoa note that beautifully complements the sweet shortbread and caramel.
- Allow Ganache to Set Correctly: To prevent the chocolate ganache from cracking or shattering when you cut into your finished bars, it’s vital to allow it to set gradually. After pouring the ganache over the caramel, let the bars sit at room temperature for approximately 5-10 minutes before transferring them to the refrigerator. This brief period allows the ganache to begin firming up gently, resulting in cleaner, more professional-looking cuts later on.
- The Importance of Unsalted Butter: As highlighted in the ingredients section, always opt for unsalted butter in baking recipes. This choice grants you precise control over the total salt content, which is crucial for balancing the flavors in such a rich dessert. If salted butter is your only option, be sure to significantly reduce or completely omit the additional salt specified in both the shortbread and caramel layers to prevent the final product from becoming overpoweringly salty.
- Achieving Immaculate Cuts: For beautifully neat and even slices that truly showcase the distinct layers of your millionaire bars, a sharp knife is your best friend. After each cut, wipe the knife blade clean with a damp, warm cloth to remove any sticky residue from the caramel or chocolate. For an even cleaner cut, run your sharp knife under hot water for a few seconds, dry it thoroughly, and then slice through the bars. Repeat this warming and cleaning process for each cut, and you’ll achieve perfectly presented millionaire bars every time.
- Precision in Flour Measurement: For the most tender shortbread, correctly measuring your flour is paramount. Avoid scooping flour directly from the bag, as this can pack it down and lead to too much flour, resulting in a dense, tough crust. Instead, gently spoon the flour into your measuring cup until it overflows, then level it off with the back of a knife or a straight edge.
- Chill, Chill, Chill: Don’t rush the chilling process! Each layer needs adequate time to set properly. Rushing can lead to soft, messy layers that are difficult to cut. The final chill in the refrigerator is essential for firming up the chocolate ganache and allowing all the layers to meld together into a stable, sliceable bar.
Delightful Serving Suggestions
These magnificent Millionaire Bars are truly versatile and make a spectacular addition to nearly any occasion, but they shine particularly brightly when featured on your festive Christmas cookie spread! With their irresistible combination of a crisp shortbread base, a sumptuously creamy caramel filling, and a rich chocolate topping, they offer a decadent and eye-catching treat that effortlessly stands out among traditional holiday favorites. To create an unforgettable holiday dessert table, consider pairing these luxurious bars with other festive delights. Imagine them alongside the vibrant colors of my stained glass cookies, the cheerful simplicity of cake mix cookies, or the classic charm of candy cane cookies! Together, these confections will transform your holiday gathering into a truly memorable and sweet celebration, leaving your guests utterly enchanted by your impressive dessert array. Beyond the holidays, these bars are fantastic with a cup of strong coffee, a glass of cold milk, or as a standalone indulgence any time you crave something truly special.
Optimal Storage for Freshness
Ensuring your millionaire bars remain fresh and delicious is key to enjoying them over time. Proper storage will help maintain their texture and rich flavor.
- Refrigerator Storage: To keep your millionaire bars at their best, store them in the refrigerator. After cutting them into individual portions, arrange them in a single layer (if possible) within an airtight container, or wrap the entire slab tightly with plastic wrap. Stored this way, they will stay fresh and maintain their delightful consistency for up to 5 days. This cool environment prevents the chocolate from becoming too soft and the caramel from getting overly sticky.
- Freezer Storage for Longer Enjoyment: Millionaire bars freeze exceptionally well, making them perfect for meal prep or enjoying a single treat whenever a craving strikes. For best results, individually wrap each cooled bar tightly in plastic wrap, then place the wrapped bars in a freezer-safe bag or an airtight container. They can be stored in the freezer for up to 3 months. When you’re ready to enjoy, simply transfer the desired number of bars from the freezer to the refrigerator and allow them to thaw completely before serving. They taste just as amazing after thawing!
Discover More Easy Dessert Recipes
If you loved creating and indulging in these Millionaire Bars, we invite you to explore more of our easy-to-follow and utterly delicious dessert recipes. Expand your baking repertoire with these fantastic options:
- Classic Chocolate Fondue
- Irresistible Peanut Butter Rice Crispy Treats
- Luxurious French Silk Pie
- Decadent Chocolate Rice Krispie Treats
- Scrumptious Pecan Pie Brownies
Millionaire Bars
Ingredients
For the Shortbread Crust:
- 1 cup unsalted butter, at room temperature
- ¾ cup superfine granulated sugar, or caster sugar
- 2 cups all-purpose flour
- 1 teaspoon pure vanilla extract
- ½ teaspoon salt
For the Caramel Filling:
- 14 ounce can sweetened condensed milk
- 1 cup unsalted butter, at room temperature
- 1 cup light brown sugar, packed
- ½ cup heavy cream, at room temperature
- 1 teaspoon pure vanilla extract
- ½ teaspoon salt
For the Chocolate Ganache:
- 2 cups milk chocolate chips
- ½ cup heavy cream
Instructions
Shortbread Crust
-
Prep. Preheat the oven to 350°F (175°C). Line a 9×9-inch baking pan with parchment paper, ensuring there’s an overhang on two opposite sides. This parchment paper sling will make it much easier to lift the cooled bars out of the pan later.
-
Cream the butter and sugar. In a large mixing bowl, using either a hand mixer or a stand mixer fitted with the paddle attachment, cream together the softened unsalted butter and superfine white sugar until the mixture is visibly light and fluffy. This process usually takes about 2-3 minutes, helping to incorporate air and create a tender shortbread texture.
-
Mix in the rest of the ingredients. Gradually add the all-purpose flour, vanilla extract, and salt to the creamed butter mixture. Mix on the lowest speed until the dough comes together and forms a cohesive, smooth, yet slightly crumbly texture. Be careful not to overmix the dough, as excessive mixing can lead to a tough shortbread crust.
-
Transfer the dough to the pan. Press the shortbread dough evenly into the bottom of the prepared 9×9-inch baking pan. Ensure the layer is uniform across the entire surface. You can use the back of a spoon or your fingers to press and smooth it out thoroughly, creating a compact base.
-
Bake. Transfer the pan with the pressed shortbread dough to the preheated oven. Bake for 20-25 minutes, or until the edges of the shortbread turn a light golden brown. The center may still appear pale, which is perfectly normal.
-
Cool. Once baked, remove the pan from the oven and place it on a wire rack. Allow the shortbread crust to cool completely in the pan before proceeding. This step is crucial to prevent the caramel from melting or separating when added.
Caramel Filling
-
Make the caramel. In a medium-sized, heavy-bottomed saucepan, combine the sweetened condensed milk, unsalted butter, light brown sugar, and heavy cream. Using a heavy-bottomed pan helps distribute heat more evenly and prevents scorching.
-
Cook the caramel. Place the saucepan over medium heat. It is vital to stir the mixture constantly as it heats, allowing the butter and sugar to fully melt and combine. Continue cooking, stirring frequently, for approximately 10-15 minutes, or until the mixture thickens considerably and achieves a beautiful deep golden-amber color. This consistent stirring prevents burning and ensures a smooth caramel.
-
Pour the caramel over the crust. Remove the saucepan from the heat and immediately stir in the vanilla extract and salt until they are well combined into the hot caramel. Carefully pour the caramel filling evenly over the cooled shortbread crust, spreading it gently with a spatula to ensure a uniform layer.
-
Let it set. Allow the caramel layer to set at room temperature for about 20-30 minutes, or until it becomes firm to the touch. This crucial step ensures that the caramel is stable enough to support the chocolate ganache without mixing or creating a messy middle layer.
Chocolate Ganache
-
Cook the chocolate chips and heavy cream. While the caramel is setting, prepare your chocolate ganache. In a microwave-safe bowl, combine the milk chocolate chips and heavy cream. Microwave the mixture in 20-second intervals, stirring thoroughly after each interval, until the chocolate is fully melted and the mixture is smooth, glossy, and lump-free. Be careful not to overheat the chocolate, as this can cause it to seize.
-
Pour the chocolate over the caramel sauce. Once the caramel layer is adequately set, pour the warm chocolate ganache evenly over it. Use a spatula to gently spread the ganache across the entire surface, ensuring it forms a smooth, consistent layer that completely covers the caramel.
-
Add sea salt. Optionally, for that perfect sweet-and-salty contrast, lightly sprinkle flaky sea salt over the wet ganache immediately after pouring. This adds both visual appeal and a delightful burst of flavor.
Chill and Serve
-
Chill. Refrigerate the assembled millionaire bars for at least 1-2 hours, or until the chocolate ganache is completely firm and set. This chilling time is crucial for all layers to firm up properly, making the bars easy to cut cleanly.
-
Cut. Once fully chilled, use the parchment paper overhang to carefully lift the entire slab of millionaire bars from the baking pan. Transfer them to a clean cutting board. For clean, neat slices, use a very sharp knife and wipe it clean with a warm, damp cloth between each cut. Cut the slab into your desired square or rectangular portions.
-
Serve. Serve your decadent millionaire bars chilled or at room temperature, depending on your preference for ganache firmness. Store any leftover bars in an airtight container in the refrigerator to maintain their freshness and texture.
Equipment
-
9×9 Brownie Pan
-
Stand Mixer
Nutrition
Nutritional information provided here is an estimate and serves as a courtesy. Values may vary significantly based on the specific ingredients, brands, and tools used in preparation. For precise and detailed nutritional information tailored to your ingredients, please consult your preferred nutritional calculator.
Did you make a recipe? Leave a rating