
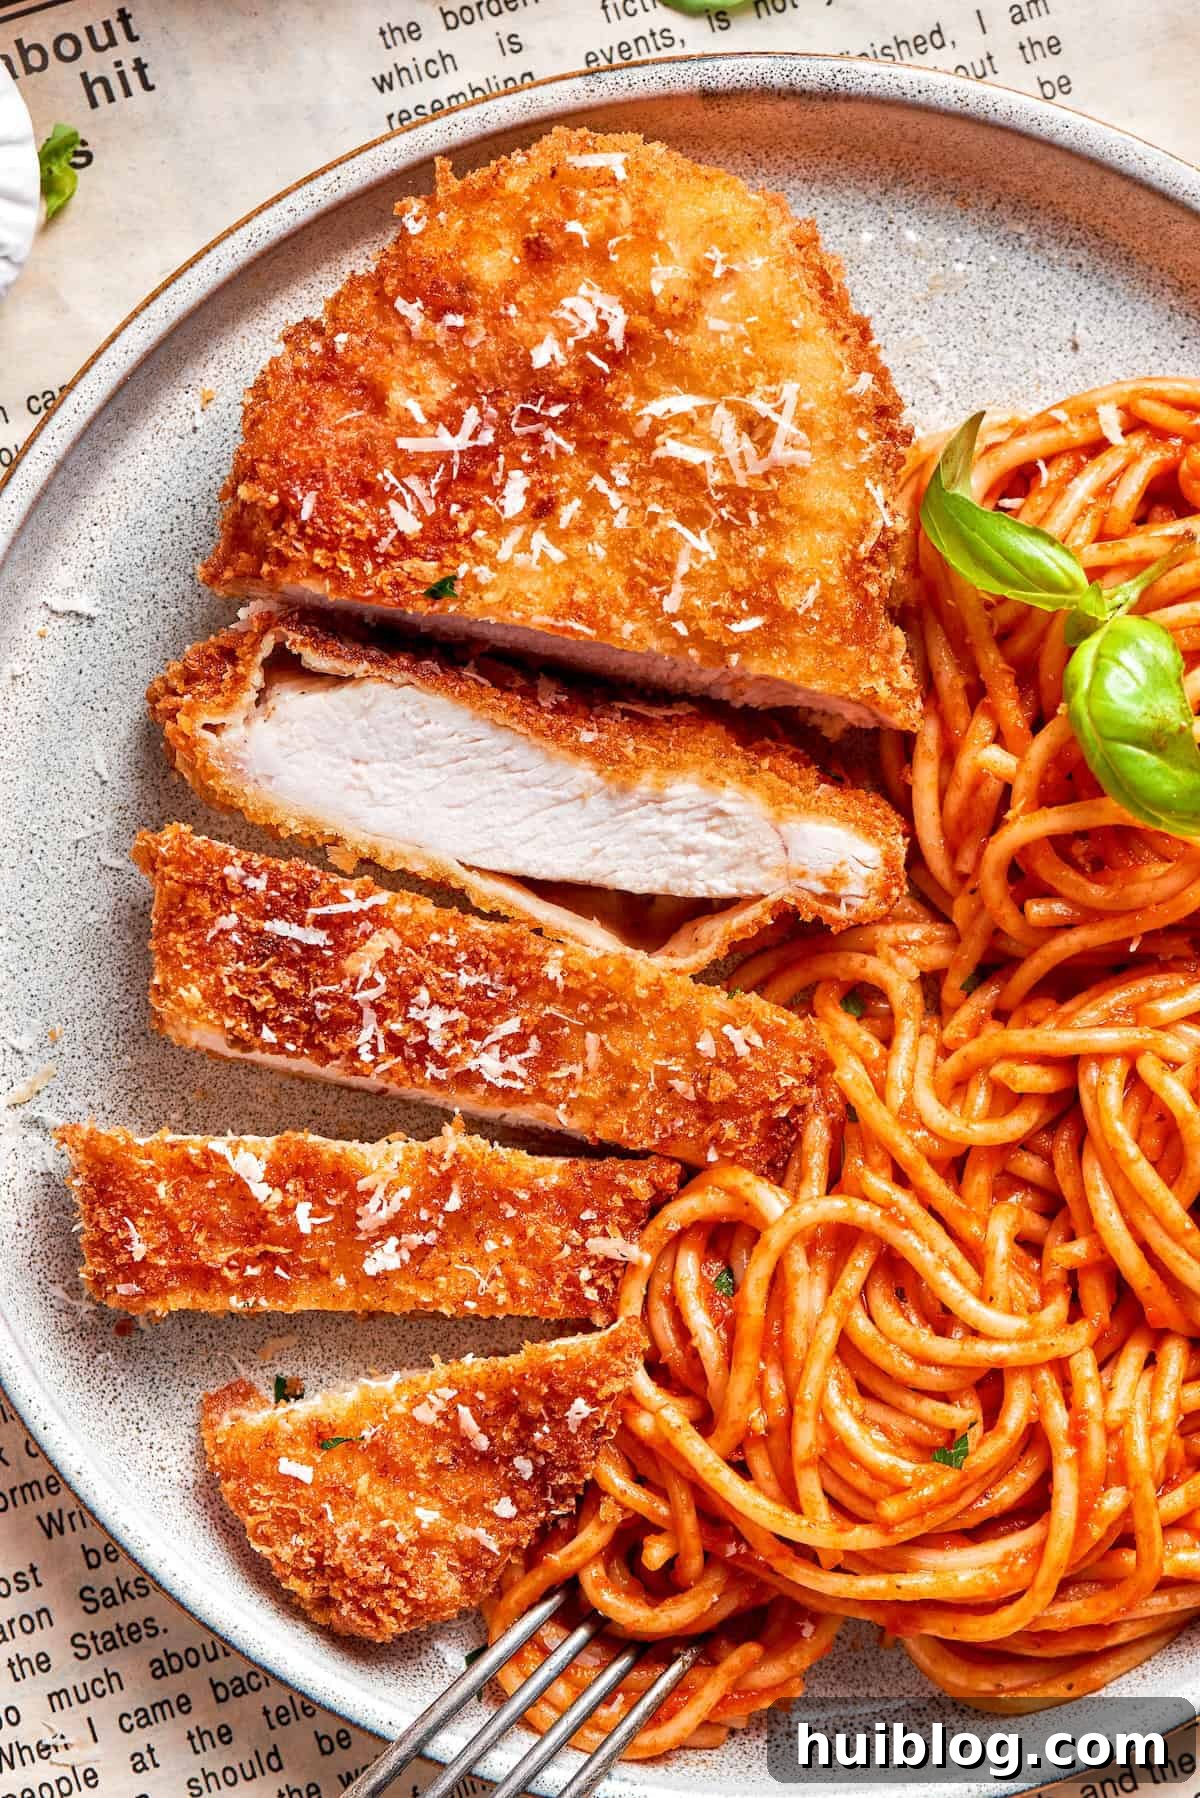
Craving that iconic, mouth-watering dish from The Cheesecake Factory without leaving your home? Look no further! This ultimate copycat Crusted Chicken Romano recipe brings the restaurant experience directly to your kitchen. Imagine perfectly golden-brown, crispy chicken cutlets, generously coated in a flavorful Romano and Parmesan cheese crust, served over a bed of tender pasta twirled with rich, savory marinara sauce. It’s a restaurant-worthy meal that’s not only incredibly delicious but also surprisingly simple to recreate, saving you both time and money. Get ready to impress your family and friends with a dish that captures all the comforting flavors you adore.
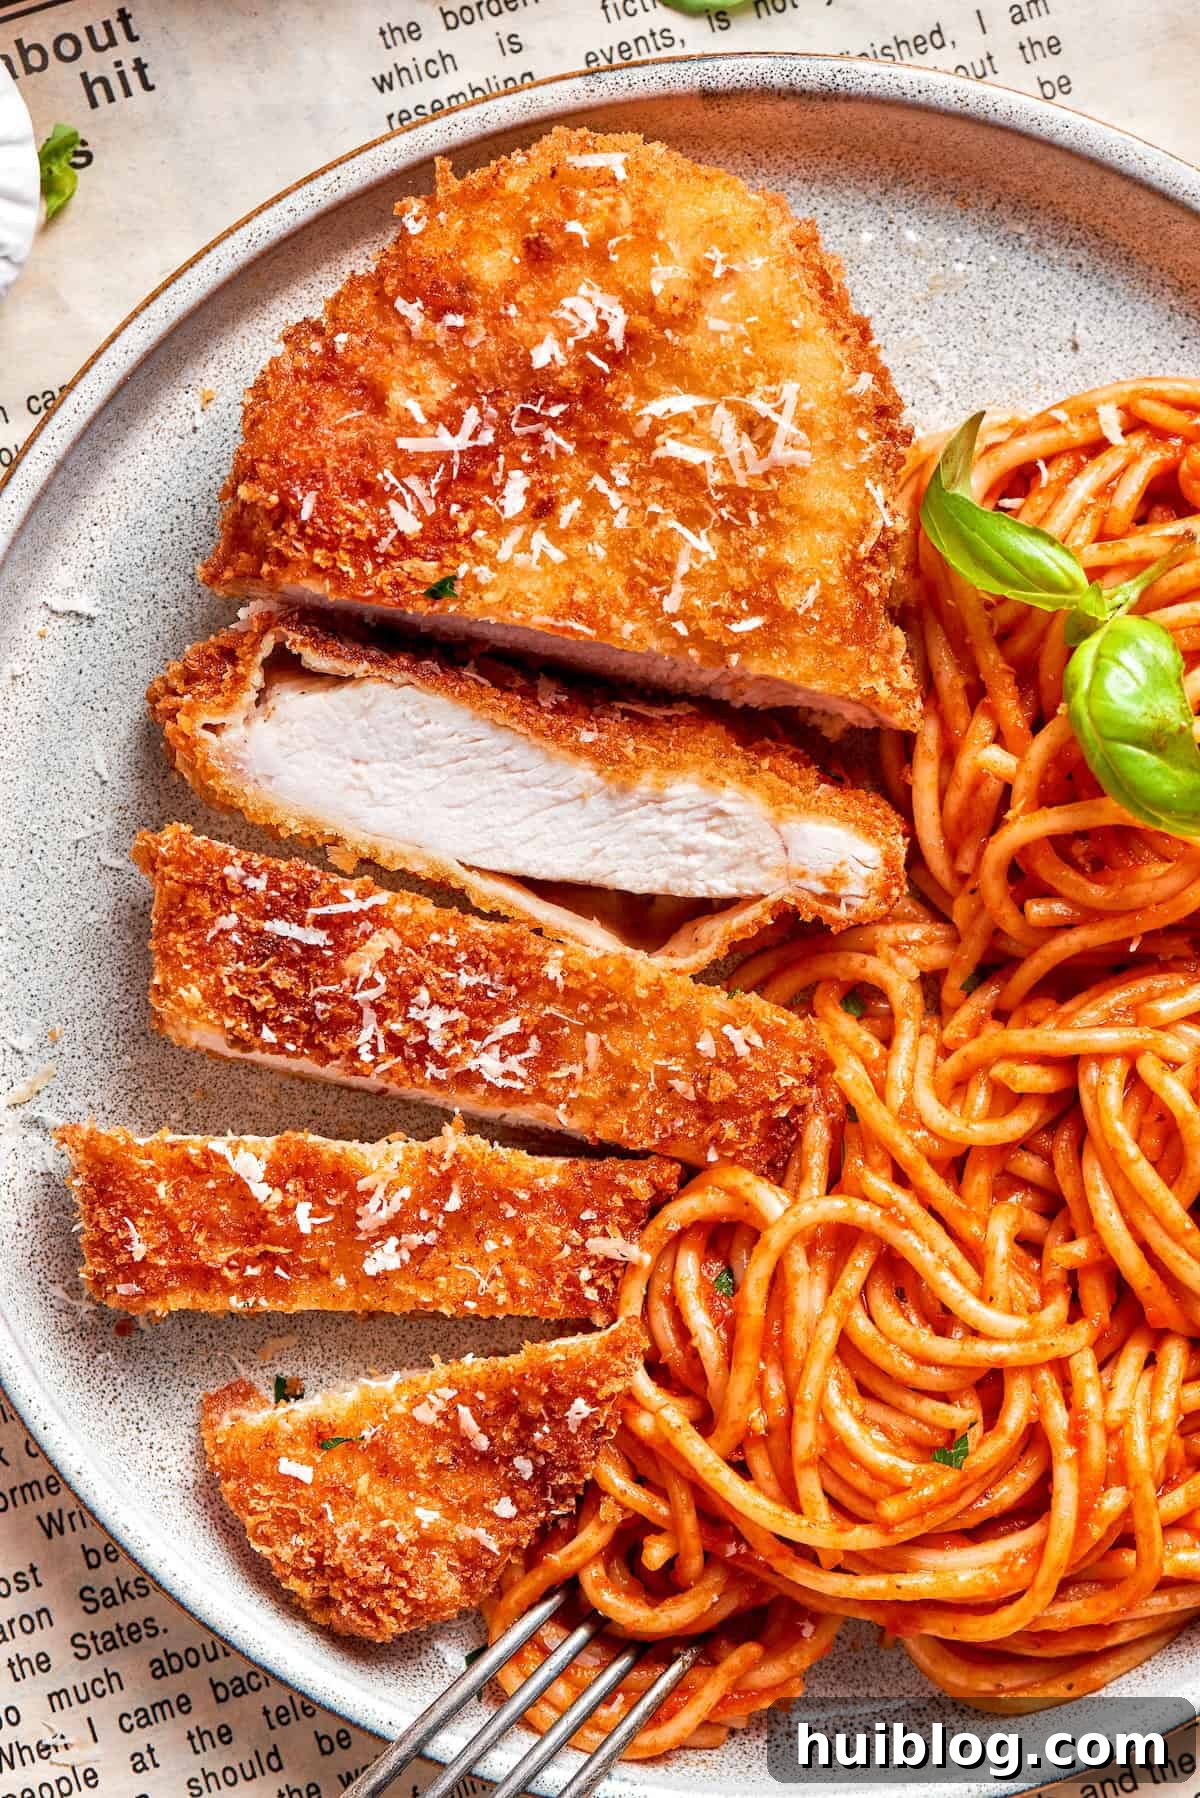
If you’re a devoted fan of The Cheesecake Factory’s beloved Chicken Romano, you’ll be absolutely thrilled to discover how effortlessly you can prepare this delectable dish in your own kitchen! This recipe masterfully combines succulent, juicy chicken with the heartwarming comfort of perfectly cooked pasta, all brought together by a robust marinara. I genuinely love the challenge and satisfaction of recreating our favorite dining-out experiences, adding my unique touch to popular dishes. Much like my other Cheesecake Factory-inspired recipes, such as the zesty Chicken Piccata and the rich Chicken Madeira, this Crusted Chicken Romano tastes just as authentic, if not even better, than the original. The added benefits? You’ll drastically cut down on wait times and expenses by taking on the role of chef. Elevate your meal further by pairing it with a fresh Avocado Tomato Salad, and prepare to truly indulge!
Why You’ll Adore This Crusted Chicken Romano Recipe
- Effortlessly Elegant: While this recipe involves a few distinct steps, the active cooking time is surprisingly short, around just 25 minutes. This makes it an ideal choice for busy weeknights when you crave something special but don’t have hours to spend in the kitchen. It’s a meal that feels fancy but comes together with ease, perfect for both everyday dinners and entertaining guests.
- Budget-Friendly Indulgence: Dining out can be a wonderful treat, but it can also be costly and time-consuming. By preparing this Crusted Chicken Romano at home, you’ll significantly reduce your food budget without sacrificing flavor or quality. Plus, you get to enjoy a restaurant-quality meal without the wait, making dinner a faster and more economical affair.
- Incredibly Versatile: The classic presentation of Crusted Chicken Romano involves serving the golden cutlets with pasta and marinara. However, the crispy, breaded chicken cutlets are incredibly versatile and can be enjoyed in numerous other ways! Transform them into an irresistible sandwich by topping them with melted mozzarella and a dollop of marinara on a toasted bun. Alternatively, slice them thinly and add them to a vibrant green salad for a satisfying, protein-packed meal. They’re also fantastic served alongside roasted vegetables or mashed potatoes, offering endless possibilities for creative meal planning.
- A Guaranteed Crowd-Pleaser: The combination of crispy, savory chicken and comforting pasta with rich marinara sauce is universally loved. This dish appeals to a wide range of palates, making it a perfect choice for family dinners, gatherings with friends, or any occasion where you want to serve a meal everyone will enjoy. Its familiar yet elevated flavors are sure to earn rave reviews.
- Achieve Restaurant-Quality at Home: This recipe isn’t just a simple chicken dish; it’s a meticulously crafted copycat that brings the authentic taste and texture of The Cheesecake Factory’s famous Crusted Chicken Romano straight to your dining table. With clear, easy-to-follow instructions and common ingredients, you’ll achieve that perfect crispy crust and tender chicken that rivals your favorite restaurant.
Essential Ingredients for Your Crusted Chicken Romano
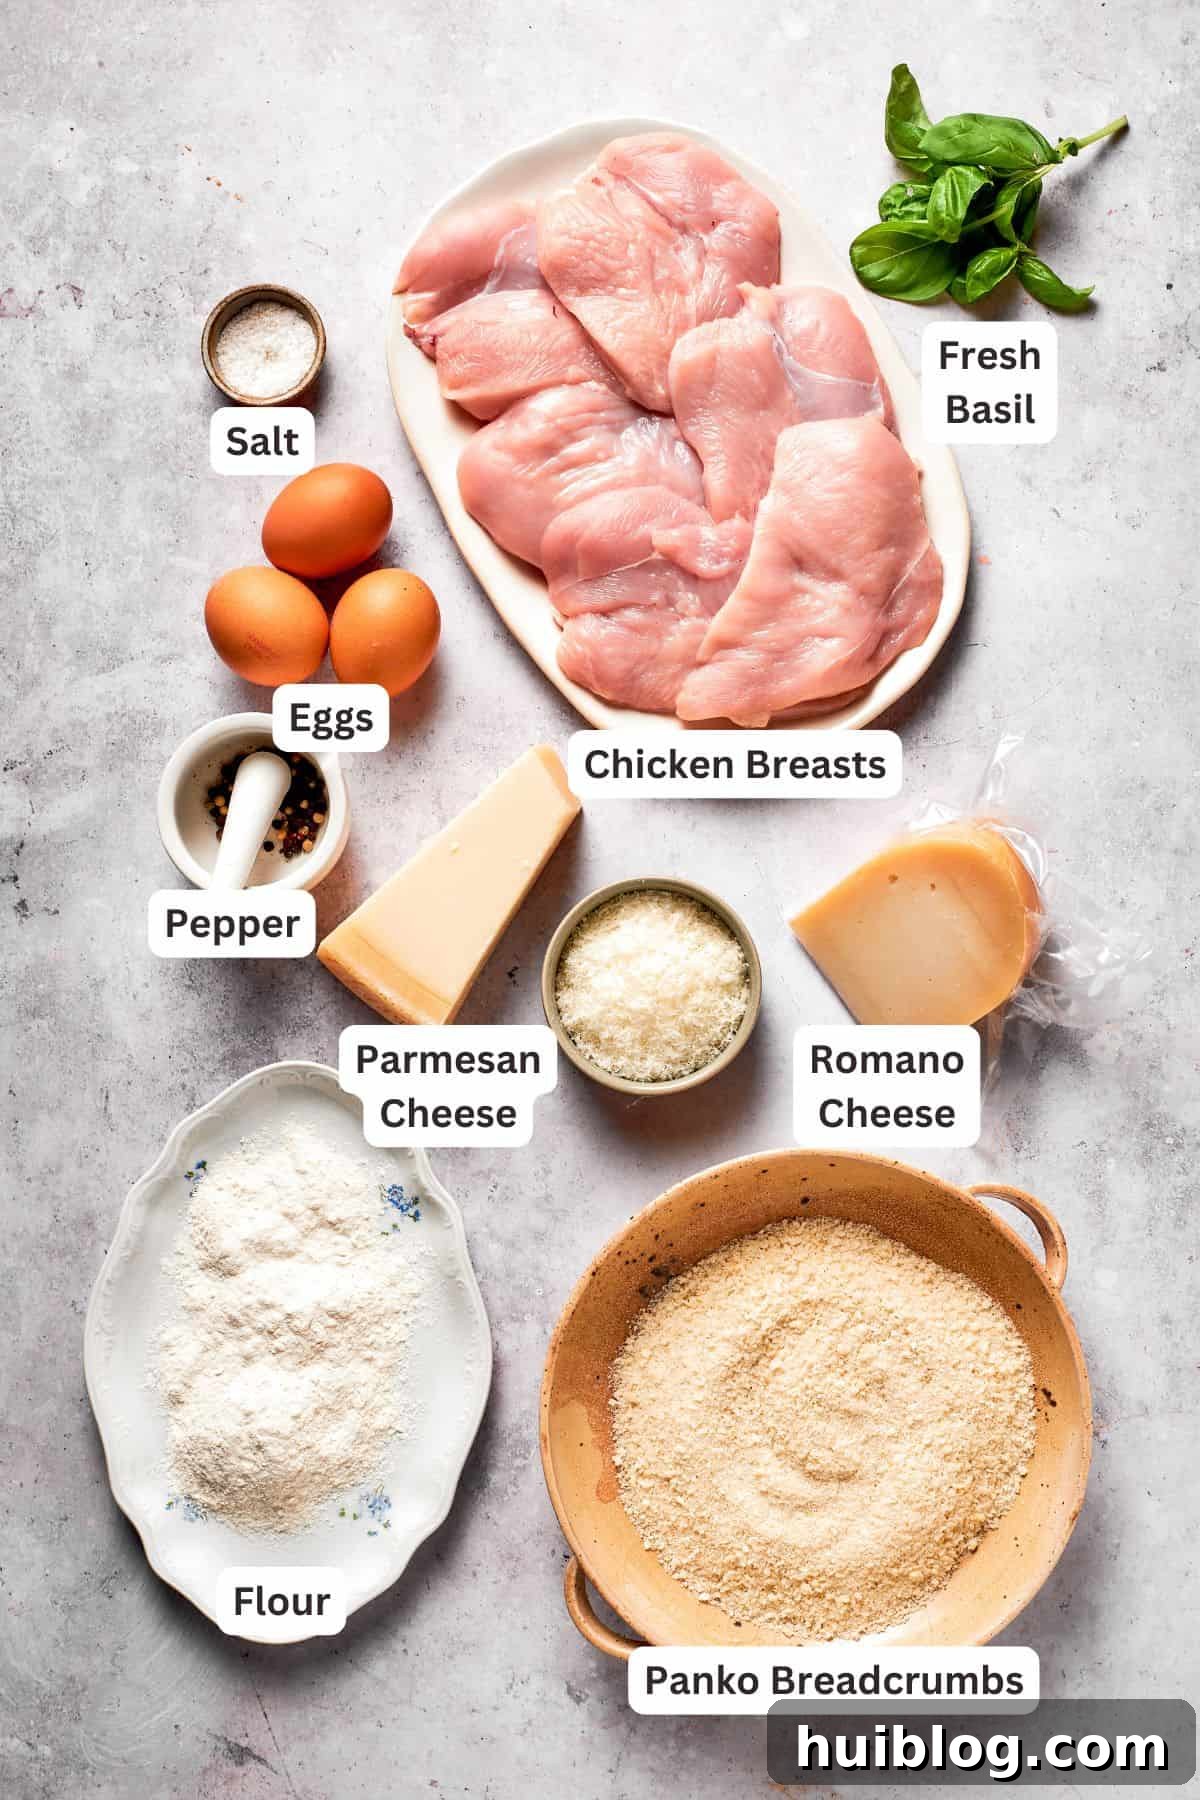
Before you begin the exciting journey of preparing this dish, gather all your ingredients and set up your dredging stations. This crucial step, known as “mise en place,” will streamline your cooking process, making your active time in the kitchen even more efficient and enjoyable. Below is a detailed look at the ingredients you’ll need to create this fantastic meal. You’ll find the precise measurements conveniently listed in the comprehensive recipe card located at the very end of this post.
- Chicken: For the best results, I highly recommend using skinless chicken cutlets. Their thin, even thickness ensures quick and consistent cooking, leading to a wonderfully juicy interior. If cutlets aren’t available, boneless, skinless chicken breasts work just as well; simply slice them horizontally and pound them to about ¼-inch thickness for uniformity.
- Dredging Mixture: This simple yet vital blend consists of all-purpose flour seasoned with a touch of salt and freshly ground black pepper. The flour creates a dry surface that allows the egg wash to adhere perfectly, forming the base for our crispy crust.
- Eggs: Whisked large eggs are essential for creating a sticky binder. They act as the “glue” that helps the breadcrumb and cheese coating adhere firmly to the seasoned chicken, ensuring a consistently crispy and flavorful exterior.
- Breadcrumbs: My go-to choice is Panko breadcrumbs. These Japanese-style breadcrumbs are renowned for their larger, flakier texture, which results in an exceptionally light and crisp crust when fried. While regular breadcrumbs can be used, Panko offers an unmatched crunch.
- Cheeses: A delightful blend of grated Romano cheese and Parmesan cheese forms the heart of our flavorful crust. Romano cheese brings a sharper, more piquant and salty flavor, while Parmesan offers a nutty, umami depth. This combination creates a rich, savory, and irresistible coating that truly defines the “Romano” in the dish.
- Oil for Frying: A neutral-flavored oil with a high smoke point is key for achieving that perfect golden-brown crispness. I typically use vegetable oil for frying the chicken, but canola oil or even a light olive oil can also be suitable. Ensure you have enough to cover about a third of the chicken’s thickness in your skillet.
- Marinara Sauce: To complement the savory chicken, a good quality marinara sauce is essential. You can opt for your favorite store-bought brand for convenience, or if time allows, prepare a homemade marinara from scratch for an even fresher taste. Whichever you choose, ensure it’s rich and well-seasoned.
- Spaghetti: The traditional choice for serving this dish, spaghetti, perfectly twirls with the marinara sauce, providing a comforting and satisfying base. However, feel free to experiment with other pasta shapes like linguine, fettuccine, or even penne, depending on your preference.
- Fresh Basil: A vibrant garnish of fresh basil leaves adds a burst of aromatic freshness and a beautiful pop of color to the finished dish. For an alternative, fresh parsley also makes an excellent and visually appealing garnish.
Expert Tips & Delicious Variation Ideas for Crusted Chicken Romano
- Pound the Chicken for Perfection: This step is non-negotiable for tender, evenly cooked chicken. Pounding the chicken cutlets to an even ¼-inch thickness ensures that they cook uniformly and remain incredibly juicy throughout the frying process. Use a meat mallet or the flat side of a heavy pan, placing the chicken between two sheets of plastic wrap to keep things tidy.
- Press Firmly for a Superior Crust: When dredging the chicken in the breadcrumb and cheese mixture, don’t be shy – press down firmly! This crucial technique helps the coating adhere exceptionally well to the chicken, creating a robust, crispy crust that won’t fall off during cooking. The extra pressure ensures every bite delivers maximum crunch and flavor.
- Avoid Crowding the Pan: For truly crispy chicken, give each cutlet its space. Frying too many pieces at once will drastically lower the oil’s temperature, leading to steamed (rather than fried) chicken and a soggy crust. Cook in batches, leaving plenty of room between the chicken pieces, to ensure optimal crispiness and a beautiful golden-brown finish.
- Make it Gluten-Free: Adapting this recipe for gluten-free diets is incredibly simple. Just substitute traditional Panko breadcrumbs with your favorite gluten-free breadcrumbs and use gluten-free pasta. The flavor and texture will remain fantastic, making it an inclusive dish for everyone to enjoy.
- Lighten Up with an Air Fryer: If you’re looking to reduce the amount of oil used, the air fryer is your best friend. Place the breaded cutlets in a single layer in your air fryer basket, set to 400˚F (200˚C), and cook for approximately 7-9 minutes. Flip the chicken halfway through to ensure even browning and crispiness. This method yields a wonderfully crunchy crust with less fat.
- Skip the Pasta, Embrace Other Sides: While classic with spaghetti, Crusted Chicken Romano is delightful with alternative accompaniments. Serve it alongside a generous pile of classic creamy mashed potatoes for a comforting meal, or pair it with a light and fluffy rice pilaf. For a low-carb option, roasted asparagus or zucchini noodles make excellent choices.
- Spice It Up: For those who enjoy a little heat, consider adding a pinch of red pepper flakes to your marinara sauce while it simmers. You can also sprinkle a tiny amount into the breadcrumb mixture for a subtle kick in the crust.
- A Touch of Lemon: A squeeze of fresh lemon juice over the cooked chicken just before serving can brighten all the flavors, adding a wonderful zesty finish that cuts through the richness of the cheese and marinara.
- Herb Enhancements: While fresh basil is traditional, don’t hesitate to experiment with other fresh herbs. A mix of fresh parsley, oregano, or even a hint of thyme in the breadcrumb mixture or as a garnish can add different aromatic dimensions.
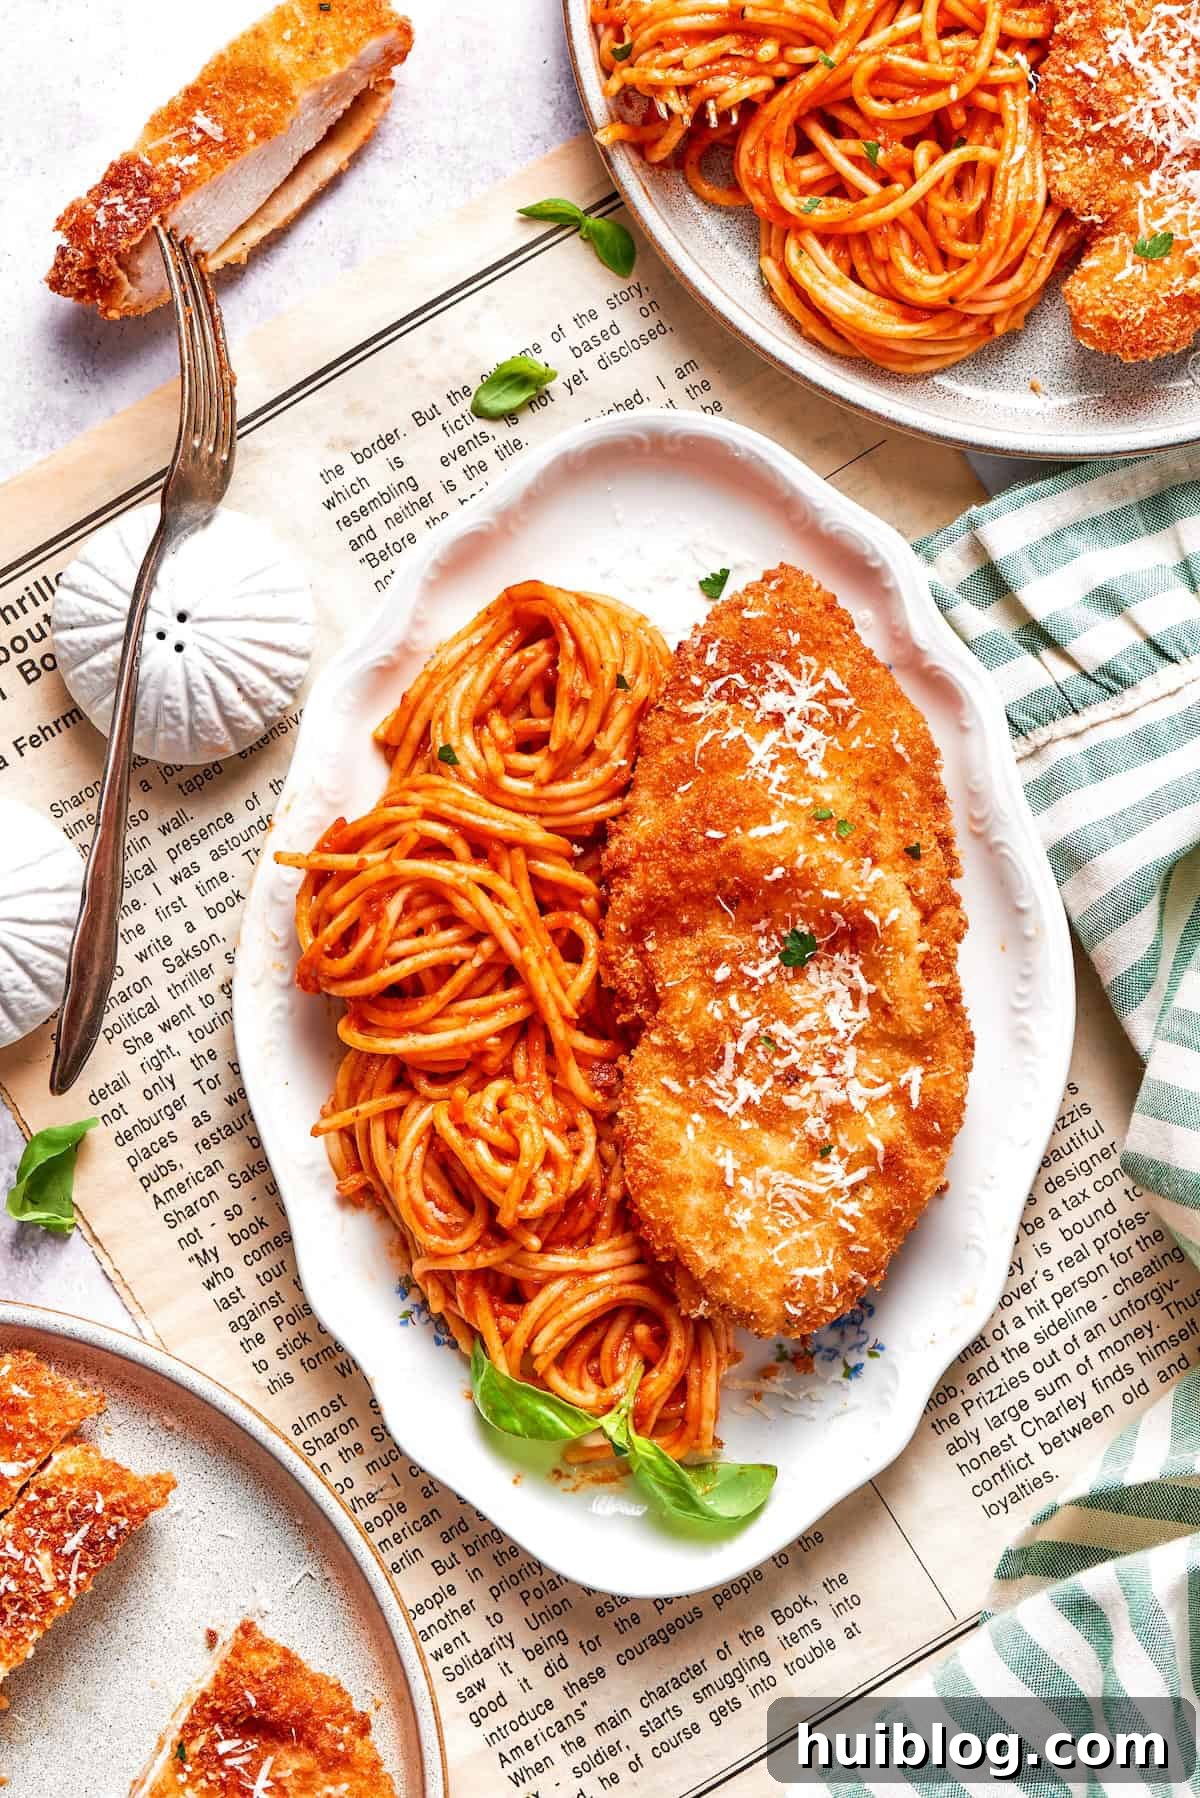
Elevate Your Meal: Delicious Serving Suggestions
Crusted Chicken Romano is a hearty and satisfying main course, and pairing it with the right accompaniments can transform your meal into a truly unforgettable dining experience. Here are some of my favorite suggestions to complement the rich flavors and textures of this dish:
- Fresh and Vibrant Vegetables: A hearty main dish always benefits from a lighter, fresh vegetable side. Consider a simple yet elegant option like grilled vegetables with a zesty lemon dressing, which offers a lovely char and bright flavor. Alternatively, crisp sautéed green beans provide a tender-crisp texture, or opt for roasted sugar snap peas for a delightful crunch and natural sweetness.
- Crisp Garden Salad: A refreshing salad is always a welcome addition to balance the richness of the chicken and pasta. Prepare a simple mix of baby greens, thinly sliced cucumber, and halved cherry tomatoes. Toss them in a light, homemade lemony vinaigrette for a bright and cleansing contrast.
- Garlic Bread or Knots: No Italian-inspired meal is complete without something to sop up every last drop of that delicious marinara sauce. A batch of easy garlic knots or slices of warm, crusty garlic bread are perfect for this, adding another layer of comforting flavor and texture.
- Arugula Salad with Shaved Parmesan: For a more sophisticated side, a simple arugula salad dressed with a drizzle of good quality olive oil, a squeeze of lemon, and generous shavings of fresh Parmesan cheese offers a peppery bite that beautifully complements the chicken.
- Roasted Asparagus with Balsamic Glaze: Roast fresh asparagus spears until tender-crisp, then drizzle with a balsamic glaze for a sweet and tangy counterpoint that pairs wonderfully with the savory chicken.
- Wine Pairing: To truly enhance the dining experience, consider pairing your Crusted Chicken Romano with a medium-bodied red wine like a Chianti, Sangiovese, or a light-bodied Pinot Noir. If you prefer white wine, a crisp Sauvignon Blanc or an unoaked Chardonnay would also be lovely choices.
Storing & Reheating Crusted Chicken Romano for Best Results
Ensuring your delicious leftovers are stored and reheated properly is key to enjoying them again while maintaining their fantastic flavor and texture. Here’s how to do it:
- Fridge Storage: To prevent the chicken from becoming soggy and the pasta from absorbing too much sauce, it’s best to store them separately. Once cooled completely to room temperature, place any leftover crusted chicken in one airtight container and the pasta with sauce in another. Refrigerate both for up to 3 days. Proper cooling is crucial to prevent condensation, which can lead to sogginess.
- Reheating for Crispy Chicken: The secret to reviving crispy chicken is to avoid the microwave for the cutlets. For the best results, place the cooled chicken cutlets on a baking sheet. Reheat them in a preheated 300°F (150°C) oven or a toaster oven until they are heated through, usually about 10-15 minutes, and the crust returns to its desired crispiness. This gentle, indirect heat helps to dry out the crust while warming the interior.
- Reheating Pasta & Sauce: The pasta with marinara can be reheated in a covered microwave-safe bowl. Heat in 1-minute increments, stirring thoroughly after each minute to ensure even heating and prevent hot spots. If the sauce seems a bit dry, you can add a tablespoon or two of water or chicken broth to loosen it up.
- Assembling the Dish: Always assemble the dish just before serving your reheated components. This ensures the chicken remains crispy and the pasta is perfectly warm, delivering a fresh and satisfying meal all over again.
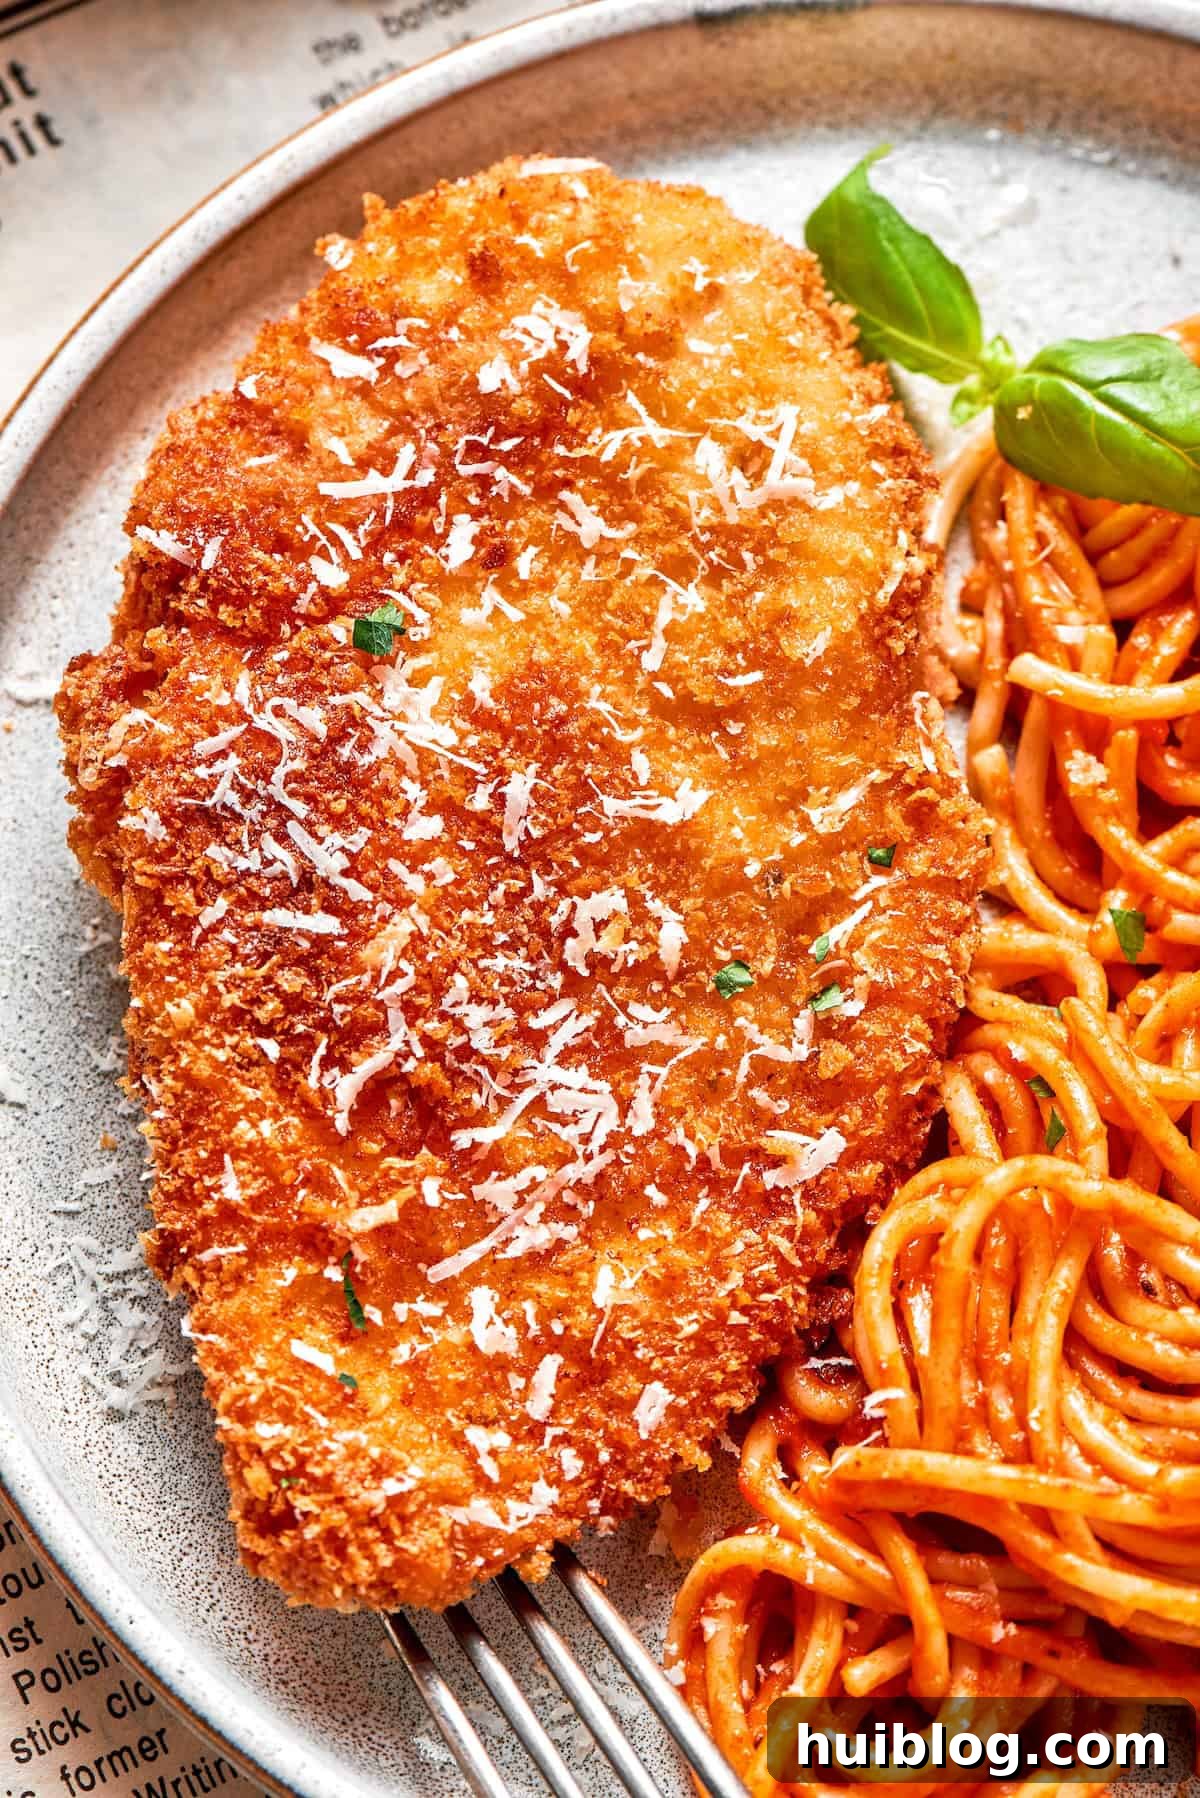
Frequently Asked Questions About Crusted Chicken Romano
- What exactly is Crusted Chicken Romano? Crusted Chicken Romano is a popular Italian-American dish featuring boneless chicken cutlets that are breaded in a mixture typically containing Romano cheese and breadcrumbs, then pan-fried until golden and crispy. It’s traditionally served with pasta and marinara sauce, known for its rich flavor and satisfying crunch.
- Can I use chicken thighs instead of breasts? Yes, you can! Boneless, skinless chicken thighs can be a great alternative for a richer flavor. They might need a bit more pounding to achieve an even thickness and slightly longer cooking time due to their higher fat content, but they will still be delicious.
- What if I don’t have Romano cheese? While Romano cheese is a key ingredient for its distinctive sharp and salty flavor, you can substitute it with more Parmesan cheese or a blend of Parmesan and Pecorino Romano (if available), which has a similar tanginess. The flavor profile will be slightly different but still delicious.
- Can I prepare the chicken ahead of time? You can prep the chicken cutlets (pound and season them) and even set up your dredging stations in advance. However, for the crispiest crust, it’s best to bread the chicken just before frying. If you must bread it ahead, place the breaded cutlets on a wire rack over a baking sheet in the refrigerator for no more than a few hours to prevent the breading from getting soggy.
- How do I ensure my chicken is extra crispy? Several factors contribute to ultimate crispiness:
- Pound the chicken to an even thickness.
- Press the breadcrumb mixture firmly onto the chicken.
- Ensure your oil is hot enough (it should shimmer, and a test breadcrumb piece should sizzle).
- Do not overcrowd the pan; cook in batches.
- Allow excess oil to drain on a paper-towel-lined plate after frying.
- What kind of pasta works best with this dish? Spaghetti is the traditional choice as its long strands twirl beautifully with the marinara. However, linguine, fettuccine, or even shorter pasta shapes like penne or rigatoni can also work well, especially if you prefer to mix the chicken directly into the pasta.
More Delicious Chicken Dinner Ideas to Explore
If you’ve enjoyed this Crusted Chicken Romano and are looking for more inspiring ways to prepare chicken, here are some other fantastic recipes to add to your repertoire. Each one offers unique flavors and preparation methods, perfect for diversifying your weeknight meals or special occasions:
- Air Fryer Chicken Parmesan: A lighter take on a classic, offering crispy chicken Parmesan with less oil.
- Baked Caesar Chicken: Simple, flavorful chicken baked with the savory tang of Caesar dressing.
- Chicken Parmesan Casserole: All the flavors of Chicken Parmesan in an easy, comforting casserole format.
- Marry Me Chicken Pasta: A creamy, sun-dried tomato and Parmesan sauce makes this dish utterly irresistible.
Crusted Chicken Romano: The Ultimate Copycat Recipe
This Cheesecake Factory copycat Crusted Chicken Romano recipe features crispy, breaded chicken cutlets served on tender pasta with a rich marinara sauce, perfect for a memorable meal at home.
Prep Time: 15 minutes
Cook Time: 25 minutes
Total Time: 40 minutes
Yields: 6 servings
Author: Katerina | Easy Weeknight Recipes
Ingredients
For the Crusted Chicken:
- 3 chicken breasts, or 6 skinless chicken cutlets
- Kosher salt & freshly ground black pepper, to taste
- ½ cup all-purpose flour
- ½ teaspoon sea salt
- ⅓ teaspoon freshly ground black pepper
- 3 large eggs, whisked
- ½ cup Panko breadcrumbs
- ½ cup grated Romano cheese
- ⅓ cup grated Parmesan cheese
- ¼ cup vegetable oil for frying
For Serving:
- 16 ounces marinara sauce, your favorite brand or homemade
- 12 ounces spaghetti
- Additional grated Romano cheese, for garnish
- Fresh basil leaves, for garnish
Instructions
Prepare the Chicken:
- If using whole chicken breasts, carefully slice each breast in half horizontally to create two thinner cutlets. You should aim for six cutlets in total, each about ¼ inch thick. This ensures even cooking.
- Lightly sprinkle both sides of each chicken cutlet with kosher salt and freshly ground black pepper according to your taste preferences. Set the seasoned chicken aside.
Set Up the Breading Stations:
- Prepare the Flour Mixture: In your first shallow dish, combine the ½ cup of all-purpose flour with ½ teaspoon of sea salt and ⅓ teaspoon of freshly ground black pepper. Mix these dry ingredients thoroughly to ensure the seasoning is evenly distributed throughout the flour.
- Prepare the Egg Wash: In the second shallow dish, crack the three large eggs. Use a fork or a whisk to beat them thoroughly until the yolks and whites are fully combined and the mixture is uniform and slightly frothy.
- Prepare the Breadcrumb Mixture: In the third shallow dish, combine the ½ cup of Panko breadcrumbs, ½ cup of grated Romano cheese, and ⅓ cup of grated Parmesan cheese. Stir all ingredients together until they are well combined.
Bread the Chicken:
- Take one chicken cutlet and place it into the flour mixture, pressing lightly to ensure both sides are lightly and evenly coated. Gently shake off any excess flour.
- Next, submerge the floured cutlet into the beaten eggs, ensuring it is fully coated. Lift the cutlet out and allow any excess egg to drip back into the dish.
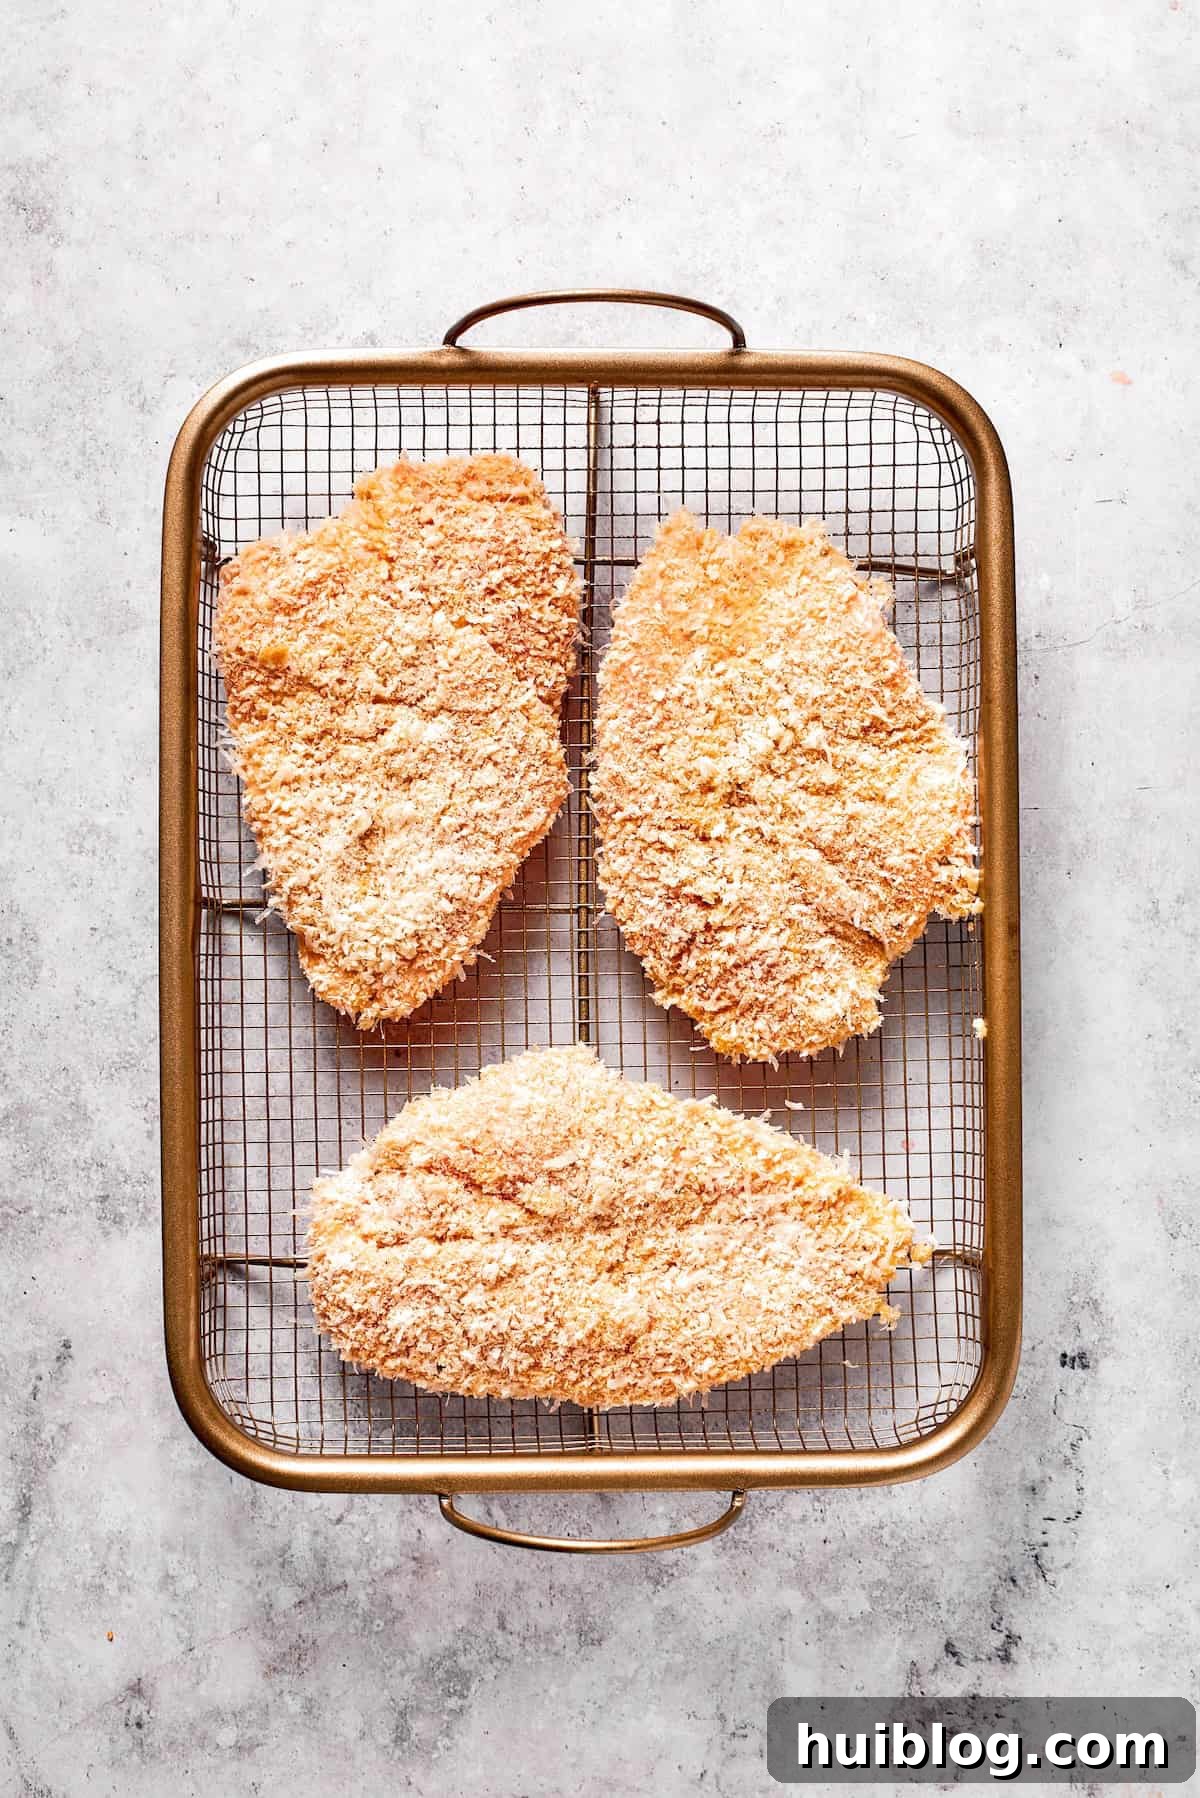
- Immediately place the egg-coated cutlet into the breadcrumb and cheese mixture. Press down gently but firmly on both sides, ensuring the mixture adheres well and the cutlet is fully covered. Transfer the breaded cutlet to a clean plate. Repeat this breading process with the remaining cutlets, arranging them in a single layer to prevent sticking.
Cook the Chicken:
- In a large, heavy-bottomed skillet, pour in the ¼ cup of vegetable oil. Place the skillet over medium heat and allow the oil to heat until it shimmers and appears slightly wavy. To test if the oil is ready, drop a tiny piece of the breadcrumb mixture into the skillet; if it sizzles vigorously upon contact, the oil is at the correct temperature.
- Carefully place two to three breaded chicken cutlets into the hot skillet. It is crucial to avoid overcrowding the pan, as this can drastically lower the oil’s temperature and result in steamed, rather than crispy, chicken.
- Fry each cutlet for approximately 3 to 4 minutes on the first side, until it achieves a beautiful golden-brown color and a crispy texture. Using tongs, carefully flip each cutlet and cook for an additional 3 to 4 minutes on the other side, ensuring the chicken is thoroughly cooked through and the crust is evenly golden. The internal temperature of the chicken should reach 165°F (74°C).
- Once cooked, transfer the chicken cutlets to a plate lined with paper towels to absorb any excess oil. Continue frying the remaining cutlets in batches, adding a little more oil to the skillet if necessary and allowing it to heat properly before adding more chicken.
Prepare the Spaghetti and Marinara Sauce:
- Meanwhile, bring a large pot of water to a rolling boil. Add a generous pinch of salt to the boiling water. Add the 12 ounces of spaghetti and cook according to the package instructions until al dente. Once cooked, drain the spaghetti thoroughly in a colander.
- While the spaghetti is cooking, pour the 16 ounces of marinara sauce into a separate saucepan. Place the saucepan over medium heat and warm the sauce, stirring occasionally, until it is heated through and gently simmering.
- Return the drained spaghetti to its original pot or transfer it to a large mixing bowl. Pour the warmed marinara sauce over the spaghetti. Using tongs or a large fork and spoon, toss the spaghetti until it is evenly coated with the rich sauce.
Assemble the Dish:
- Divide the sauced spaghetti among your serving plates, twirling it into neat mounds for an appealing presentation if desired.
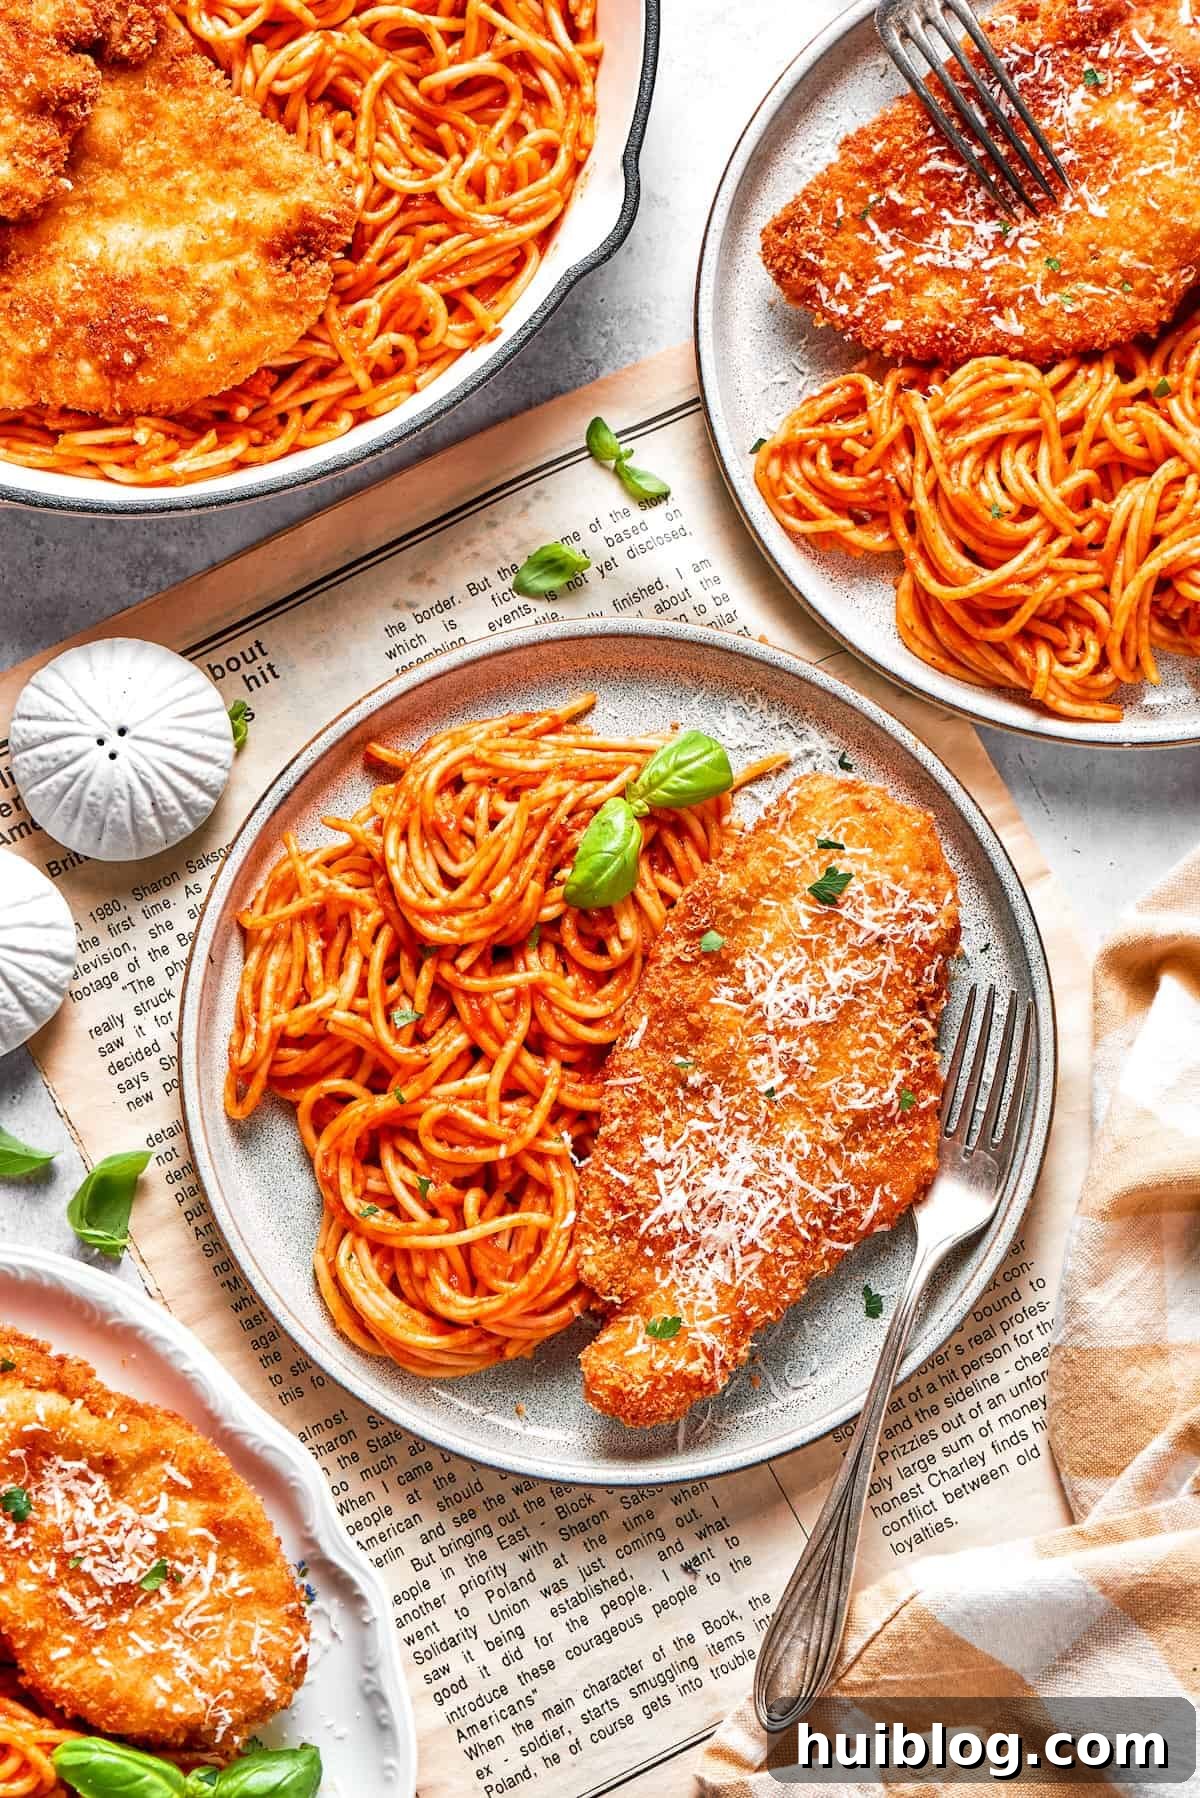
- Place one perfectly cooked, crispy chicken cutlet on top of each serving of spaghetti.
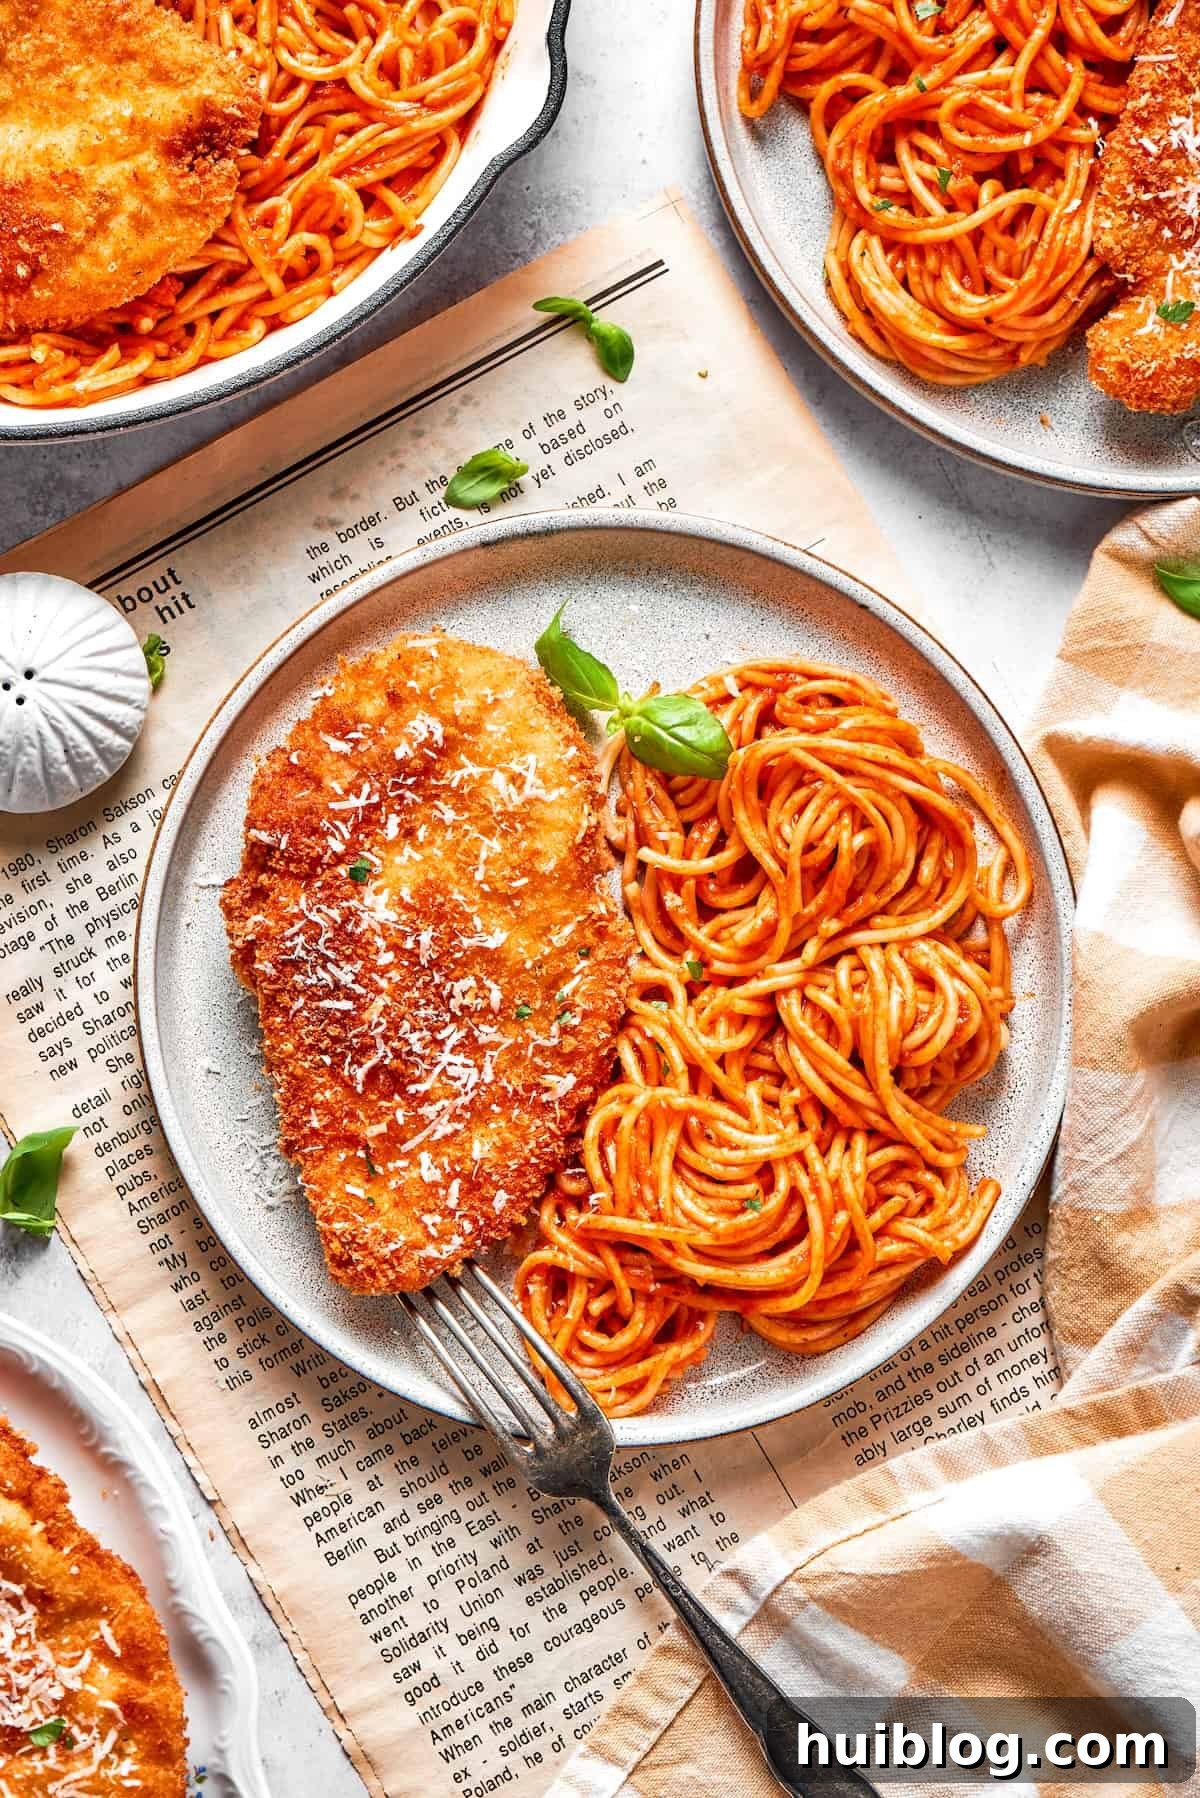
- For a final flourish, sprinkle additional grated Romano cheese over both the chicken and pasta. Garnish with fresh basil leaves for a burst of color and aromatic flavor, and serve immediately. Enjoy your homemade Crusted Chicken Romano!
Equipment
- Mixing Bowls
- Large Frying Pan
- Meat Mallet (optional, for pounding chicken)
- Tongs
- Large Pot (for pasta)
- Saucepan (for marinara)
Nutrition Information (Estimated)
Calories: 382kcal | Carbohydrates: 34g | Protein: 37g | Fat: 10g | Saturated Fat: 4g | Polyunsaturated Fat: 1g | Monounsaturated Fat: 3g | Trans Fat: 0.02g | Cholesterol: 168mg | Sodium: 949mg | Potassium: 738mg | Fiber: 3g | Sugar: 3g | Vitamin A: 563IU | Vitamin C: 7mg | Calcium: 182mg | Iron: 3mg
Nutritional information provided is an estimate and serves as a courtesy only. Values may vary based on specific ingredients, brands, and cooking methods used. For precise dietary information, please consult your preferred nutritional calculator.
Step-by-Step Visual Guide to Crusted Chicken Romano
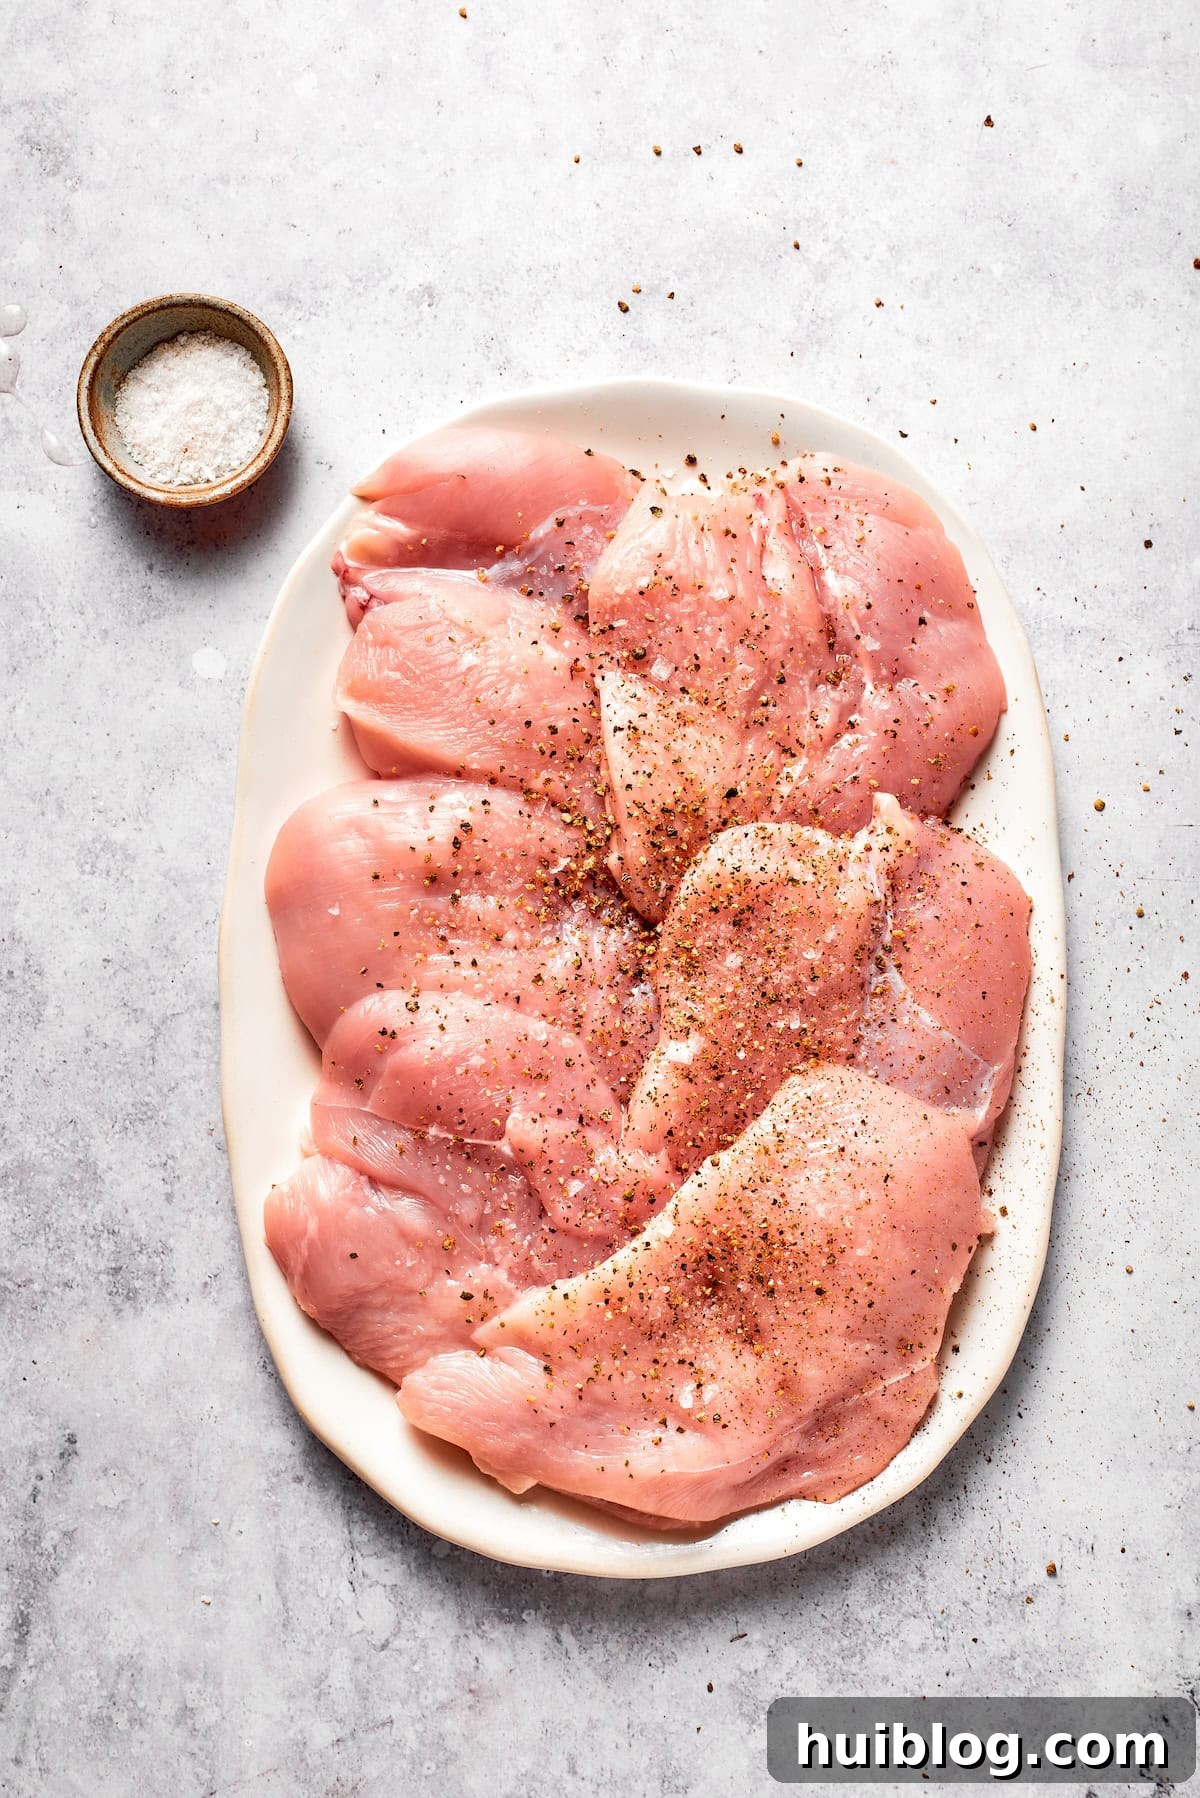
- Prep the Chicken: Begin by carefully pounding your chicken cutlets to an even ¼-inch thickness. This ensures they cook uniformly and remain juicy. Once pounded, season both sides generously with kosher salt and freshly ground black pepper.
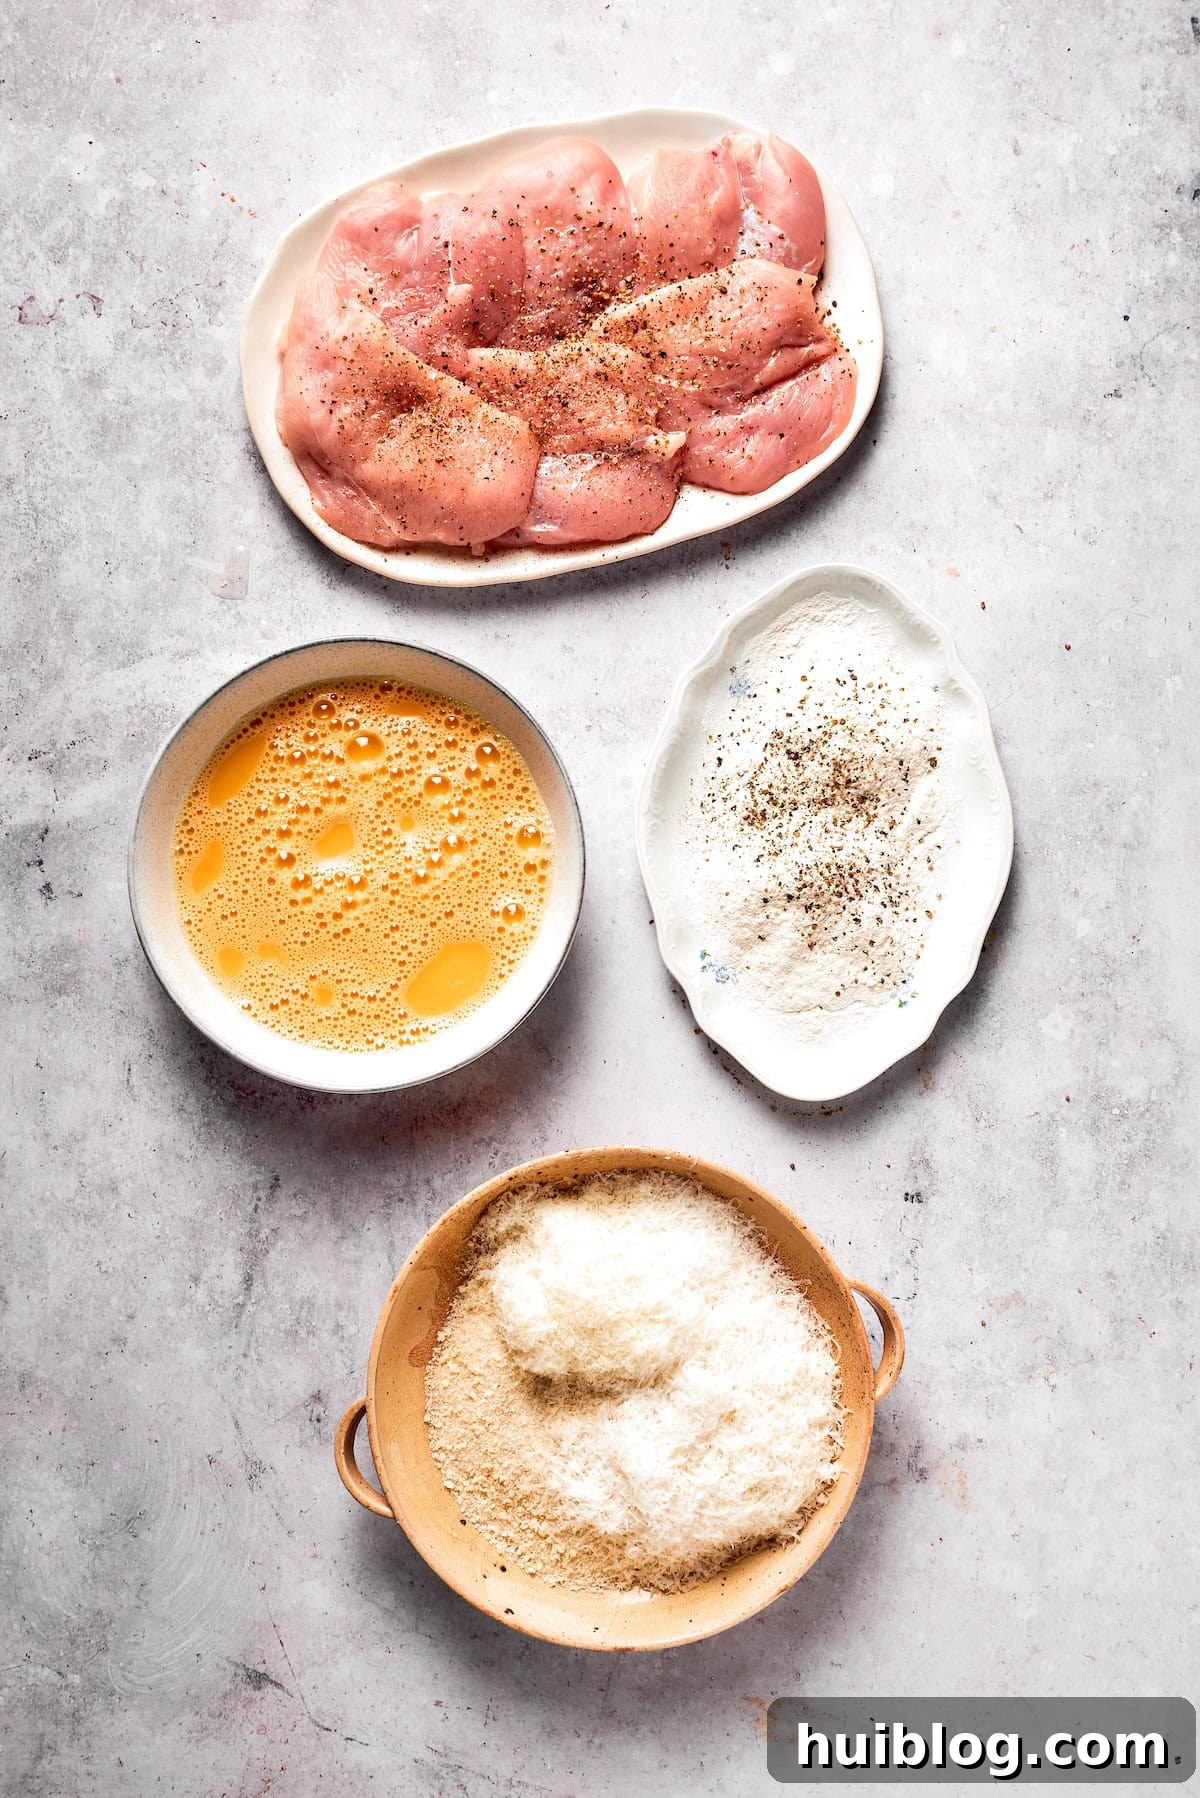
- Make Dredging Stations: Set up your “assembly line” for breading. In the first shallow dish, combine all-purpose flour with a bit more salt and pepper. The second dish will hold your whisked large eggs. In the third shallow dish, mix your Panko breadcrumbs with both grated Romano and Parmesan cheeses.
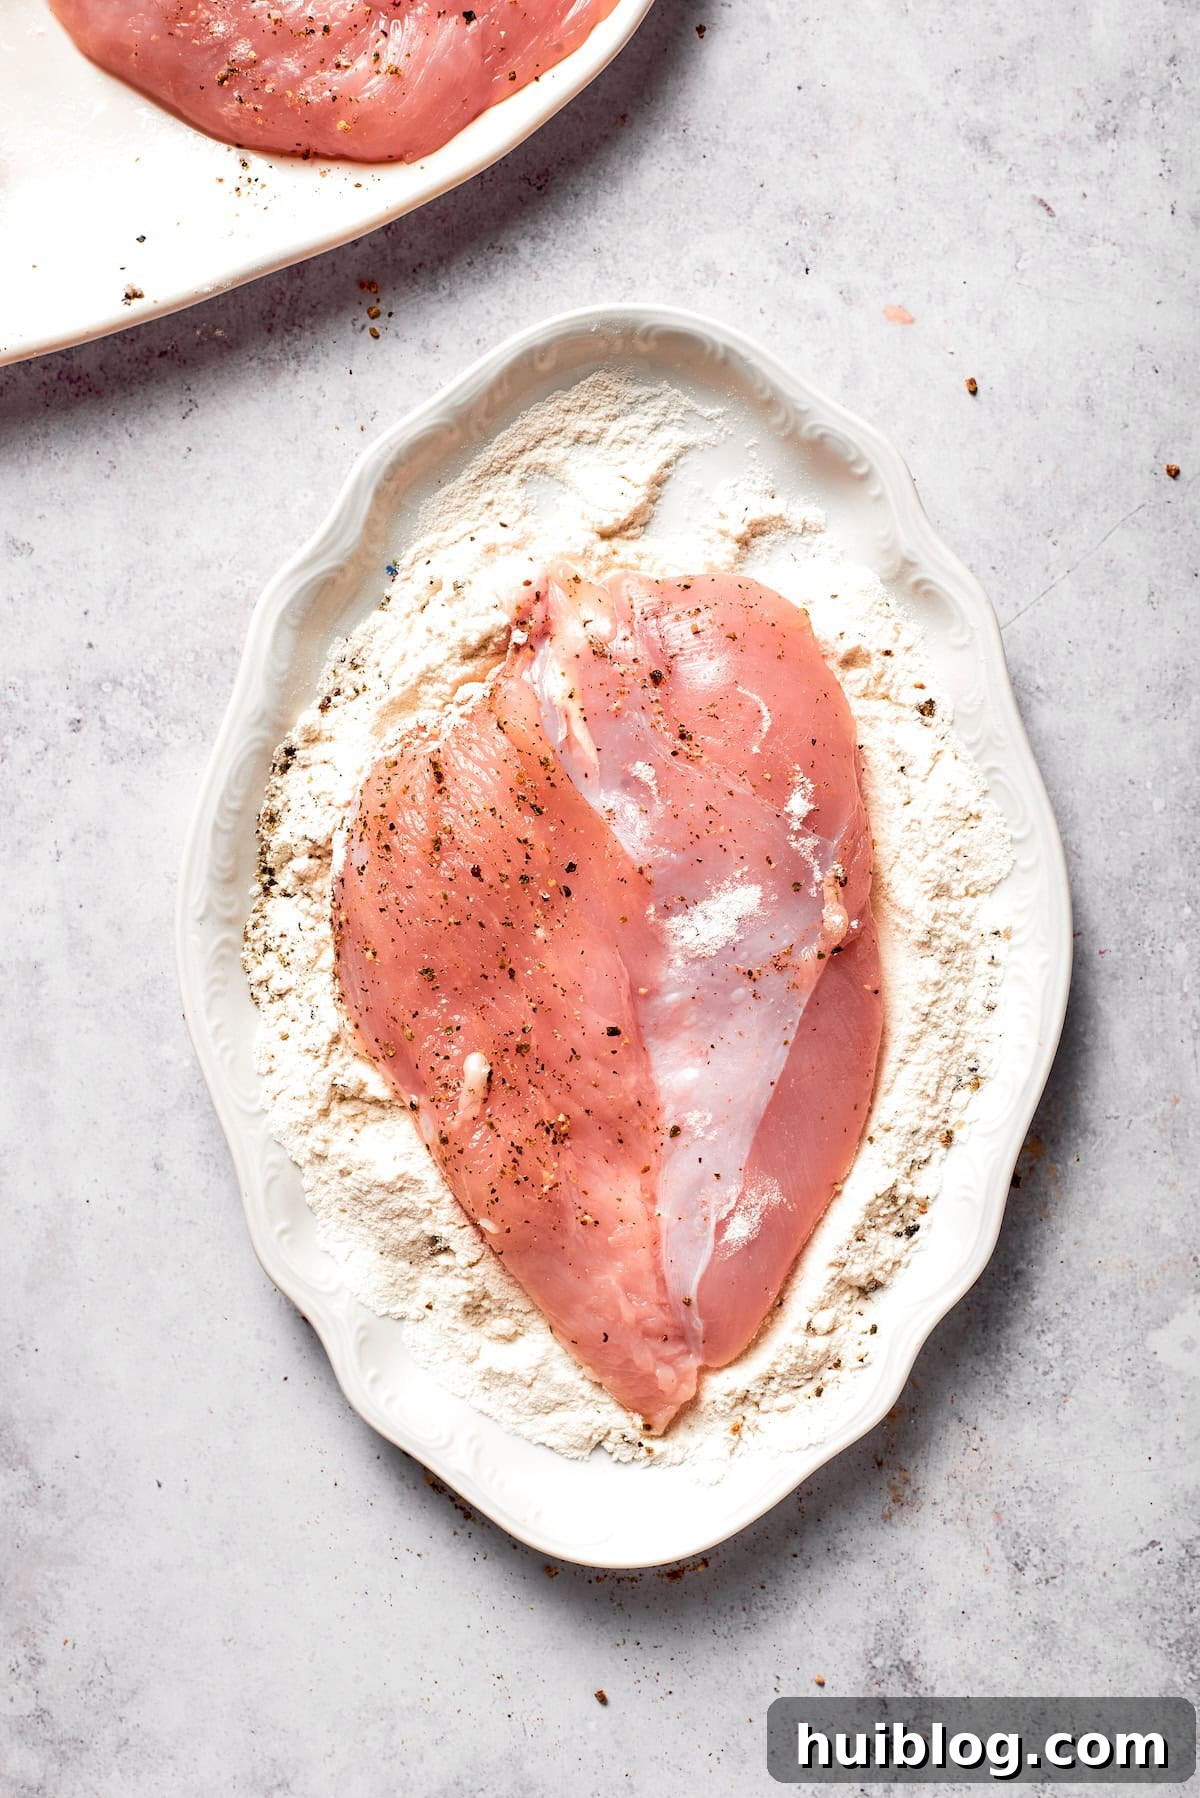
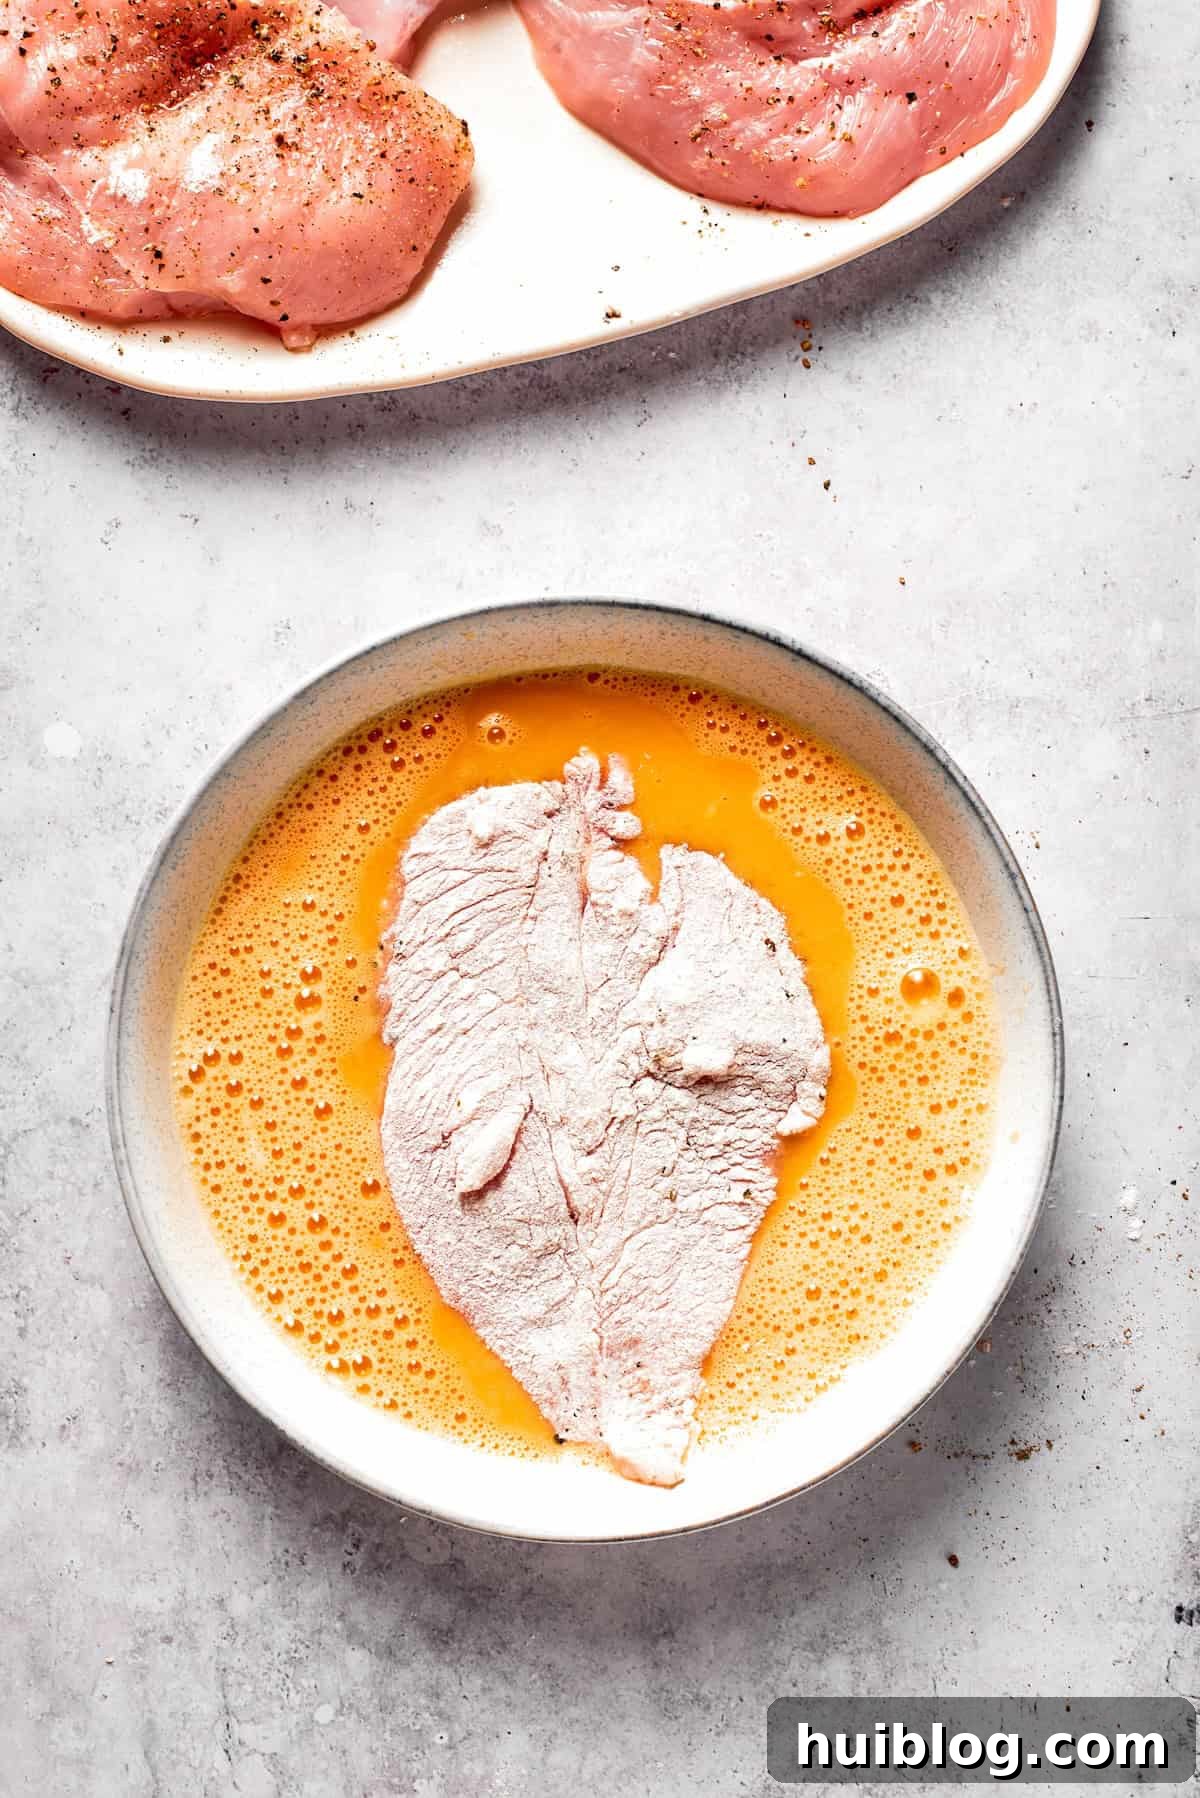
- Coat Chicken with Flour: Take one chicken cutlet and press it into the flour mixture, ensuring both sides are lightly and evenly coated. Gently shake off any excess flour.
- Dip in Egg Wash: Next, immerse the floured cutlet into the whisked eggs, making sure it’s fully coated. Lift it out, letting any excess egg drip back into the dish.
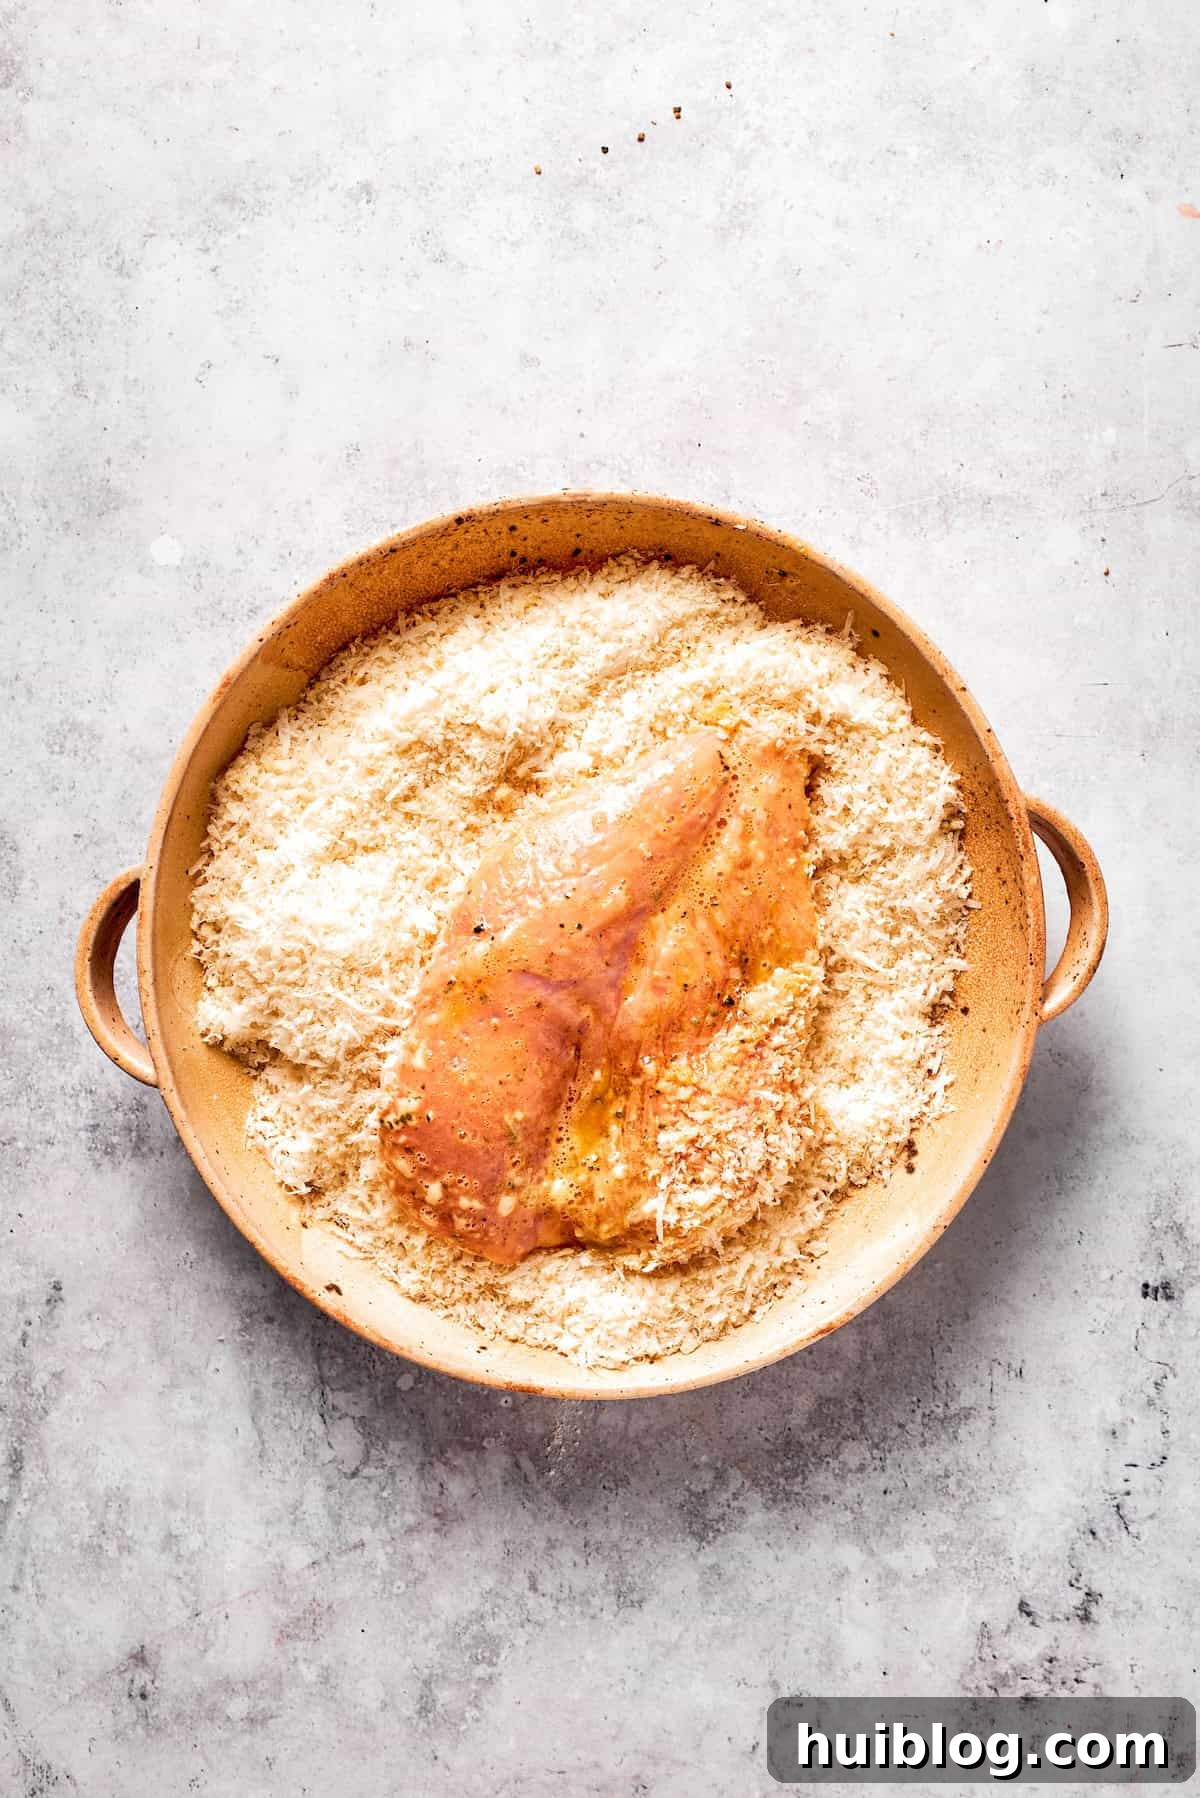
- Add to Breadcrumbs & Cheese: Place the egg-coated cutlet into the breadcrumb and cheese mixture. Press down gently but firmly, ensuring the mixture adheres well and the cutlet is fully covered on both sides for maximum crispiness.
- Finish Breading: Transfer the breaded cutlet to a clean plate. Repeat the entire breading process with the remaining chicken cutlets, arranging them in a single layer to prevent sticking.
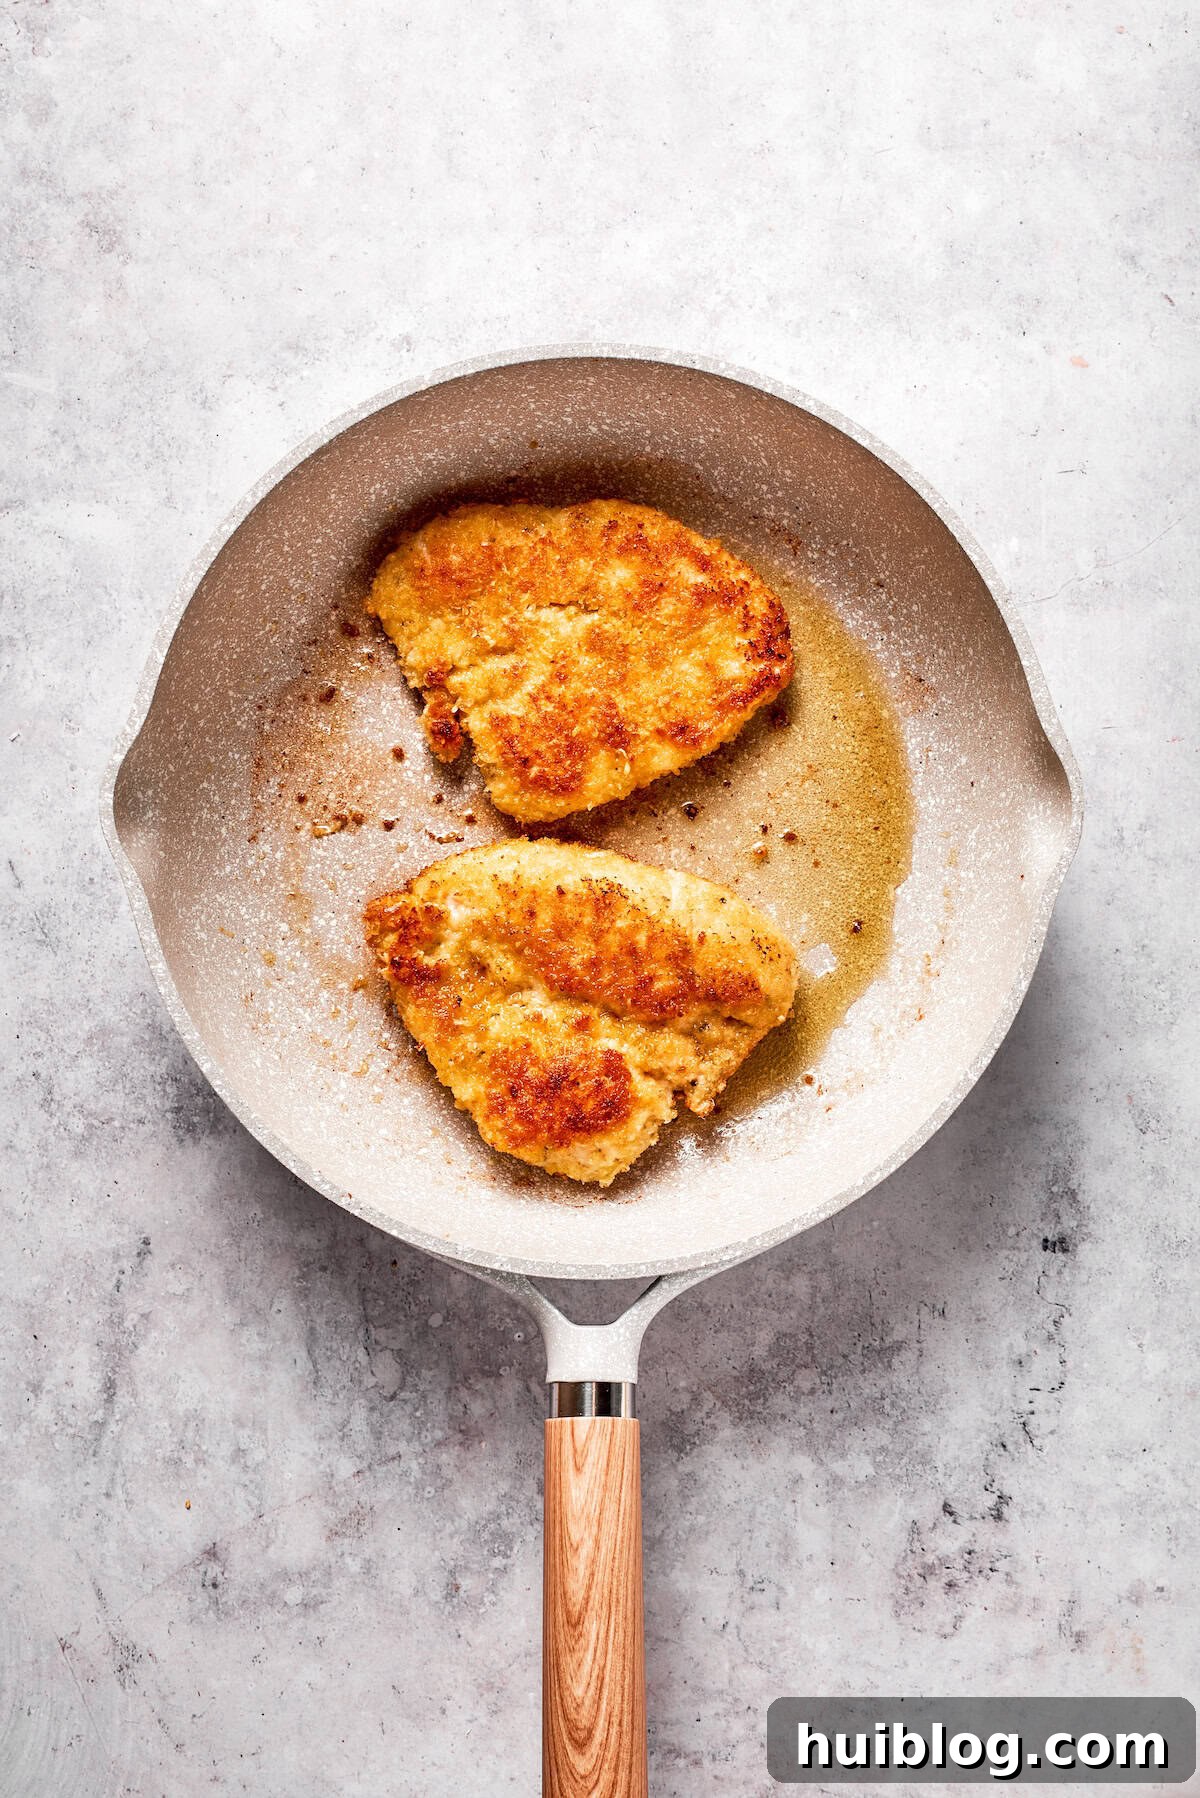
- Cook the Chicken: Heat ¼ cup of vegetable oil in a large skillet over medium heat until it shimmers. Carefully place 2-3 breaded chicken pieces into the hot oil, ensuring not to overcrowd the pan. Cook for 3-4 minutes per side until golden brown, crispy, and cooked through (internal temperature 165°F / 74°C). Transfer to a paper-towel-lined plate to drain excess oil.
- Make Spaghetti & Marinara: While the chicken cooks, prepare your spaghetti according to package directions until al dente. Simultaneously, warm your favorite marinara sauce in a saucepan until heated through. Once spaghetti is drained, return it to the pot and toss with the warmed marinara sauce until evenly coated.
- Assemble & Serve: Divide the sauced spaghetti among your serving plates, twirling it into neat mounds if desired. Place one crispy Crusted Chicken Romano cutlet on top of each serving of spaghetti. Garnish with additional grated Romano cheese and fresh basil leaves for a final flourish, then serve immediately and enjoy!