
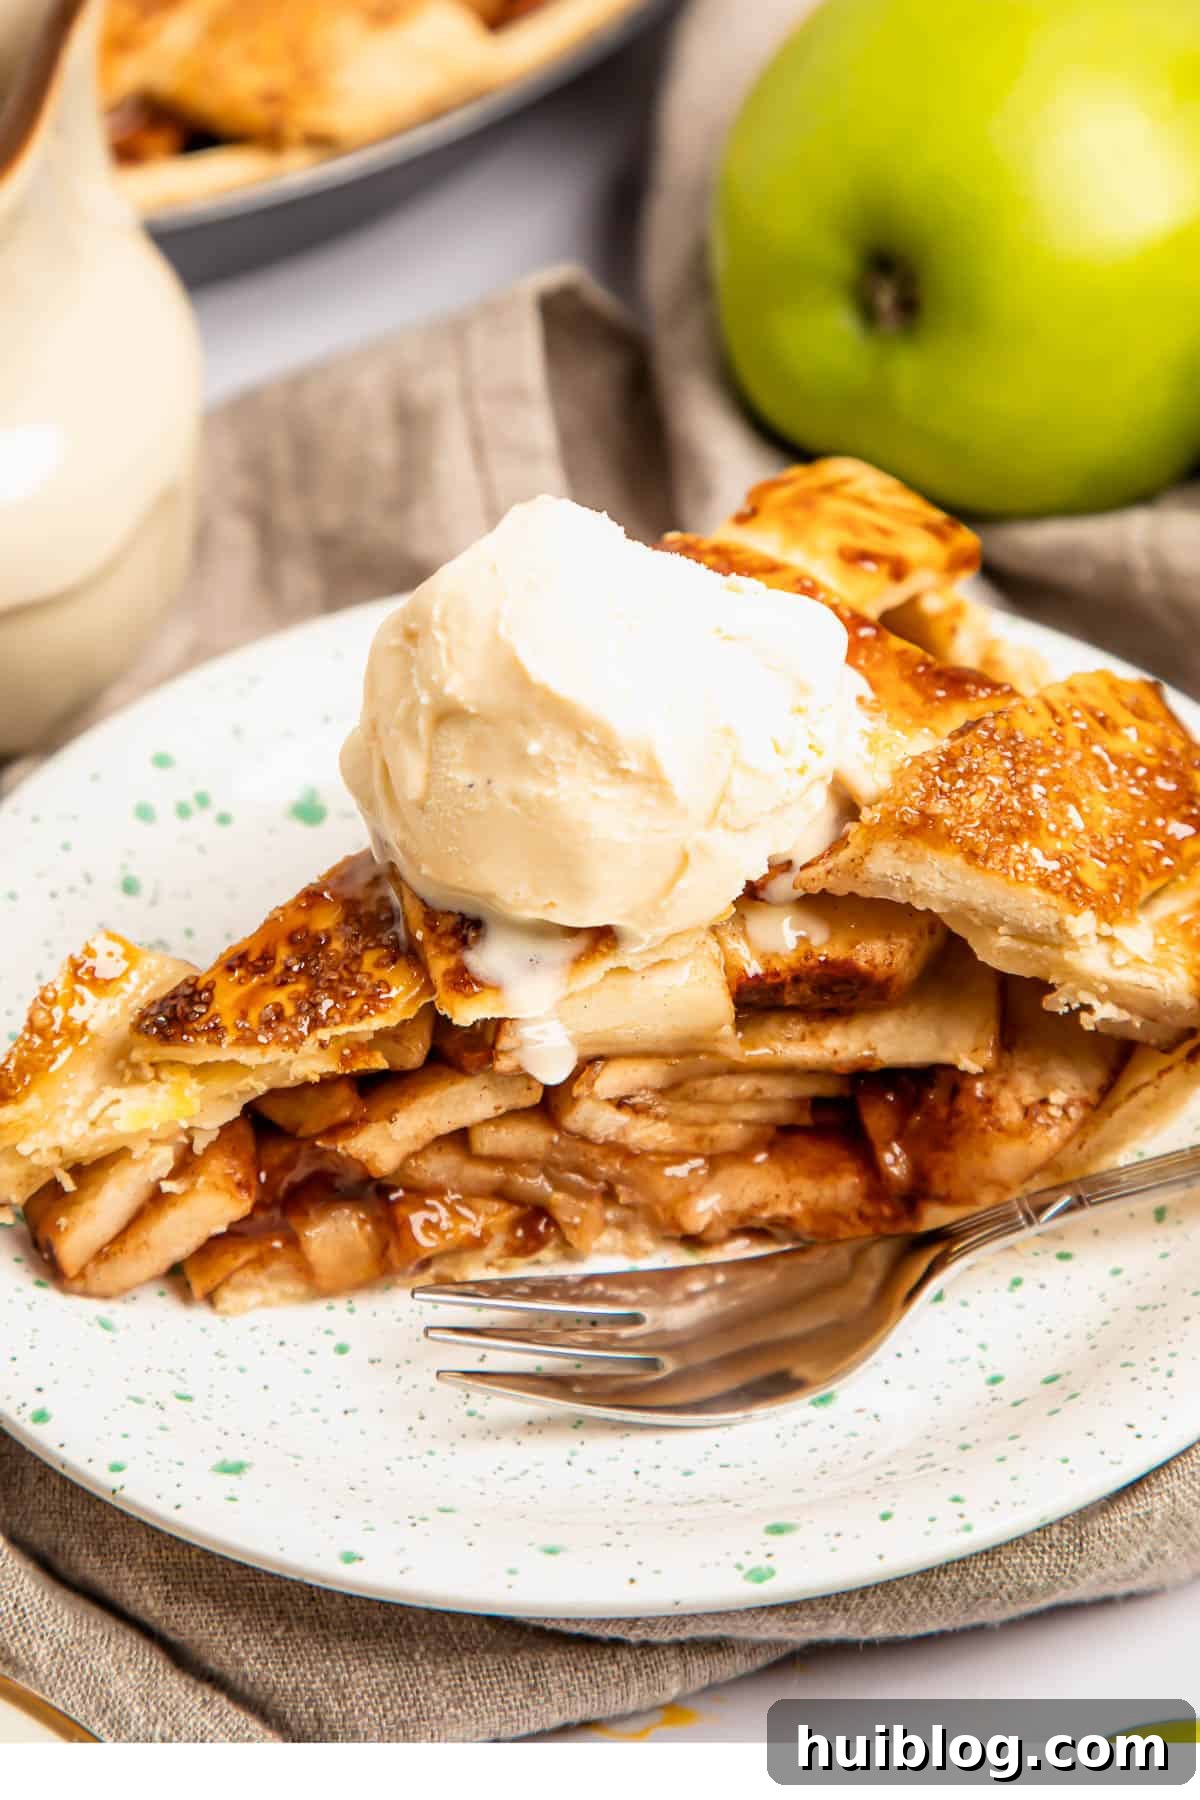
There’s nothing quite like the comforting aroma of a freshly baked homemade apple pie filling your kitchen. This classic dessert, a true American icon, evokes warmth, nostalgia, and pure culinary delight. Our easy-to-follow recipe guides you through crafting an unforgettable apple pie from scratch, featuring a buttery, flaky homemade pie crust, perfectly spiced fresh apple slices, and a hint of sweet brown sugar for that irresistible, homespun flavor you’ll adore.
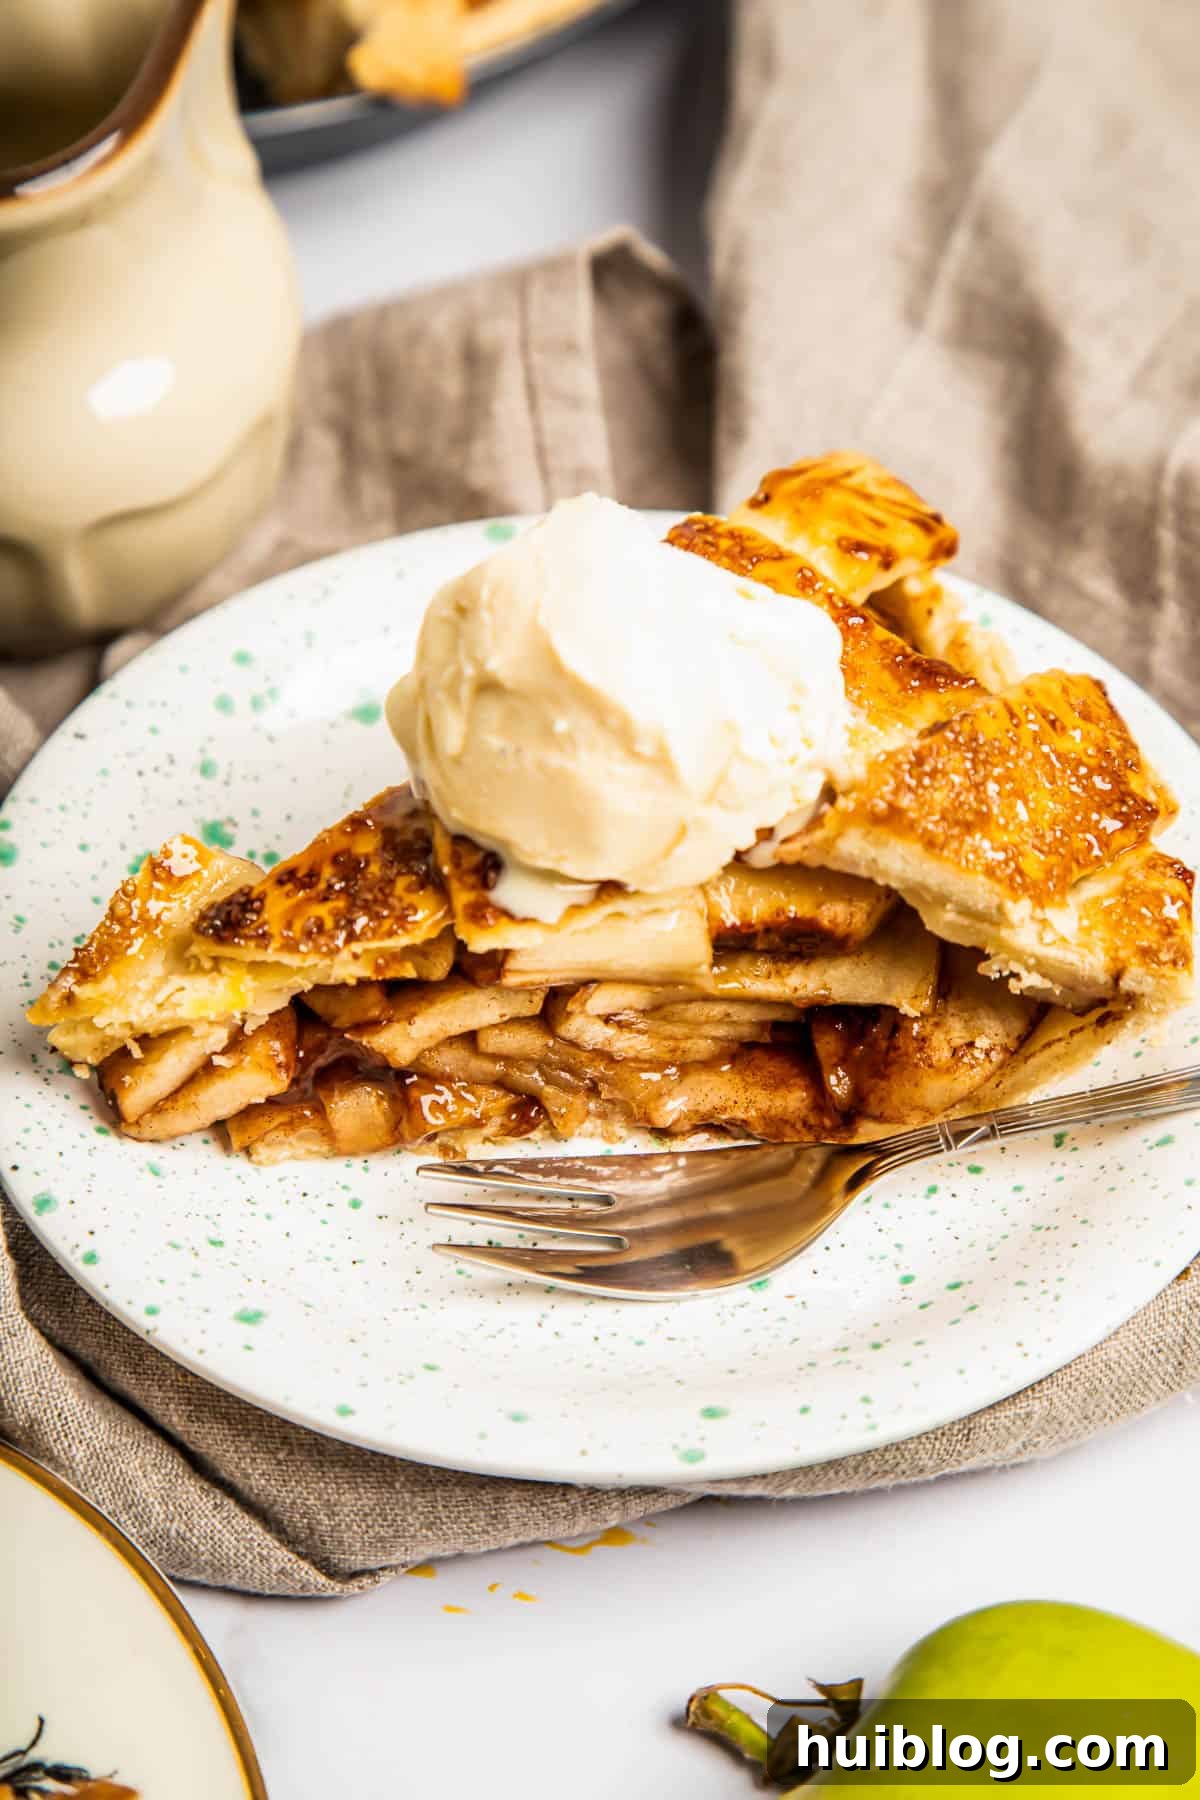
The Enduring Appeal of Classic Homemade Apple Pie
What can be said about apple pie that hasn’t already been sung from the rooftops? It’s more than just a dessert; it’s a symbol of comfort, tradition, and pure bliss. Imagine biting into a slice with tender, juicy apple slices that have baked down to a mellow, golden perfection, generously spiced with cinnamon and other warming flavors, all encased in a miraculously flaky pastry. It’s a culinary experience that truly captures the heart.
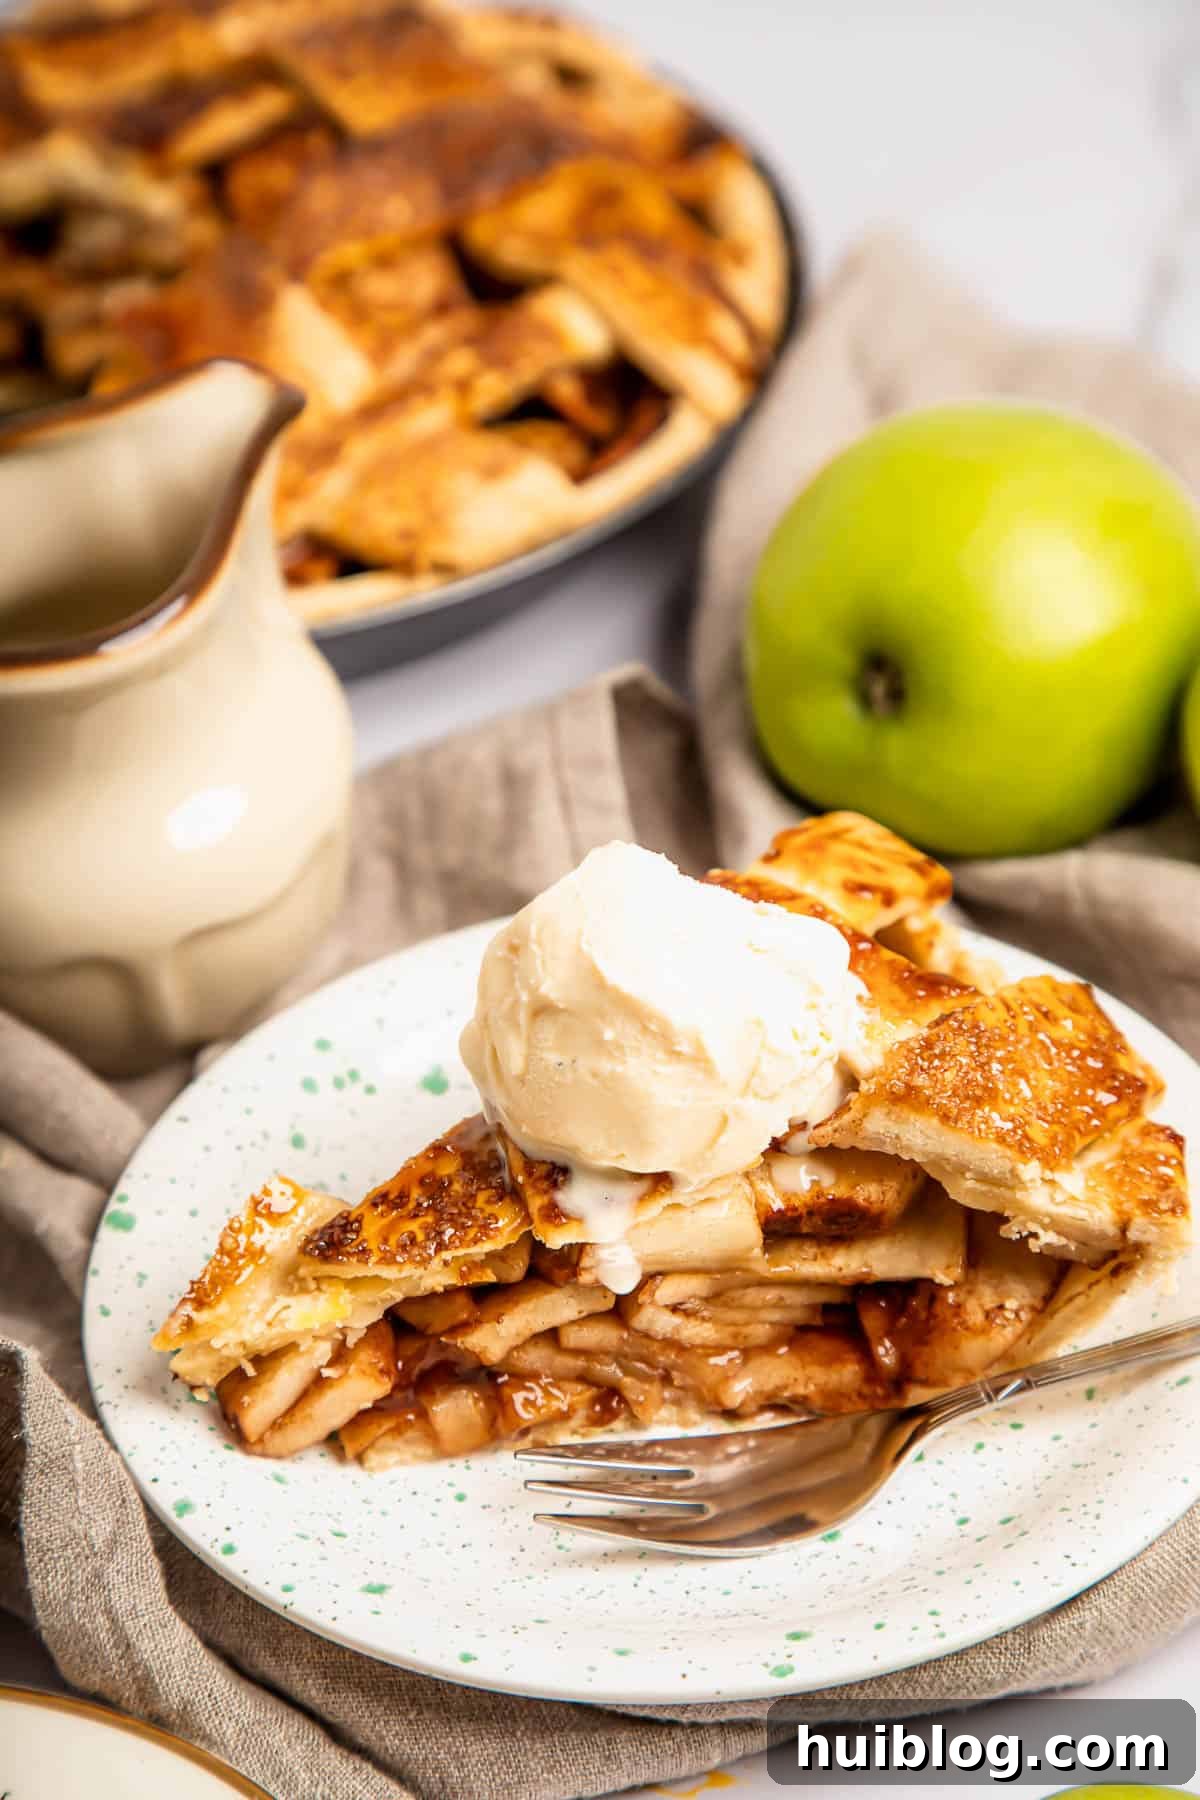
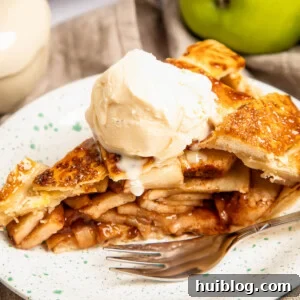
The allure of easy apple pie recipes is so profound that in many cultures, it transcends its role as a mere sweet treat. Some enjoy it for breakfast, others as a quick, satisfying snack, whether served cold or warm. The versatility extends to its accompaniments, ranging from a sharp wedge of cheddar cheese for a delightful savory contrast, to a creamy scoop of vanilla ice cream, or a dollop of fresh whipped cream.
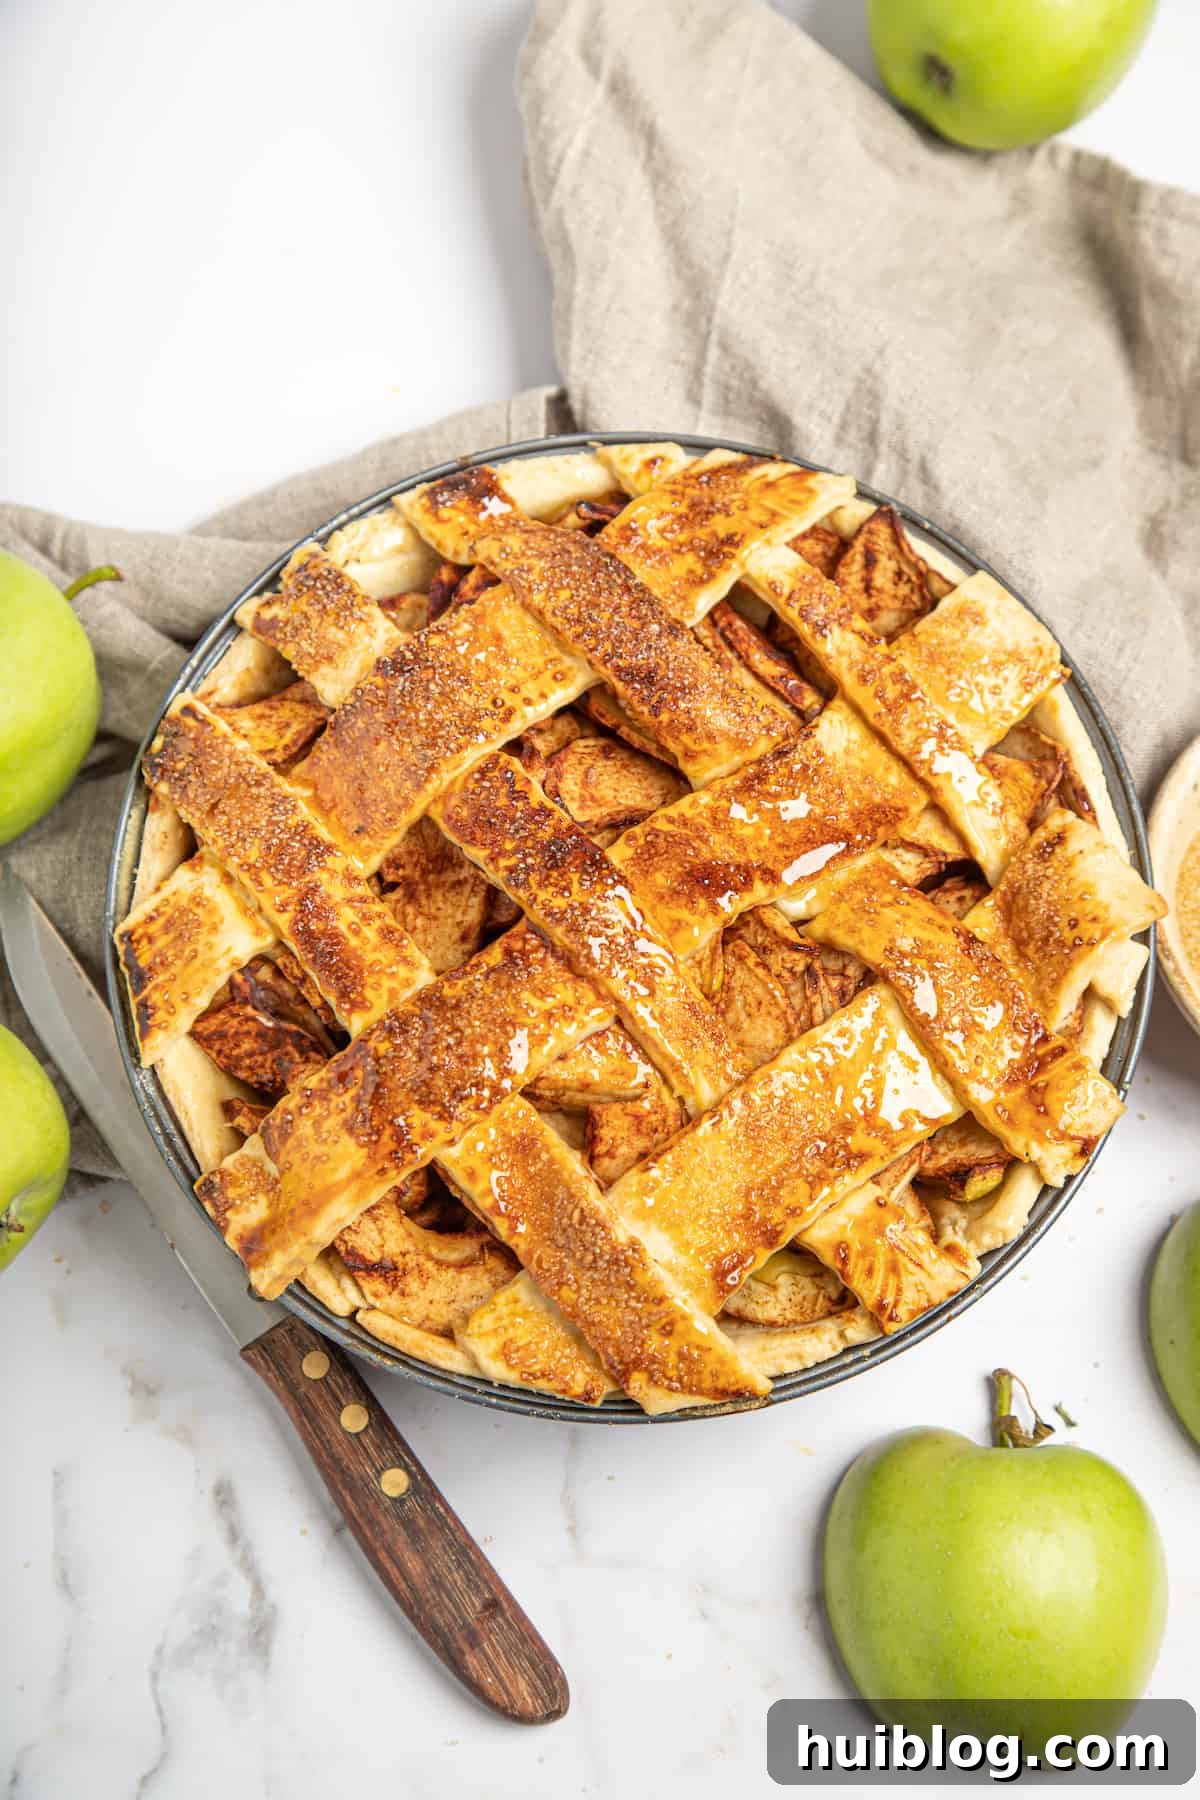
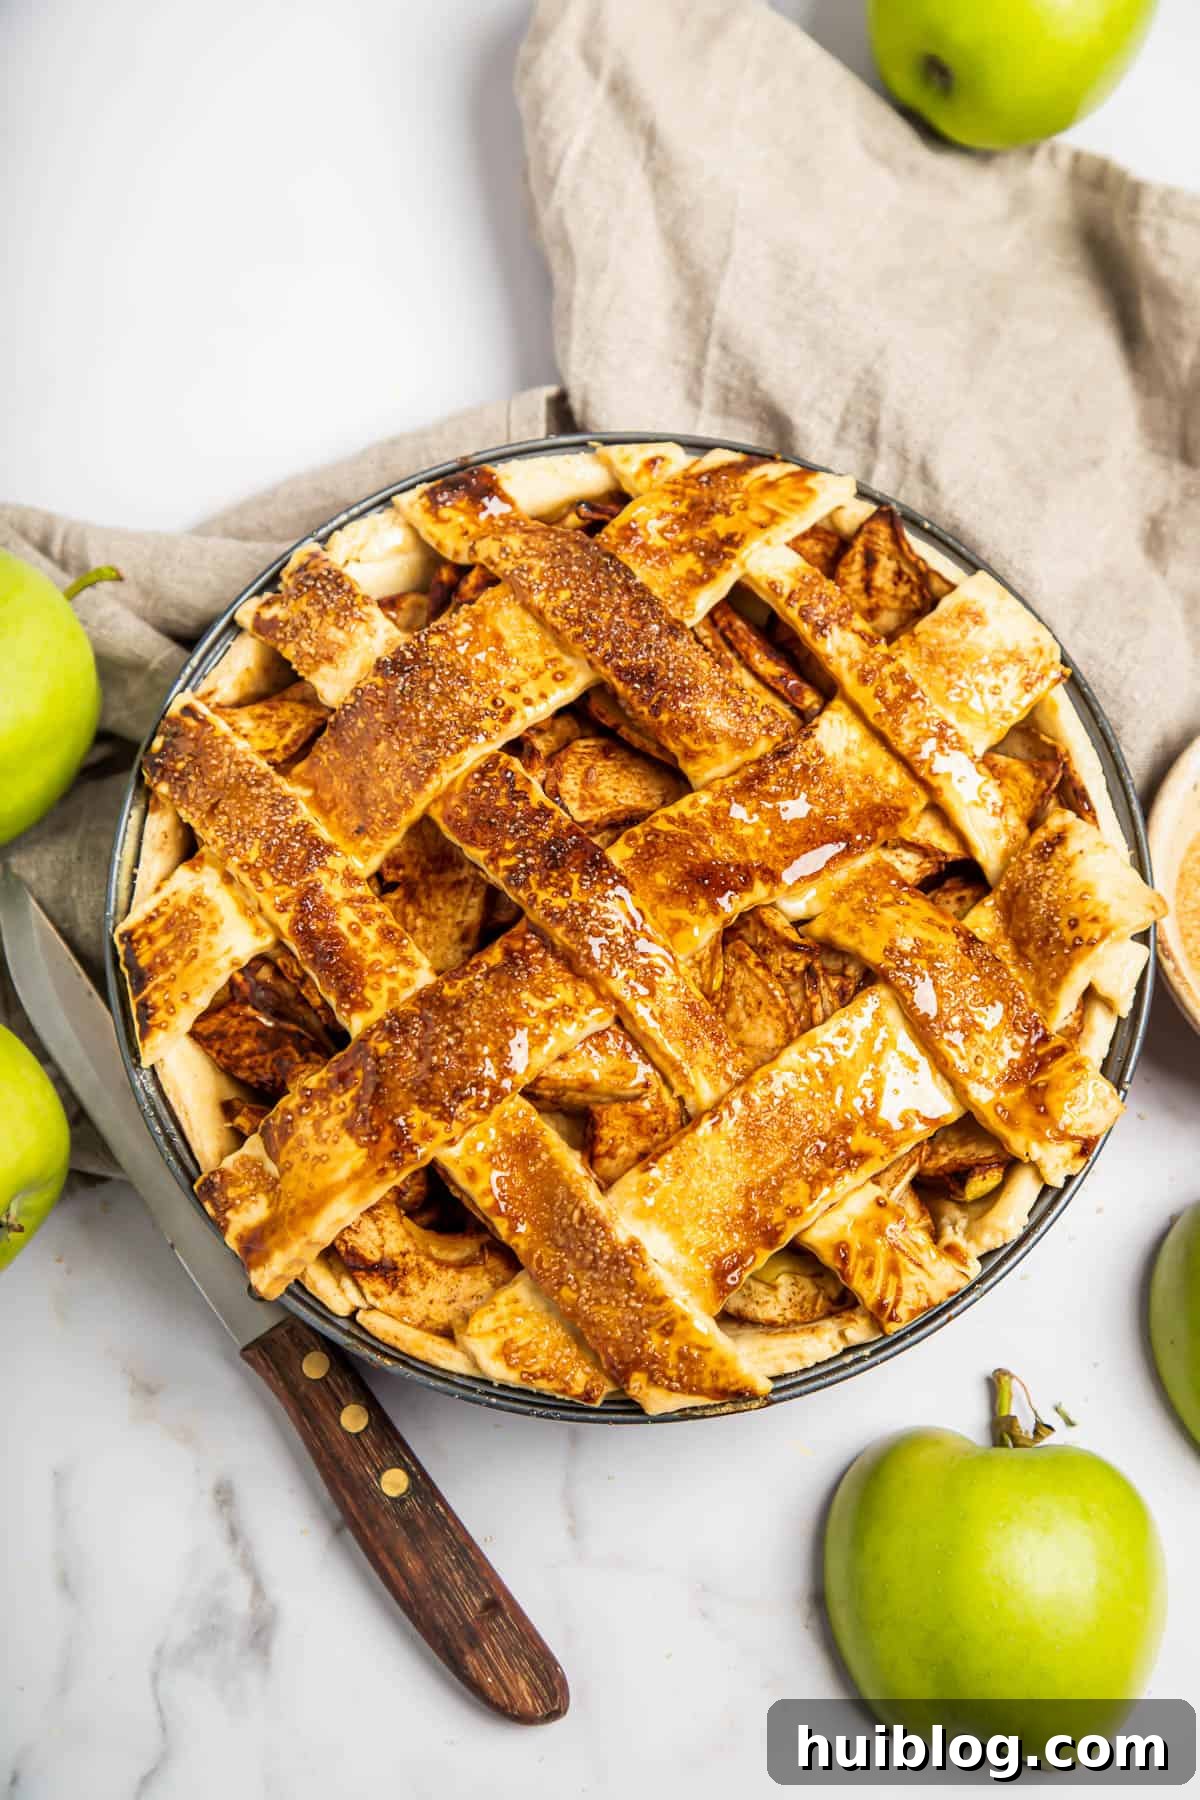
My favorite rendition of this timeless dessert features a charming rustic lattice top, allowing glimpses of the bubbling, golden filling beneath. I always insist on using fresh, raw apples, ideally those crisp, vibrant fruits picked during the peak of fall. A touch of sweet brown sugar in the filling adds a depth of flavor that is simply unmatched. Once you try this simple yet spectacular apple pie recipe, you’ll find yourself returning to it time and time again, making it a cherished family tradition.
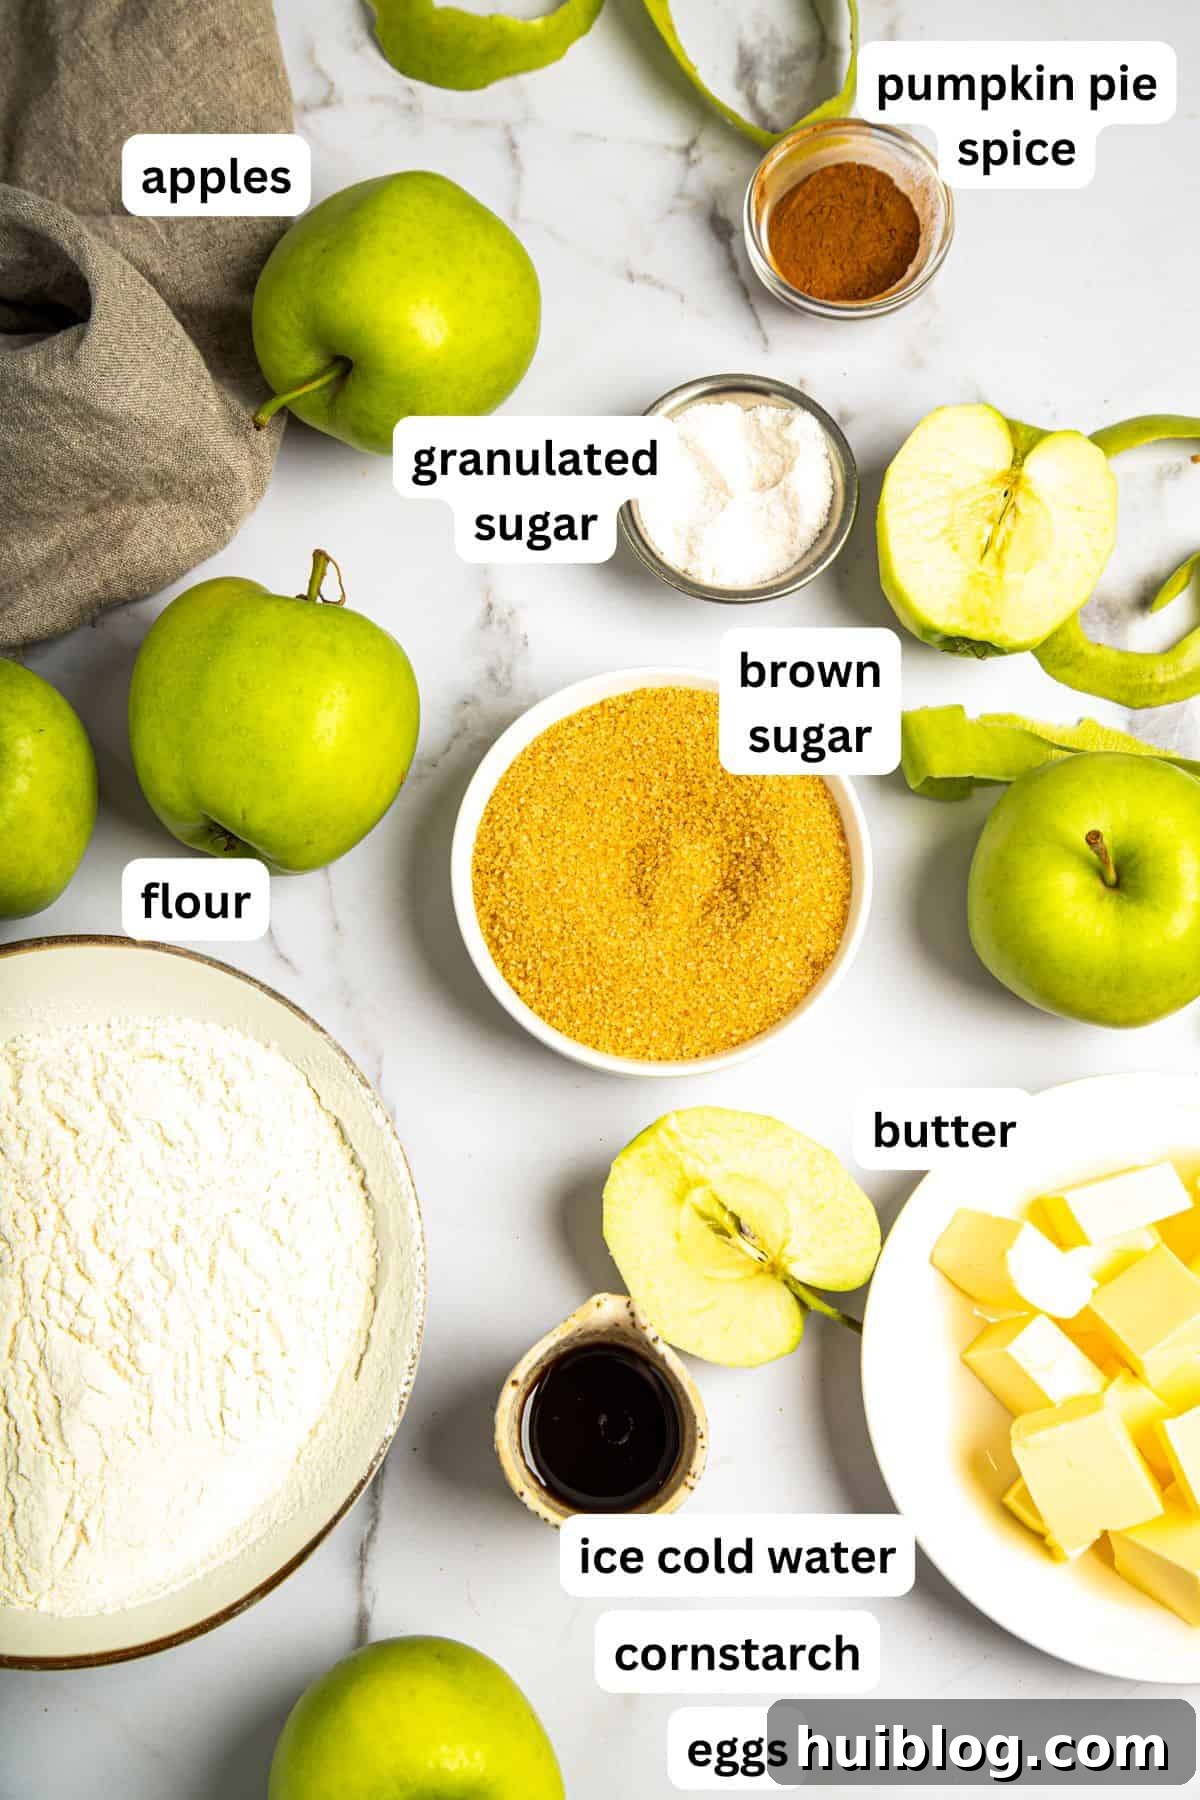
Essential Ingredients for Your Perfect Apple Pie
Crafting this easy apple pie recipe involves bringing together a simple apple pie filling mixture with a homemade pie crust. The magic happens in the oven as cornstarch expertly combines with the natural juices released by the apples, baking into a lusciously sweet and syrupy filling that holds its shape beautifully.
For the Apple Pie Filling:
- Apples: This recipe typically calls for about 2 pounds of apples, which translates to roughly 8 medium-sized fruits. Don’t worry about being overly precise; the key is to have enough thinly sliced apples to generously fill your pie crust. For the best flavor and texture, select firm, tart, and flavorful varieties (see our recommendations below).
- Sugar: We sweeten our pies with a blend of regular granulated sugar and brown sugar, which adds a wonderful caramel note. You can adjust the ratio to your preference, or even use all raw sugar for a rustic touch.
- Spices: While classic apple pie spice (a blend of cinnamon, nutmeg, and allspice) is always a fantastic choice, I’m a fan of using pumpkin pie spice. Its balanced combination of cinnamon, ginger, cloves, and nutmeg works incredibly well with apples, adding a complex warmth. Feel free to use your favorite blend, or simply a generous amount of pure ground cinnamon.
- Cornstarch: This acts as our thickening agent, ensuring the apple filling isn’t watery but rather beautifully cohesive and syrupy. Arrowroot powder is an excellent gluten-free alternative if preferred.
For the Flaky Pie Crust:
- All-Purpose Flour: The foundation of any great pie crust. For those with dietary restrictions, a 1:1 gluten-free all-purpose flour blend can be successfully substituted.
- Unsalted Butter: The secret to a truly flaky crust lies in using very cold butter, cut into small cubes. This creates pockets of steam during baking, resulting in that desirable tender-crisp texture.
- Ice-Cold Water: Essential for bringing the dough together without developing too much gluten, which can lead to a tough crust. Keep a cup of literal ice water handy, measuring out tablespoons as needed.
- Granulated Sugar (optional, for crust): While not strictly necessary, adding a small amount of sugar to the crust enhances its flavor, aids in browning, and gives it a lovely golden hue. Brown sugar can also be used for a deeper flavor.
- Salt: Just a pinch is enough to balance the sweetness and prevent the crust from tasting bland, enhancing all the other flavors.
- Egg: A single beaten egg is used as an egg wash to brush onto the top crust. This creates a beautiful golden-brown, shiny finish and helps adhere any sprinkled sugar.
Step-by-Step Guide: Crafting Your Homemade Apple Pie
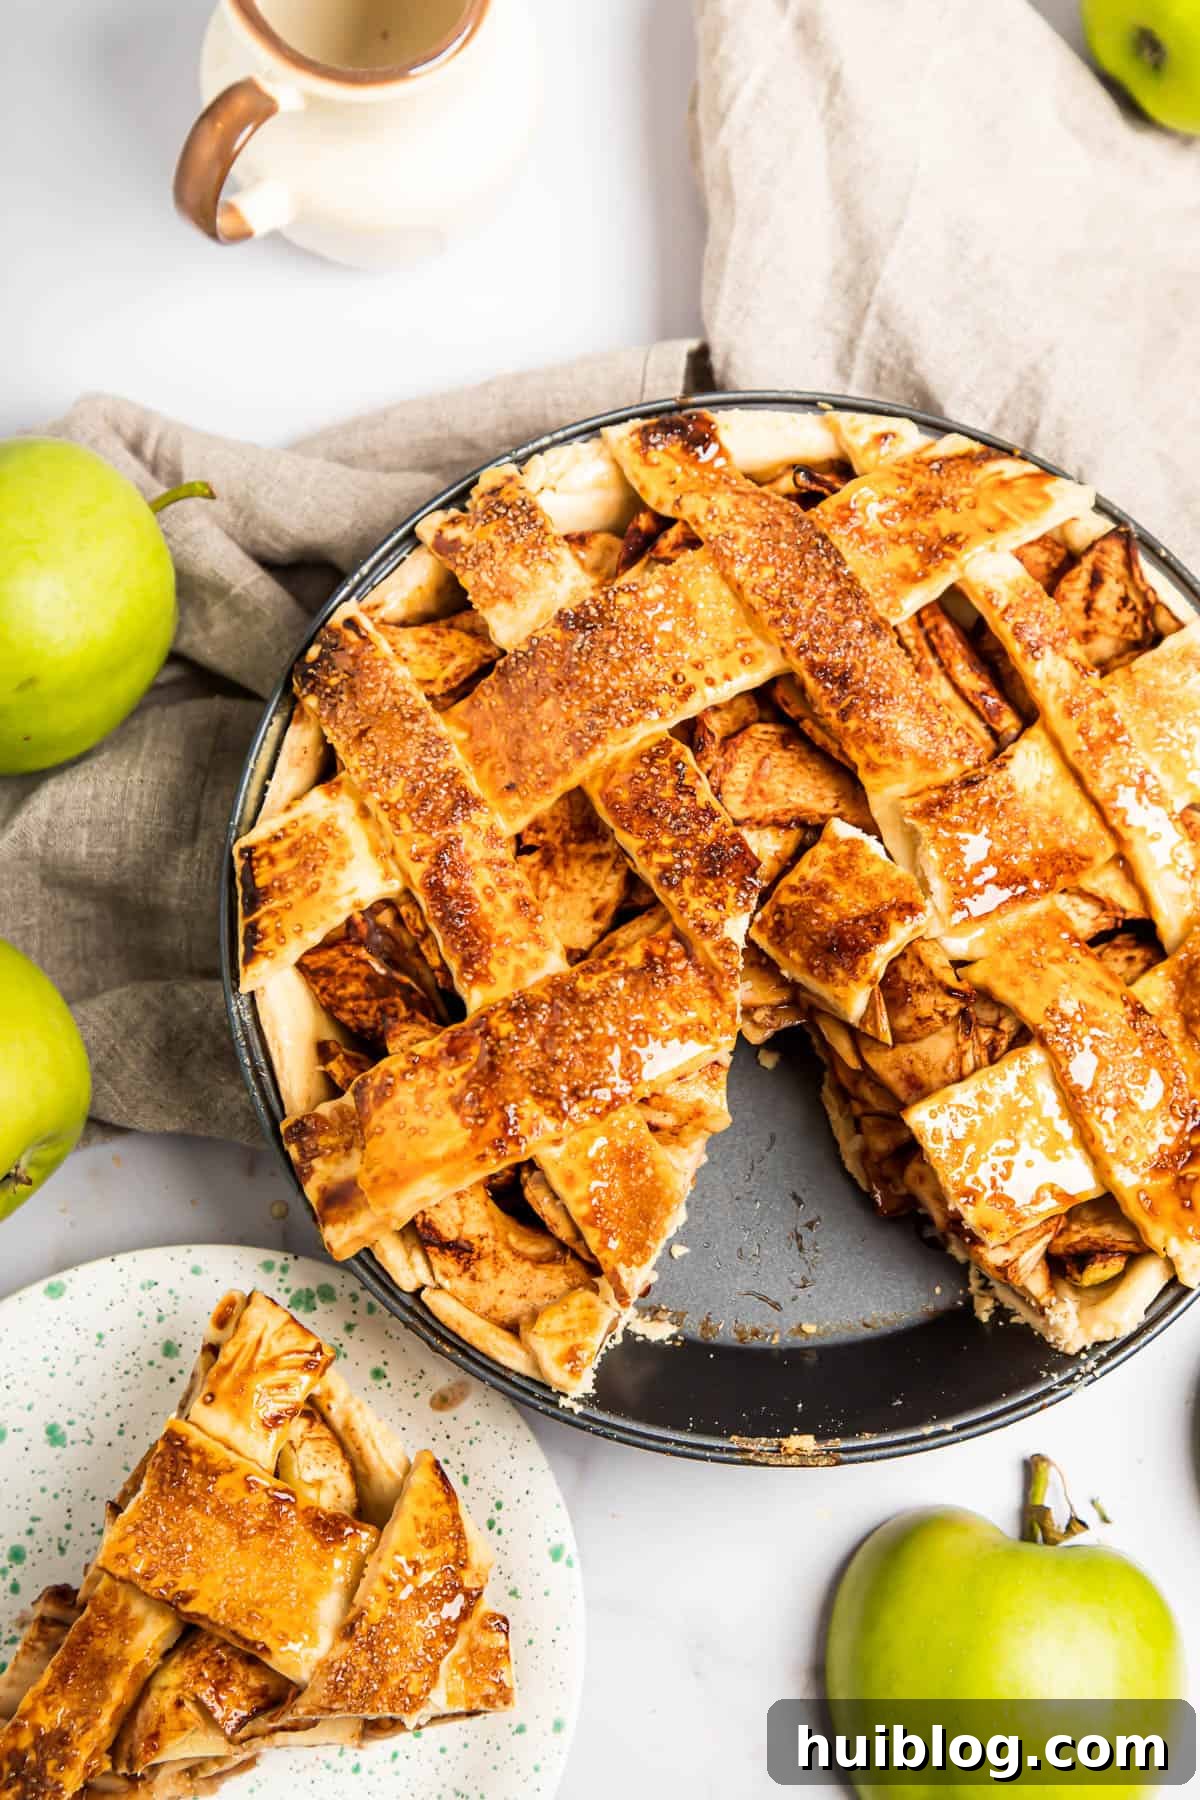
Making a homemade apple pie might seem daunting, but with these clear steps, you’ll be baking a masterpiece in no time! You can choose to create a beautiful lattice top, as shown in the images, or opt for a full top crust with a few decorative slits in the center to allow steam to escape.
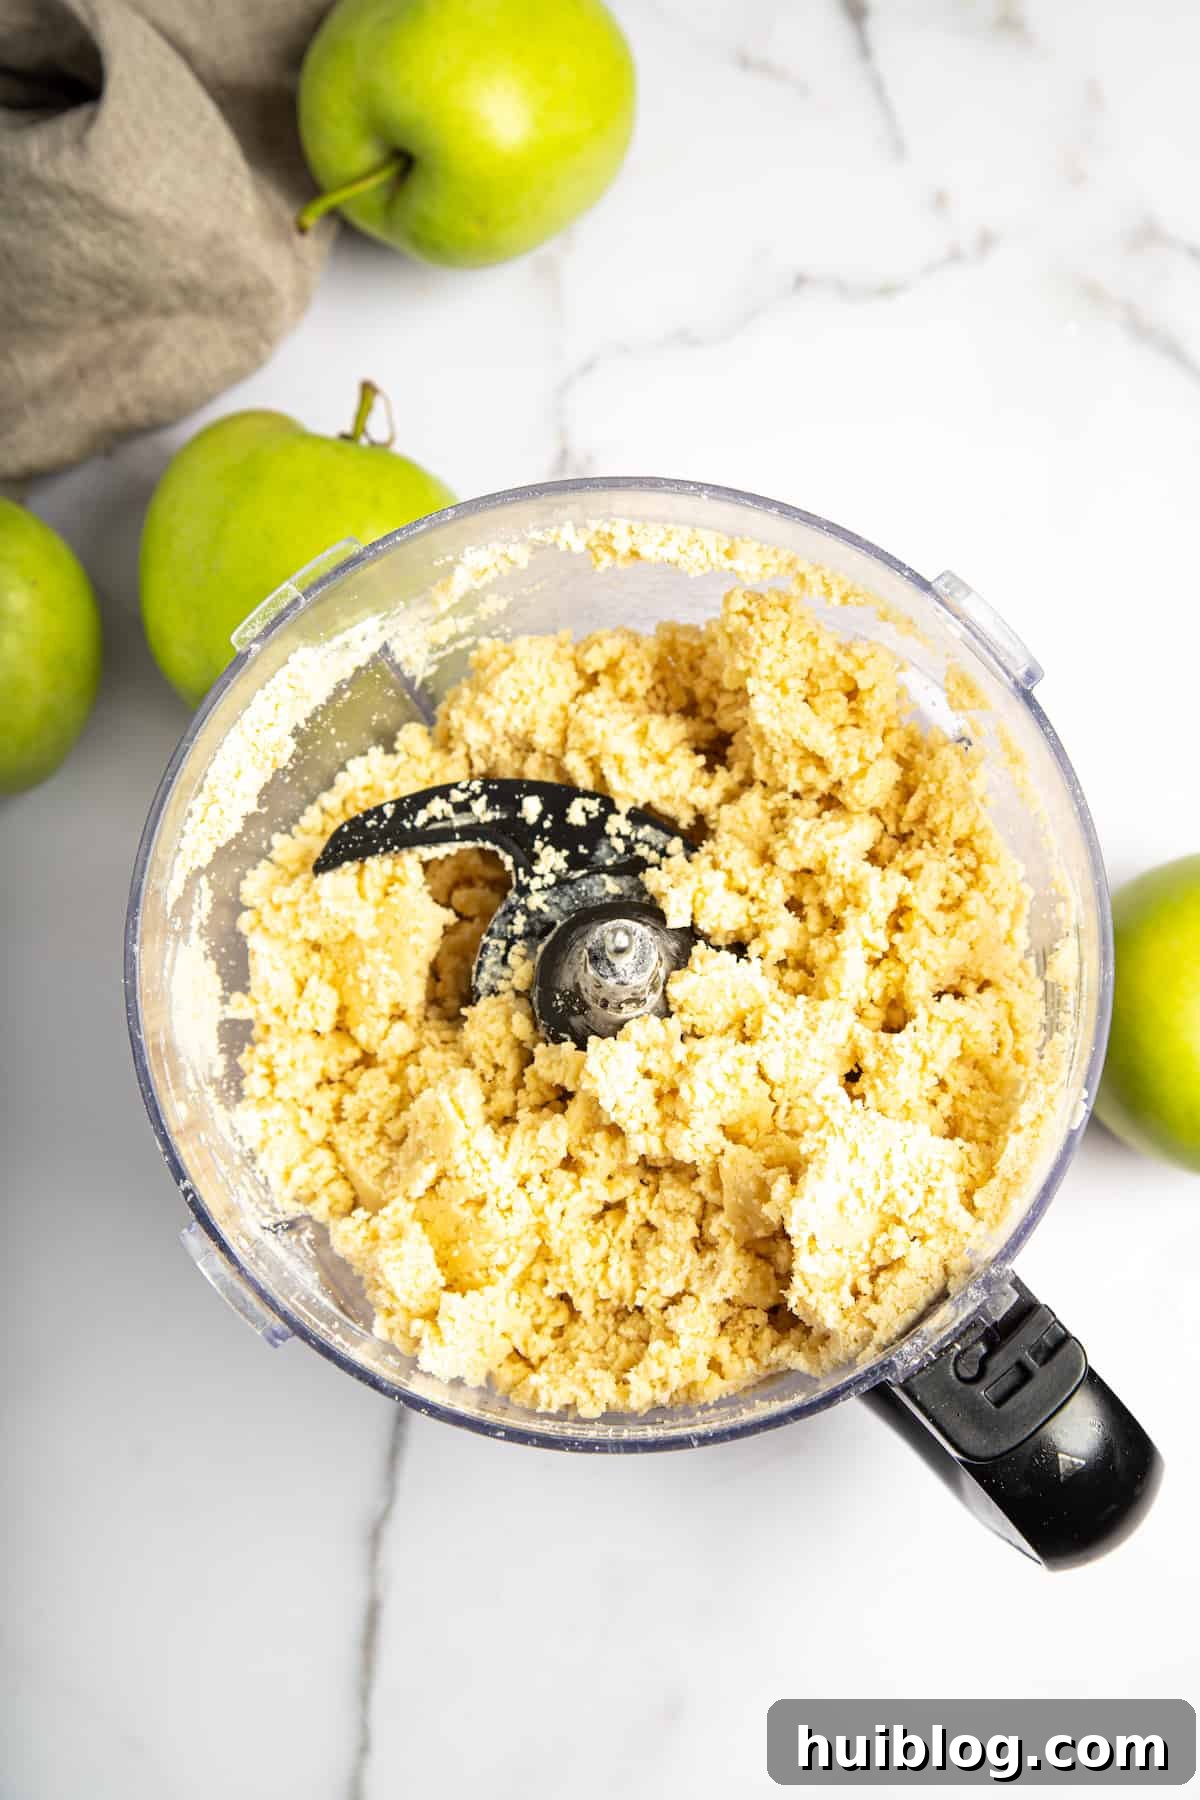
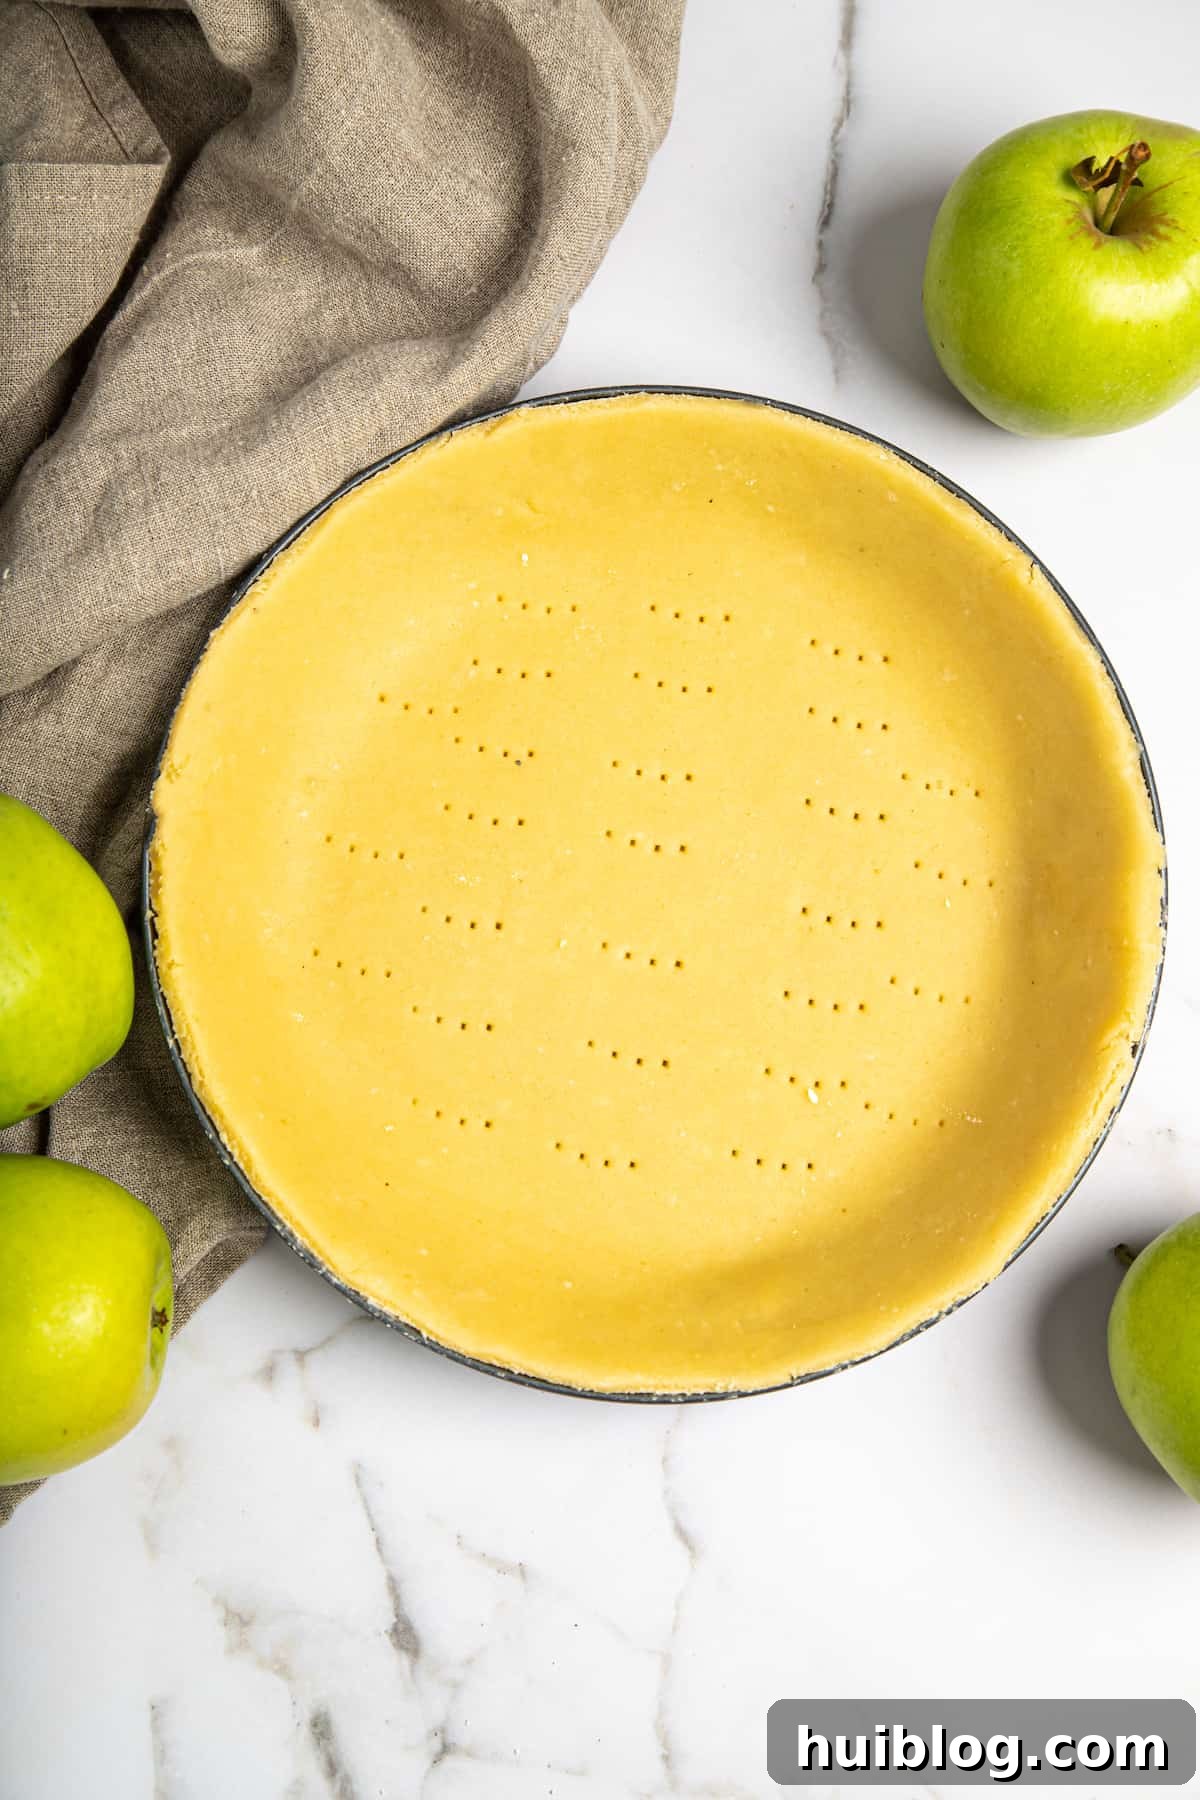
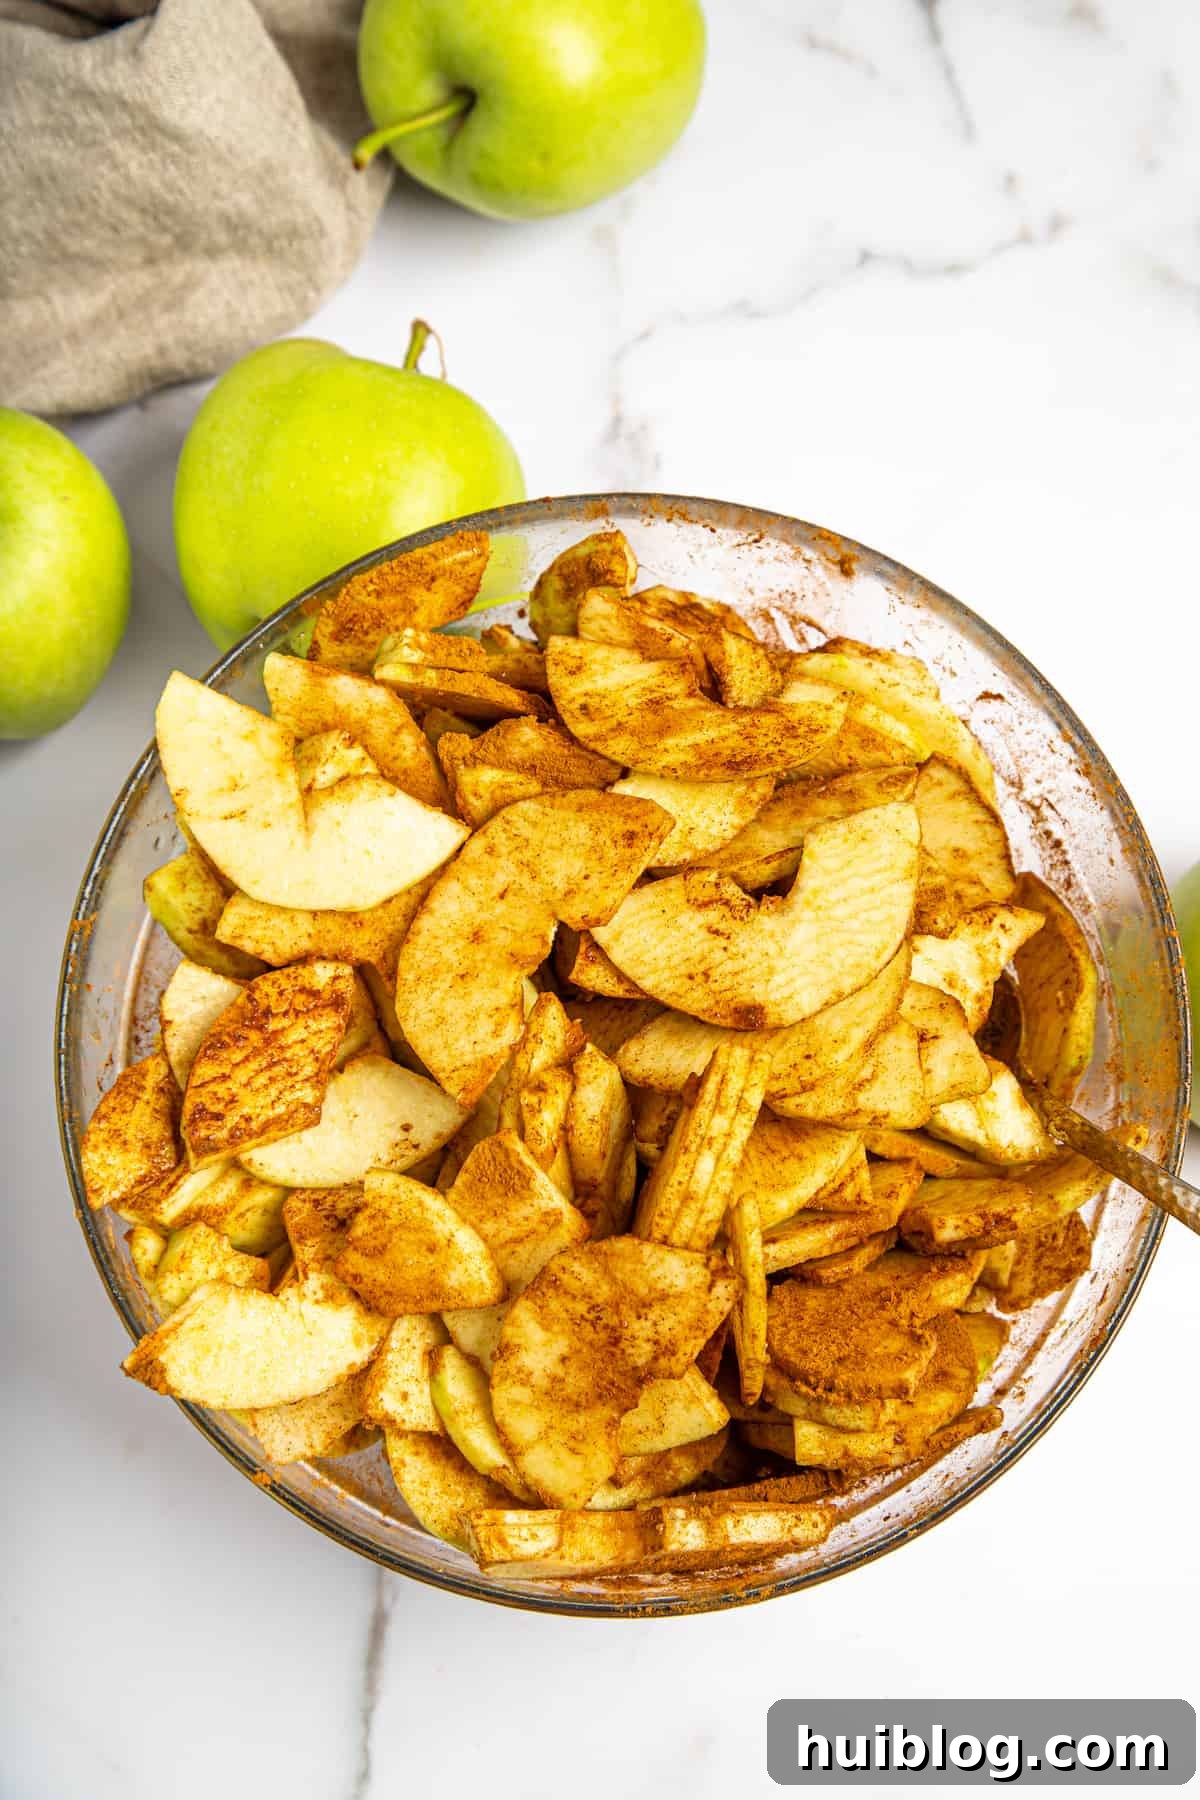
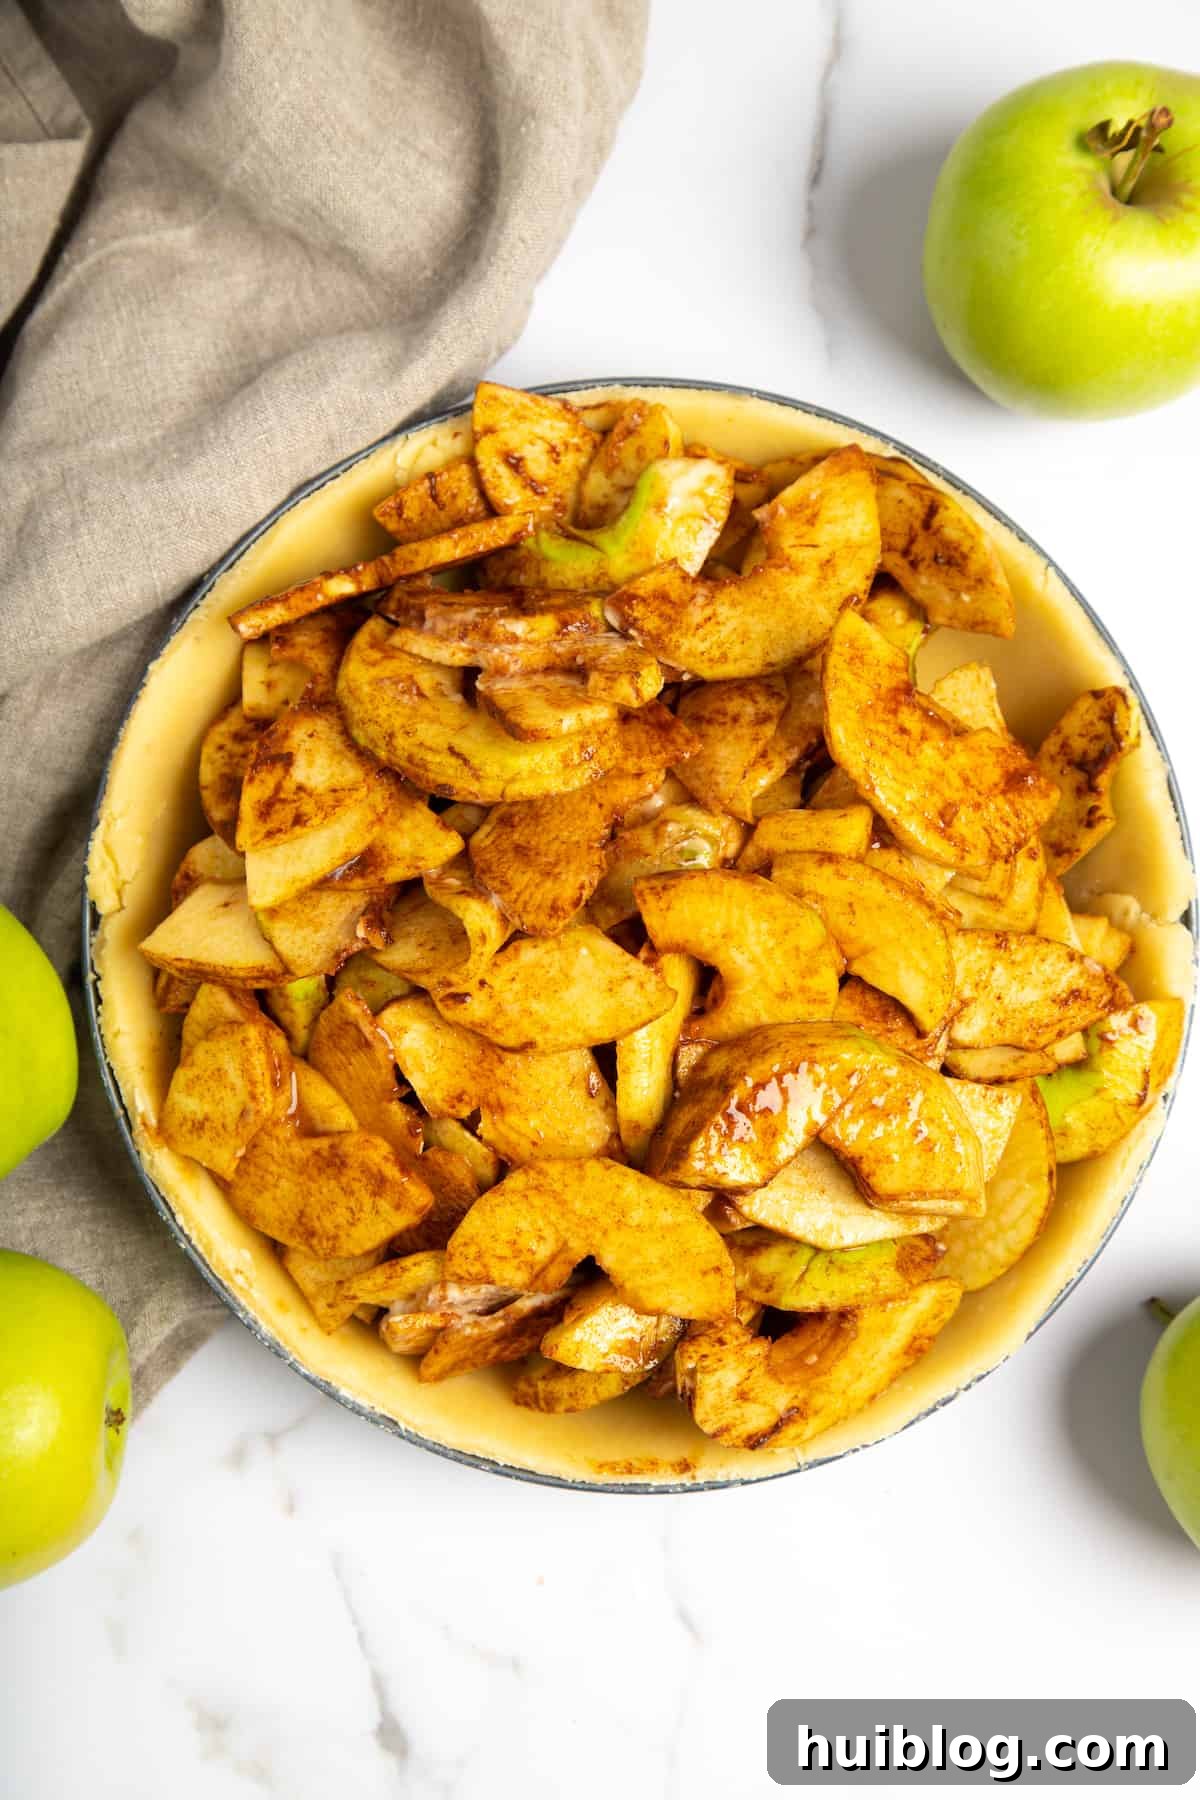
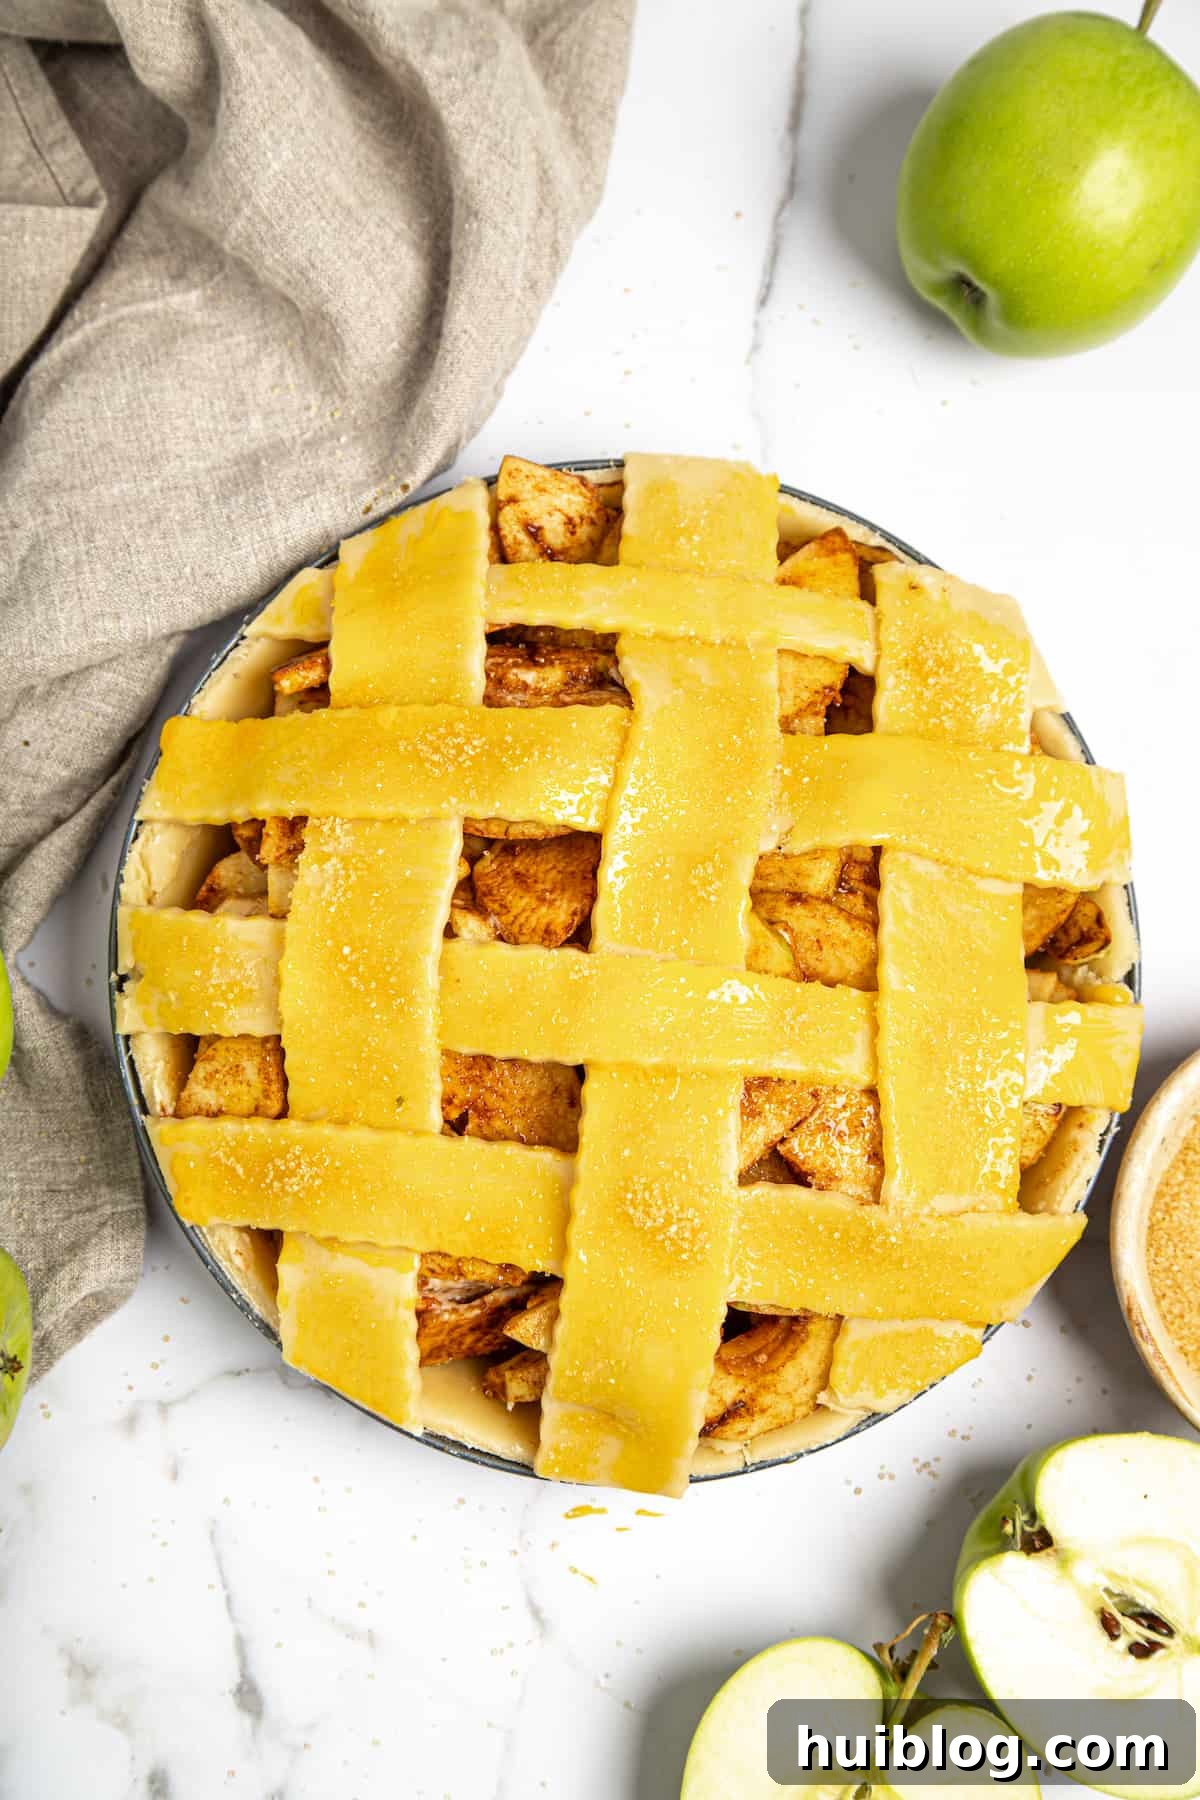
- Prepare the Pie Crust: In a food processor, combine the all-purpose flour, chilled cubed butter, and a pinch of salt. Pulse until the mixture resembles coarse breadcrumbs, with some pea-sized pieces of butter remaining. Gradually add five tablespoons of ice-cold water, pulsing a few times after each addition, until the dough just starts to come together in a shaggy ball. If it feels too dry, add a bit more ice water, one tablespoon at a time, being careful not to overmix. Divide the dough into two equal discs, flatten slightly, wrap tightly in plastic, and chill in the refrigerator for at least 30-40 minutes, or until firm. This resting period is crucial for a tender, flaky crust.
- Craft the Apple Filling: While the dough chills, prepare your apples. Peel, core, and thinly slice the apples, aiming for uniform thickness for even baking. In a large mixing bowl, combine the granulated sugar, your chosen pie spice (pumpkin pie spice, apple pie spice, or cinnamon), and cornstarch. Whisk these dry ingredients together thoroughly. Add the sliced apples to the bowl and gently toss until all the apple slices are evenly coated.
- Preheat Oven & Prepare Bottom Crust: Preheat your oven to a robust 400°F (200°C). Retrieve one chilled pastry disc from the refrigerator. On a lightly floured work surface, roll out the dough into an 11-inch circle, ensuring it’s slightly larger than your pie plate. Lightly spray a 9-inch pie plate with cooking spray, then carefully transfer the rolled-out crust into the plate. Trim the edges, leaving about a ½-inch overhang, then crimp or flute the edges decoratively. Prick the bottom and sides of the pastry all over with a fork to prevent bubbling during baking.
- Fill and Top the Pie: Spoon the prepared apple mixture evenly into the prepared pie crust, mounding it slightly in the center. Take the second chilled pie crust disc and roll it out into another 11-inch circle. For a lattice top, cut this dough into 1-inch wide strips using a sharp knife or pastry wheel. Weave these strips over the apples in a lattice pattern. Alternatively, place the entire second crust over the apples, trim the edges, and crimp them together with the bottom crust. Cut a few small slits in the center of the top crust for ventilation. Whichever topping method you choose, brush the top crust with the beaten egg wash and generously sprinkle with brown sugar for a beautiful sparkle and caramelized crunch.
- Bake to Golden Perfection: Place the assembled apple pie on a baking sheet (to catch any potential drips) and transfer it to the preheated oven. Bake for 45-55 minutes, or until the crust is beautifully golden brown and the filling is bubbling thickly. If you notice the edges of your crust browning too quickly, loosely cover them with strips of aluminum foil or cover the entire pie with foil for the last 15-20 minutes. A truly golden crust is key to a delicious pie!
- Cool and Serve: Once baked, carefully transfer the hot pie to a wire rack. It’s crucial to allow the pie to cool completely, or at least until it’s just warm, before slicing. This allows the filling to set properly, preventing it from running out when cut. Typically, this takes 2-3 hours. Serve this magnificent apple pie with a generous scoop of premium vanilla ice cream, a dollop of whipped cream, or a slice of sharp cheddar cheese for a truly classic experience.
Choosing the Best Apples for Apple Pie
The type of apple you choose significantly impacts the final taste and texture of your pie. It’s best to use a firm, flavorful, and somewhat tart apple that holds its shape during baking. Avoid apples that turn mushy or bland, as they will compromise the integrity and taste of your pie. Here are some of my favorite apple varieties that consistently deliver excellent results for apple pie from scratch:
- Granny Smith: A classic choice, known for its firm texture and distinct tartness that beautifully balances the sweetness of the filling.
- Cortland: These apples are sweet-tart with a tender texture and don’t brown quickly, making them great for pie.
- Jonathan: A bright red apple with a crisp texture and a tangy, slightly spicy flavor.
- McIntosh: Softens considerably when cooked, offering a more saucy filling. Often best used in combination with firmer apples.
- Pink Lady (Cripps Pink): Offers a delightful balance of sweet and tart, with a crisp texture that holds up well.
- Honeycrisp: Exceptionally crisp and juicy with a sweet, subtly tart flavor that makes for a fantastic pie.
- Braeburn: A firm apple with a sweet-tart flavor and a hint of spice, perfect for baking.
- Recommendation: For the most complex flavor, consider using a blend of two or three different apple varieties. For example, combine the tartness of Granny Smith with the sweetness of Honeycrisp for a perfectly balanced pie.
Expert Recipe Tips & Creative Variations
Elevate your apple pie baking with these invaluable tips and exciting variations, ensuring every pie you bake is a masterpiece of flavor and texture:
- Blind-Bake the Crust for No Soggy Bottom: For an extra flaky and crisp bottom crust that stands up to the juicy filling, consider blind-baking it. After arranging the bottom crust in the pie pan and pricking it, line it with parchment paper, fill with pie weights or dried beans, and bake for about 10-15 minutes before adding the filling. This creates a barrier against moisture and prevents sogginess.
- Pre-Cook the Filling for Convenience: If you’re looking to save time on baking day or want a thicker, more developed flavor, you can pre-cook your apple filling. Combine all the filling ingredients in a saucepan and cook over low heat until the apples are almost tender but still hold some shape. Let it cool completely, then store it in an airtight container in the refrigerator for 4-5 days. This also reduces the baking time for the assembled pie.
- Streusel Topping for a Different Texture: For a delightful change from a traditional crust, skip the top crust entirely (you can halve the crust recipe or save one disc for another recipe). Instead, top the pie with a crumbly streusel mixture. Combine ¾ cup granulated sugar, ¾ cup all-purpose flour, ⅔ cup softened unsalted butter, and 1 teaspoon ground cinnamon. Mix until soft crumbs form, then sprinkle generously over the apple filling before baking.
- Chill Your Dough Thoroughly: Always ensure your pie dough is well-chilled before rolling and baking. Cold dough is easier to handle, less likely to shrink, and results in a flakier crust. If the dough gets warm while working with it, pop it back in the fridge for 10-15 minutes.
- Prevent Over-Browning: If your pie crust is browning too quickly before the filling is fully cooked, loosely tent the pie with aluminum foil. For just the edges, you can create a foil “collar” to protect them.
Delightful Serving Suggestions
To me, a warm slice of apple pie is the quintessential ending to a hearty meal. It pairs beautifully with classic American comfort foods. Imagine serving this glorious pie after a tender and juicy Instant Pot pot roast – a savory, traditional meal that comes together with incredible ease. Or how about following a succulent whole roast chicken with fall vegetables, a comforting family classic where the buttery-rich chicken and perfectly seasoned roast veggies lead perfectly into the sweet, spiced apples.
For a perfect fall evening dinner, these maple mustard salmon fillets offer a delightful balance of sweet and savory. Serve them with a fresh green salad, fluffy baked potatoes, and, of course, a slice of your homemade apple pie to complete the feast.
If you’re planning a holiday spread or a special gathering, position this apple pie proudly alongside other festive desserts. It would be a showstopper next to a rich and easy pecan pie or my creamy southern buttermilk pie! Be warned: your guests will undoubtedly be clamoring for all your secret recipes!
Storing and Reheating Your Apple Pie
Proper storage ensures your delicious apple pie remains fresh and enjoyable for days, while reheating methods can bring it back to its glorious, warm state.
- Storing Baked Pie: Store any leftover baked pie covered in the refrigerator. An airtight container or wrapping tightly with plastic wrap or foil will keep it fresh for 3 to 5 days. For optimal flakiness, some prefer to store it at room temperature for up to two days, but refrigeration is safer for longer periods, especially in warmer climates.
- Reheating Portions: For individual slices, warm them gently in the microwave for 30-60 seconds until heated through. For a crisper crust, place slices on a baking sheet and reheat in a 350°F (175°C) oven for about 10-15 minutes. For an entire pie, place it in a 350°F (175°C) oven for 20-30 minutes, or until warmed to your liking.
Can You Freeze Apple Pie? Absolutely!
Freezing apple pie is a fantastic way to enjoy this treat even when you’re short on time. You have a couple of excellent options:
- Freezing Unbaked Pie: Yes, you can assemble the entire pie (including the top crust or lattice) and freeze it, unbaked, for up to 2 months. Wrap it tightly in several layers of plastic wrap and then a layer of aluminum foil to prevent freezer burn. When you’re ready to bake, there’s no need to thaw the pie. Bake it directly from frozen in a preheated oven. In fact, baking it from frozen can result in a flakier, less soggy bottom crust. Just be sure to add an additional 30 to 50 minutes to the regular baking time, keeping an eye on the crust and tenting with foil if it browns too quickly.
- Freezing Baked Pie: You can also freeze a fully baked apple pie. Allow it to cool completely, then wrap it securely in plastic wrap and foil. It will keep well in the freezer for up to 3 months. To reheat, thaw in the refrigerator overnight, then warm in a 350°F (175°C) oven until heated through, about 20-30 minutes.
More Delicious Apple Desserts to Try
If you’re an apple enthusiast, you’ll love these other fantastic apple-centric recipes:
- Blueberry Apple Baked Oatmeal
- Baked Apple Cider Doughnuts
- Homemade Candy Apples
- Apple Cider Punch
More Cozy Dessert Recipes for Any Occasion
Beyond apples, there’s a world of comforting desserts waiting to be explored. Here are some of my top picks for cozy, irresistible treats:
- Perfect Pumpkin Pie
- Monkey Bread
- Fudgy Homemade Brownies
- Hot Chocolate Sugar Cookies
Homemade Apple Pie from Scratch
by Katerina | Easy Weeknight Recipes
This easy, basic recipe for homemade Apple Pie includes a buttery, flaky pie crust, fresh apples, warming spices, and sweet brown sugar for a truly delightful dessert.
- Prep Time: 45 minutes
- Cook Time: 45 minutes
- Resting Time: 30 minutes
- Total Time: 2 hours
- Servings: 8 slices
Ingredients
For the Filling:
- 2 pounds apples (about 8 medium, see apple recommendations above)
- ½ cup granulated sugar
- 1 teaspoon pumpkin pie spice (or apple pie spice/cinnamon)
- 2½ teaspoons cornstarch
For the Pie Crust:
- 3 cups all-purpose flour
- 8 ounces (2 sticks) unsalted butter, very cold and cut into ½-inch cubes
- 5 tablespoons ice-cold water (plus more if needed)
- 2 tablespoons brown sugar (for sprinkling on top)
- Pinch of salt
- 1 large egg, beaten (for egg wash)
Instructions
Making the Pie Crust:
- In a food processor, combine flour, cold butter cubes, and salt. Pulse until the mixture resembles coarse breadcrumbs with some pea-sized butter pieces.
- Add 5 tablespoons of ice-cold water and pulse a few times until the dough just starts to come together. If too dry, add more water, 1 tablespoon at a time, until it forms a cohesive ball.
- Divide the dough into two equal discs, wrap tightly in plastic, and chill in the refrigerator for 30-40 minutes, or until firm.
Preparing the Pie Filling & Assembly:
- Peel, core, and thinly slice the apples. In a large mixing bowl, combine granulated sugar, pie spice, and cornstarch. Add the sliced apples and toss to coat evenly.
- Preheat your oven to 400°F (200°C).
- Remove one dough disc from the refrigerator. On a lightly floured surface, roll it into an 11-inch circle. Carefully transfer it to a 9-inch pie plate that has been lightly sprayed with cooking spray. Trim edges, leaving a ½-inch overhang, and prick the bottom and sides with a fork.
- Spoon the apple mixture into the prepared pie crust, mounding it slightly in the center.
- Roll out the second dough disc into another 11-inch circle. Cut into 1-inch strips for a lattice top, or place as a full crust (cutting a few vents in the center). Arrange the strips over the apples or place the full crust, then crimp the edges of both crusts together.
- Brush the top crust with the beaten egg wash and sprinkle generously with brown sugar.
Baking and Serving:
- Bake the pie for 45-55 minutes, or until the crust is golden brown and the filling is bubbling. If the crust starts to darken too quickly, loosely cover it with aluminum foil.
- Transfer the baked pie to a wire rack and allow it to cool for at least 2-3 hours before slicing. This is crucial for the filling to set properly.
- Serve warm with a scoop of vanilla ice cream, whipped cream, or a slice of cheddar cheese.
Nutrition (Per Serving, estimate)
Calories: 504kcal | Carbohydrates: 68g | Protein: 6g | Fat: 24g |
Saturated Fat: 15g | Polyunsaturated Fat: 1g | Monounsaturated Fat: 6g |
Trans Fat: 1g | Cholesterol: 81mg | Sodium: 214mg |
Potassium: 192mg | Fiber: 4g | Sugar: 27g |
Vitamin A: 800IU | Vitamin C: 5mg | Calcium: 28mg | Iron: 2mg
Nutritional information is an estimate and provided as a courtesy. Values may vary according to the ingredients and tools used. Please use your preferred nutritional calculator for more detailed info.