
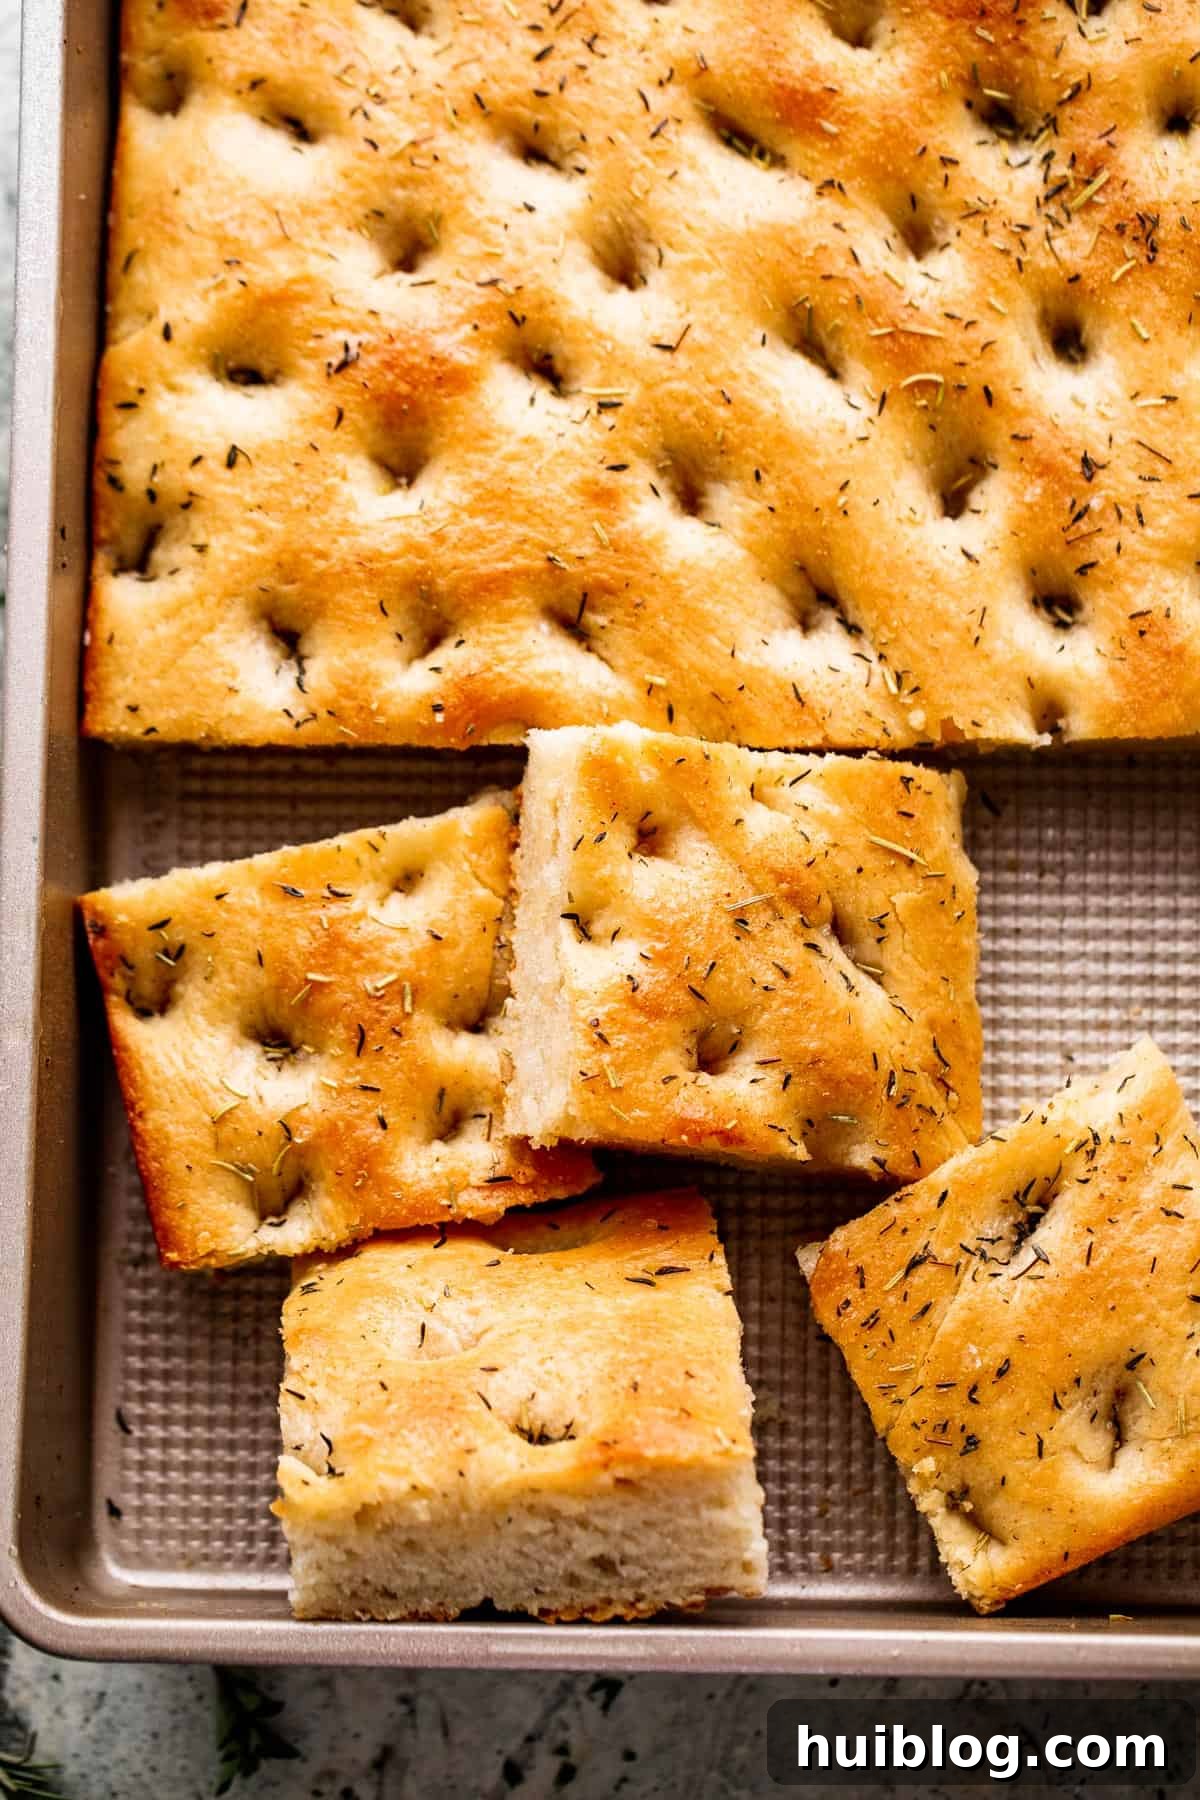
Irresistible Garlic Herb Focaccia: Your Guide to Baking Perfect Italian Bread from Scratch
There’s something truly magical about freshly baked bread, and this timeless Italian classic is no exception. Golden-brown, richly flavored, and wonderfully aromatic, Garlic and Herb Focaccia is a generously seasoned favorite that promises to captivate your senses. This recipe is not just simple to make, but an absolute delight to savor. Whether you’re a seasoned baker or new to the world of yeast breads, you’ll find immense satisfaction in creating this wholesome, light-but-rich, and incredibly flavorful bread right in your own kitchen. Prepare to fall in love with its irresistible texture and robust taste – it’s a culinary experience you won’t want to miss!
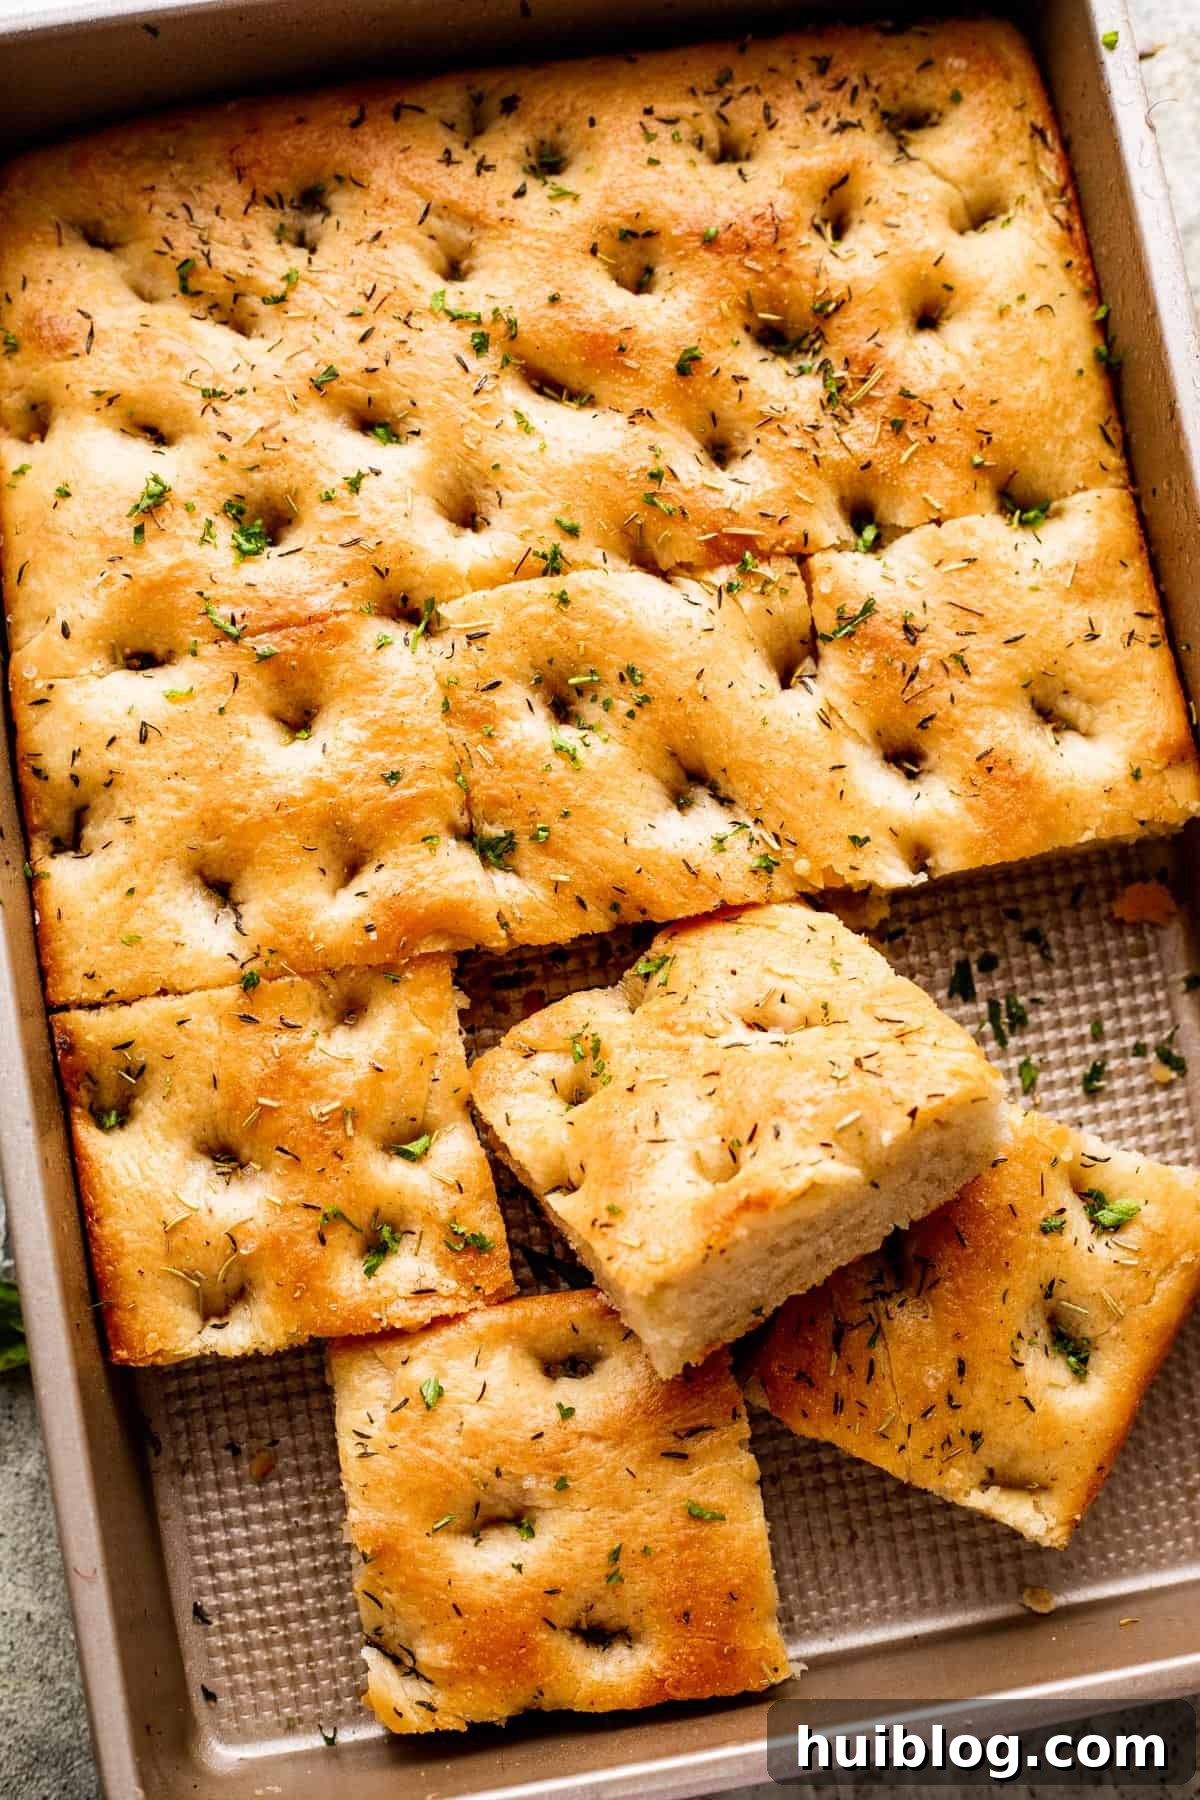
Effortless Homemade Focaccia: Baking Italian Bread at Home
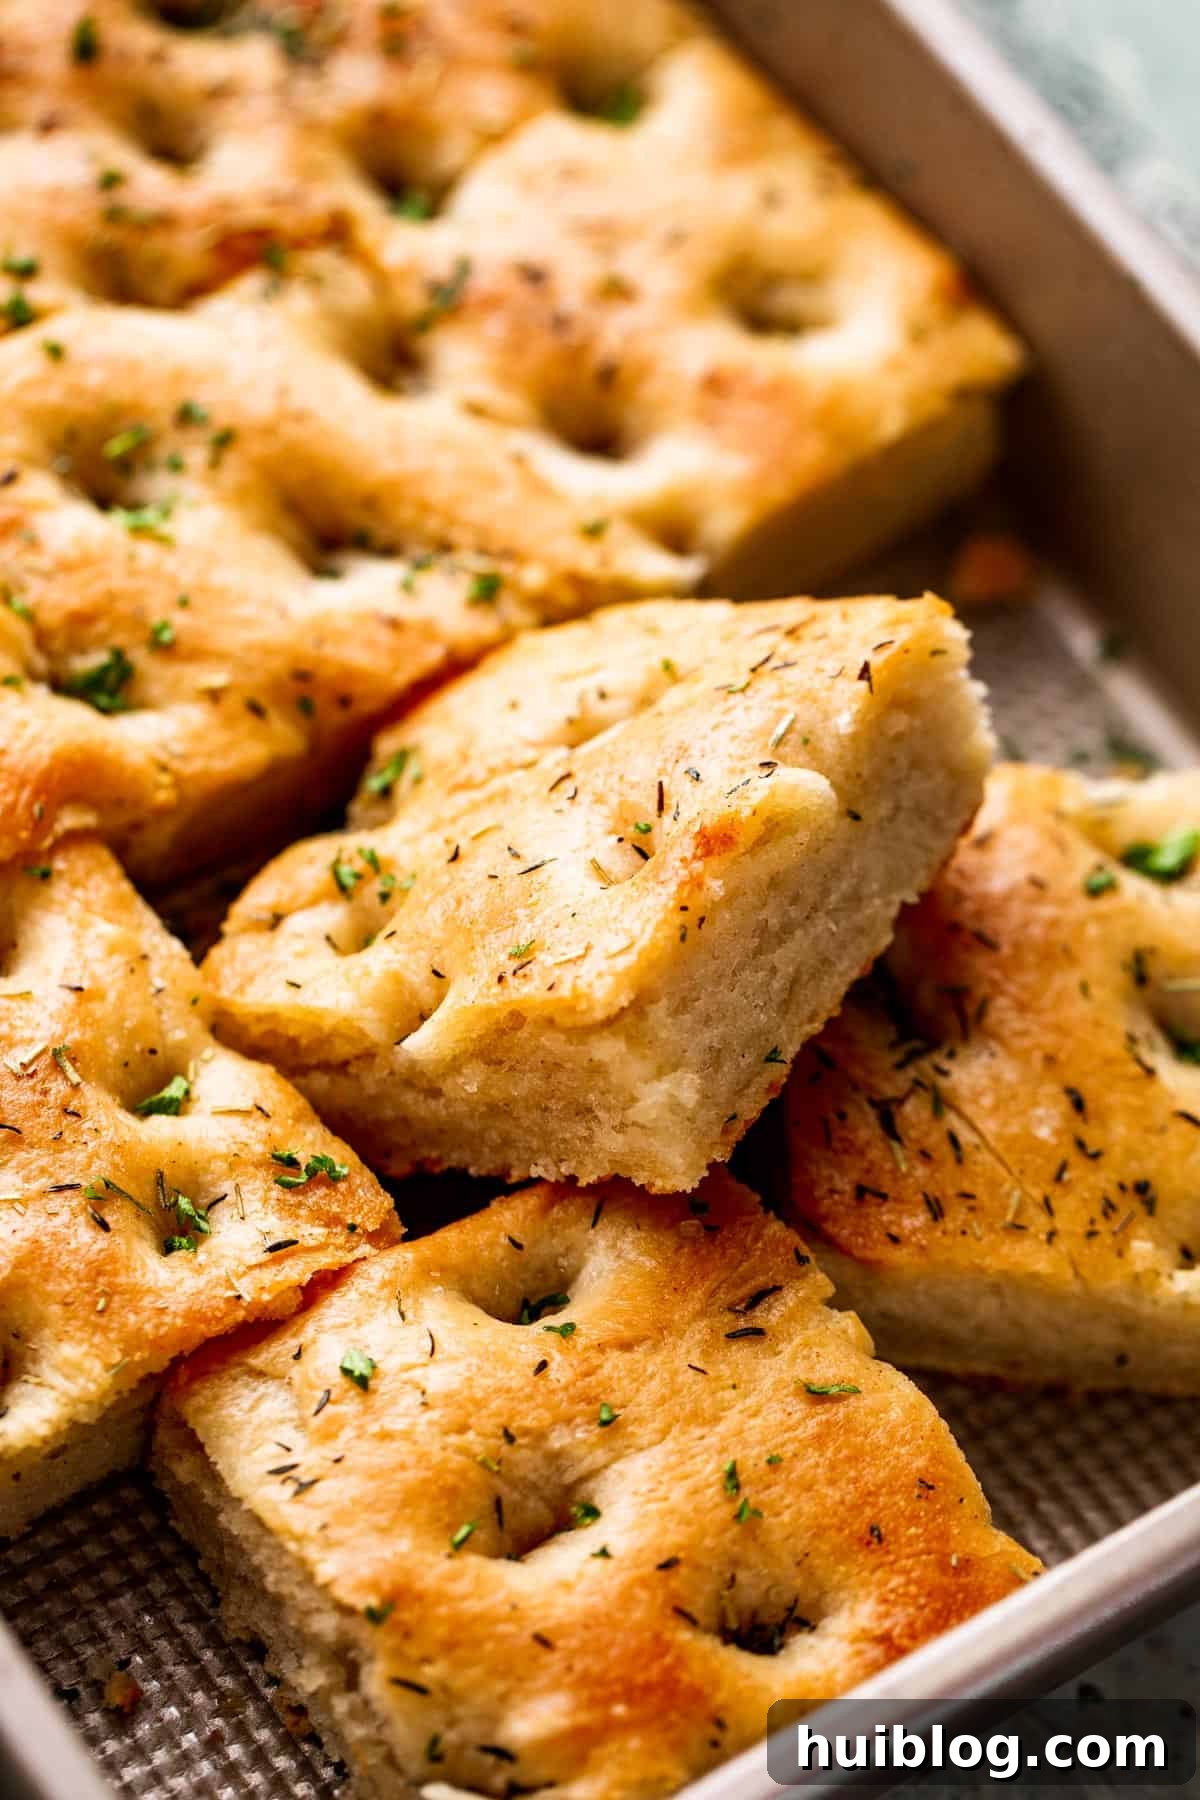
Have you ever experienced the sheer joy of biting into a warm slice of authentic focaccia? This rustic Italian yeast bread has graced tables for centuries, enjoying a significant resurgence in popularity during the 90s and early 2000s, appearing on restaurant menus and in cookbooks everywhere. And for good reason – this versatile, wholesome, and profoundly satisfying herbed bread is the kind of comfort food you’ll find yourself craving again and again. Its unique texture, with a crispy crust and a soft, airy interior, makes it incredibly appealing. Beyond its deliciousness, focaccia truly shines in its versatility, seamlessly fitting into a multitude of culinary roles. It serves as an exceptional side dish for your favorite pasta dinner, transforming a simple meal into an Italian feast. It’s also the perfect base for creating cafe-style sandwiches, holding up beautifully to various fillings and spreads. Think of it as an upgrade to your everyday sandwich bread!
One of the most appealing aspects of focaccia, especially for home bakers, is its remarkable simplicity. Unlike many other bread recipes that demand intricate shaping, rolling, or laminating, focaccia is refreshingly straightforward. The dough is simply pressed into a large baking pan, allowing gravity and heat to do most of the work. This lack of complex technique makes it an ideal project for beginners, while still offering a deeply rewarding baking experience for everyone. The beauty of focaccia lies in its rustic charm and the minimal effort required to achieve truly outstanding results.
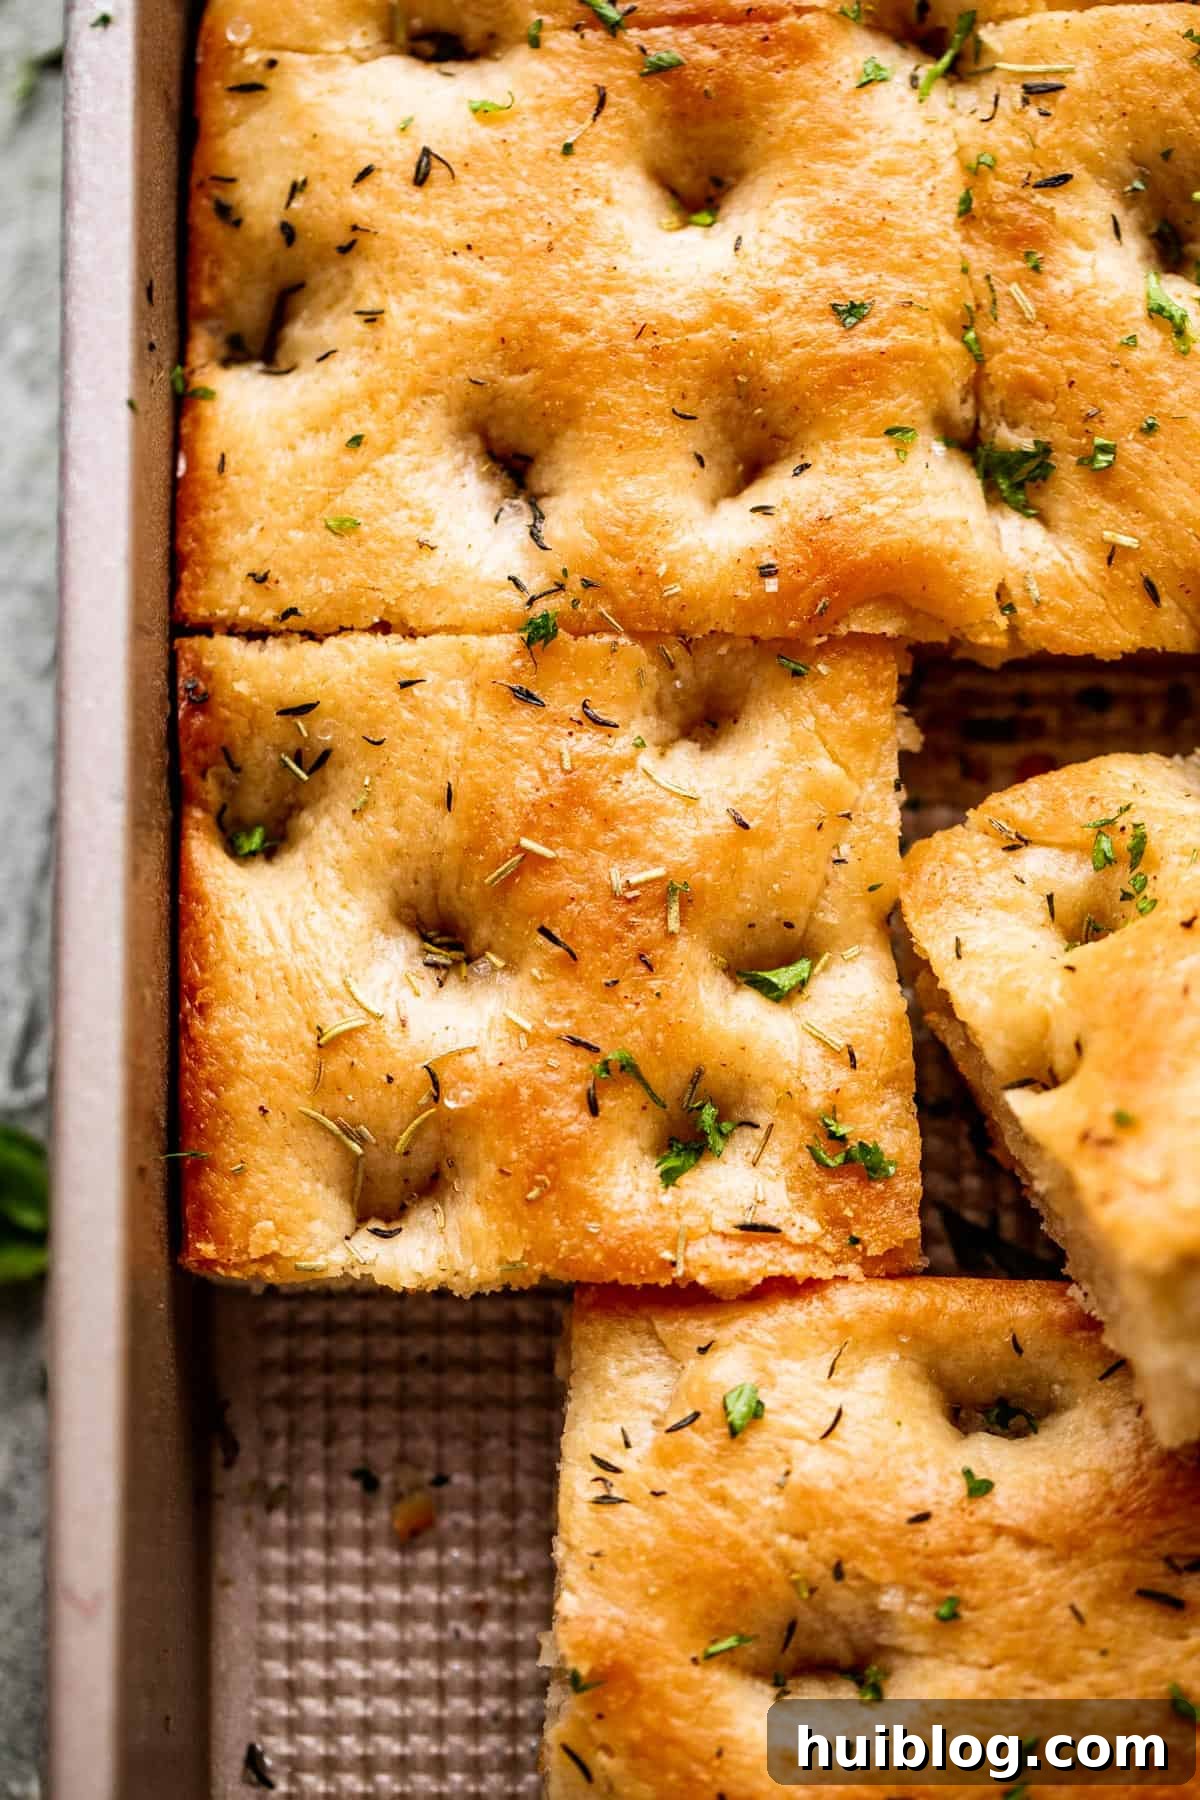
Is Focaccia a Healthy Choice? Understanding Its Nutritional Value
When compared to many commercially produced breads, homemade focaccia stands out as an excellent and wholesome choice for a healthy lifestyle. The magic lies in its simple, unadulterated ingredients. Crafted with staple pantry items, including a generous amount of heart-healthy olive oil, focaccia contains no processed additives, artificial flavors, or chemical preservatives often found in store-bought alternatives. By making it yourself, you have complete control over the quality of each component, ensuring you’re feeding your body only the best.
To elevate its health profile even further, consider using high-quality flour, preferably organic. This simple switch can make a noticeable difference in both flavor and nutritional content. The copious use of extra virgin olive oil, a cornerstone of Mediterranean cuisine, infuses the bread with monounsaturated fats known for their cardiovascular benefits. While homemade focaccia is undeniably a nutritious option, it’s important to remember that it is still a bread. Like other delicious baked goods, it’s not a low-carb food. If you are following a low-carb or ketogenic diet, you’ll want to enjoy focaccia in moderation or seek out specific low-carb bread recipes. For everyone else, this simple, homemade Italian bread offers a delightful and health-conscious addition to almost any meal.
Essential Ingredients for Your Garlic Herb Focaccia
This foundational focaccia recipe is brilliantly enhanced with fresh garlic and aromatic herbs, creating a flavor profile that is both robust and utterly unforgettable. The judicious use of these fresh elements elevates a simple bread into a star dish. You can certainly serve this focaccia plain, perhaps with a small bowl of high-quality olive oil for dipping, allowing its pure flavors to shine. Alternatively, it can be a magnificent component of a larger, more elaborate menu. Here’s a detailed look at the core ingredients you’ll need, along with some tips for choosing and preparing them:
- Active Dry Yeast: This is the magical leavening agent that gives focaccia its characteristic airy texture. I typically use ordinary active dry yeast, which is widely available in convenient packets at nearly any grocery store. Ensure your yeast is fresh for optimal results – older yeast may not activate properly.
- Warm Water: The temperature of your water is crucial for activating the yeast. It should be comfortably warm to the touch, similar to body temperature or slightly warmer (around 105-115°F or 40-46°C). Avoid hot water, as it will kill the yeast, preventing the dough from rising. Conversely, cold water won’t properly activate the yeast, leading to a sluggish or non-existent rise.
- Granulated Sugar: A small amount of sugar isn’t just for sweetness; it acts as vital food for the yeast, helping it to “bloom” and create that frothy layer on top of the water, indicating it’s alive and ready to work its magic.
- All-Purpose Flour: Standard all-purpose flour works beautifully for focaccia, providing a good balance of protein for structure and tenderness. If you desire a slightly chewier texture, you can substitute bread flour, which has a higher protein content. Measure your flour by spooning it into a measuring cup and then leveling it off, rather than scooping directly from the bag, to avoid compacting it and using too much.
- Kosher Salt: Salt is indispensable in bread making. It enhances the flavor of the dough, balances the sweetness, and helps regulate yeast activity. You’ll need a precise amount for the dough itself, and a little extra flaky sea salt or kosher salt for sprinkling generously over the top of the focaccia before baking, which adds a delightful textural crunch and burst of savory flavor.
- Extra Virgin Olive Oil: Given that olive oil is a foundational ingredient in focaccia, contributing significantly to its rich flavor, tender crumb, and signature aroma, I highly recommend using a high-quality extra-virgin olive oil. Its robust, fruity notes will truly shine through. However, any good quality olive oil you prefer will work well. You’ll need it for the dough, for greasing the bowl and pan, and for that final luscious drizzle over the top.
- Fresh Garlic: Finely minced garlic cloves are key to the pungent, savory essence of this garlic herb focaccia. Freshly minced garlic provides a more vibrant and intense flavor compared to pre-minced or garlic powder.
- Fresh Rosemary and Thyme: These fragrant herbs are the soul of this focaccia. Always opt for fresh sprigs if possible; their vibrant aroma and flavor are unparalleled. To prepare, simply strip the leaves off of the woody stems, discard the stems, and finely chop the leaves. This ensures their essence is evenly distributed throughout the bread.
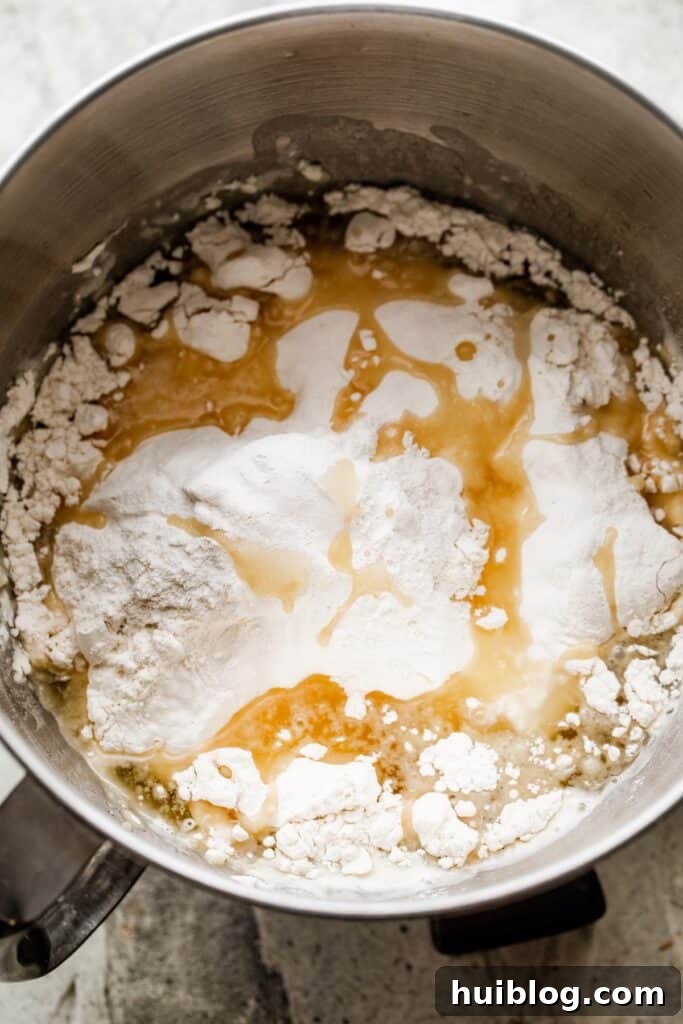
Crafting Your Focaccia: A Step-by-Step Guide
The process of making focaccia will likely feel familiar if you have any experience with baking yeast breads. It involves a sequence of mixing, kneading, and two crucial rising periods, culminating in a gloriously golden-brown loaf. Don’t be intimidated; each step is straightforward and rewarding. Here’s how to create your perfect garlic herb focaccia:
- Activate the Yeast (Bloom): Begin by ensuring your yeast is active. In the bowl of a stand mixer fitted with the whisk attachment, whisk together the warm water, active dry yeast, and sugar. This provides the yeast with warmth and food to awaken it. Let this mixture sit undisturbed for 5 to 10 minutes. During this time, the yeast should become visibly frothy and bubbly on the surface of the liquid. This “bloom” is a clear indication that your yeast is alive and ready to leaven your bread. If it doesn’t foam, your yeast may be old or the water temperature incorrect, and you should start again with fresh yeast.
- Mix the Dough: Once the yeast is bloomed, switch to the dough hook attachment on your stand mixer. Add the all-purpose flour, kosher salt, and ¾ cup of olive oil to the yeast mixture. Start mixing the dough together on low speed for several minutes, allowing the ingredients to thoroughly combine. Continue mixing until the dough comes together and begins to pull away cleanly from the sides of the bowl, forming a somewhat shaggy but cohesive mass. If the dough remains overly sticky and doesn’t pull away, add an additional tablespoon or two of flour, mixing briefly after each addition, until the desired consistency is achieved.
- Knead the Dough: Turn the dough out onto a lightly floured surface. Knead the dough by hand for approximately 5 to 7 minutes. This step is crucial for developing the gluten, which gives the bread its structure and chewiness. Use a push-and-fold motion, adding extra flour a spoonful at a time only if the dough is stubbornly sticky and difficult to handle. The dough is ready when it feels smooth, elastic, and passes the “poke test”: gently poke it with your finger, and the indentation should slightly bounce back. If it’s still too sticky or doesn’t rebound, continue kneading for a few more minutes, adding minimal flour as needed.
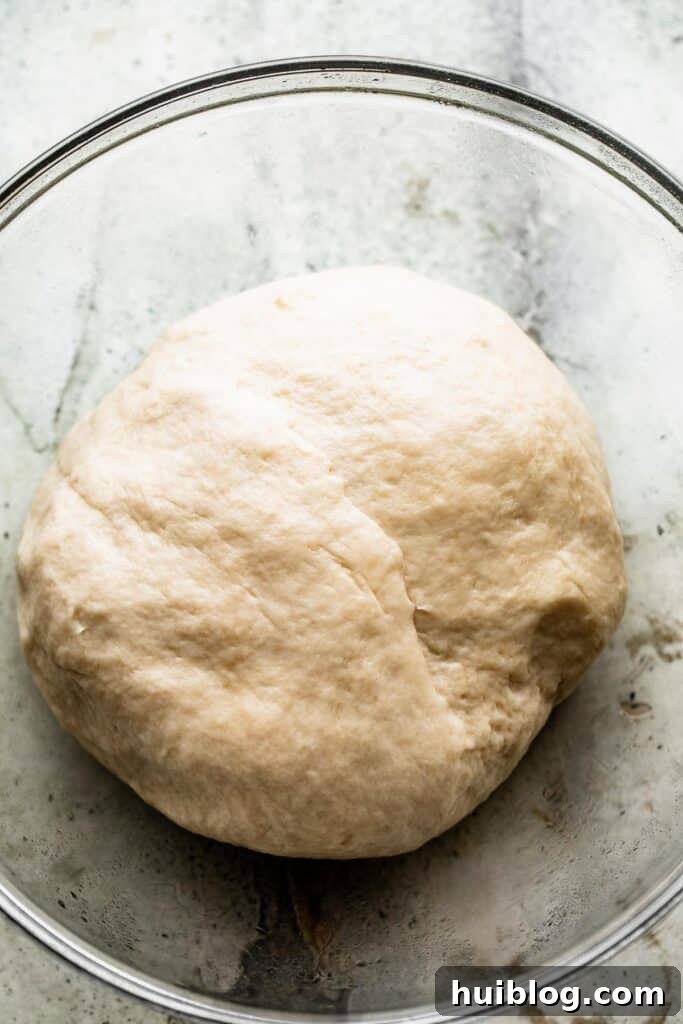
- First Rise (Bulk Fermentation): Once your dough is smooth and elastic, lightly grease a large bowl with olive oil. Place the dough into the greased bowl, turning it over a couple of times to ensure it’s fully coated in the oil. This prevents it from drying out and sticking. Cover the bowl tightly with a damp kitchen towel or plastic wrap, and place it in a warm, draft-free area. Allow the dough to rise for 1 to 2 hours, or until it has visibly doubled in size. The warmth helps the yeast thrive, creating a light and airy texture.
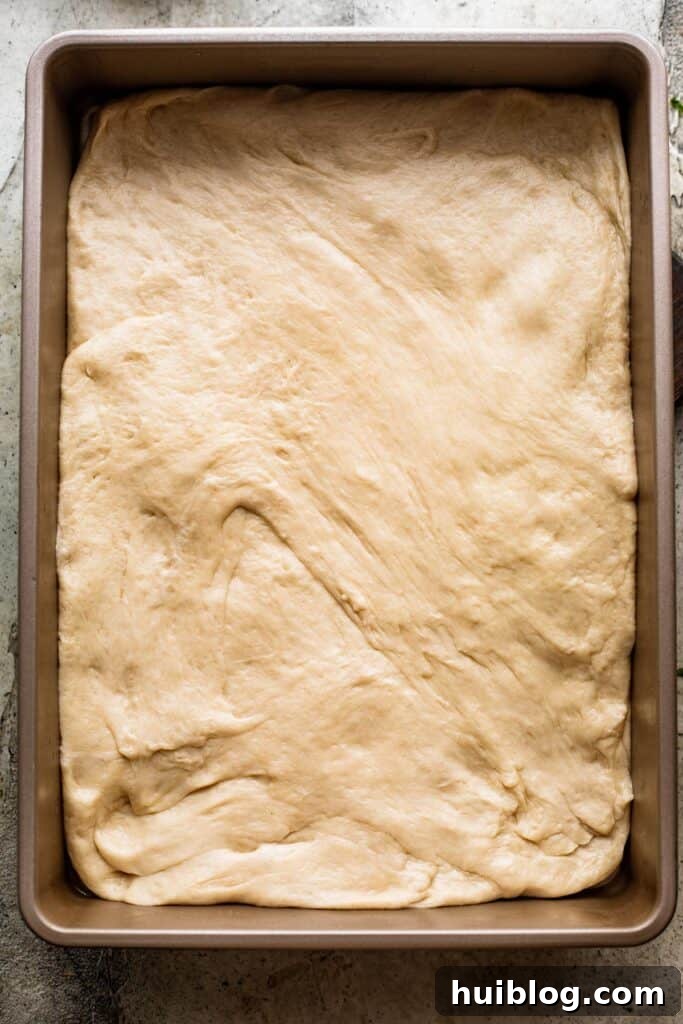
- Shape the Dough: Now it’s time to prepare your baking vessel. Choose a 9×13 inch baking pan that has sides at least 2 inches tall – this will give your focaccia sufficient depth. Generously grease the entire interior of the pan with olive oil. Gently “punch down” the risen dough to release the excess air, then transfer it to the prepared baking pan. Using your fingertips, gently press the dough evenly into the pan, extending it to all corners. This minimal shaping is part of what makes focaccia so easy!
- Second Rise (Proofing): Once the dough is shaped in the pan, cover the baking pan again with a damp kitchen towel. Let the dough rise for another 30 to 45 minutes in a warm spot. This second rise, known as proofing, allows the dough to relax and become even more airy, leading to that characteristic open crumb.
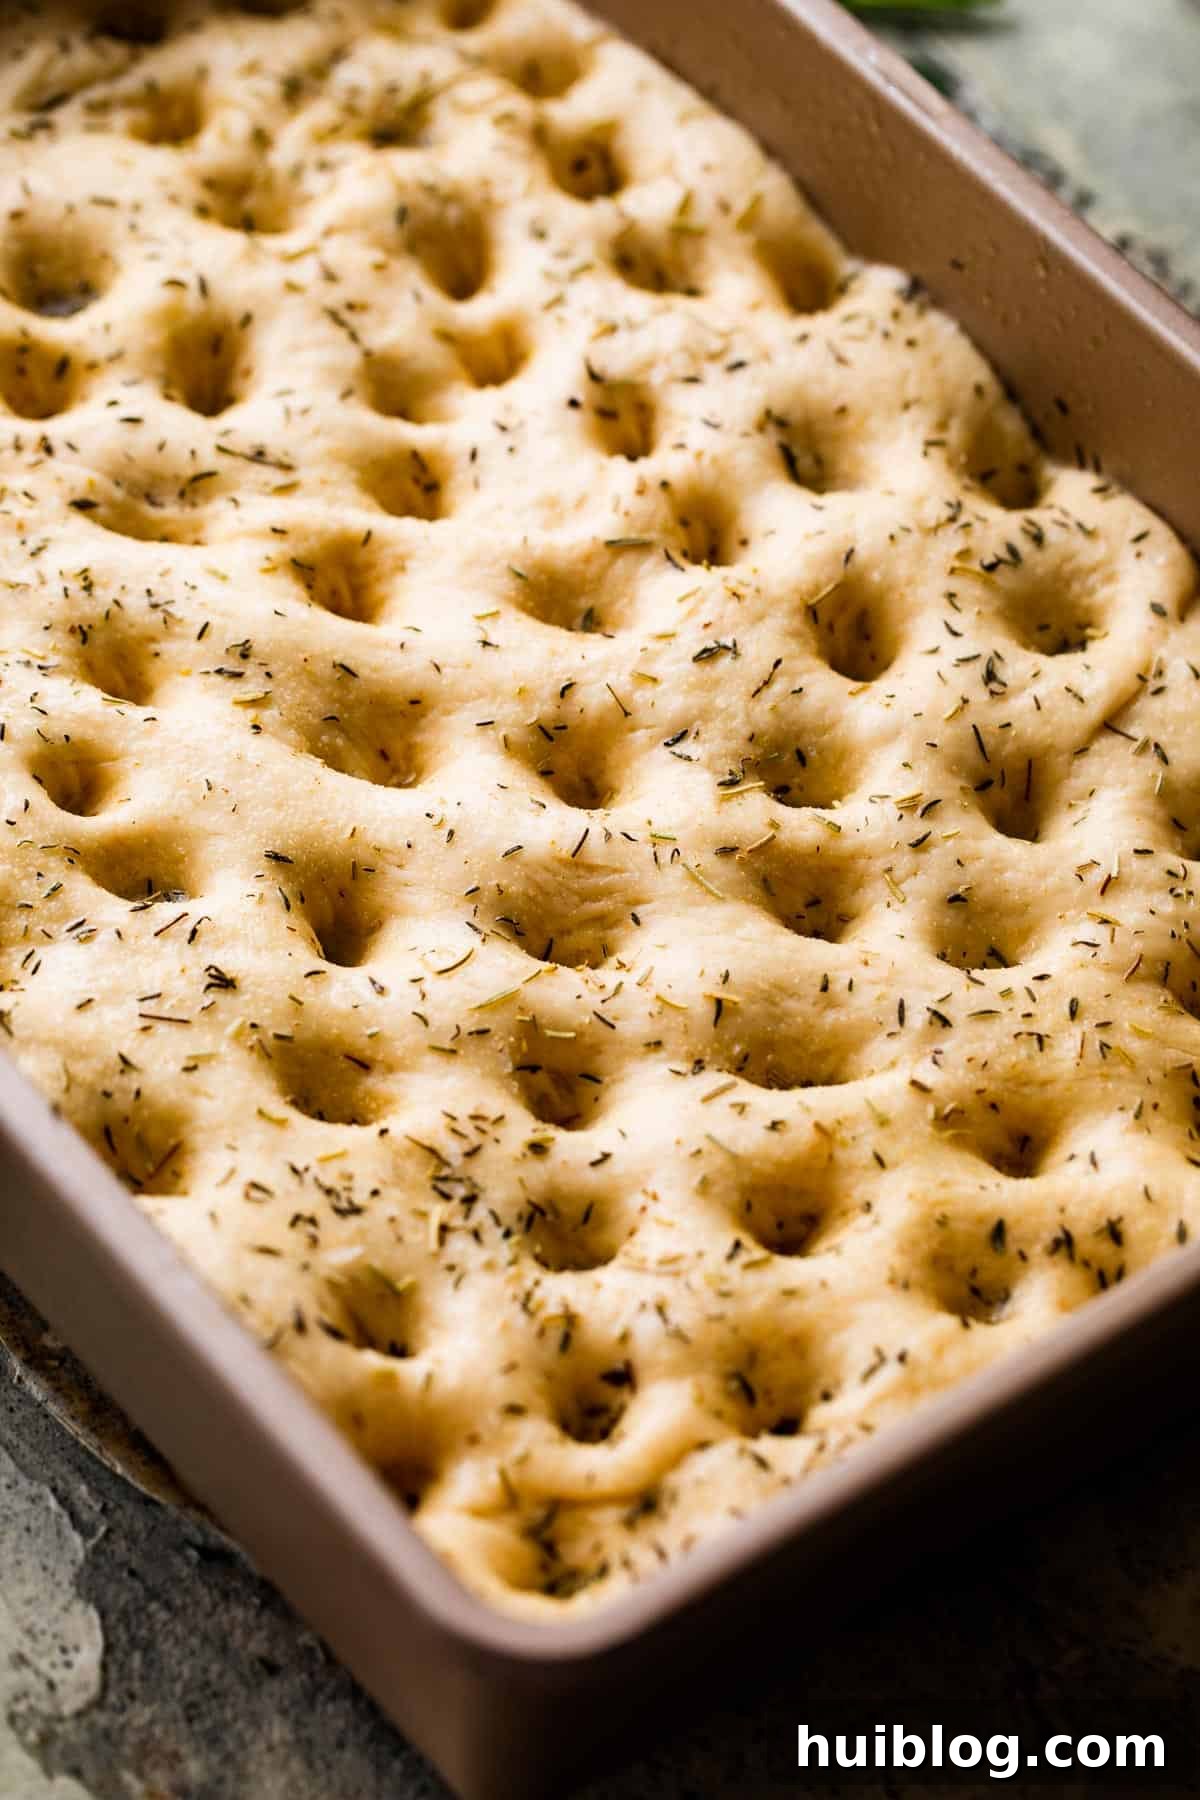
- Bake to Perfection: About 15 minutes before the second rise is complete, preheat your oven to 400°F (200°C). When the dough has finished its second rise, use your fingers (or the handle of a wooden spoon) to gently but firmly poke deep indentations all over the surface of the focaccia, ensuring you go all the way down to the bottom of the pan. These dimples are crucial; they create pockets for olive oil and toppings, and prevent large air bubbles from forming during baking. Generously sprinkle the surface of the dough with an additional pinch of kosher salt (or flaky sea salt), the finely minced garlic, and the chopped fresh rosemary and thyme. Finally, drizzle a couple of tablespoons of extra virgin olive oil evenly over the entire surface. Bake for approximately 20 to 25 minutes, or until the top of the bread is a beautiful golden-brown color and the crust is crisp. Be careful not to overbake, as you want a tender interior.
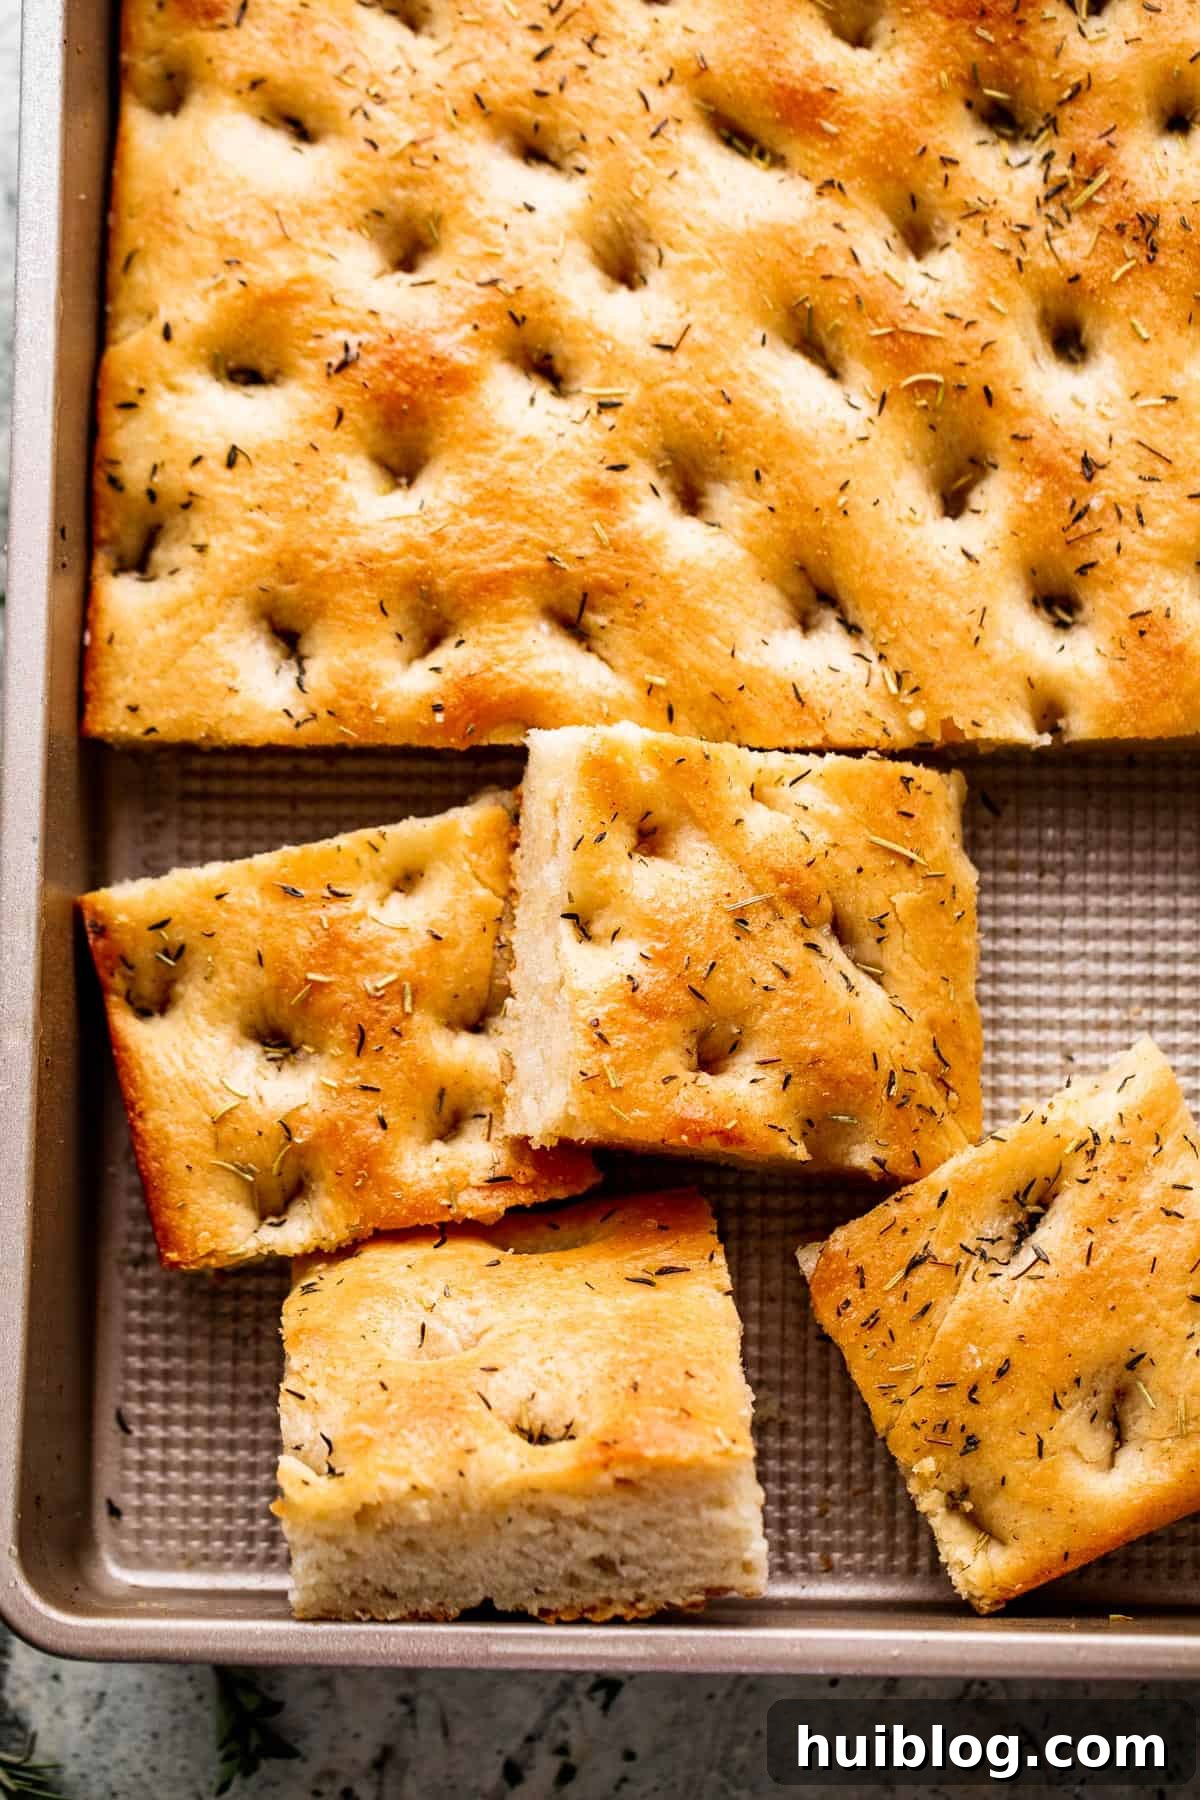
- Serve and Enjoy: Once baked, immediately remove the focaccia from the oven. Carefully transfer it from the hot baking pan to a wire rack to cool slightly. Allowing it to cool for 10 to 15 minutes before slicing helps the crumb set and prevents it from becoming gummy. Cut into squares or strips and serve warm. For an even more indulgent experience, offer additional high-quality olive oil for dipping. This garlic herb focaccia is best enjoyed fresh from the oven, when its aromas and textures are at their peak!
Elevate Your Focaccia: Tips and Creative Variations
This garlic herb focaccia recipe provides a fantastic foundation, but it’s also wonderfully adaptable, inviting you to personalize it and make it uniquely yours. While it’s best to stick to the given amounts for the basic dough ingredients to maintain its perfect structure and texture, you have endless possibilities when it comes to customizing the toppings and flavorings. Don’t be afraid to experiment and unleash your culinary creativity! Here are a few inspiring ideas and helpful tips to get you started:
- Mastering the Dimples: Don’t be shy when poking the holes! Deep dimples are essential for focaccia. They create those signature olive oil pools and prevent the bread from puffing up too much in the center, ensuring that characteristic flat, airy texture.
- Quality Olive Oil is Key: Since olive oil is such a prominent flavor, investing in a good quality extra virgin olive oil will genuinely enhance the taste of your focaccia. It’s worth it!
- Olive Focaccia: For a briny, savory twist, fold ½ to 1 cup of sliced black or green olives (such as Kalamata or Castelvetrano) directly into the dough during the last minute of kneading. Alternatively, you can sprinkle them generously over the top of the dough along with the garlic and herbs before baking.
- Caramelized Onion Focaccia: While the dough is undergoing its second rise, gently cook 1-2 thinly sliced large onions in a skillet with a tablespoon of olive oil and a pinch of salt over low heat. Let them slowly caramelize until they turn a beautiful golden-brown and become wonderfully sweet and tender (this can take 20-30 minutes). Once cooled slightly, sprinkle these sweet, sticky onions over the dough before baking, alongside or in place of the garlic and herbs.
- Cheese Focaccia: Who can resist the allure of cheese? When your focaccia is about two-thirds of the way through its baking time (around 15 minutes in), carefully pull it out of the oven. Generously sprinkle your favorite shredded cheese – such as Parmesan, mozzarella, provolone, or even a blend – over the top. Return it to the oven to finish baking until the cheese is melted, bubbly, and lightly golden.
- Cherry Tomato & Basil Focaccia: For a burst of color and fresh flavor, press halved cherry or grape tomatoes into the dimples of the dough before the final drizzle of olive oil. After baking, sprinkle with fresh basil leaves for a vibrant finish.
- Sun-Dried Tomato & Feta: Chop some oil-packed sun-dried tomatoes and crumble feta cheese. Scatter these over the focaccia before the final bake for a Mediterranean-inspired flavor.
- Spicy Focaccia: Add a pinch of red pepper flakes to the top alongside the herbs for a subtle kick.
- Sweet Focaccia (Focaccia Dolce): Believe it or not, focaccia can be sweet! Omit the garlic and savory herbs. Instead, sprinkle with a little sugar, a pinch of sea salt, and perhaps some thinly sliced fruit like grapes, apples, or figs before baking. A drizzle of honey after baking is also delicious.
Perfect Pairings: How to Enjoy Your Focaccia
Focaccia is incredibly versatile, making it a fantastic accompaniment to a wide array of dishes. While it naturally shines alongside other Italian classics, its subtle yet savory flavor profile also makes it a wonderful addition to your favorite soups, crisp salads, or simply as an artisan-style sandwich bread. Here are some easy and delicious recipe ideas to inspire your next meal:
- Hearty Pasta Dishes: Focaccia is a natural partner for any rich pasta dish, perfect for soaking up every last drop of sauce. Imagine pairing it with an indulgent, cheesy, and saucy Italian classic like The Best Cheese Manicotti. This robust dish, with its tender pasta and creamy filling, is made even better with a piece of warm focaccia on the side – a true comfort food experience perfect for a special occasion or a cozy family dinner.
- Creamy Soups: There’s nothing quite like a warm bowl of creamy soup paired with a slice of homemade bread. The soft, absorbent texture of focaccia makes it ideal for dipping into velvety soups. Try it with a comforting Easy Cream of Asparagus Soup, where its herbaceous notes will complement the fresh asparagus flavor, or with a classic, deeply satisfying Roasted Tomato Basil Soup. The focaccia acts as a perfect edible spoon, adding texture and flavor to every spoonful.
- Vibrant Salads: Focaccia adds substance and a delightful chew to lighter meals. Serve it alongside a robust and crisply crunchy Steak Salad, topped with perfectly sliced steak, sweet grape tomatoes, tangy feta, and a vibrant dressing. The warm, golden focaccia provides a wonderful contrast to the cool, fresh salad, making for a truly balanced and satisfying meal. It’s a delicious way to enjoy both textures and flavors.
- Charcuterie Boards: Focaccia, especially with its savory toppings, is a superb addition to any charcuterie or cheese board. Tear it into rustic pieces and serve alongside cured meats, various cheeses, olives, and fruit for an impressive appetizer spread.
- With Grilled Meats: The robust flavors of focaccia pair beautifully with grilled chicken, steak, or lamb. It’s perfect for absorbing the juices and complementing the smoky notes of the grill.
- Breakfast or Brunch: Cut focaccia into smaller squares and serve it alongside scrambled eggs, smoked salmon, or even as a base for a mini breakfast pizza with fresh herbs and a fried egg.
Preparing Focaccia in Advance: Make-Ahead Tips
Focaccia is an excellent recipe to prepare ahead of time, allowing you to enjoy freshly baked bread with minimal effort on the day you plan to serve it. The key to making this recipe ahead lies in controlling the dough’s rising process. You can easily make the dough, complete its first rise, and then let it develop its flavors slowly in the refrigerator overnight. To do this, after the first rise, simply cover the bowl of dough tightly with plastic wrap to prevent a skin from forming and chill it in the refrigerator for up to 24 hours. The cold temperature significantly slows down yeast activity, allowing for a longer, slower fermentation which can actually enhance the flavor of the bread.
The next day, when you’re ready to bake, remove the bowl of dough from the refrigerator and let it sit at room temperature for about 30 to 60 minutes. This allows the dough to warm up slightly and the yeast to reactivate. Once it’s tempered, gently punch the dough down to release any accumulated gas, then proceed with shaping it into your baking pan and allowing it to undergo its second rise as directed in the recipe. This method is incredibly convenient for entertaining or for ensuring fresh bread on a busy weeknight.
Storing Leftover Focaccia for Maximum Freshness
While focaccia is undoubtedly best enjoyed fresh, you can certainly store any leftovers to savor later. Proper storage is key to maintaining its delicious texture and preventing it from drying out. Here’s how to keep your garlic herb focaccia fresh:
- To store, allow the focaccia to cool completely to room temperature before wrapping. Once cooled, wrap your leftover focaccia tightly in plastic wrap, aluminum foil, or place it into large, airtight zip-top bags. Press out as much air as you can before sealing to prevent staleness.
- Store the wrapped focaccia on the counter at room temperature for 1 to 2 days. For slightly longer storage, you can keep it in the refrigerator for up to 2 to 3 days. Refrigeration can sometimes alter the texture of bread, making it a little chewier, but it will still be delicious.
- You can serve leftover focaccia at room temperature, or for a revived texture and warmth, gently reheat it. Place slices in a preheated oven or toaster oven at 350°F (175°C) for 5-10 minutes, or until warmed through and lightly re-crisped. Avoid microwaving, as it can make the bread rubbery.
Freezing Focaccia: Yes, You Can!
Freezing is an excellent way to preserve your homemade focaccia for longer periods, ensuring you always have a delicious piece of Italian bread ready to go. Leftover focaccia freezes exceptionally well, allowing you to enjoy its fresh taste weeks or even months later.
- For optimal freezing, it’s best to freeze focaccia shortly after it has cooled completely. You can freeze it as a whole loaf, in large squares, or even individual servings. Wrap the focaccia tightly in plastic wrap, then an additional layer of aluminum foil, or place it into heavy-duty freezer bags. Make sure to remove as much air as possible to prevent freezer burn.
- Label your wrapped focaccia with the date, and freeze for up to one month for best quality. It can technically last longer, but the texture and flavor may begin to degrade.
- To thaw, simply remove the frozen focaccia from the freezer and let it sit at room temperature for several hours, or overnight, still wrapped. Once thawed, you can serve it at room temperature, or reheat it in a preheated oven at 350°F (175°C) for 10-15 minutes to warm it through and restore its fresh-baked texture and crispness. A quick reheat will bring back its delightful aroma and a tender crumb.
Explore More Homemade Bread Recipes
If you’ve enjoyed the rewarding process of baking this Garlic Herb Focaccia, you’ll be thrilled to discover other wonderful bread recipes that are equally satisfying to make at home. Expanding your repertoire of homemade breads is a delightful culinary journey. Here are a few more easy and delicious options to inspire your next baking adventure:
- No-Knead Dutch Oven Bread: A revolutionary recipe that offers artisanal crust and crumb with minimal effort, perfect for beginners.
- Spinach and Feta No-Yeast Bread: A quick and flavorful savory bread that comes together without the need for yeast or rising time.
- Easy Homemade Flatbread Recipe: Versatile and simple, these flatbreads are perfect for wraps, dips, or as a side to any meal.