
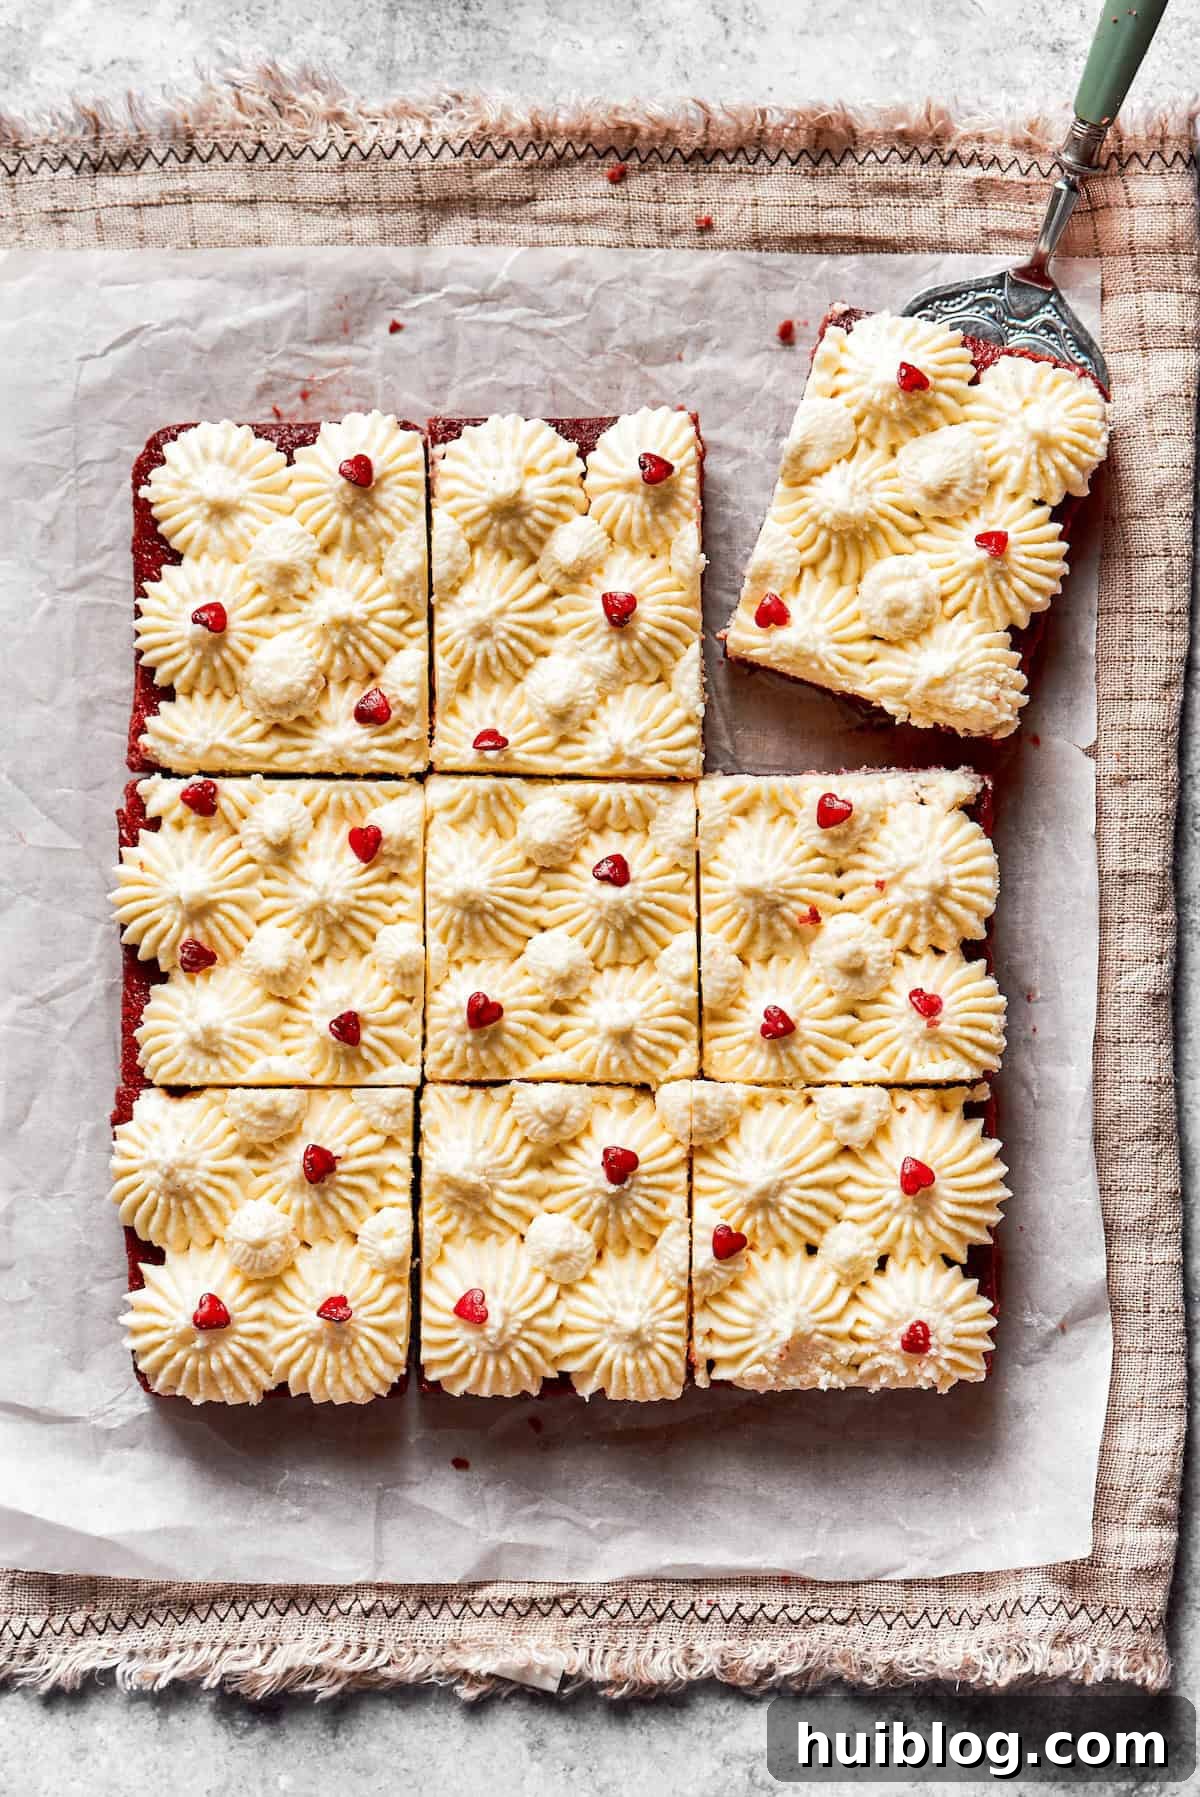
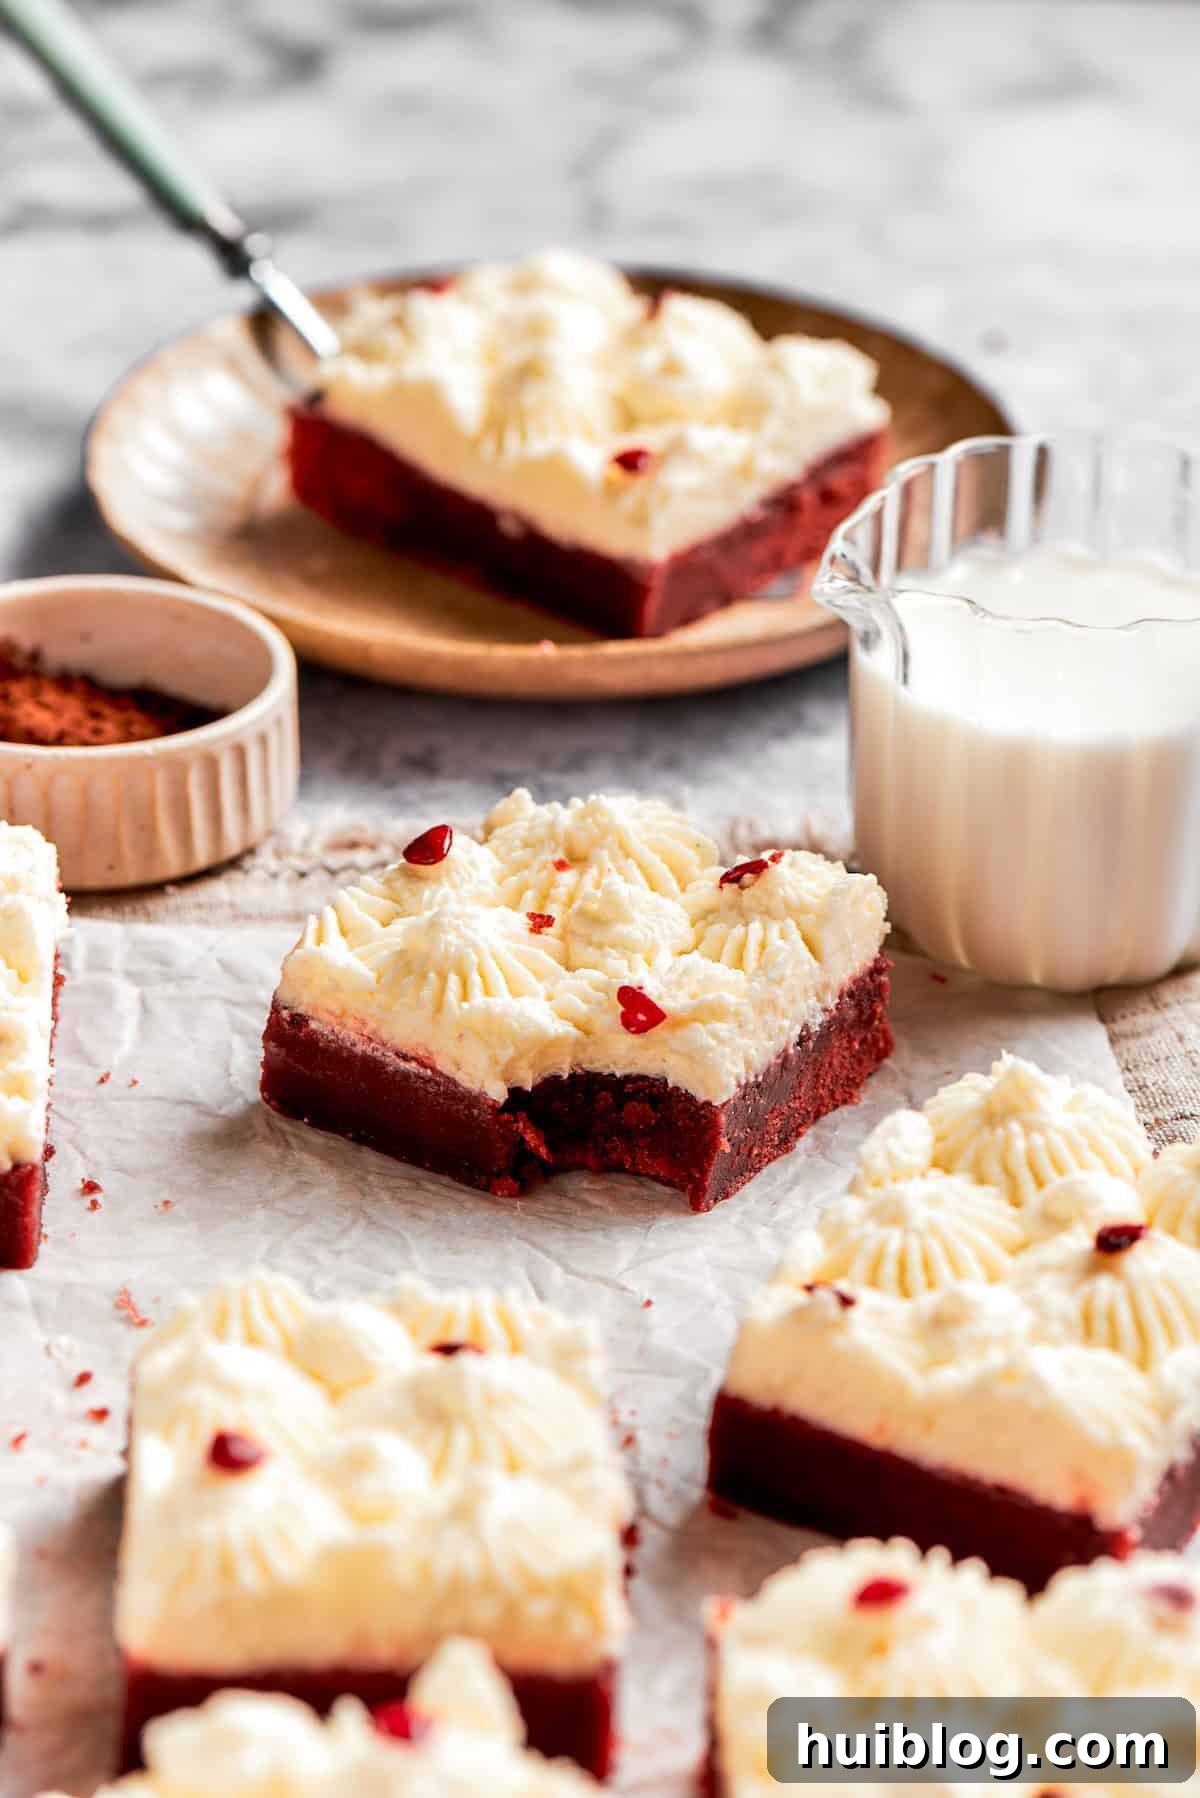
Indulge in the luxurious fusion of two beloved desserts: Red Velvet Brownies. These gorgeous, deeply crimson brownies are a handheld marvel, marrying the rich, subtle chocolate notes of a classic red velvet cake with the dense, fudgy texture of your favorite brownie. Each square is crowned with a generous, tangy swirl of cream cheese frosting, creating an irresistible balance of flavors and textures that will captivate your senses. Perfect for celebrating special occasions like Valentine’s Day or Christmas, or simply to elevate any ordinary day into a sweet celebration.
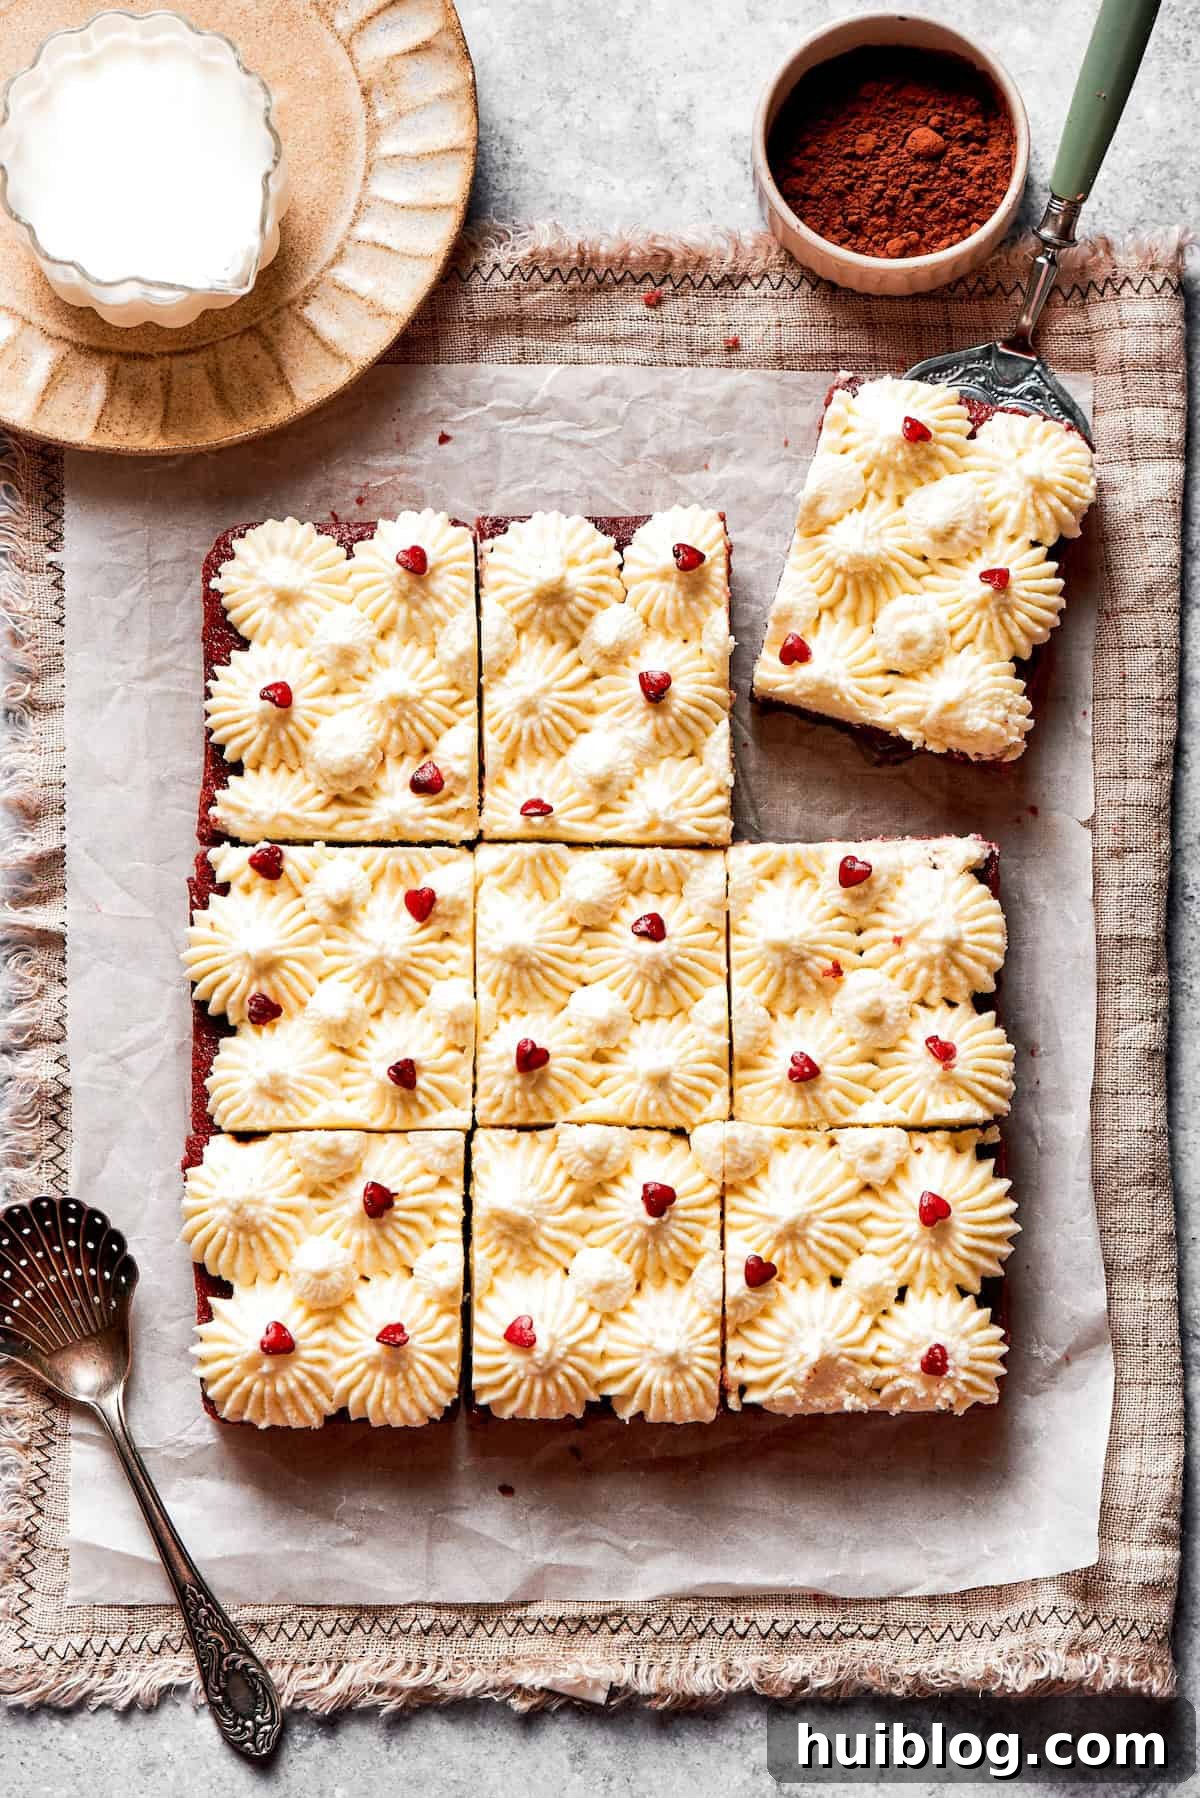
For those who adore the moist crumb and iconic flavor of red velvet cake, transforming it into a brownie offers a delightful new experience. I find immense joy in reimagining classic recipes to create fresh, exciting variations—much like my popular pecan pie brownies. These red velvet brownies are not only stunningly beautiful but also incredibly easy to share and enjoy. Similar to my cherished cream cheese brownies, cream cheese plays a pivotal role here, not just as a frosting, but as the perfect tangy counterpoint to the sweet, subtly chocolatey brownie base. And if you’re looking for an alternative with less chocolate, you could easily adapt a blonde brownie recipe by adding vibrant red food coloring for an equally eye-catching dessert.
The allure of red velvet lies in its distinctive color, delicate cocoa flavor, and, crucially, its signature cream cheese frosting. This recipe captures all those elements in a more approachable, fudgy brownie form. The slight tang from buttermilk (or vinegar working with cocoa) and cream cheese beautifully cuts through the sweetness, preventing the dessert from being overly rich. It’s a sophisticated twist on a humble brownie, elevating it to gourmet status with minimal effort. Whether you’re a seasoned baker or just starting out, these red velvet brownies promise a rewarding baking experience and a truly unforgettable treat.
Why You’ll Absolutely Love These Irresistible Red Velvet Brownies
These aren’t just any brownies; they’re a celebration in every bite. Here’s why these red velvet brownies will quickly become a favorite in your dessert repertoire:
- A Unique Twist on a Classic: While traditional brownies hold a special place in our hearts, these red velvet brownies offer a refreshing and exciting departure. The vibrant red hue, combined with a subtle cocoa flavor, makes them instantly recognizable and creates a memorable dessert experience that stands out from the usual chocolate varieties. It’s a perfect way to introduce a touch of elegance to your dessert table.
- Perfect for Special Occasions: Thanks to their striking color, these brownies are tailor-made for festive celebrations. They are an absolute showstopper for Valentine’s Day, symbolizing love and passion. But their appeal doesn’t stop there; they’re equally perfect for Christmas gatherings, adding a pop of color to holiday spreads, or even for anniversaries and birthdays. They bring joy and a sense of occasion wherever they go.
- The Ultimate Sweet-Tangy Flavor Balance: This recipe masterfully achieves the perfect equilibrium between sweetness and tang. The soft, fudgy brownie base, infused with just the right amount of cocoa, provides a comforting sweetness. This is beautifully complemented by the slightly tangy, creamy, and decadent cream cheese frosting. Each bite offers a harmonious blend that prevents the dessert from being cloyingly sweet, inviting you to reach for another square.
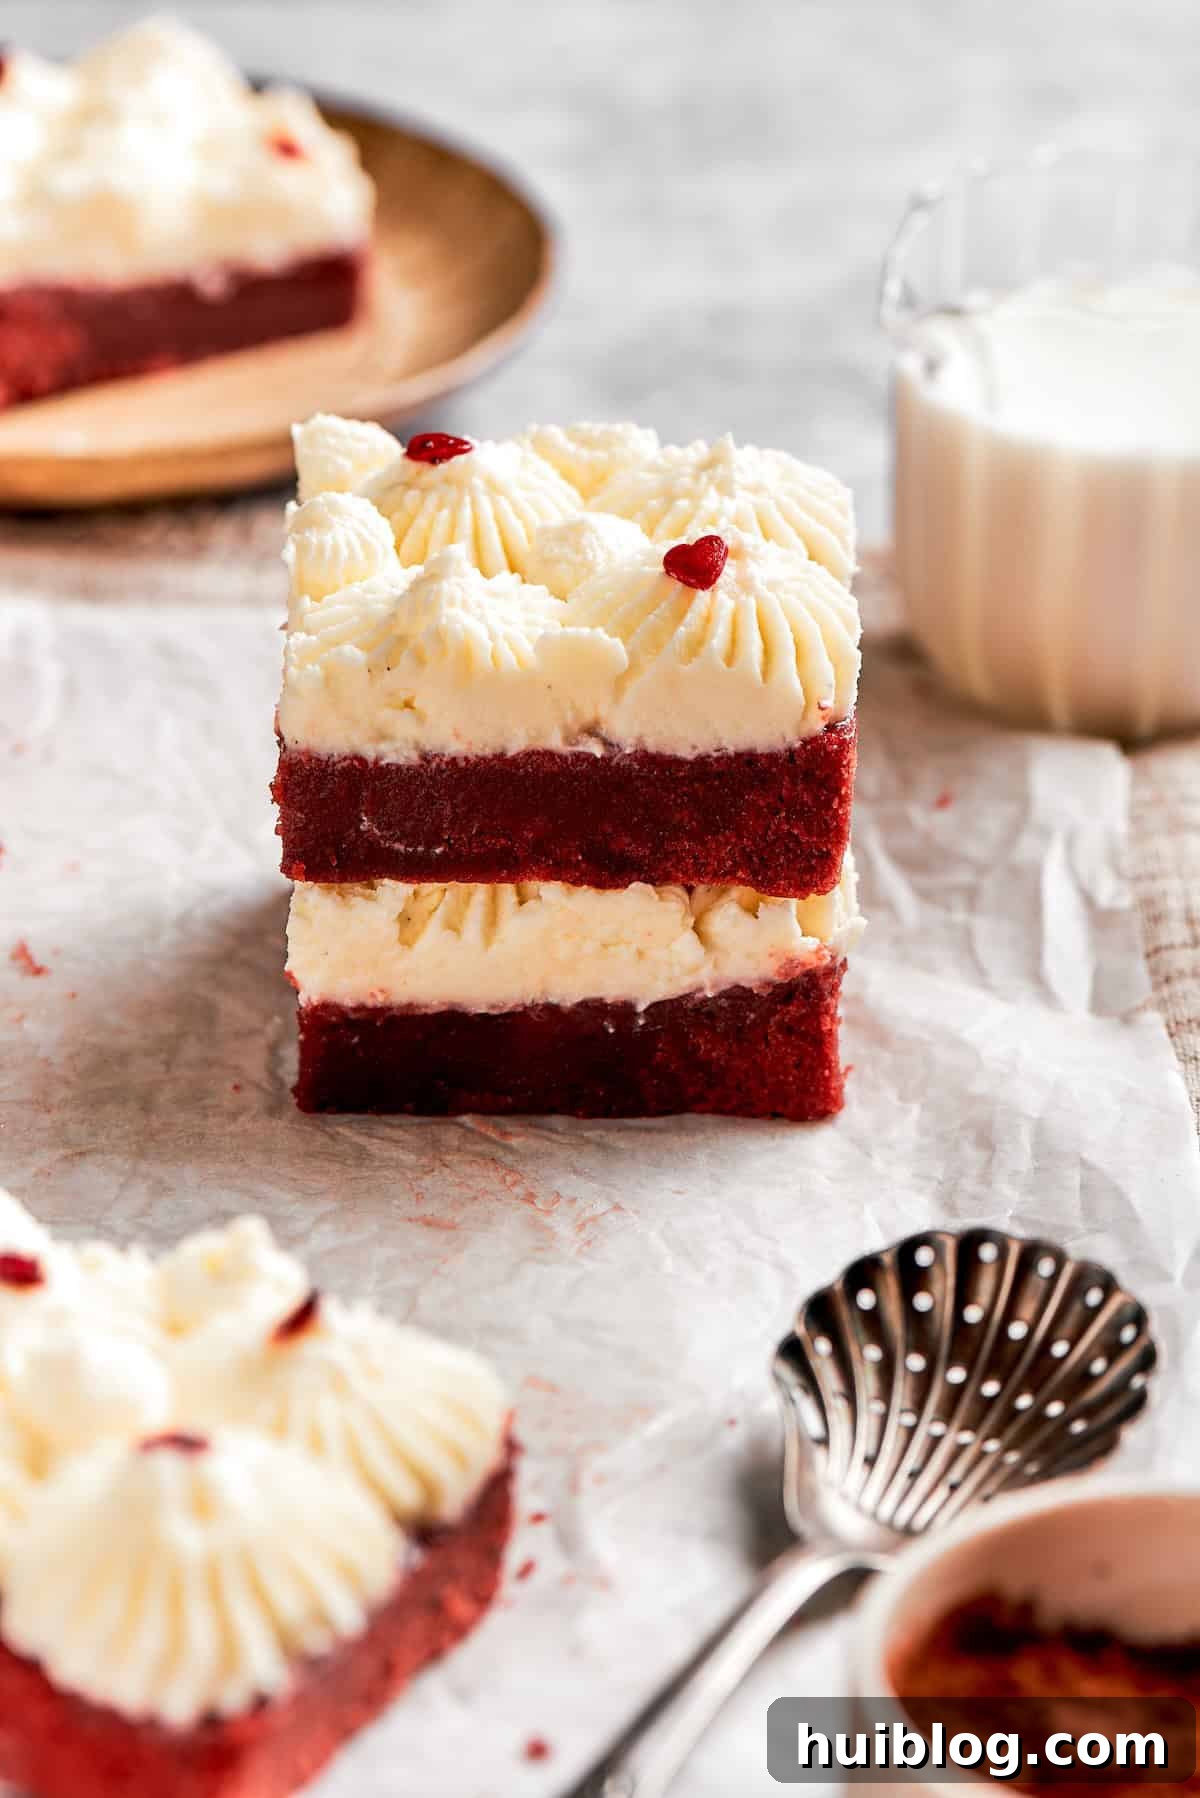
- Visually Stunning and Impressive: Let’s be honest, we eat with our eyes first! These red velvet beauties are incredibly photogenic and inherently pretty. The deep red of the brownie against the pristine white swirl of frosting creates a striking contrast that is undeniably appealing. While I cherish all brownies, including my super fudgy homemade brownies, these red velvet brownies truly are one-of-a-kind in their elegant presentation, making them an impressive treat for guests or a delightful personal indulgence.
- Easy to Make Yet Gourmet-Level: Despite their sophisticated appearance and complex flavor profile, this recipe is surprisingly straightforward to follow. Even novice bakers can achieve spectacular results, making them an accessible option for anyone craving a truly special homemade dessert. You get gourmet quality without the gourmet effort!
Essential Ingredients for Red Velvet Brownies
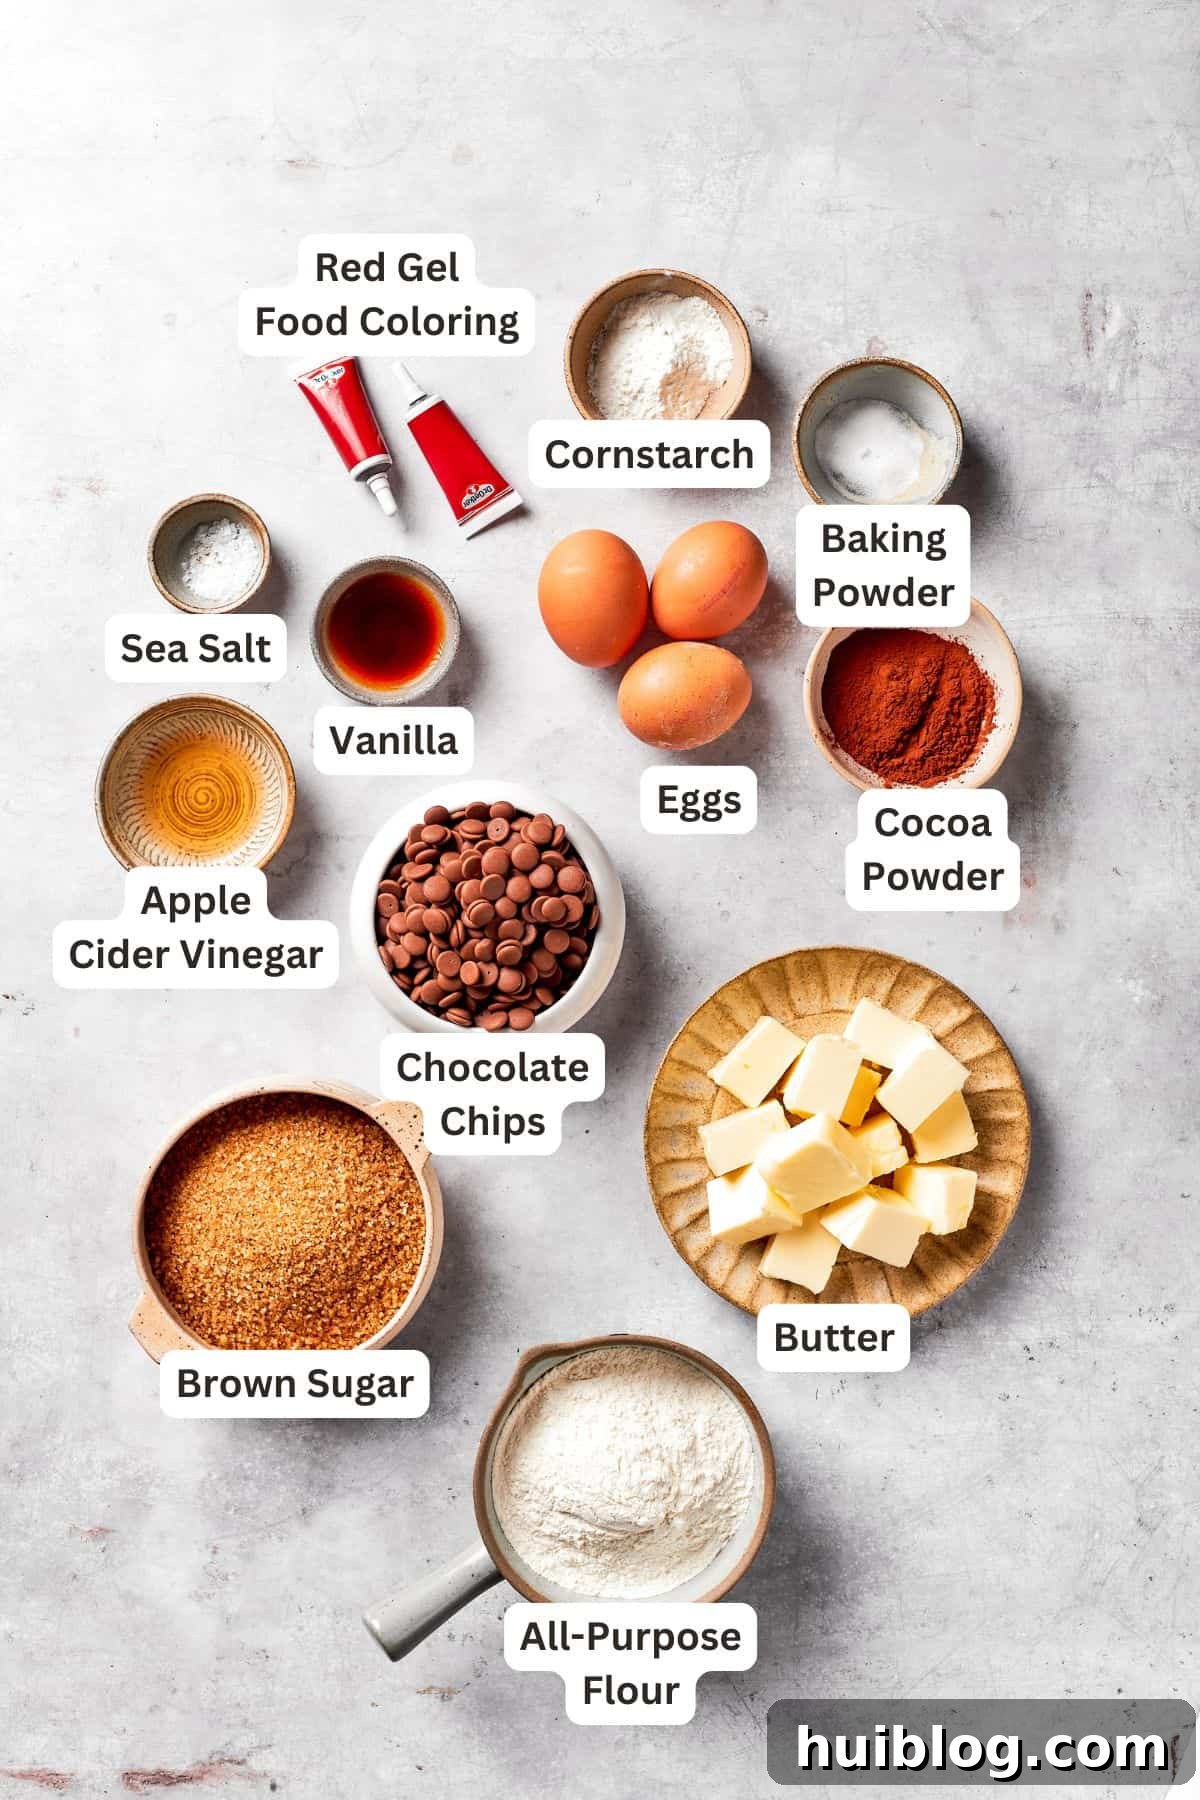
Crafting the perfect red velvet brownie requires a careful selection of ingredients, each playing a crucial role in achieving that signature flavor, color, and texture. Here’s a detailed look at everything you’ll need, along with helpful notes and potential substitutions to ensure your baking success. You can find the precise ingredient amounts listed in the comprehensive recipe card towards the end of this post.
- Unsalted Butter: Ensure your butter is at room temperature for optimal creaming and mixing. This allows it to emulsify better with other ingredients, creating a smoother, more consistent batter. If you only have salted butter, reduce or omit the additional salt called for in the recipe to prevent over-salting.
- Semi-Sweet Chocolate Chips: I prefer using good quality semi-sweet chocolate chips as they provide a balanced chocolate flavor without overwhelming the subtle cocoa notes of red velvet. Regular-sized chips melt beautifully and contribute to the fudgy texture. You can also use chopped baking chocolate for a more intense chocolate flavor.
- Brown Sugar (Light or Dark): Both light and dark brown sugar work wonderfully, lending moisture and a rich, caramel-like depth of flavor to the brownies. Dark brown sugar will provide a slightly deeper molasses flavor, which can be a nice touch. Make sure it’s packed when measuring to ensure accuracy.
- Large Eggs: Like butter, room temperature eggs are essential for smooth incorporation into the brownie batter. They help bind the ingredients, add richness, and contribute to the brownie’s structure and texture. Cold eggs can cause the batter to seize and separate.
- Pure Vanilla Extract: A crucial flavor enhancer, pure vanilla extract elevates all the other ingredients. Avoid artificial vanilla for the best taste. Vanilla bean paste is an excellent substitute if you desire a more pronounced vanilla flavor and visible specks.
- Dry Ingredients:
- All-Purpose Flour: The foundation of our brownie structure. Measure it correctly by spooning it into a measuring cup and leveling it off.
- Unsweetened Dutch-Processed Cocoa Powder: This is key for true red velvet. Dutch-processed cocoa powder is less acidic than natural cocoa, resulting in a deeper, richer chocolate flavor and a more vibrant red color when combined with the food coloring and vinegar. It helps neutralize the acid, allowing the red color to shine through.
- Cornstarch: A secret ingredient for a perfectly tender and chewy brownie. It slightly reduces gluten development, contributing to that desirable fudgy texture.
- Baking Powder: Provides a slight lift, ensuring the brownies are not too dense and have a pleasant texture.
- Salt: Balances the sweetness and enhances the overall flavor profile of the brownies, just a pinch is often all that’s needed to make all the flavors sing.
- Vinegar (Apple Cider or White): This ingredient is vital for activating the red color in the cocoa powder (even Dutch-processed still benefits from a touch of acid for color enhancement) and providing that characteristic slight tang often found in red velvet. Apple cider vinegar adds a subtle fruity note, but regular white vinegar works just as well.
- Red Gel Food Coloring: For the most vibrant and rich red hue, gel food coloring is highly recommended. It’s much more concentrated than liquid food coloring, meaning you need less of it to achieve a deep color without adding excess moisture to your batter. Start with the suggested amount and adjust to your desired intensity.
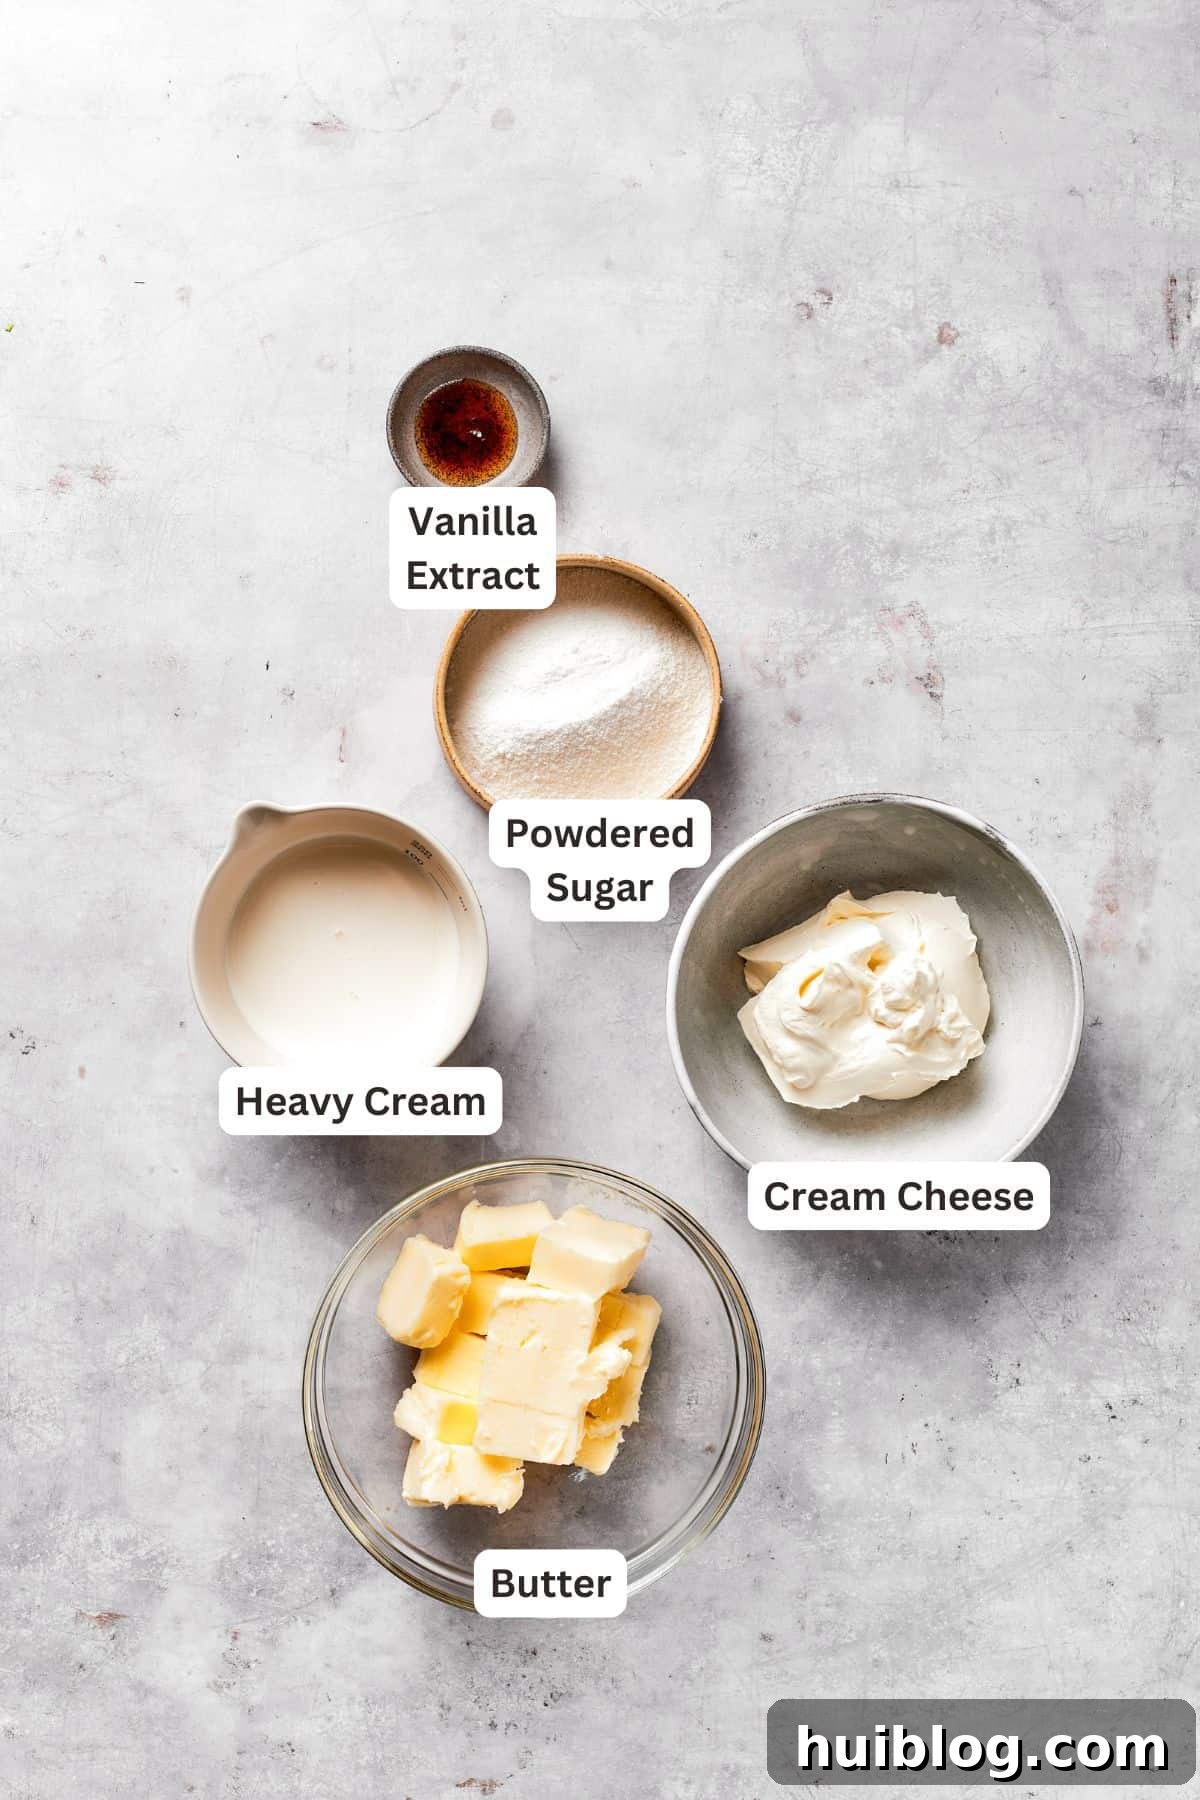
- For The Cream Cheese Frosting:
- Block, Full-Fat Cream Cheese: Always use full-fat block cream cheese, softened to room temperature. This ensures a thick, stable, and creamy frosting. Low-fat or whipped cream cheese varieties have too much water content and won’t yield the same results.
- (Sifted) Powdered Sugar: Also known as confectioners’ sugar. Sifting it is crucial to prevent lumps and ensure a silky-smooth frosting. It provides sweetness and body.
- Vanilla Extract or Vanilla Bean Paste: Adds warmth and depth to the frosting, complementing the brownie flavor.
- Unsalted Butter: Softened to room temperature, it provides richness and helps create a fluffy, spreadable frosting texture.
- Heavy Cream: This is often added at the end to lighten the frosting and make it incredibly smooth and pipeable. It gives the frosting a luxurious, whipped texture.
Expert Tips and Creative Variation Ideas
Achieving bakery-quality red velvet brownies at home is easier than you think with these helpful tips and creative twists:
- Ensure Room Temperature Ingredients: This tip is paramount in baking, especially for brownies and frosting. Butter, eggs, and cream cheese at room temperature emulsify effortlessly, creating a smooth, homogenous batter and a lump-free, fluffy frosting. Cold ingredients can lead to a lumpy batter or frosting that separates. Plan ahead and take them out of the fridge at least 30 minutes to an hour before you begin baking.
- The Right Cocoa Powder Matters: For the most authentic red velvet flavor and color, Dutch-processed cocoa powder is your best friend. Its lower acidity results in a richer, darker chocolate base and, more importantly, allows the red food coloring to truly pop. Always use unsweetened cocoa to control the overall sweetness of your brownies. Natural cocoa powder is higher in acid and reacts differently with baking soda, yielding a less vibrant red and a different flavor profile.
- Mastering the Red Hue: The intensity of the red color is entirely up to you! Start with the recommended amount of red gel food coloring. Gel coloring is concentrated, so a little goes a long way and won’t thin your batter. Add a bit more, drop by drop, until you achieve your desired deep crimson shade. Remember, the color will slightly darken during baking.
- For Impeccably Clean Cuts: Patience is key here. After frosting, chill your red velvet brownies in the refrigerator for at least 15-20 minutes, or even longer (up to an hour), before slicing. This firms up both the brownie and the frosting, allowing you to cut neat, sharp squares or rectangles with a sharp, clean knife. For extra perfection, wipe your knife clean with a warm, damp cloth between each cut.
- Don’t Overmix the Batter: Once you’ve added the dry ingredients to the wet, mix only until just combined. Overmixing can develop the gluten in the flour, leading to tough or cakey brownies instead of the desired fudgy texture. A few streaks of flour are perfectly fine and will disappear during baking.
- Prevent Overbaking: Fudgy brownies are the goal! Keep an eye on your baking time. A toothpick inserted into the center should come out with moist crumbs, not wet batter, but also not completely clean. If it comes out clean, your brownies might be on the drier, cakey side. Remember that brownies continue to cook slightly from residual heat after being removed from the oven.
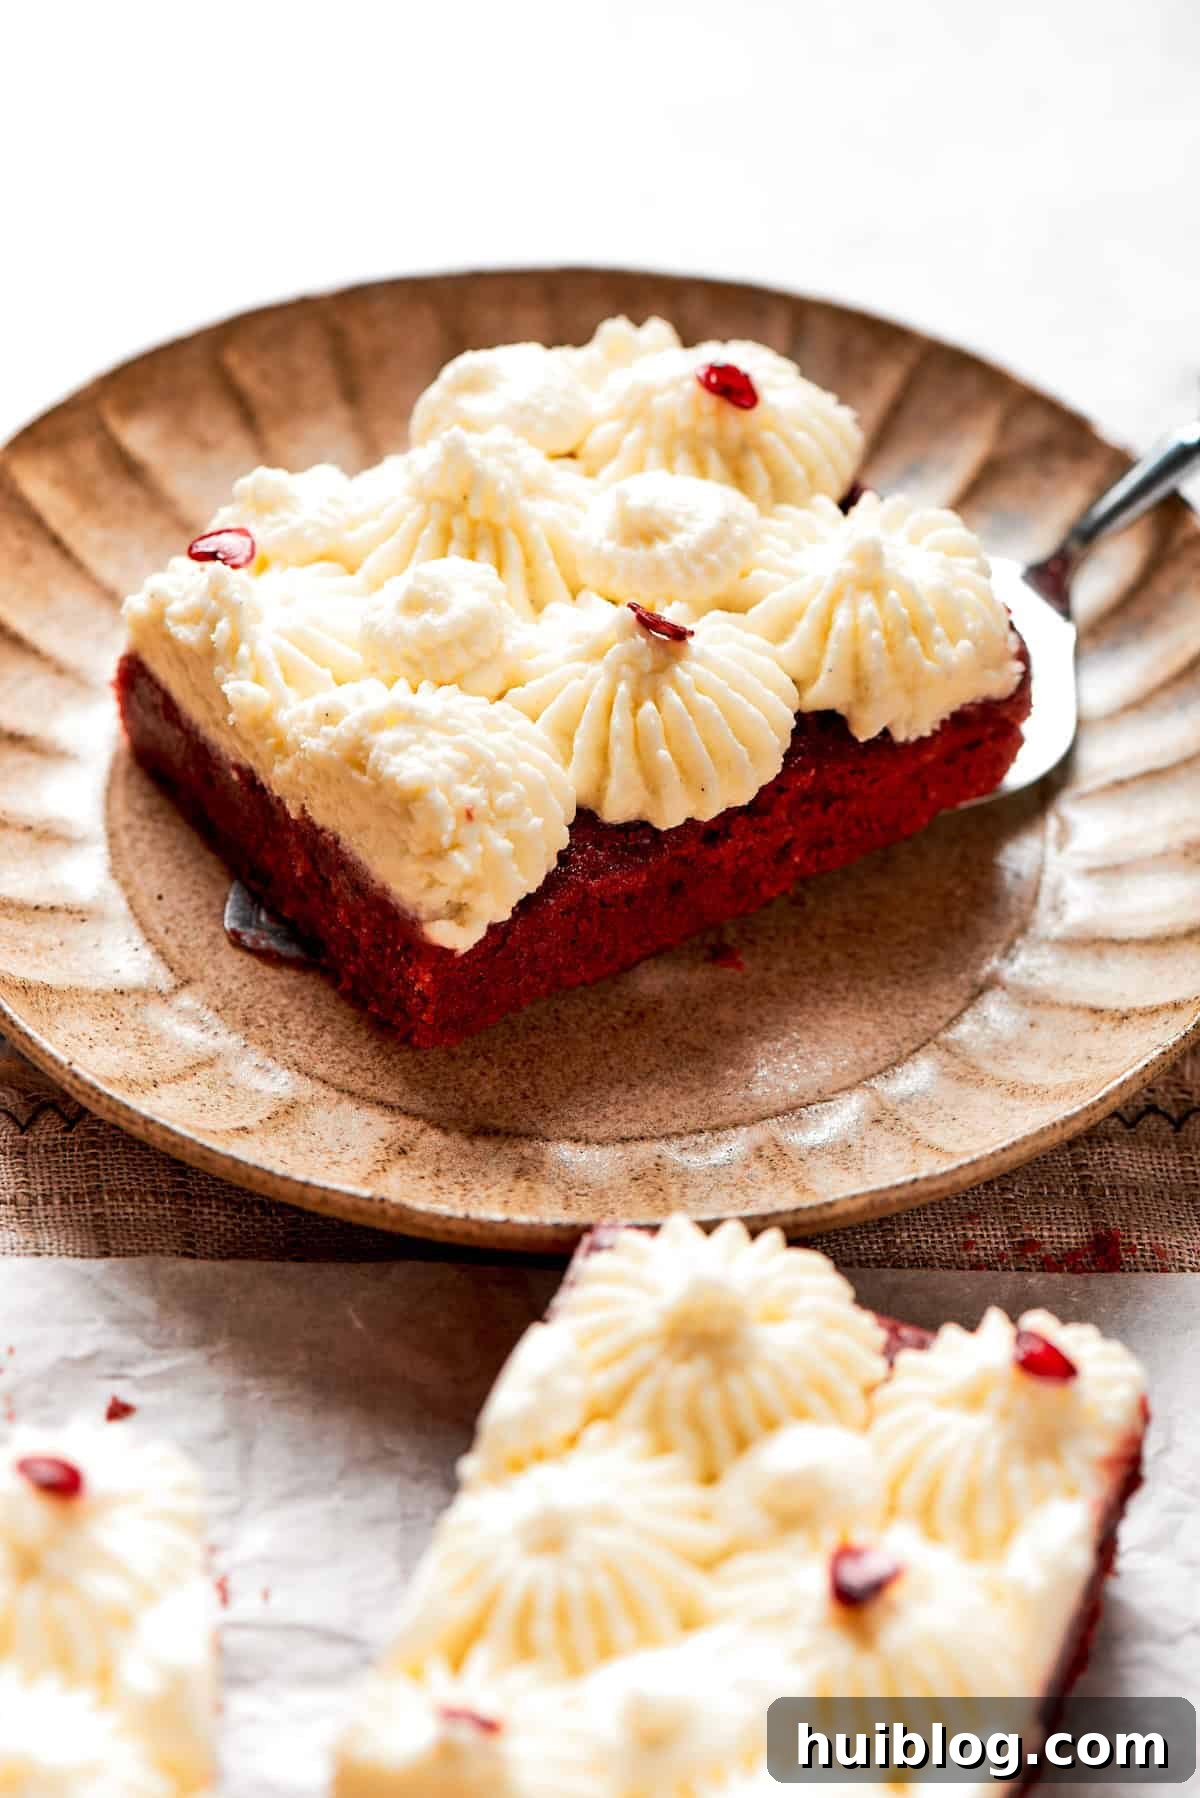
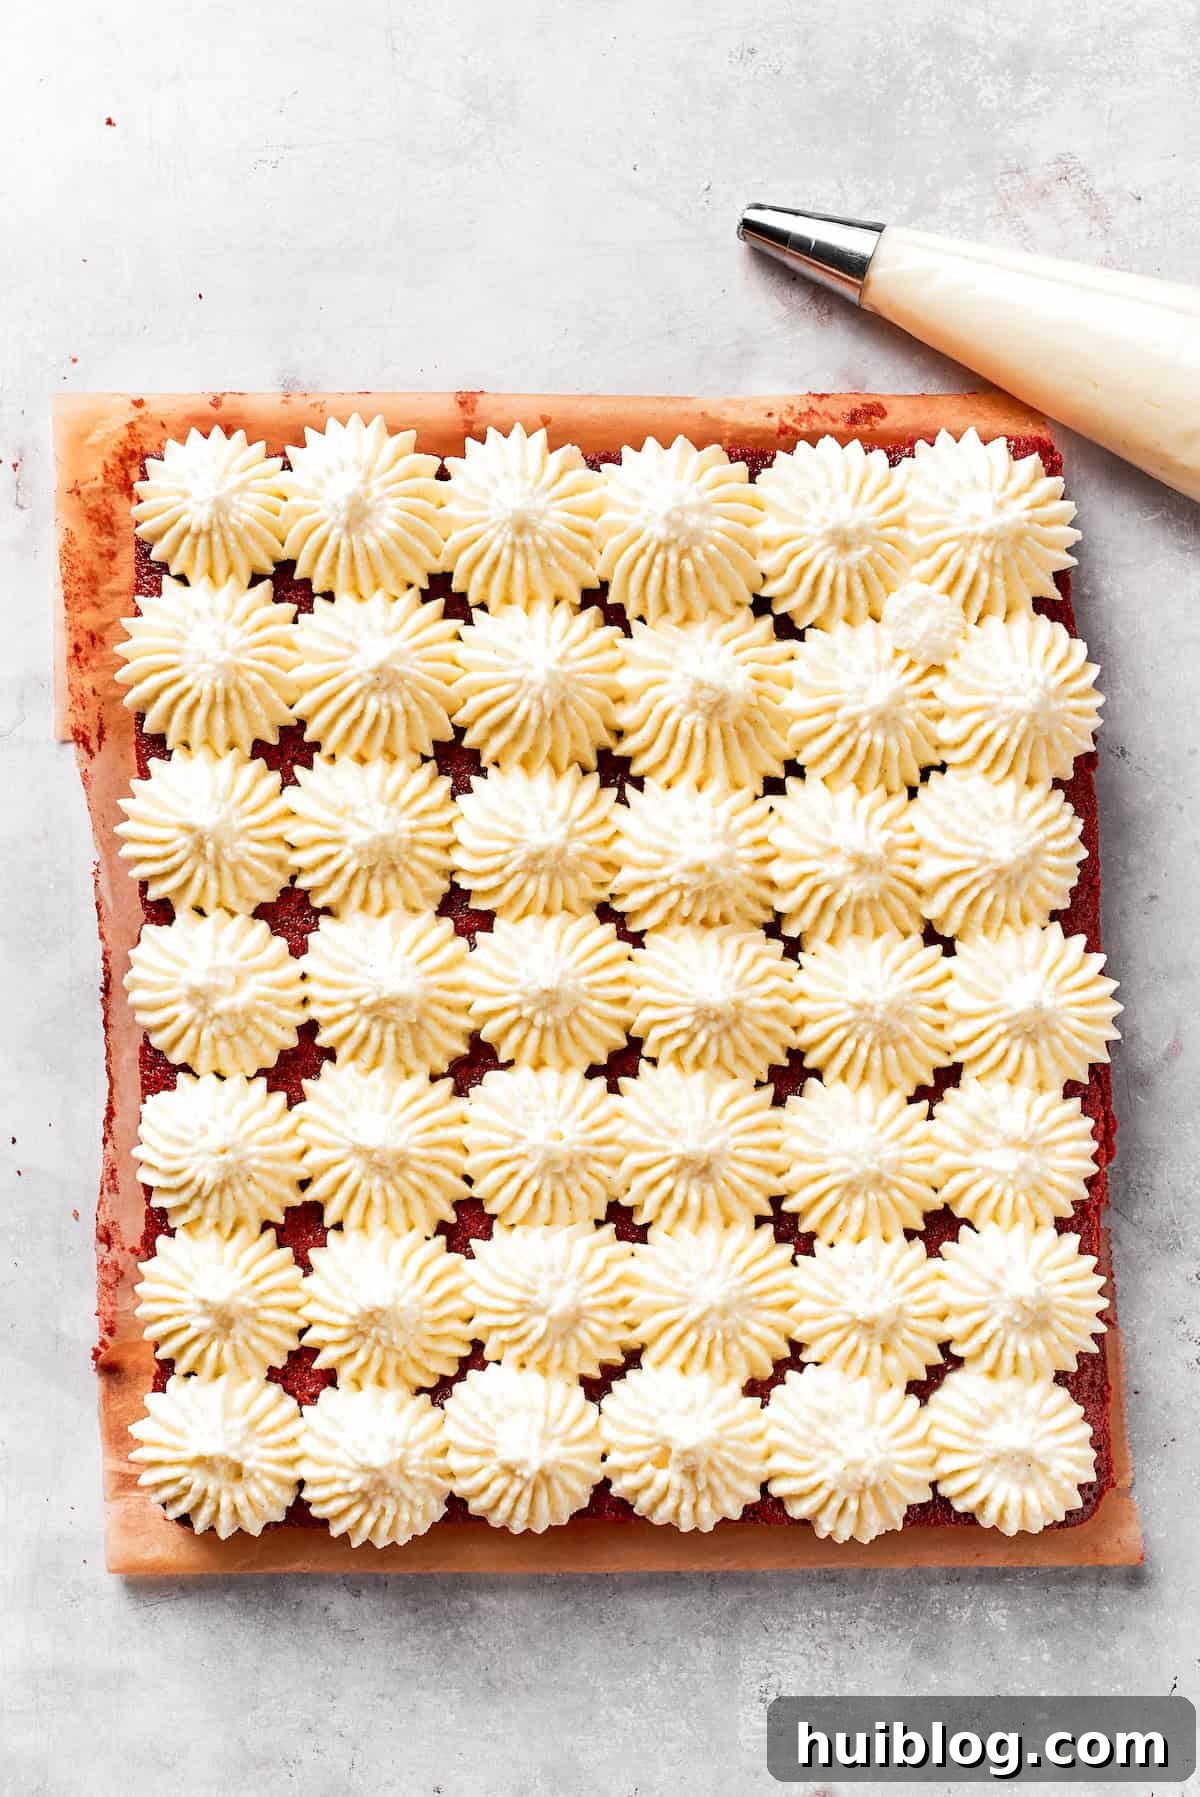
- Custom Frosting Designs: Get creative with your cream cheese frosting! Instead of just spreading it, use a piping bag with a star tip for elegant swirls, or create a rustic textured look with the back of a spoon. You can also drizzle melted white chocolate over the frosting for an extra decorative touch.
- Add-ins and Variations:
- Chocolate Chunks: Fold in extra white chocolate chunks or chips into the brownie batter for an added layer of sweetness and texture.
- Nuts: Toasted pecans or walnuts can add a delightful crunch and nutty flavor if you enjoy them in your brownies.
- Espresso Powder: A teaspoon of instant espresso powder can enhance the chocolate flavor without making the brownies taste like coffee.
- Mini Brownies: Bake the batter in a mini muffin tin for bite-sized red velvet brownie bites, perfect for parties. Adjust baking time accordingly.
- Gluten-Free Option: You can experiment with a 1:1 gluten-free baking flour blend for those with dietary restrictions. Results may vary slightly in texture.
How to Store Your Red Velvet Brownies to Maintain Freshness
Proper storage is essential to keep your red velvet brownies tasting fresh and delicious, especially since they contain a dairy-based frosting. While I love them slightly softened, I generally don’t recommend leaving these brownies at room temperature for more than a couple of hours. Here’s the best way to store them for optimal enjoyment:
- Refrigerator Storage: For short-term storage, place any leftover frosted brownies in an airtight container. If you need to stack them, place a piece of parchment paper between layers to prevent the frosting from sticking. Stored this way, your red velvet brownies will remain fresh and moist in the fridge for up to 5 days. For the best flavor and a softer texture, I recommend letting them sit out for about 15-20 minutes after taking them out of the fridge before serving. This allows the frosting and brownie to soften slightly.
- Freezer Storage: If you’re looking to enjoy these delightful treats at a later date, they freeze beautifully! To freeze, first ensure the frosting is set (a quick chill in the fridge helps). Then, individually wrap each red velvet brownie tightly in plastic wrap, followed by a layer of aluminum foil. Place the wrapped brownies in a single layer within a freezer-safe, airtight container or a heavy-duty freezer bag. They can be stored in the freezer for up to 3 months. When you’re ready to enjoy, thaw the brownies completely in the refrigerator overnight before bringing them to room temperature or warming them slightly if desired.
Remember, keeping them airtight is key to preventing them from drying out or absorbing unwanted odors from the fridge or freezer. Enjoy your perfectly preserved red velvet brownies!
More Irresistible Red Velvet Desserts to Explore
If you’ve fallen in love with the iconic flavor of red velvet, there’s a whole world of delightful desserts waiting for you to discover! Here are some other fantastic red velvet recipes that capture the same unique taste and festive color:
- Classic Red Velvet Cake: The original masterpiece! A tender, moist cake with delicate cocoa notes and, of course, that luscious cream cheese frosting.
- Red Velvet Crinkle Cookies: Soft, chewy cookies with a beautiful crinkled, powdered sugar coating. A fun and easy way to enjoy red velvet in cookie form.
- Decadent Red Velvet Cheesecake with Oreo Crust: For cheesecake lovers, this rich and creamy red velvet cheesecake offers an indulgent experience, elevated by a crunchy Oreo crust.
- Red Velvet Cupcakes: A personal favorite, these individual servings of red velvet cake are perfect for parties and portion control. Top them with a dollop of cream cheese frosting and a sprinkle of red velvet crumbs.
- Red Velvet Whoopie Pies: Soft, cake-like red velvet cookies sandwiched together with tangy cream cheese filling. A delightful and whimsical treat!
Red Velvet Brownies
Ingredients
For the Red Velvet Brownies
- ⅔ cup unsalted butter, at room temperature
- 1½ cups semi-sweet chocolate chips
- 1½ cups brown sugar packed
- 3 large eggs, at room temperature
- 2 teaspoons pure vanilla extract
- Pinch of Sea salt
- 1 cup all-purpose flour
- ¼ cup Dutch processed cocoa powder
- 1 tablespoon cornstarch
- ⅛ teaspoon baking powder
- 1 tablespoon vinegar apple cider
- 1 to 2 tablespoons red gel food coloring
For the Cream Cheese Frosting
- 8 ounces cream cheese, full-fat block, softened to room temperature
- 1½ cups powdered sugar, sifted
- 2 teaspoons pure vanilla extract
- 1 cup unsalted butter, at room temperature
- ⅔ cup heavy cream
Instructions
- Prepare the Baking Pan: Preheat your oven to 350°F (175°C). Take a 9×13-inch baking pan and line it with parchment paper, allowing enough overhang on the sides to easily lift the brownies out later. Lightly grease the parchment paper with cooking spray or butter to prevent sticking.
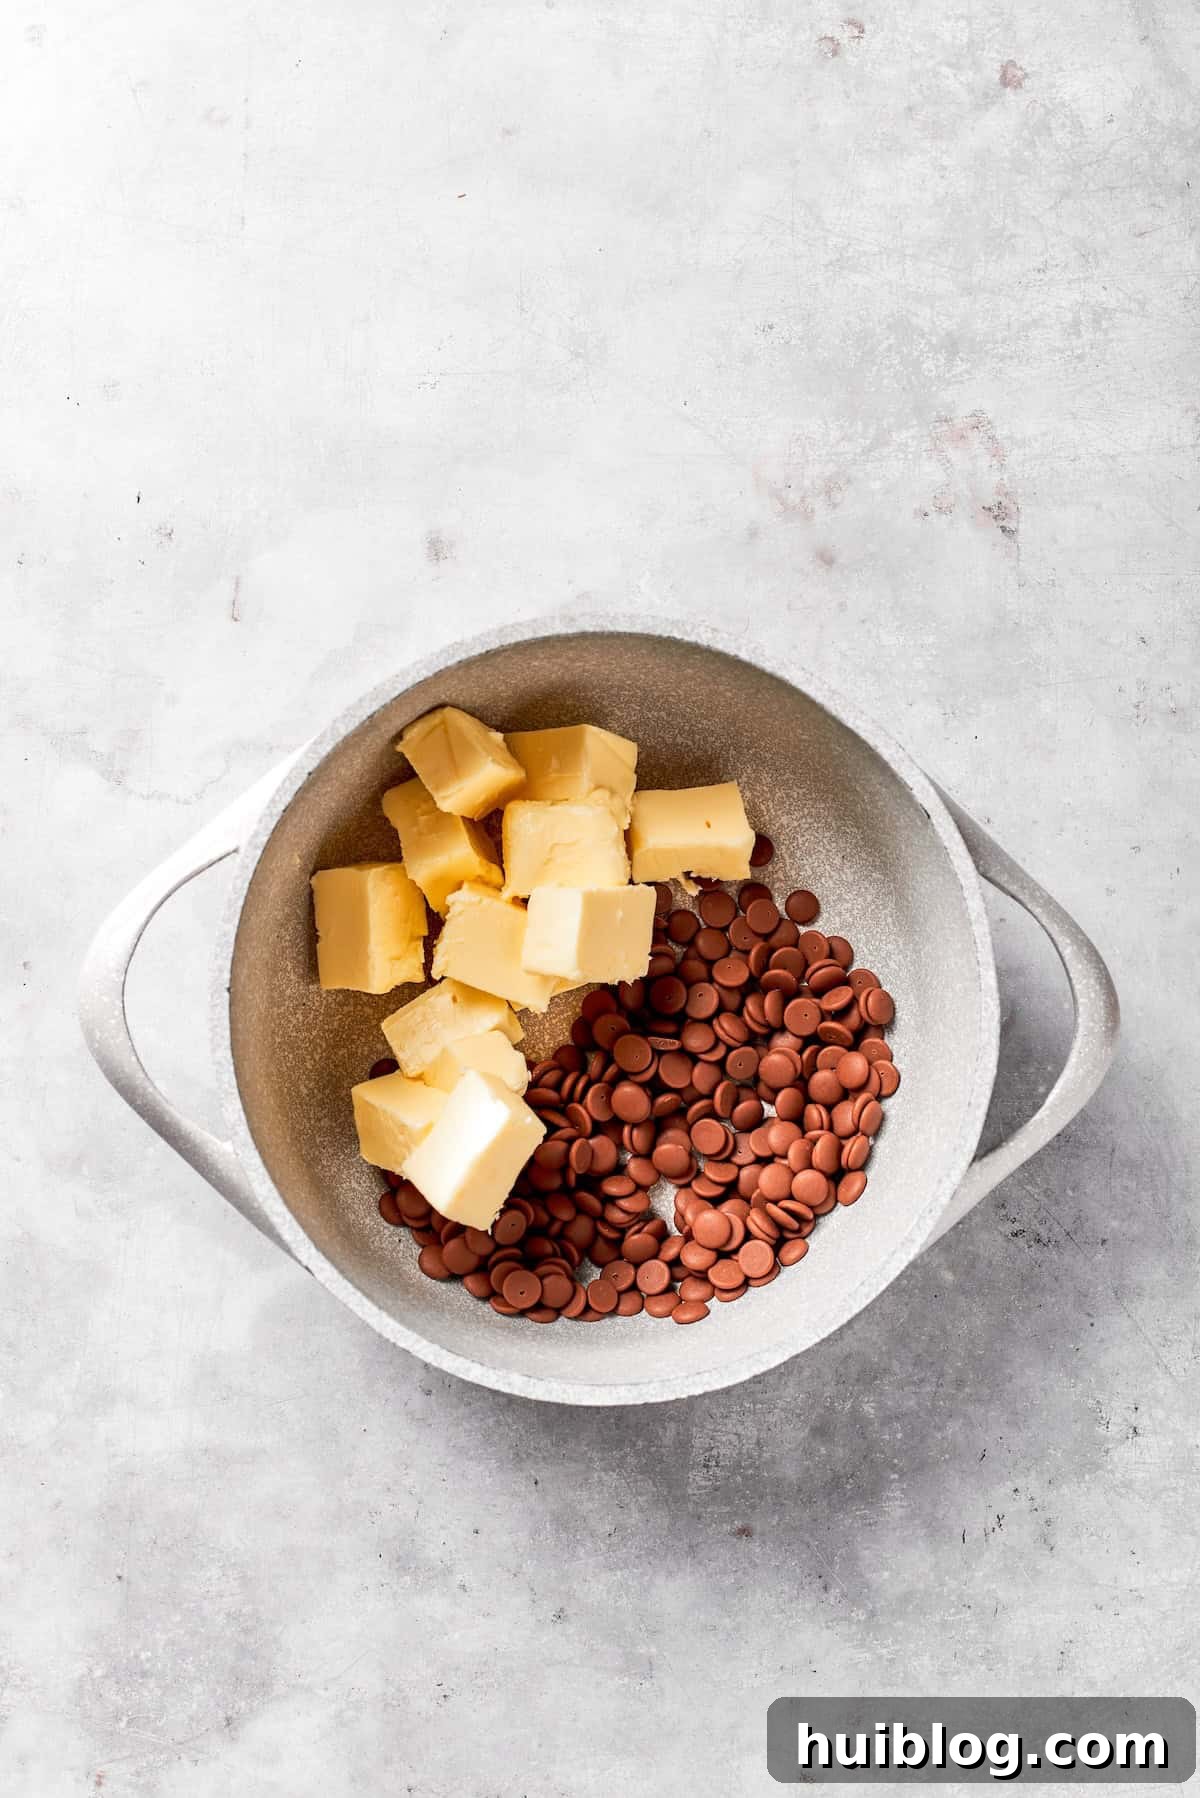
- Melt Chocolate and Butter: In a medium heatproof bowl, combine the room temperature unsalted butter and semi-sweet chocolate chips. Melt this mixture gently over a double boiler, or carefully in the microwave in 20-second bursts, stirring thoroughly after each interval, until the mixture is completely smooth and fully combined. Allow it to cool slightly at room temperature while you prepare the other ingredients.
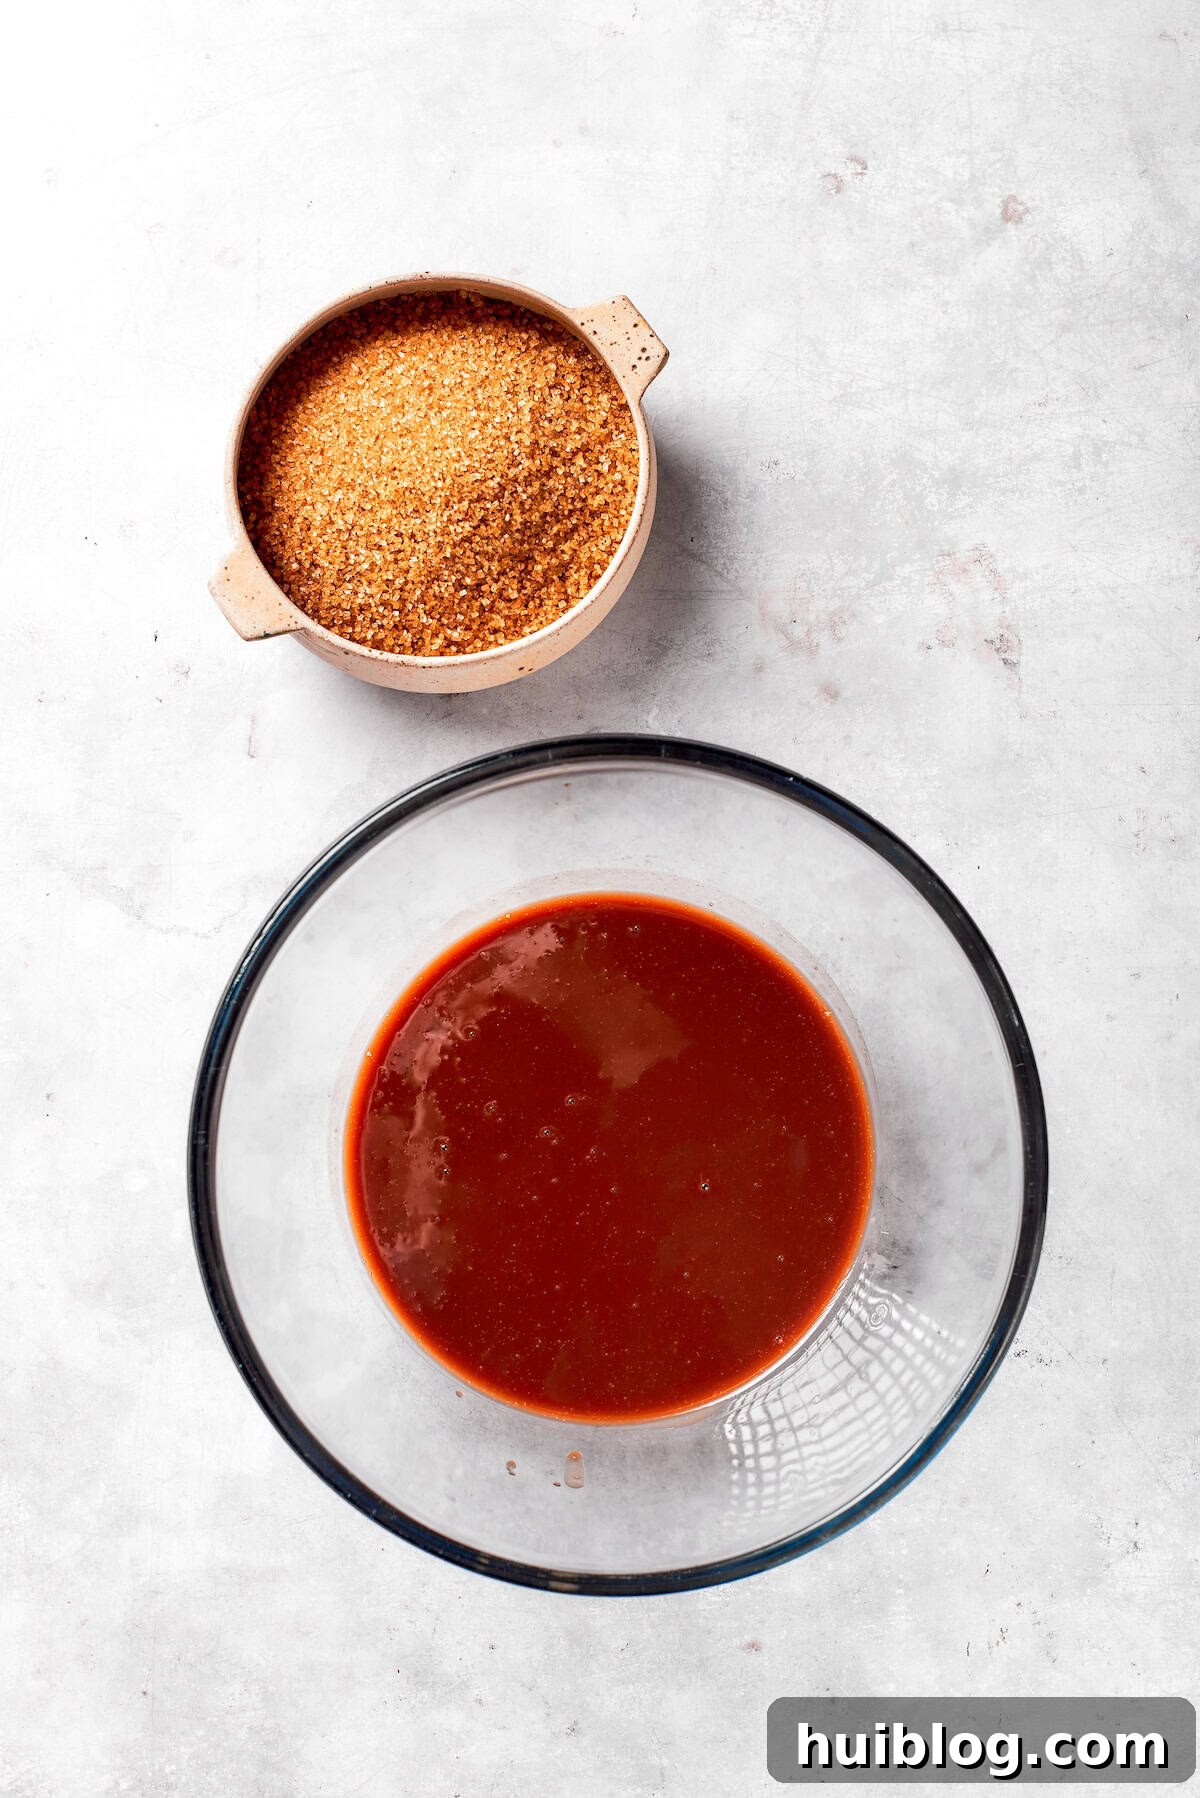
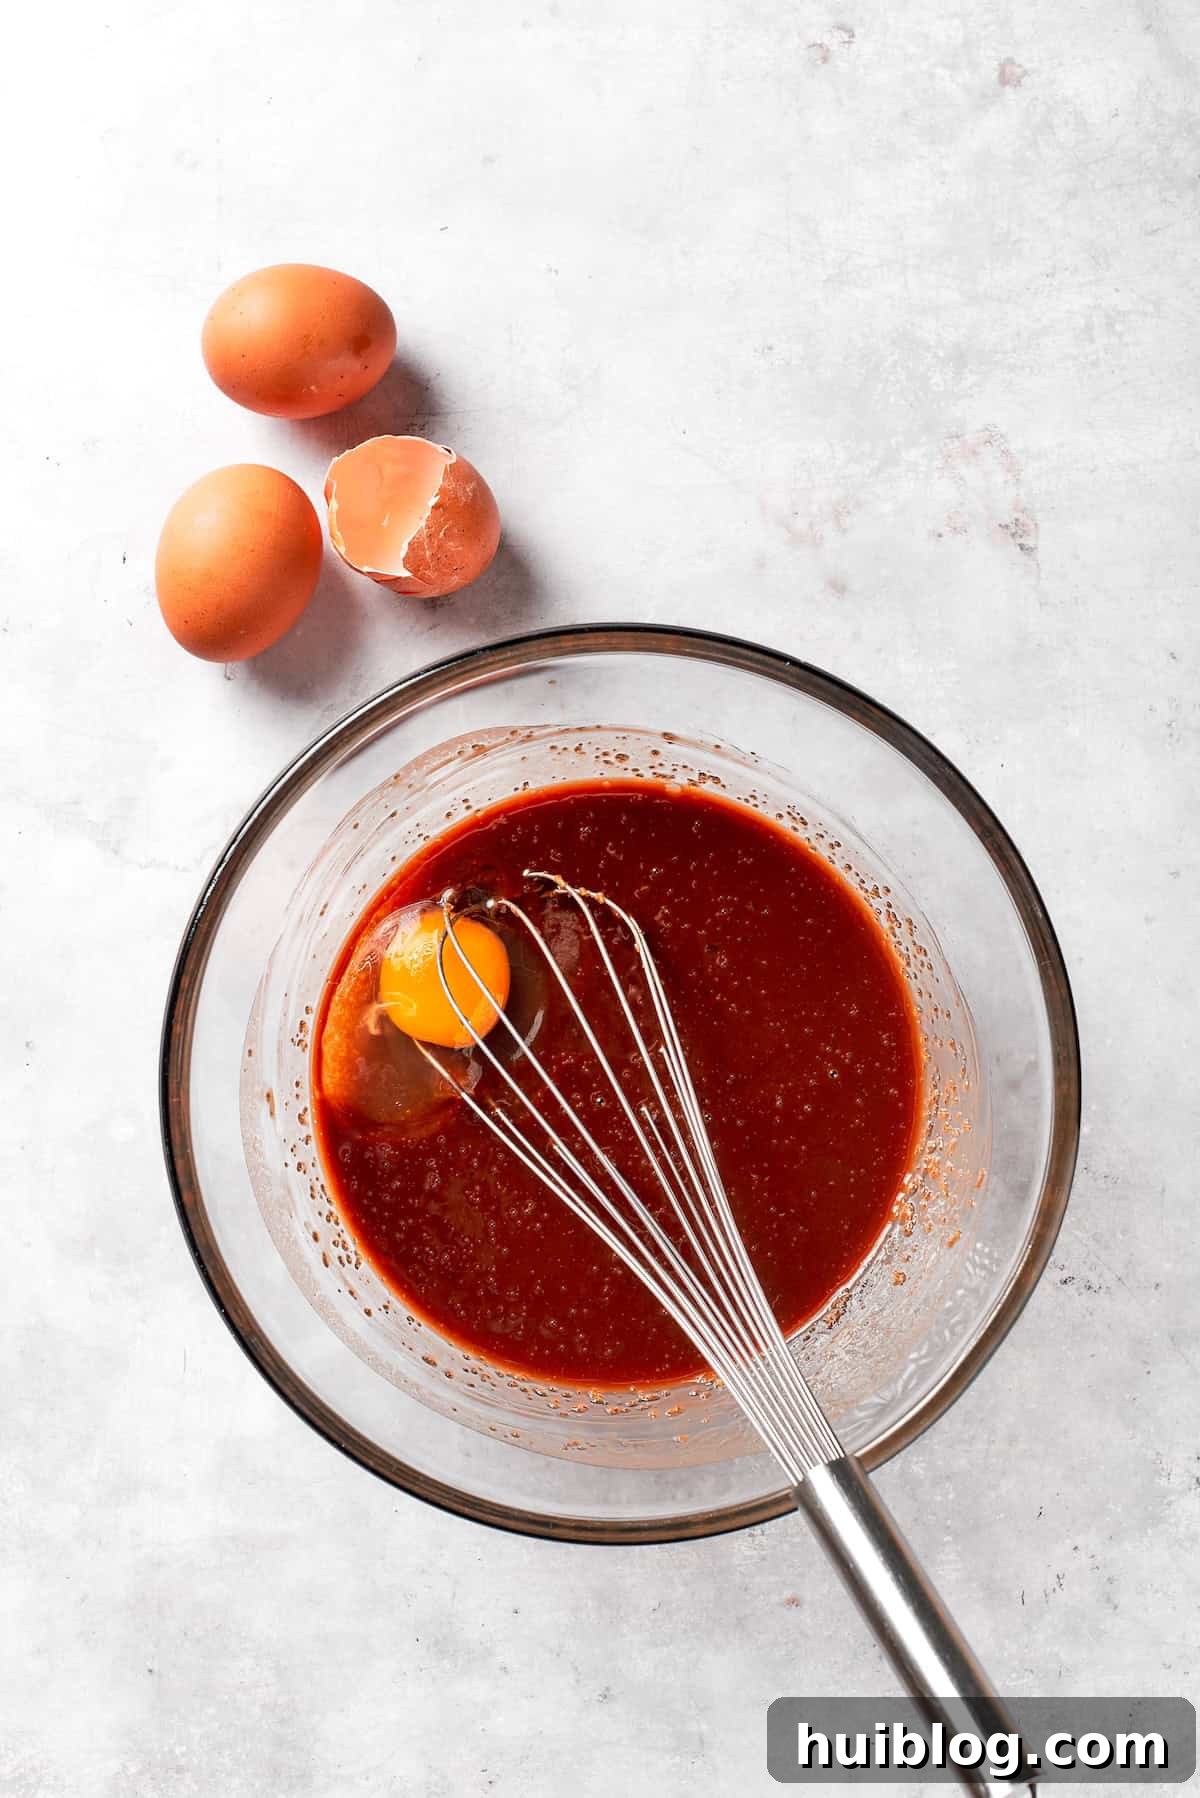
- Combine Wet Ingredients for Brownies: In a large mixing bowl, pour the slightly cooled melted chocolate and butter mixture. Add the packed brown sugar and beat the mixture with a hand mixer or stand mixer on medium speed for about 2-3 minutes until it’s light, fluffy, and well incorporated. Next, add the large eggs one at a time, beating well after each addition until fully blended. Stir in the pure vanilla extract and a pinch of sea salt. Scrape down the sides of the bowl as needed to ensure everything is evenly mixed.
- Mix Dry Ingredients: In a separate, smaller bowl, whisk together the all-purpose flour, Dutch-processed cocoa powder, cornstarch, and baking powder until there are no lumps and the ingredients are well distributed.
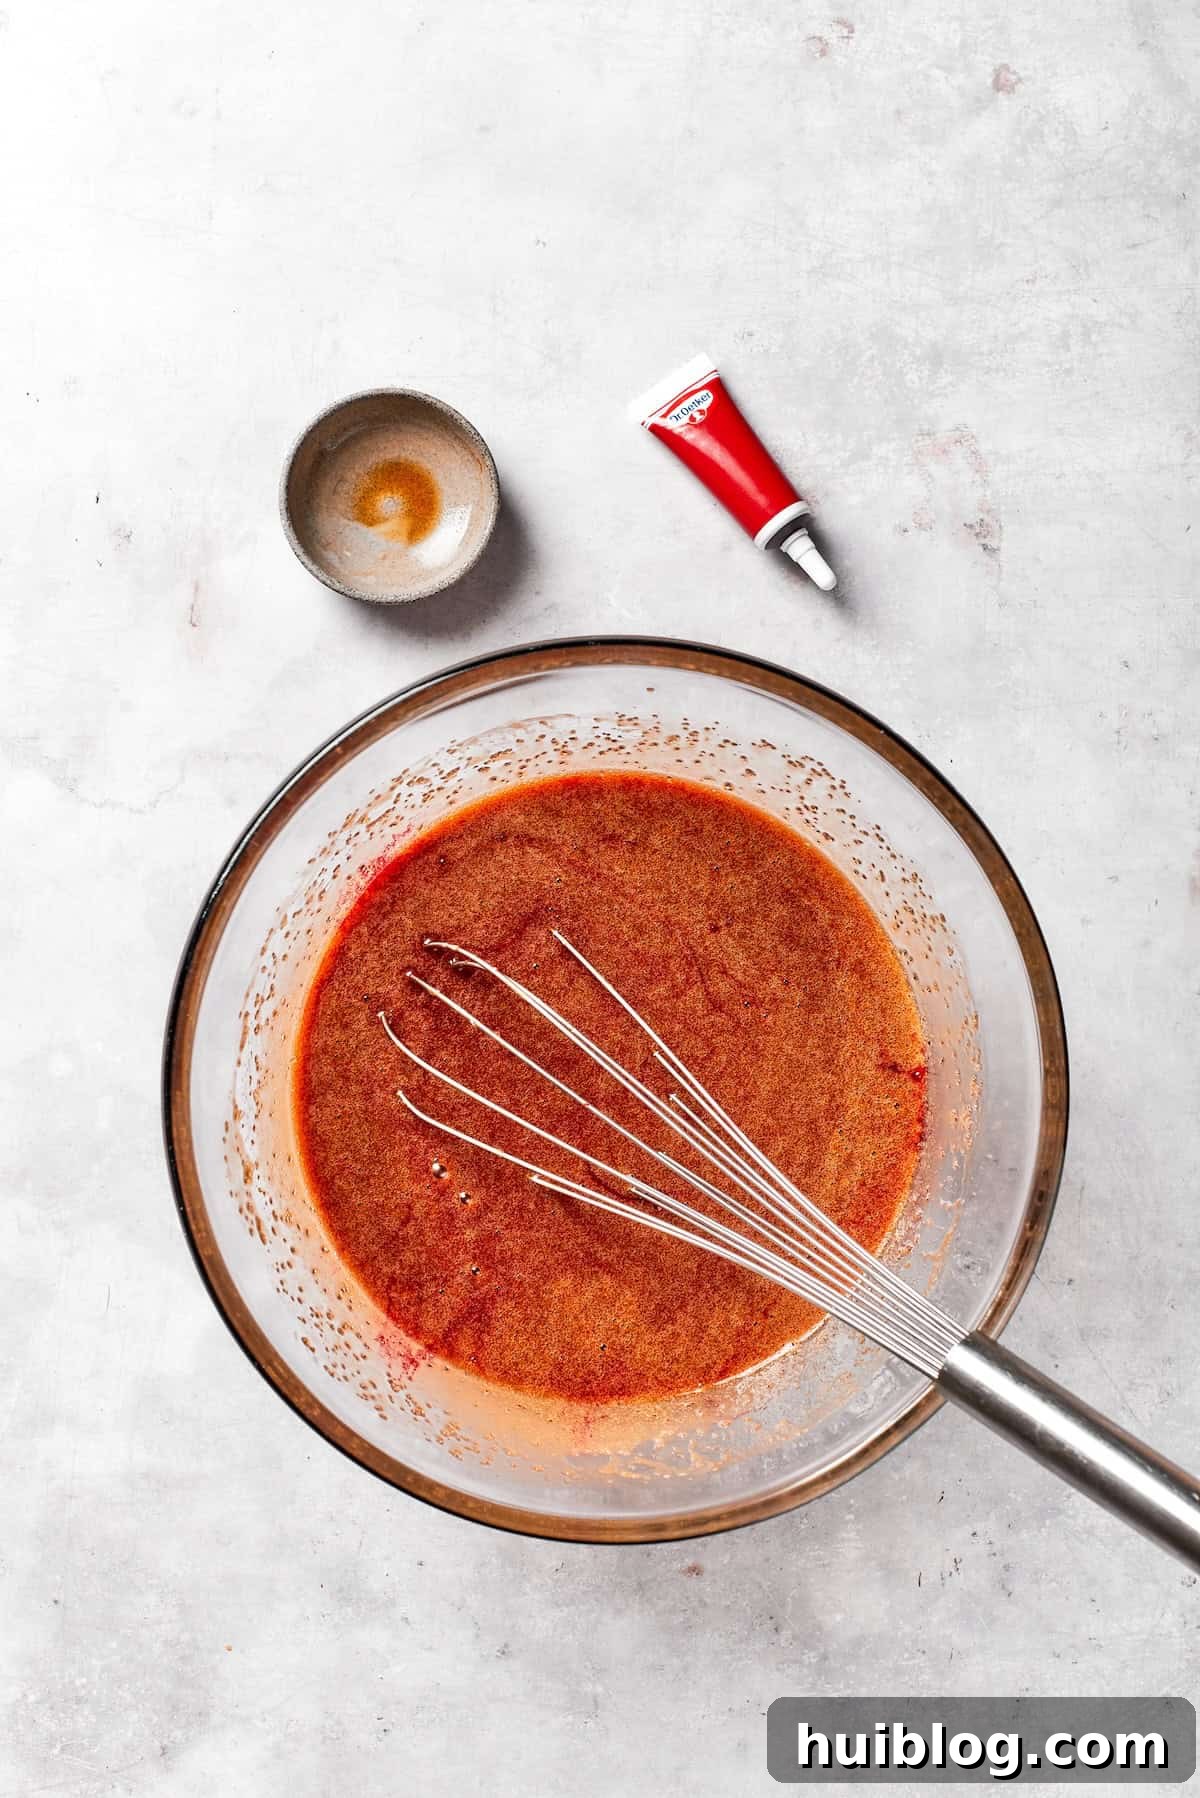
- Combine and Color Batter: Gradually add the dry ingredient mixture to the wet ingredients in the large bowl, mixing on low speed until just combined. Be careful not to overmix. Now, stir in the apple cider vinegar and the red gel food coloring. Start with 1 tablespoon and add more, if desired, to achieve a rich, vibrant red hue throughout the batter. Mix until the color is consistent.
- Bake the Brownies: Pour the red velvet brownie batter evenly into the prepared 9×13-inch baking pan, spreading it with a spatula to smooth the top. Bake for 30-35 minutes. The brownies are done when a toothpick inserted into the center comes out with a few moist crumbs attached, but not wet batter. Overbaking will result in dry, cakey brownies, so watch them closely. Remove the pan from the oven and let the brownies cool completely in the pan on a wire rack before attempting to remove or frost them. This is crucial for fudgy brownies and easy handling.
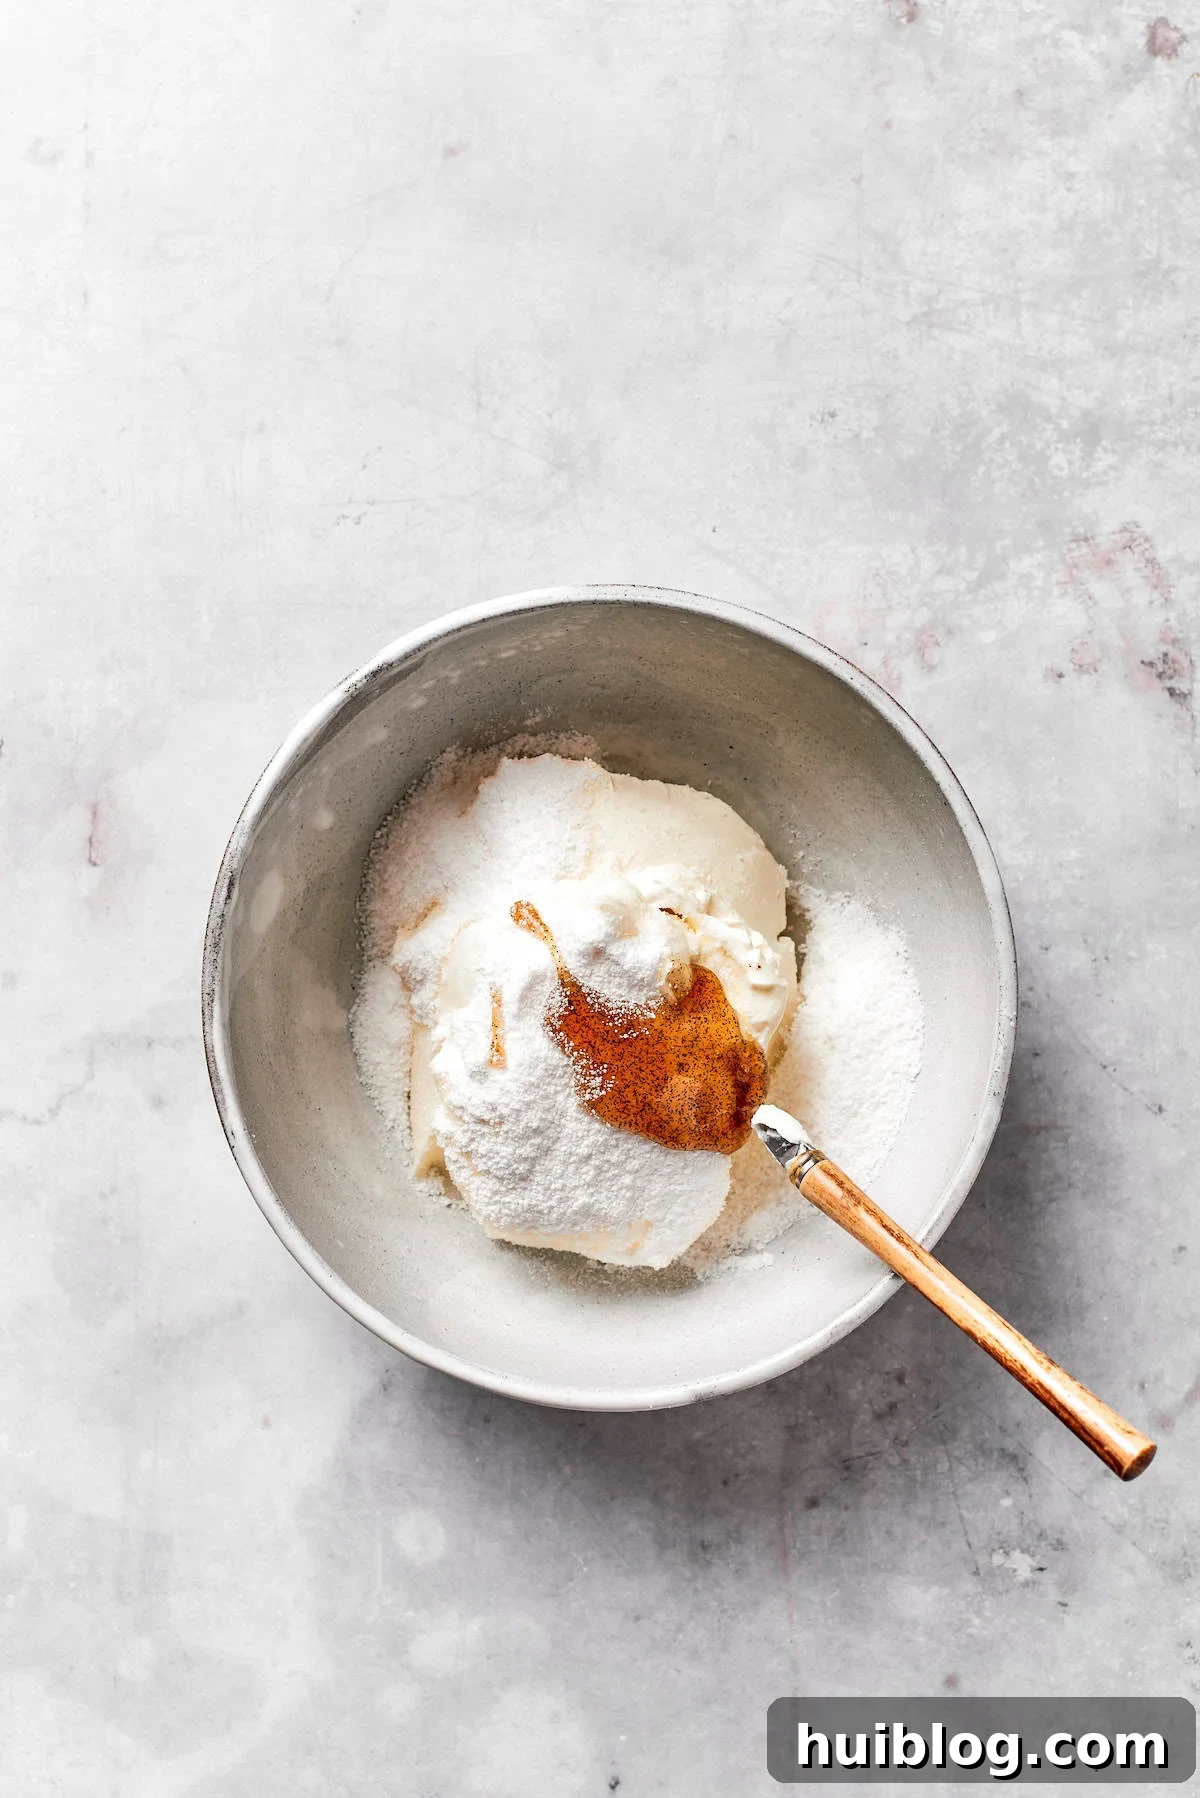
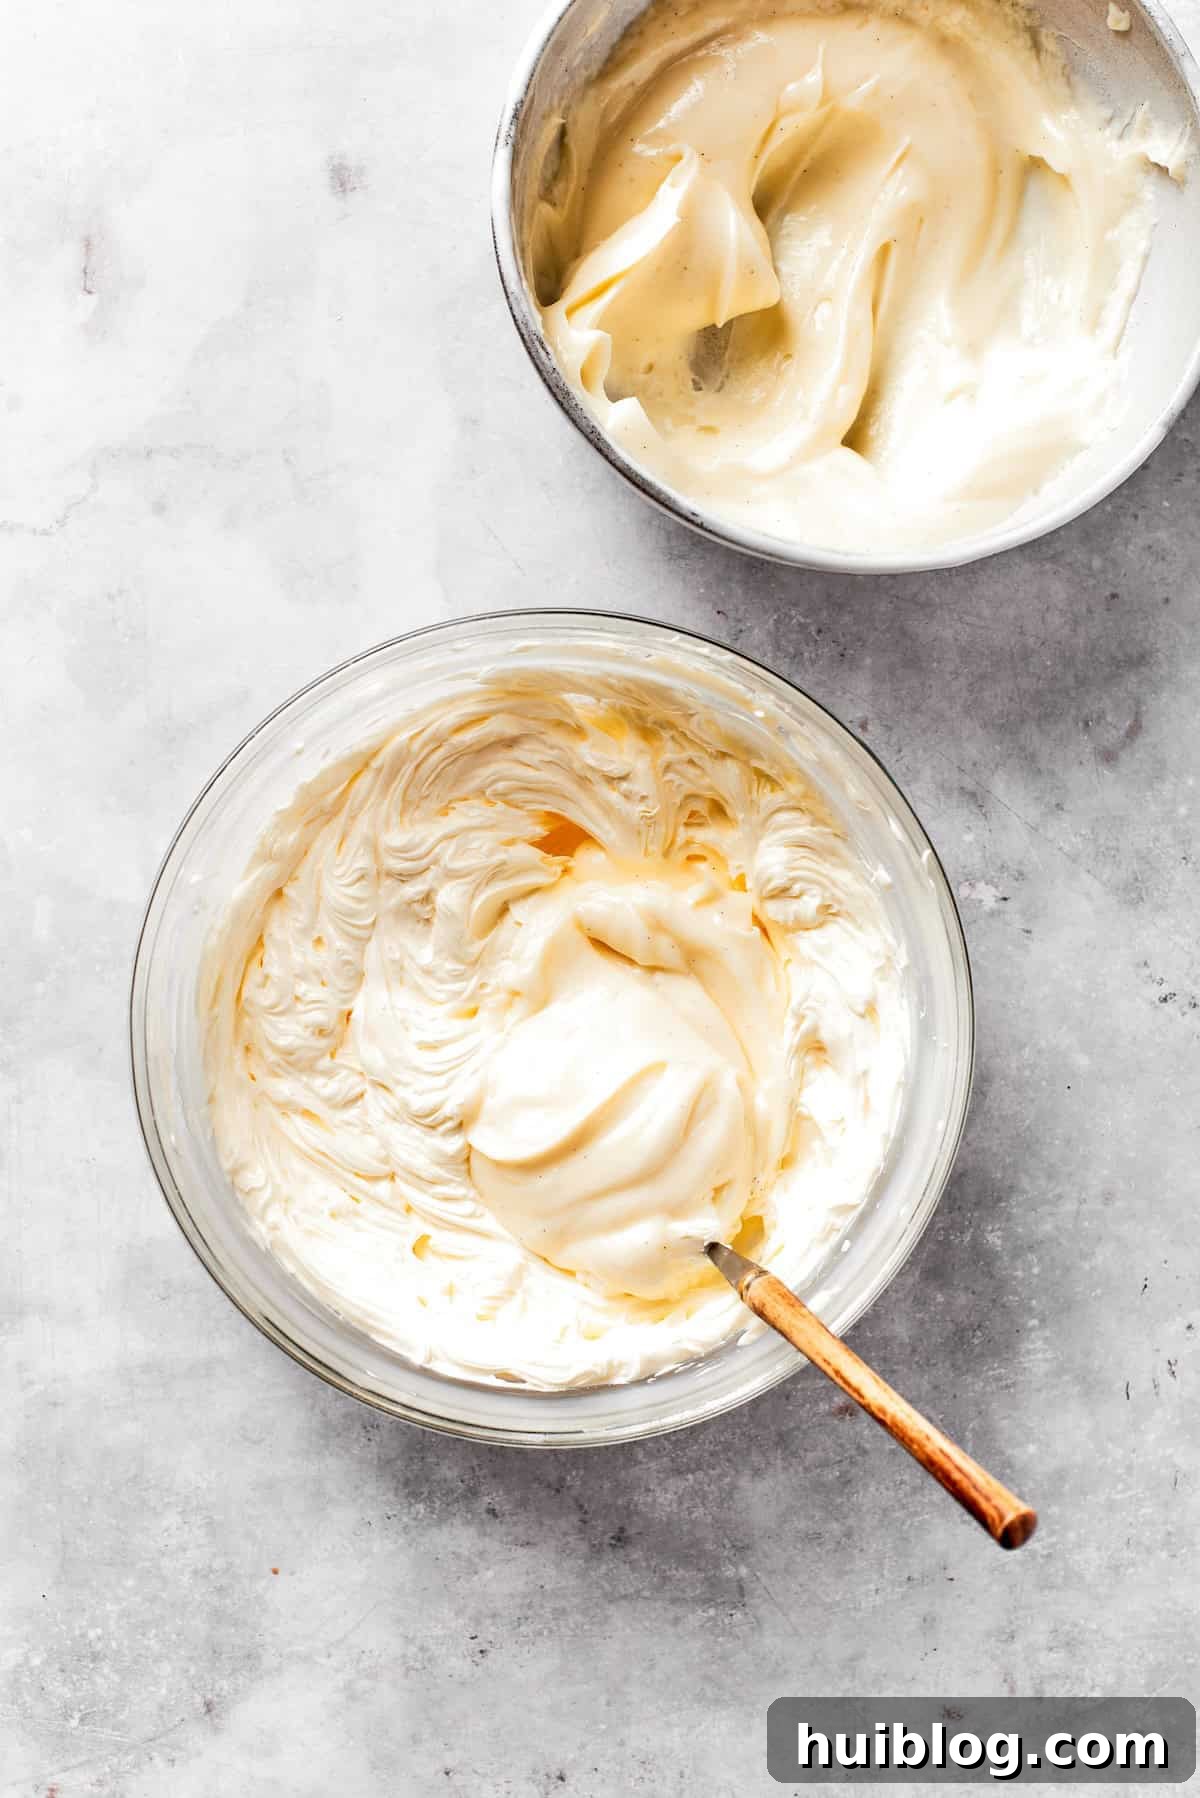
- Prepare the Cream Cheese Frosting: While the brownies cool, begin preparing the frosting. In a large mixing bowl, beat the softened full-fat cream cheese, sifted powdered sugar, and pure vanilla extract on low speed until smooth and creamy, which should take about 1 minute. In a separate bowl, beat the room temperature unsalted butter on medium speed until it is light, fluffy, and creamy. Gradually add the cream cheese mixture into the whipped butter, mixing until everything is fully combined and perfectly smooth. Finally, pour in the heavy cream and gently fold it into the frosting until it is well incorporated and the frosting is light and spreadable. Transfer the finished frosting to a piping bag fitted with your desired tip (or a Ziploc bag with a corner snipped off for spreading) for easy application.
- Assemble, Frost, and Serve: Once the brownies are completely cooled, carefully lift them out of the pan using the parchment paper overhang and transfer them to a cutting board or serving platter. Pipe or spread the rich cream cheese frosting evenly over the surface of the brownies using an offset spatula or your prepared piping bag, creating beautiful swirls or a smooth layer. For the neatest, cleanest slices, chill the frosted brownies in the refrigerator for an additional 15-20 minutes (or longer) to allow the frosting to set firm. Then, use a sharp, clean knife to cut them into perfect squares or rectangles before serving. Enjoy these delightful red velvet brownies!
Equipment
-
Stand Mixer (or Hand Mixer)
-
9×13-inch Baking Pan
-
Parchment Paper
-
Heatproof Bowl (for melting chocolate)
-
Large Mixing Bowls
-
Whisk
-
Spatula
-
Piping Bag and Tip (optional, for frosting)
Nutrition
| Carbohydrates: 65g
| Protein: 6g
| Fat: 47g
| Saturated Fat: 29g
| Polyunsaturated Fat: 2g
| Monounsaturated Fat: 13g
| Trans Fat: 1g
| Cholesterol: 144mg
| Sodium: 97mg
| Potassium: 266mg
| Fiber: 3g
| Sugar: 51g
| Vitamin A: 1307IU
| Vitamin C: 0.1mg
| Calcium: 84mg
| Iron: 3mg
Nutritional info is an estimate and provided as courtesy. Values may vary according to the ingredients and tools used. Please use your preferred nutritional calculator for more detailed info.
Step-by-Step Visual Guide: How to Make Red Velvet Brownies
Baking these delightful red velvet brownies is a fun and rewarding process. Follow along with these visual cues and simplified steps to guide you through each stage. A key to success, especially for that luscious frosting, is ensuring your cream cheese and butter are at perfect room temperature.
- Prepare the Pan: Preheat your oven to 350°F (175°C). Line a 9×13-inch baking pan with parchment paper, allowing for an overhang, and lightly grease it.
- Melt Chocolate and Butter: Gently melt the unsalted butter and semi-sweet chocolate chips together until smooth. Allow it to cool slightly.
- Mix Wet Ingredients: In a large bowl, combine the cooled chocolate mixture with brown sugar. Beat until light and fluffy. Add the eggs one at a time, mixing well after each addition. Stir in the vanilla extract and a pinch of salt.
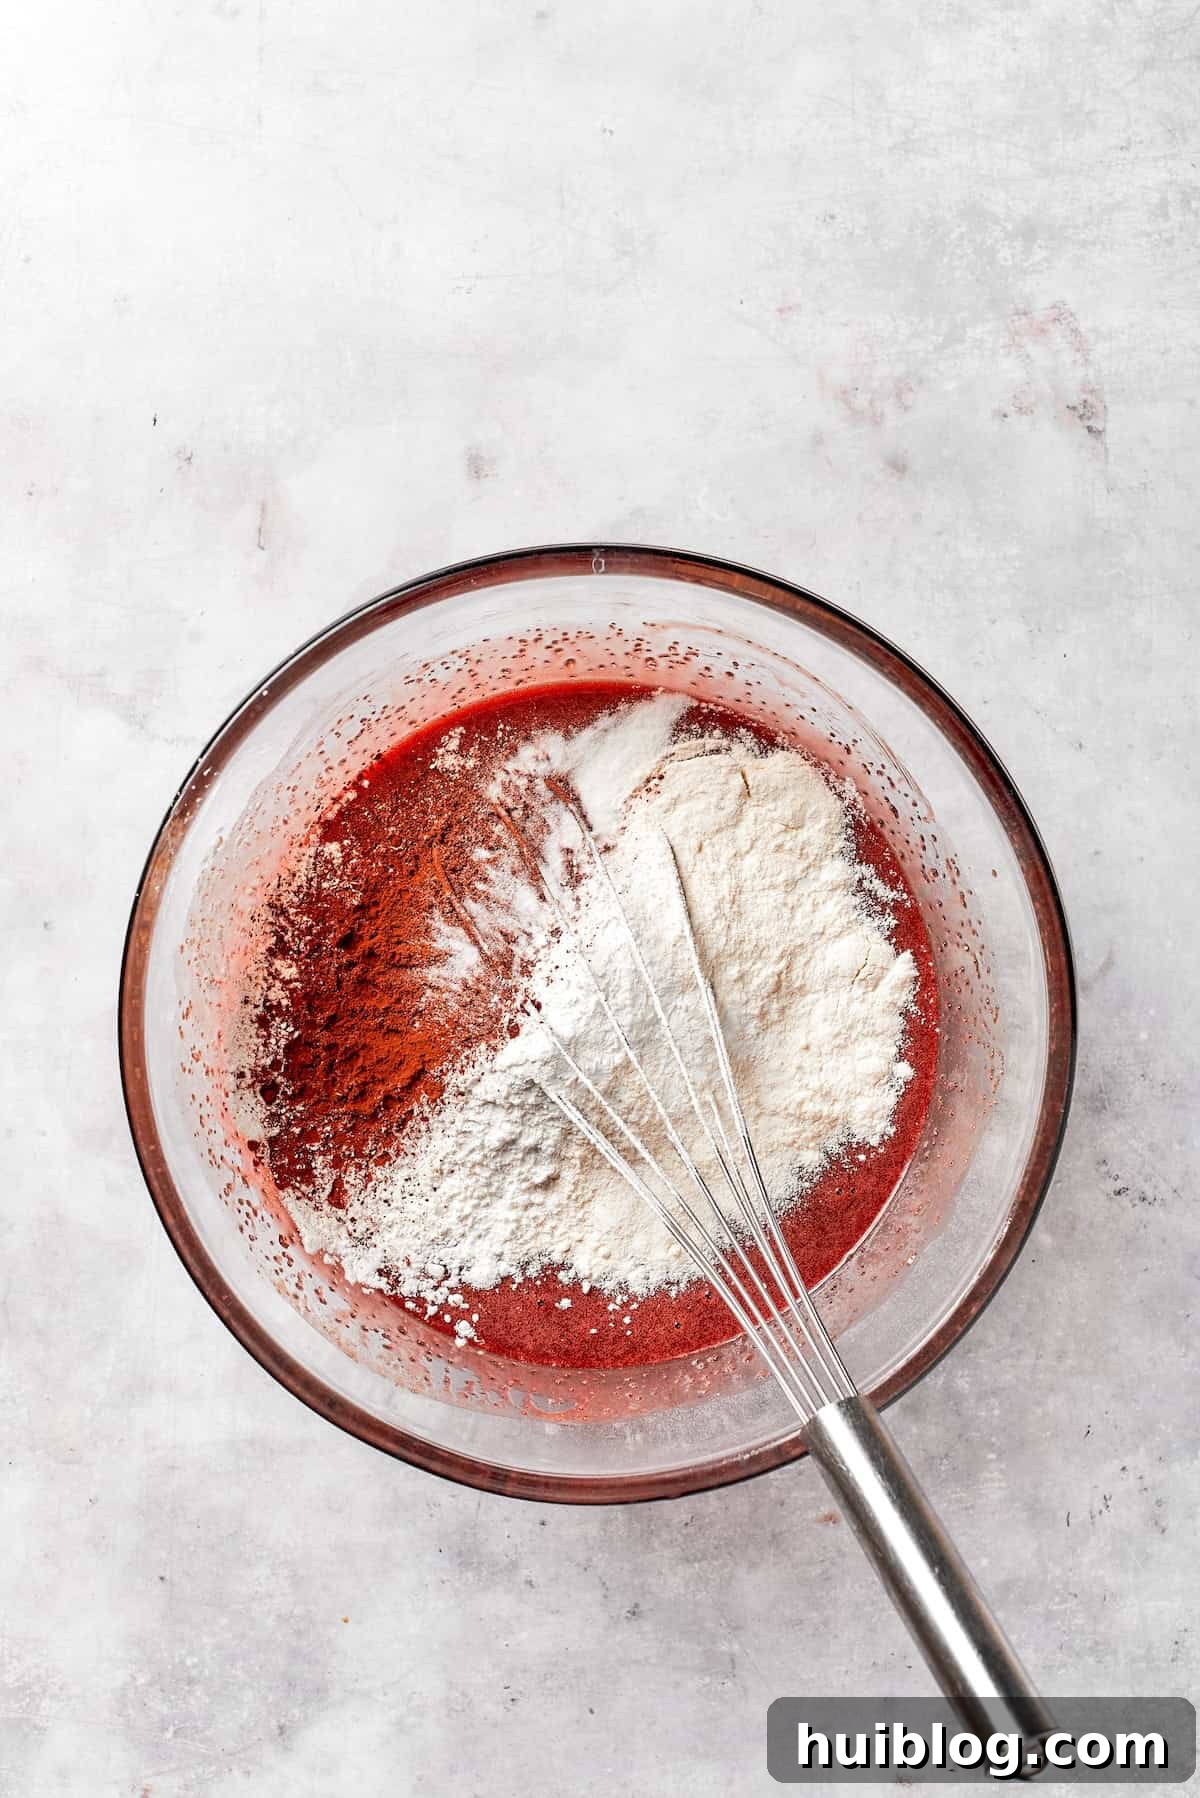
- Mix Dry Ingredients: In a separate bowl, whisk together the flour, cocoa powder, cornstarch, and baking powder. Gradually add this mixture to the wet ingredients, mixing until just combined. Stir in the apple cider vinegar and red gel food coloring to achieve your desired vibrant hue.
- Bake the Brownies: Spread the prepared batter evenly into your lined pan. Bake for 30-35 minutes, or until a toothpick comes out with moist crumbs. Let the brownies cool completely in the pan before handling.
- Prepare the Frosting: In one bowl, beat softened cream cheese, powdered sugar, and vanilla until smooth. In another, beat softened butter until fluffy. Gently combine the two mixtures, then fold in the heavy cream until the frosting is light, creamy, and smooth.
- Assemble and Serve: Once the brownies are fully cooled, lift them out of the pan. Pipe or spread the cream cheese frosting generously over the brownies. Chill for 15-20 minutes for easier, cleaner cutting, then slice into squares and serve.