
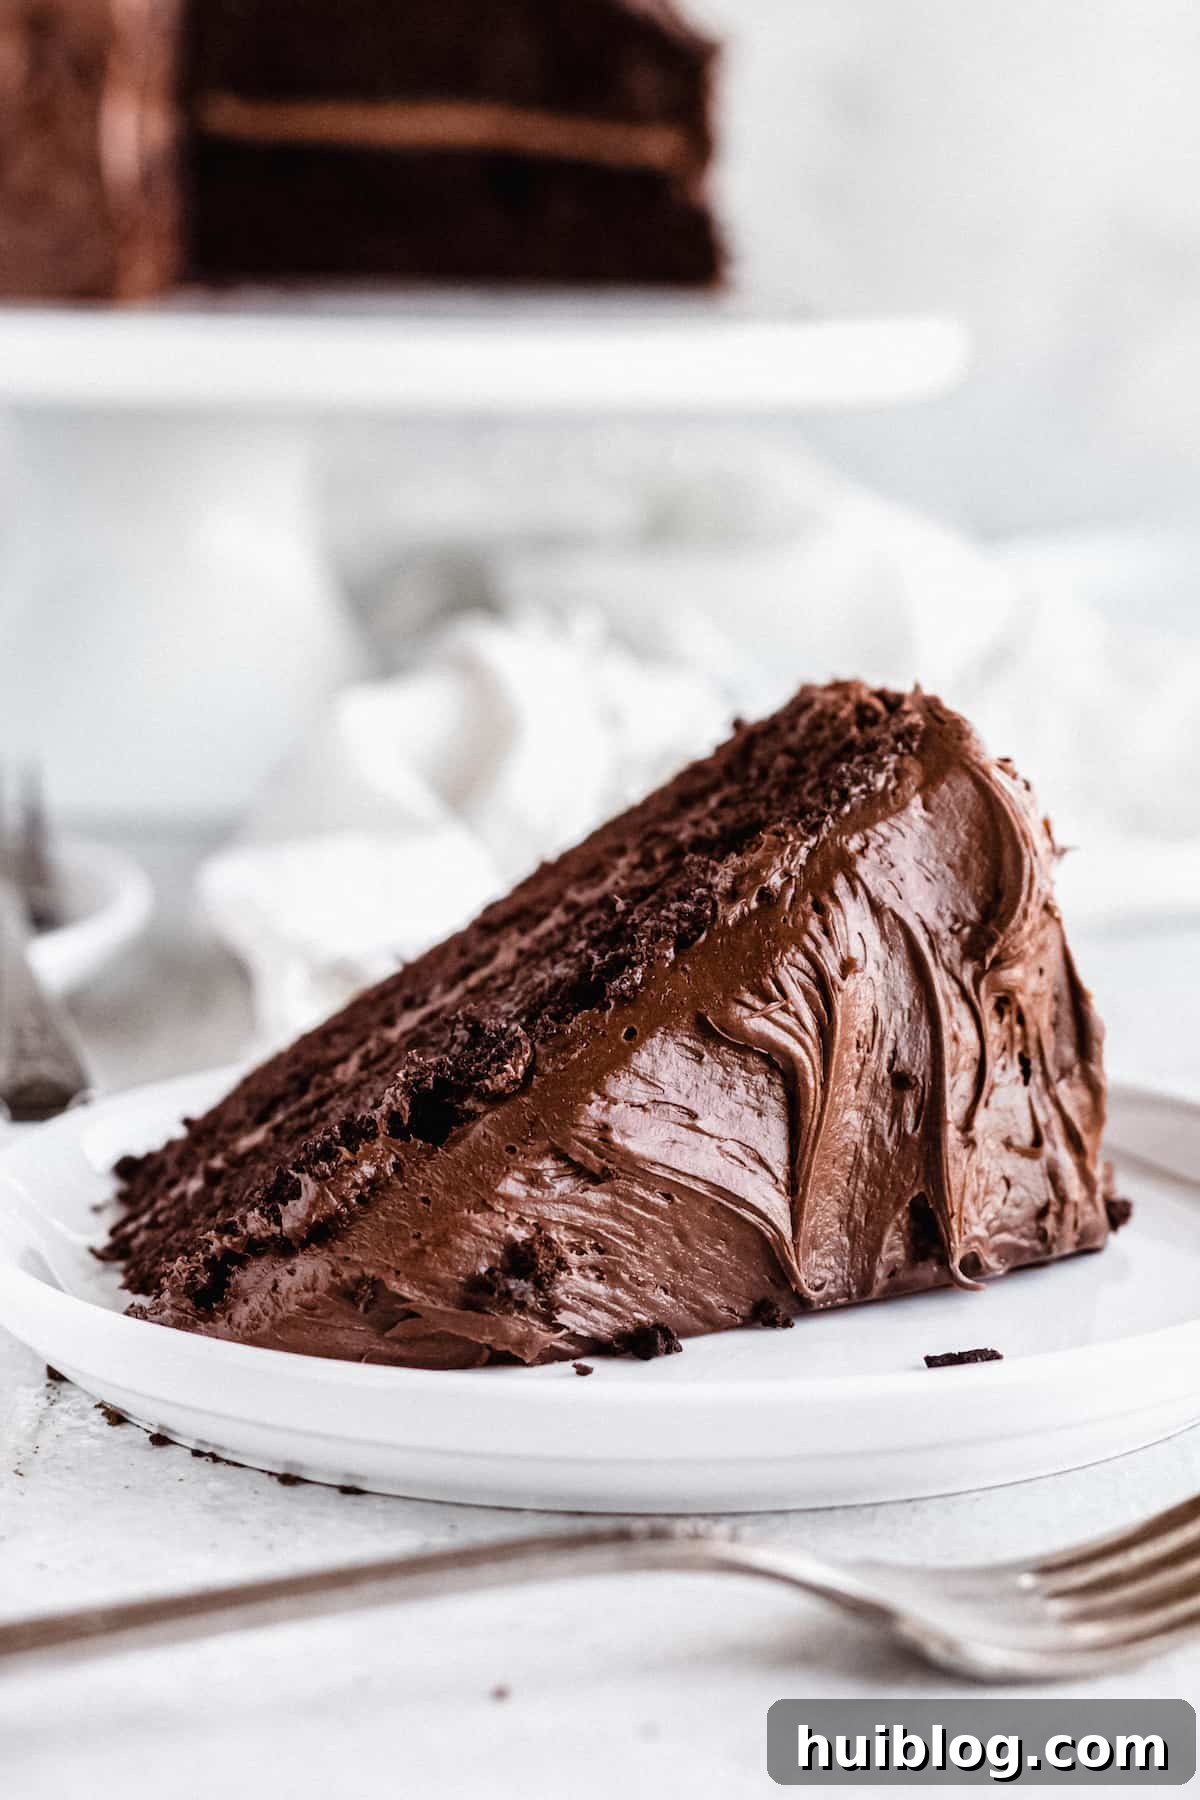
Imagine biting into a slice of pure chocolate bliss: a cake so incredibly moist, rich, and intensely chocolatey that it simply melts in your mouth. This isn’t just any chocolate cake; it’s the ultimate Easy Homemade Chocolate Cake recipe, crafted from scratch right in your own kitchen. Forget complicated techniques or store-bought mixes – this recipe proves that the best desserts can also be the simplest to make. Prepare to impress your family and friends with a chocolate layer cake that tastes like it came from a gourmet bakery, but with the heartwarming touch of a homemade treat.
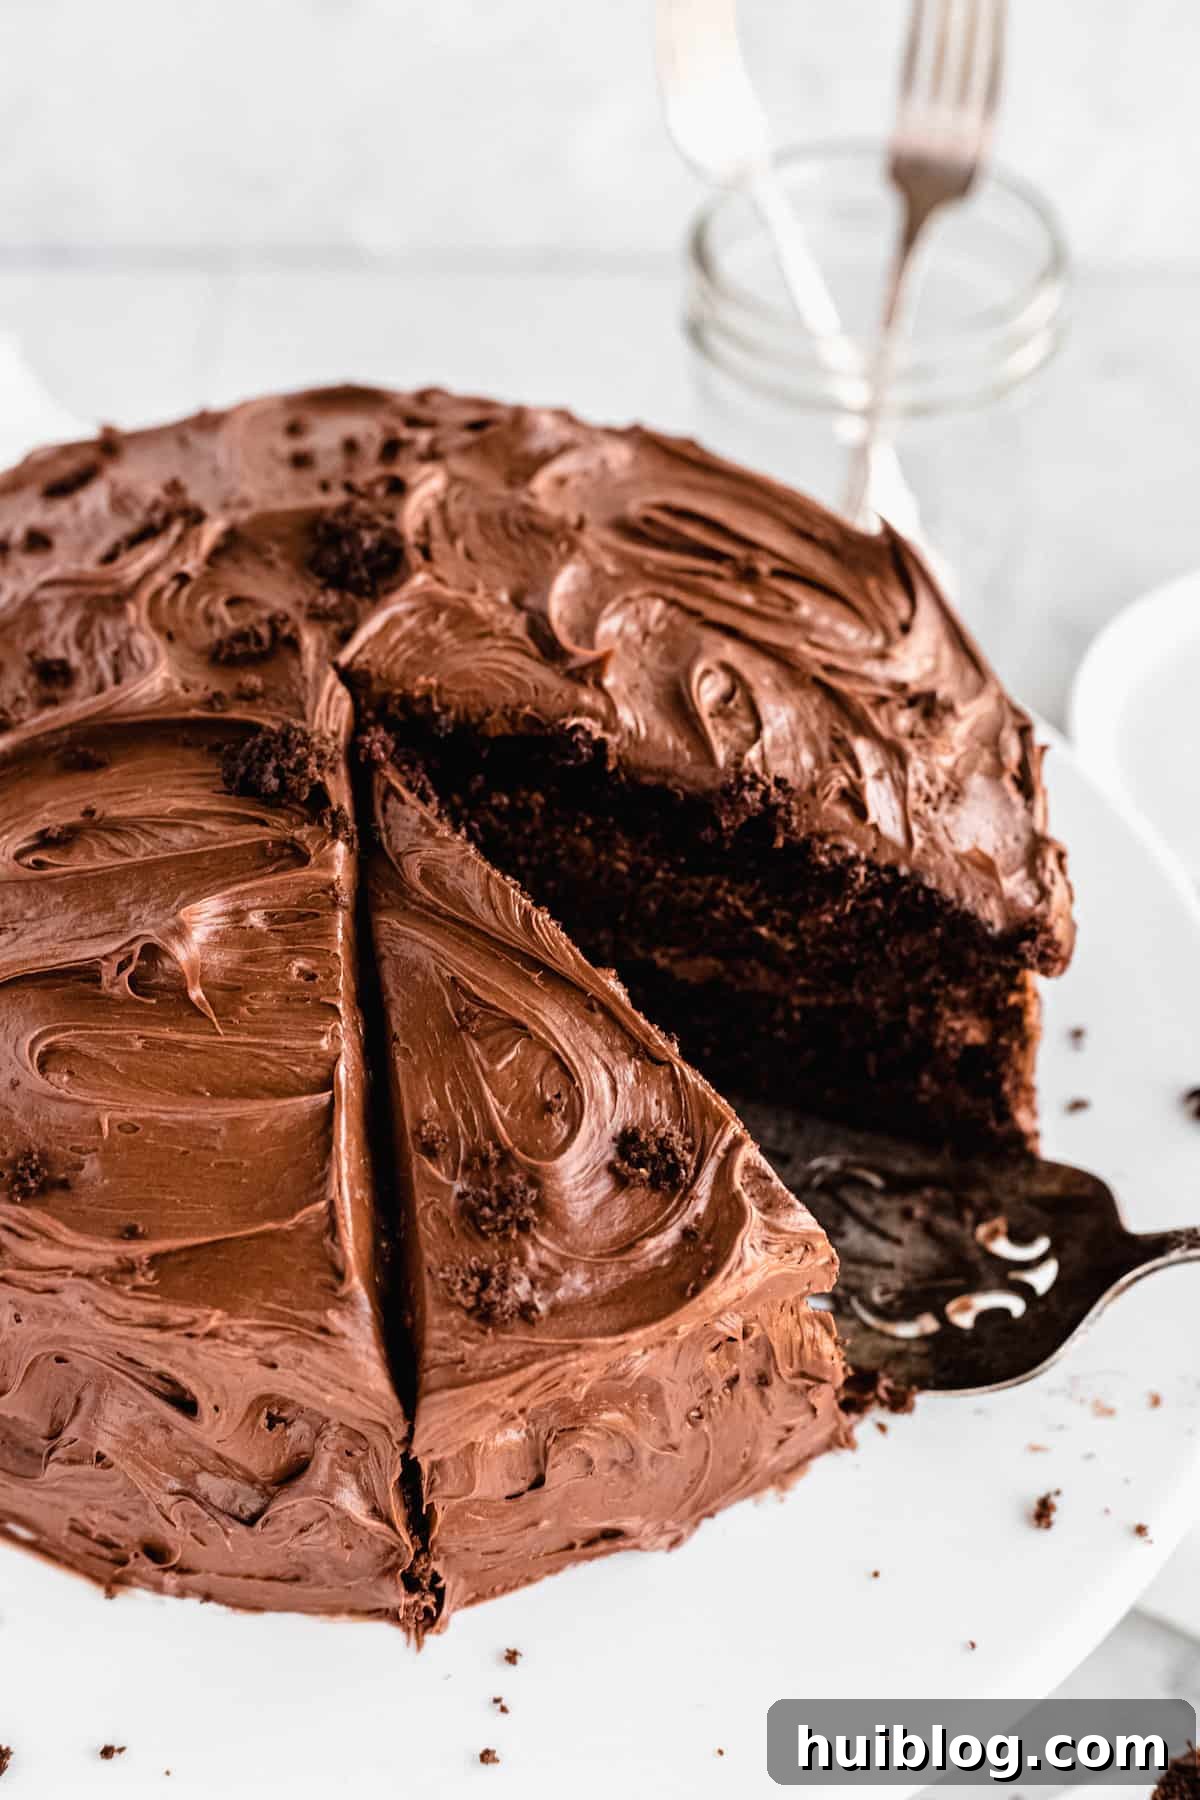
The Ultimate Easy Chocolate Cake Recipe
There’s something truly special about a homemade cake. For me, baking is a cherished way to show love and create lasting memories. While my family occasionally surprises me with decadent bakery cakes, I find immense joy in returning the favor. From delicate tres leches cake to a hearty carrot cake, baking a cake from scratch always feels like a heartfelt gesture. And when it comes to chocolate, this particular recipe holds a special place in our home.
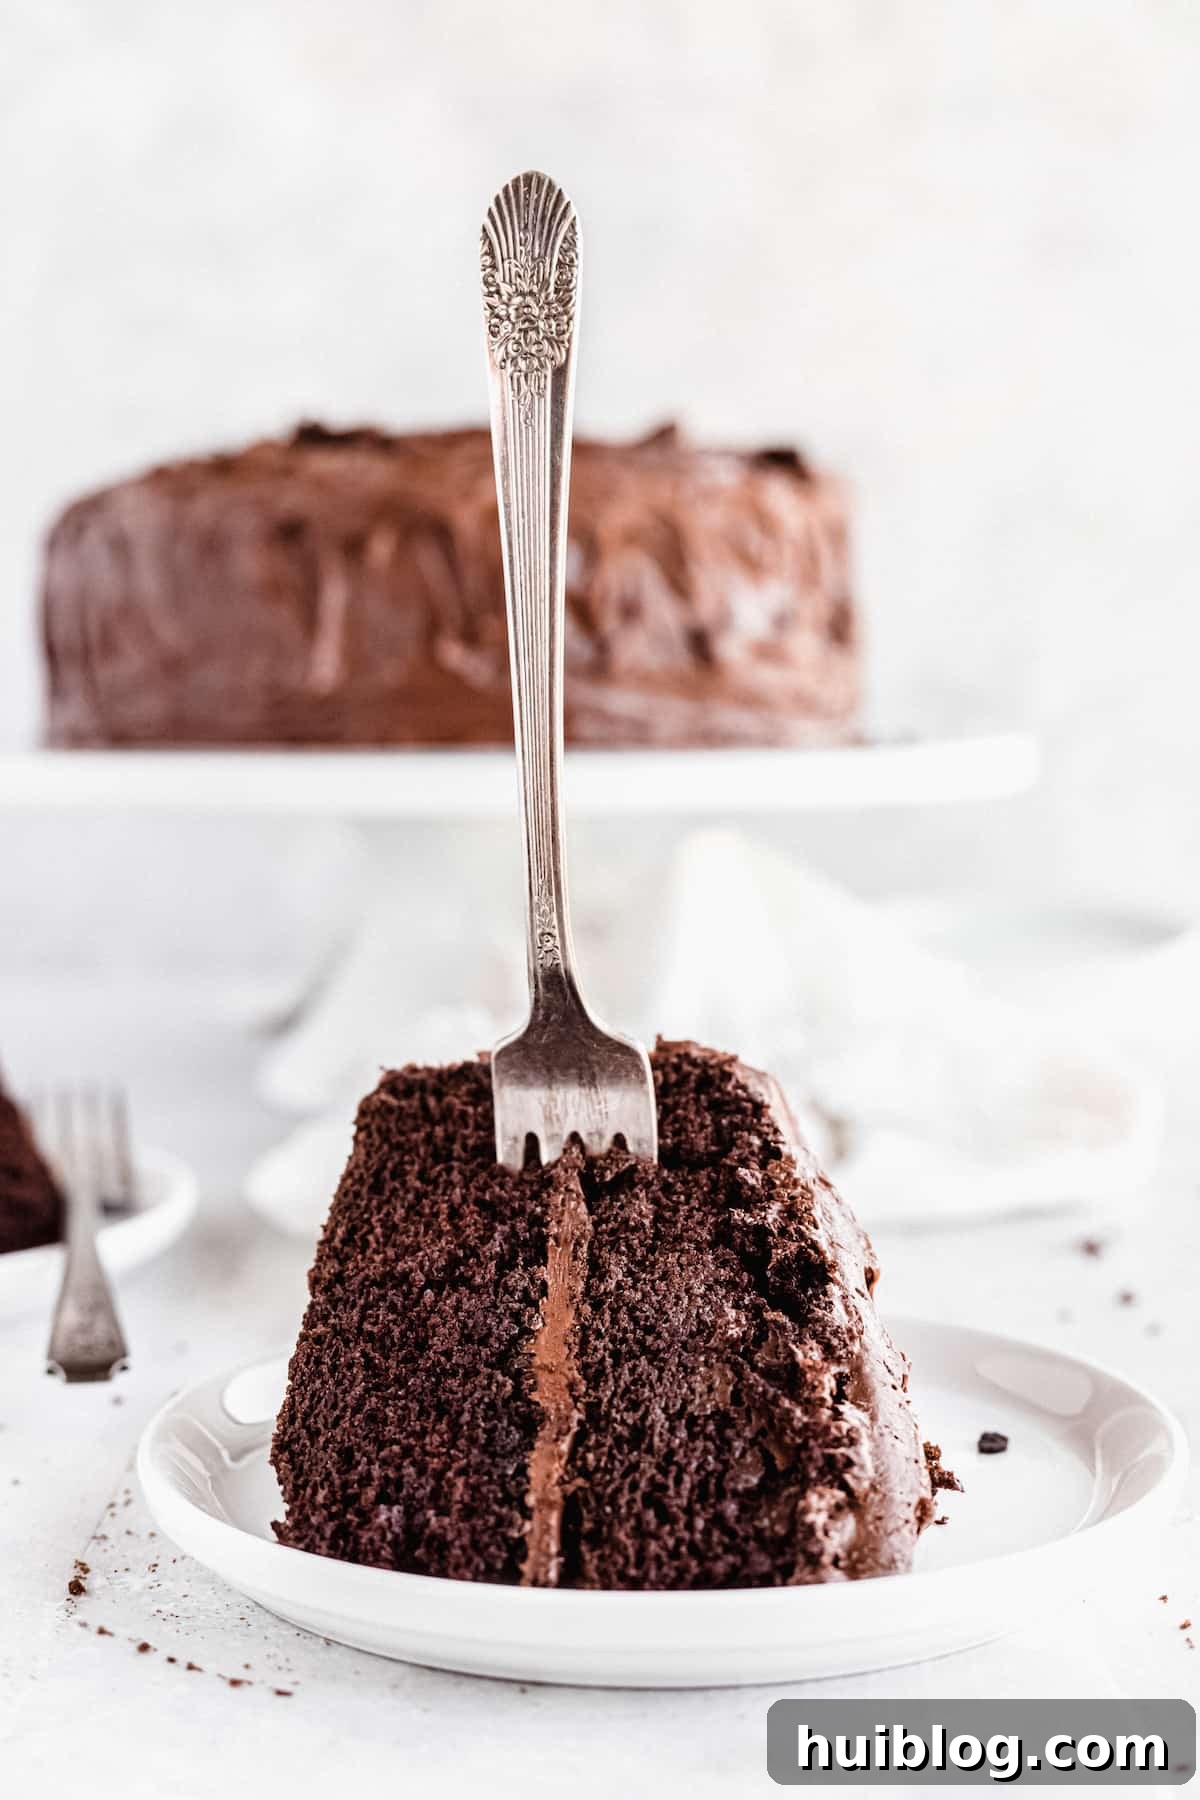
This isn’t just a good chocolate cake; it’s, quite simply, perfect. It strikes the ideal balance between being thick and fudgy, yet surprisingly light and airy. The secret lies in its perfectly balanced ingredients and straightforward method, resulting in a profoundly moist chocolate cake that’s never dry or crumbly. It’s the kind of cake that sparks joy, making it a frequent request for birthdays and celebrations in our household. Pair it with a silky chocolate buttercream, and you have a dessert that’s truly unforgettable.
Whether you’re an experienced baker or a novice in the kitchen, this simple chocolate cake recipe will quickly become your go-to. It’s designed for effortless execution without compromising on flavor or texture, making it the best easy chocolate cake for any occasion.
Key Ingredients for a Moist Chocolate Cake
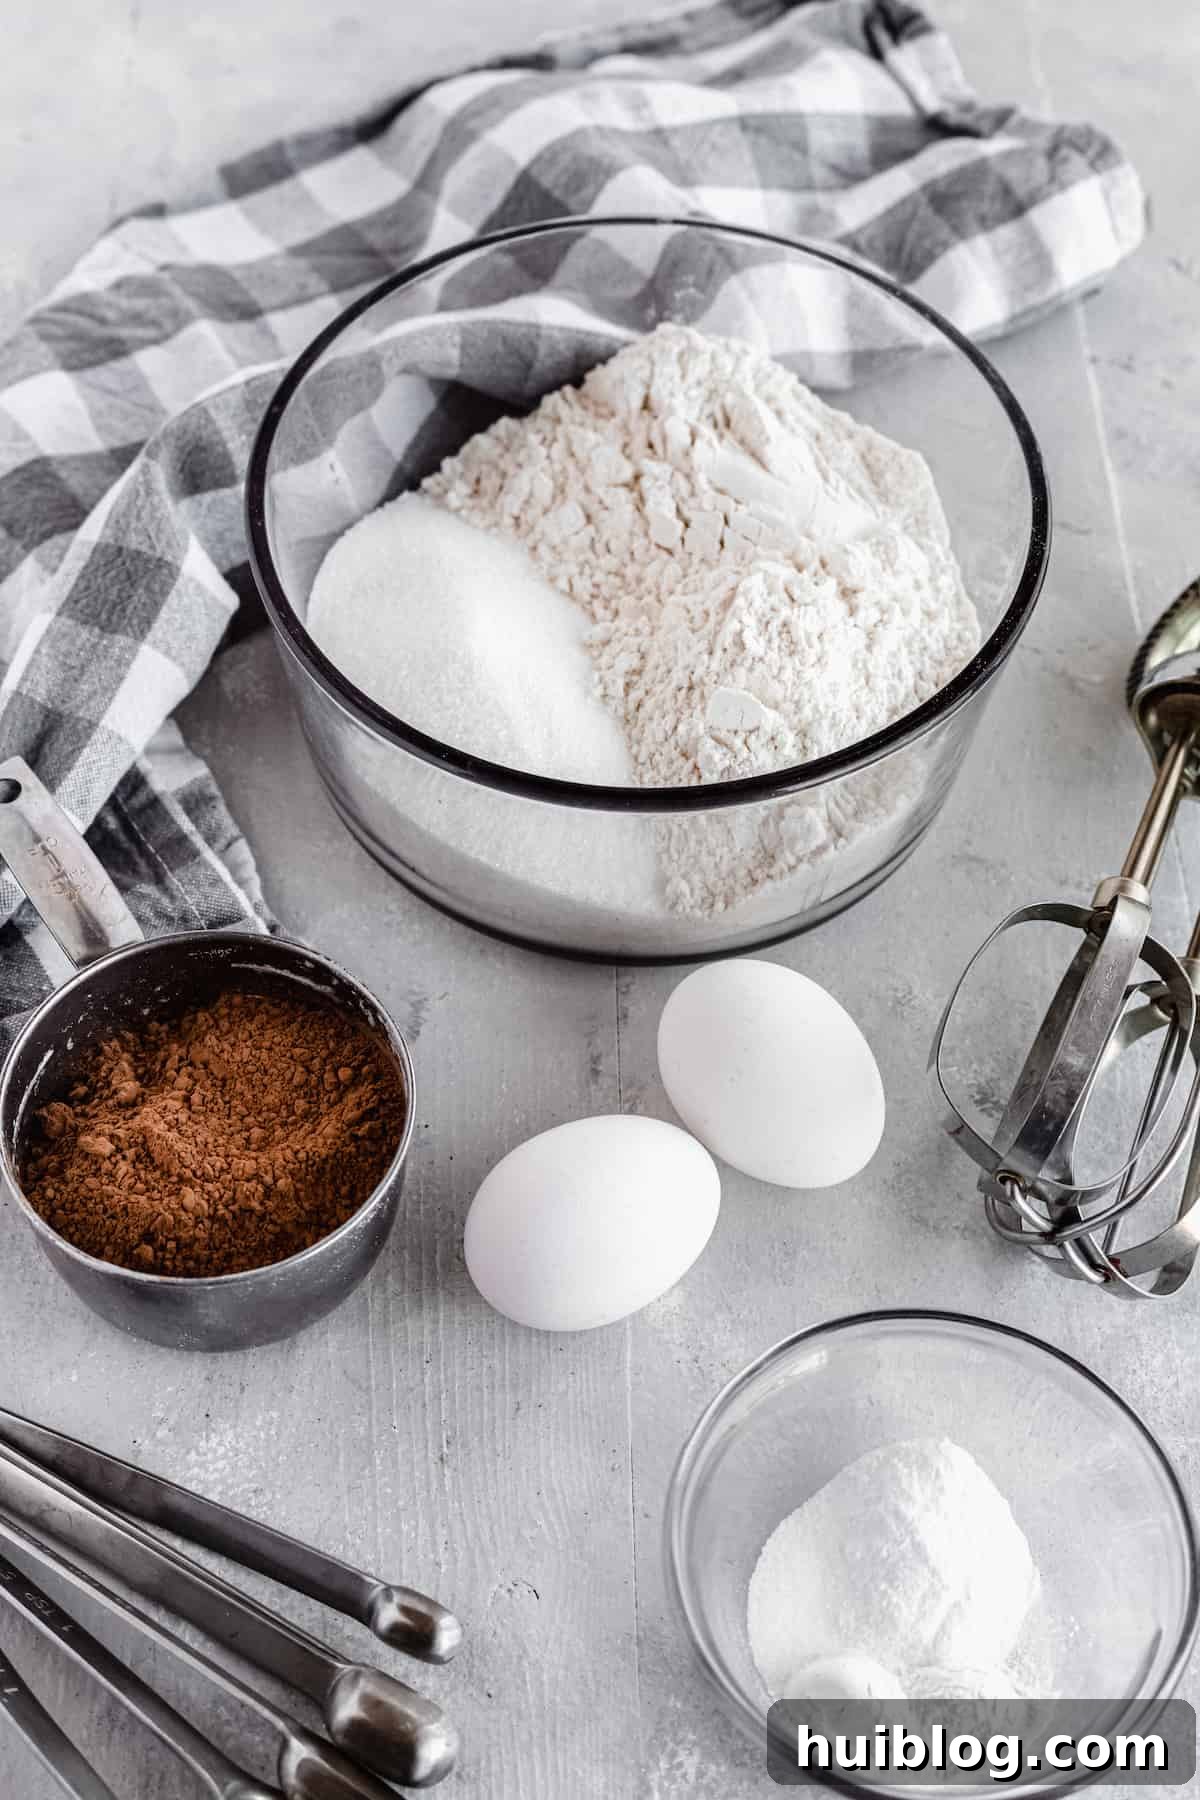
One of the many charms of this spectacular chocolate cake is that it relies on common pantry staples. You won’t need to hunt for obscure ingredients, making it an ideal choice when a sudden craving for cake strikes, or you need a show-stopping dessert without a trip to the grocery store. Here’s what you’ll need to create this fudgy, delicious masterpiece:
- Granulated Sugar: Two cups of standard granulated sugar provide the perfect sweetness and contribute to the cake’s tender crumb. You can certainly opt for raw sugar if that’s your preference.
- All-Purpose Flour: No need for specialized cake flour here! 1 ¾ cups of regular all-purpose flour will give your cake the ideal structure.
- Unsweetened Cocoa Powder: The star of the show! ¾ cup of good quality unsweetened cocoa powder is essential for that deep, rich chocolate flavor. This is what truly makes this a fudgy chocolate cake.
- Baking Powder & Baking Soda: This powerful duo works together to give the cake its remarkable lift and delicate texture. Baking powder reacts with liquid, while baking soda reacts with acidic ingredients (like cocoa powder) to create air bubbles, ensuring a light yet rich bite.
- Salt: A crucial ingredient that enhances all the other flavors, particularly the chocolate. I typically use fine sea salt.
- Eggs: Two large eggs bind the ingredients, add richness, and help with the cake’s structure. Make sure they are at room temperature for better emulsion with other ingredients.
- Whole Milk: One cup of whole milk adds creaminess and moisture, contributing to the cake’s tender crumb. Room temperature milk mixes more evenly into the batter.
- Vegetable Oil: While butter adds richness, vegetable oil is key to achieving an incredibly moist chocolate cake. Oil creates a finer, more even crumb and keeps the cake moist for longer. You can substitute with a neutral-flavored oil like canola or sunflower oil.
- Pure Vanilla Extract: A teaspoon of pure vanilla extract elevates the chocolate flavor, adding depth and warmth. Don’t skimp on quality here!
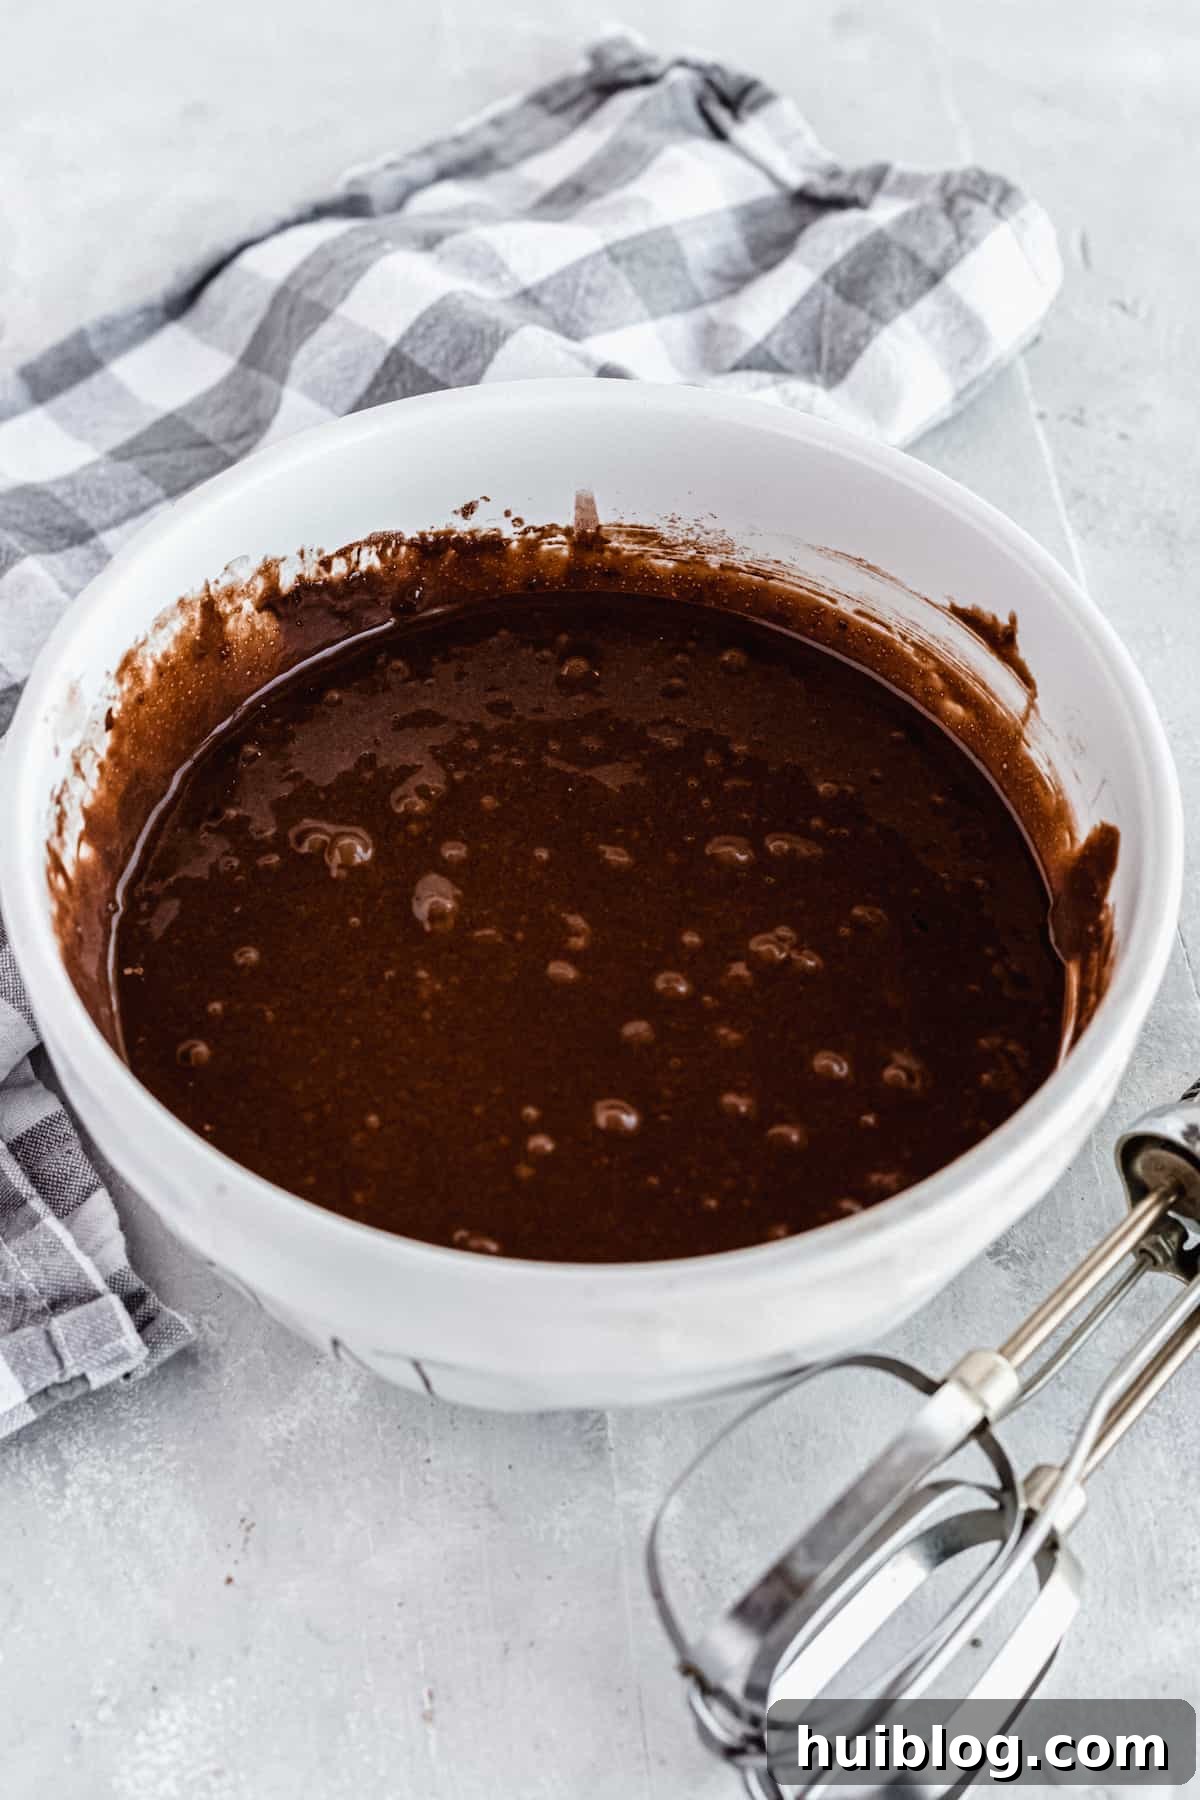
- Boiling Water: This old-fashioned technique might seem unusual, but it’s a game-changer! Adding boiling water to the batter helps “bloom” the cocoa powder, intensifying its chocolate flavor and contributing to the cake’s incredibly moist texture. Don’t be alarmed if the batter looks very liquidy – it’s supposed to!
Baking Your Best Chocolate Layer Cake: Step-by-Step
One of the most appealing aspects of this chocolate cake recipe is its incredible simplicity. Unlike some traditional cakes that require whipping egg whites to achieve a light texture, this easy recipe relies on the combined power of baking powder and baking soda for its perfect rise. This makes it a foolproof option for anyone looking for a reliable and delicious homemade chocolate cake.
- Prepare Oven & Cake Pans: Begin by preheating your oven to 350°F (175°C). This ensures the oven is at the correct temperature from the moment your cake goes in, promoting an even bake. Lightly spray two 9-inch round cake pans with cooking spray, then dust them with a little flour. This prevents sticking and ensures a clean release. For an extra measure, line the bottom of each pan with a circle of parchment paper. This step is key for easy removal and prevents any tears or sticking.
- Combine Dry Ingredients: In a large mixing bowl, whisk together the granulated sugar, all-purpose flour, cocoa powder, baking powder, baking soda, and salt. Make sure to mix them thoroughly until everything is well combined. This step is crucial for distributing the leavening agents evenly throughout the batter, ensuring a consistent rise.
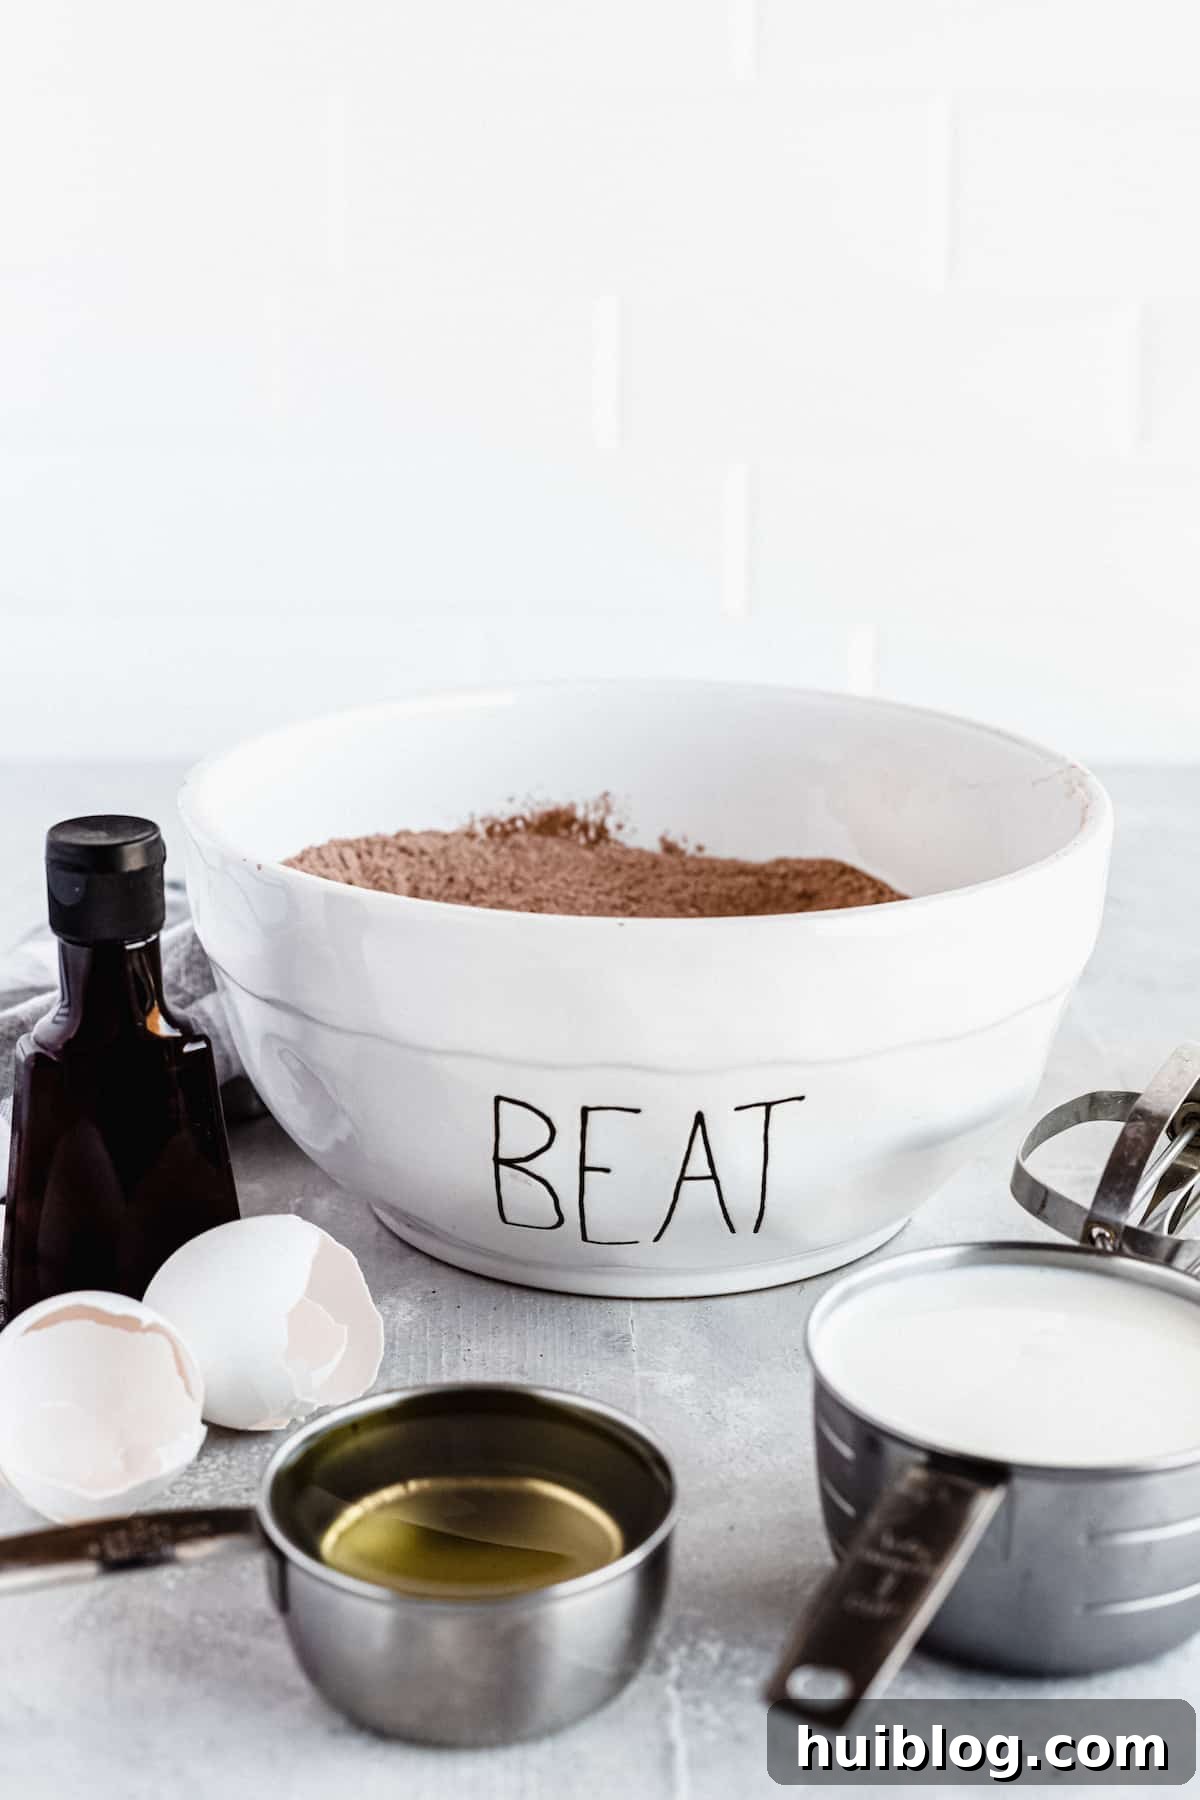
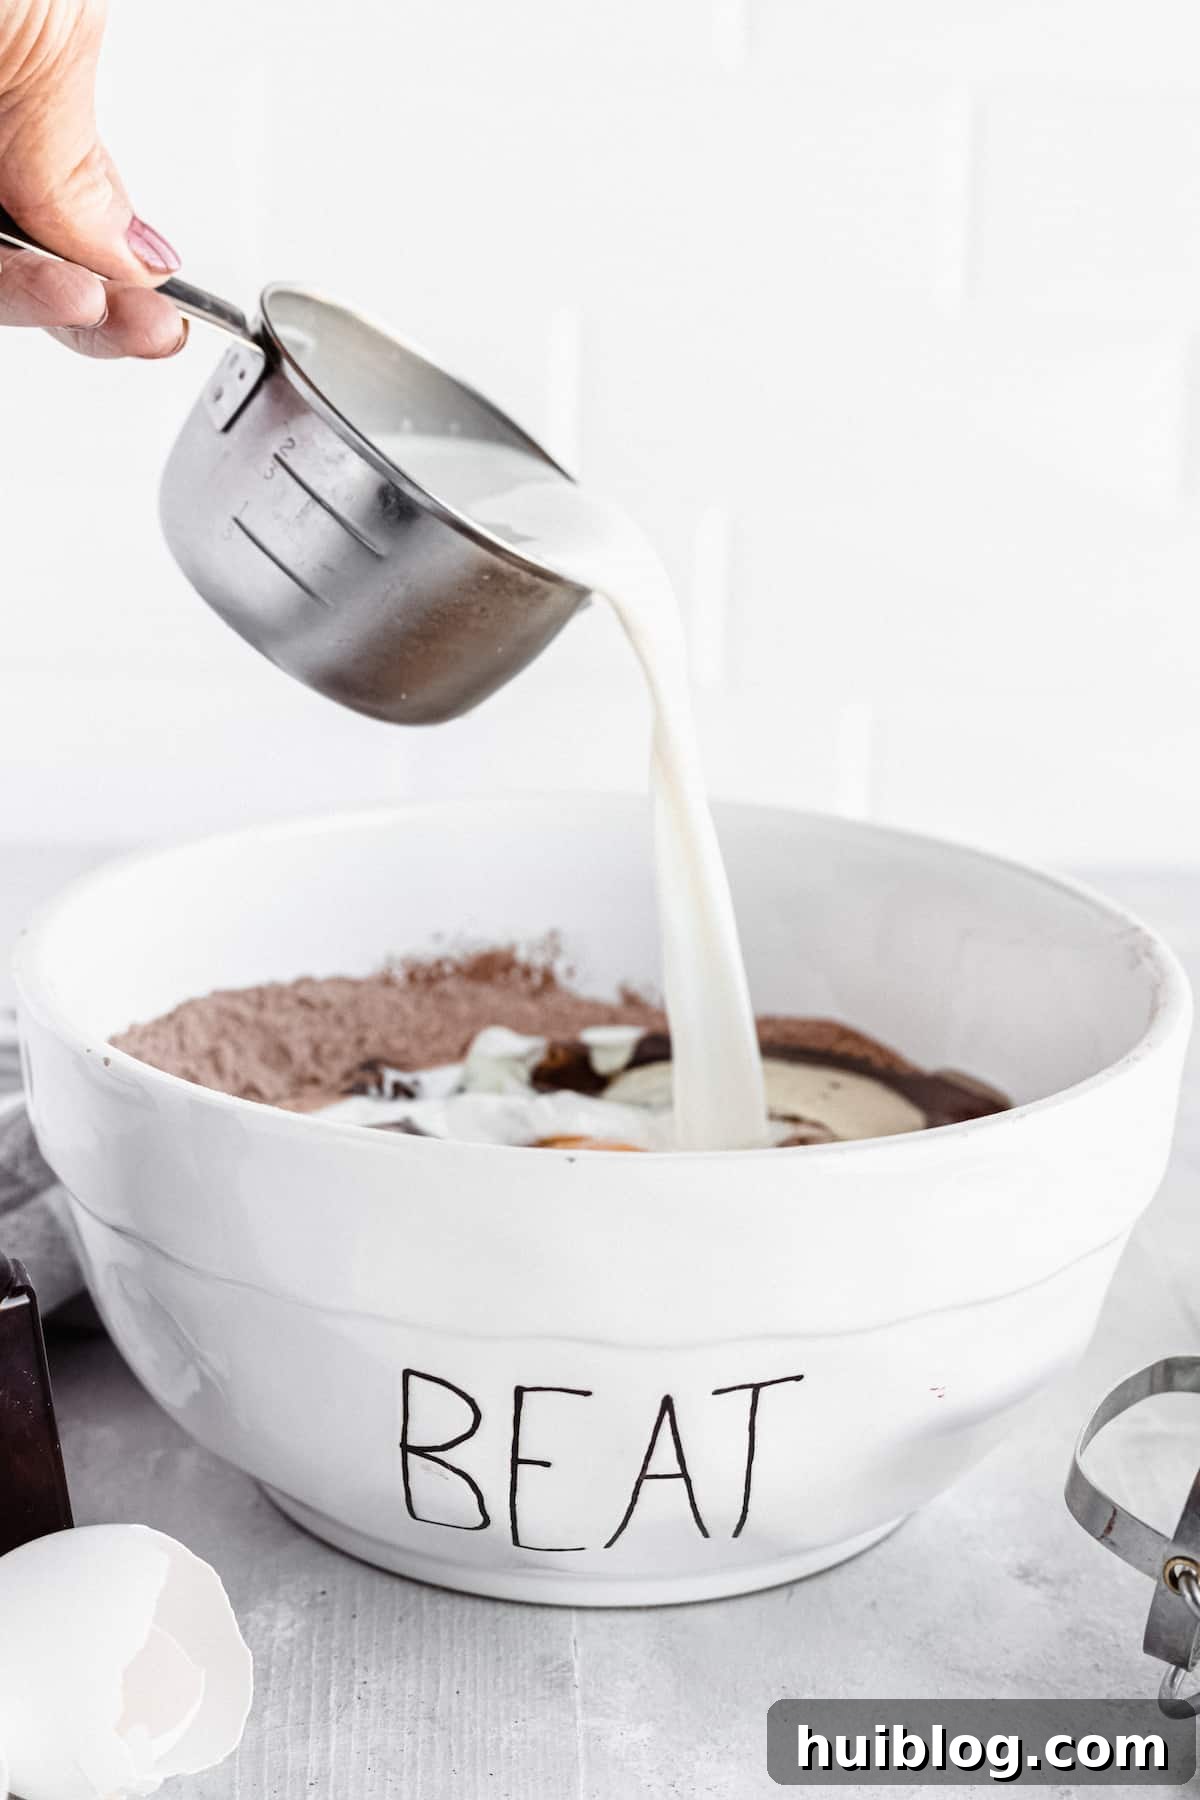
- Add Wet Ingredients & Bloom the Cocoa: Add the two eggs, milk, vegetable oil, and pure vanilla extract to the dry ingredients in the bowl. Stir gently until they are just combined. Avoid overmixing at this stage. Next, pour in the boiling water. Mix until the batter is smooth. As mentioned before, the batter will appear quite thin and runny, but this is perfectly normal and essential for the cake’s moist texture and rich flavor. The hot water helps to “bloom” the cocoa powder, unlocking its full chocolate potential.
- Bake to Perfection: Divide the chocolate cake batter evenly between your two prepared cake pans. Place the pans in the preheated oven and bake for approximately 30 minutes. The cakes are done when the center springs back slightly when gently touched, or when a toothpick inserted into the center comes out clean with only a few moist crumbs attached.
- Cool Completely: This step is paramount for a perfectly frosted cake. Remove the cake layers from the oven and allow them to cool in their pans for about 10-15 minutes before inverting them onto a wire rack. Let the chocolate cake rounds cool completely to room temperature before attempting to frost them. Rushing this step will lead to melted, messy frosting!
Expert Tips for a Flawless Homemade Chocolate Cake
Achieving a bakery-quality chocolate cake at home is easier than you think with these helpful tips and tricks:
- Room Temperature Ingredients: Ensure your eggs and milk are at room temperature. This allows them to emulsify more effectively with the other ingredients, creating a smoother batter and a more uniform, tender cake crumb.
- Precise Parchment Circles: To easily cut perfect parchment circles for your cake pans, simply place a cake pan on a sheet of parchment paper and trace around its base with a pencil. Cut the circle slightly inside your traced line, and it should fit perfectly into the bottom of the pan.
- Don’t Overmix: After adding the wet ingredients to the dry, mix only until just combined. Overmixing develops the gluten in the flour, which can lead to a tough, dry cake. A few lumps are perfectly fine!
- The Toothpick Test: To accurately check for doneness, insert a clean toothpick or a thin fork into the center of the cake. If it comes out clean or with just a few moist crumbs, your cake is ready. If there’s wet batter, continue baking for a few more minutes and test again.
- Cooling is Crucial: Patience is a virtue, especially when cooling a cake. It’s absolutely essential that your cake layers are completely cooled to room temperature before you apply any frosting. Even a slightly warm cake will cause your frosting to melt, slide off, and create a disappointing mess. Learn from my past experiences – wait it out!
- Even Cake Layers: To ensure your cake layers bake evenly and level, you can wrap damp baking strips (insulated strips available at baking stores) around the outside of your cake pans. This helps the cake bake more uniformly from the edges to the center.
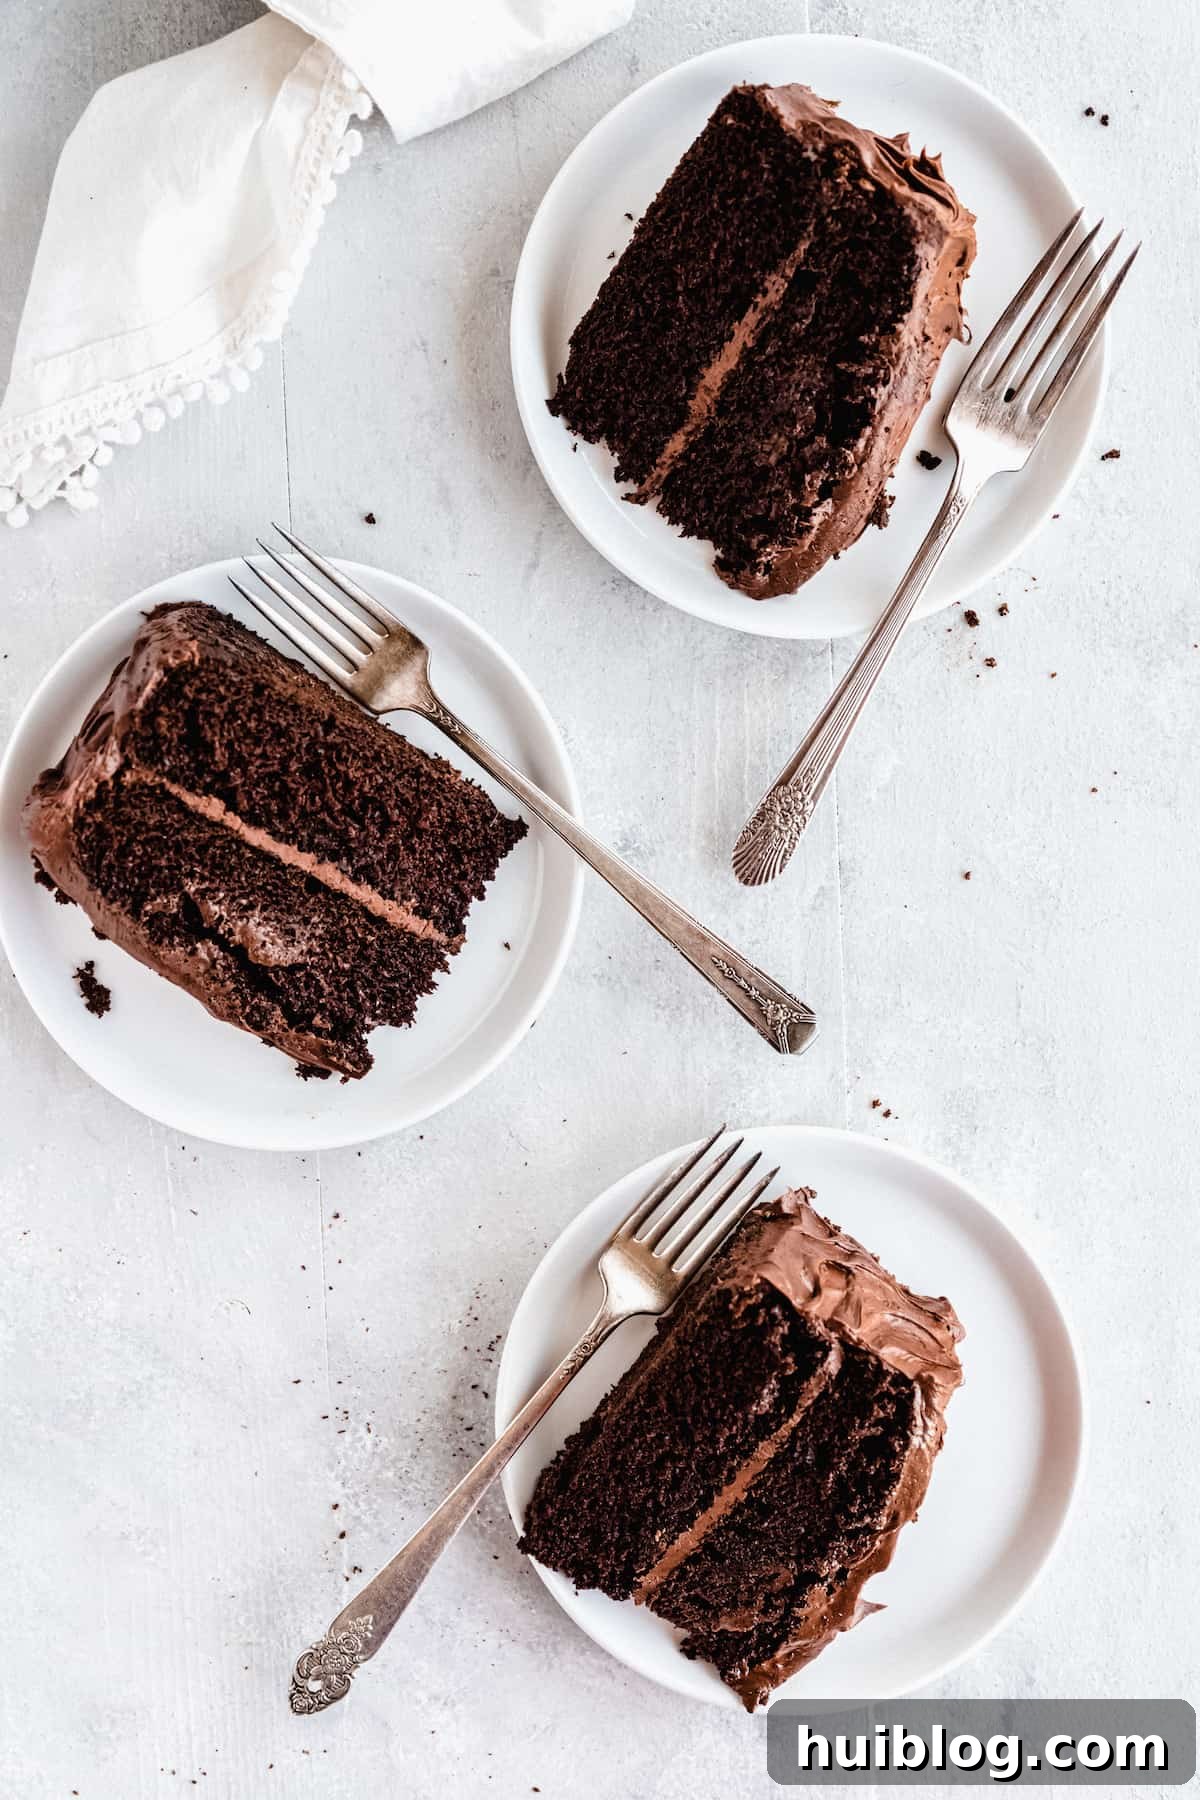
The Perfect Whipped Chocolate Frosting
No truly decadent chocolate cake is complete without a luscious frosting. While this cake pairs beautifully with many types of frosting, this homemade whipped chocolate frosting recipe is simply divine. It’s rich, smooth, and spreads like a dream, complementing the moist cake layers perfectly.
Ingredients for Whipped Chocolate Frosting:
- 12 ounces chocolate chips, finely chopped (high-quality semi-sweet or dark chocolate works best)
- 1½ cups heavy whipping cream
- 8 tablespoons unsalted butter
Instructions for Whipped Chocolate Frosting:
- Place your finely chopped chocolate chips in a medium-sized mixing bowl and set aside.
- In a saucepan, combine the heavy whipping cream and butter. Heat over medium heat, stirring occasionally, until the mixture just barely comes to a boil. Remove immediately from heat.
- Pour the hot cream mixture over the chopped chocolate. Let it sit for 2-3 minutes to allow the chocolate to melt. Then, whisk vigorously until the chocolate is completely melted and the mixture is smooth and glossy.
- Cover the bowl with plastic wrap and refrigerate for at least one hour. This allows the mixture to chill and thicken.
- Remove from the fridge and give it a good stir. If it’s still too runny, refrigerate for another hour or until it reaches a thick, spreadable consistency that holds its shape.
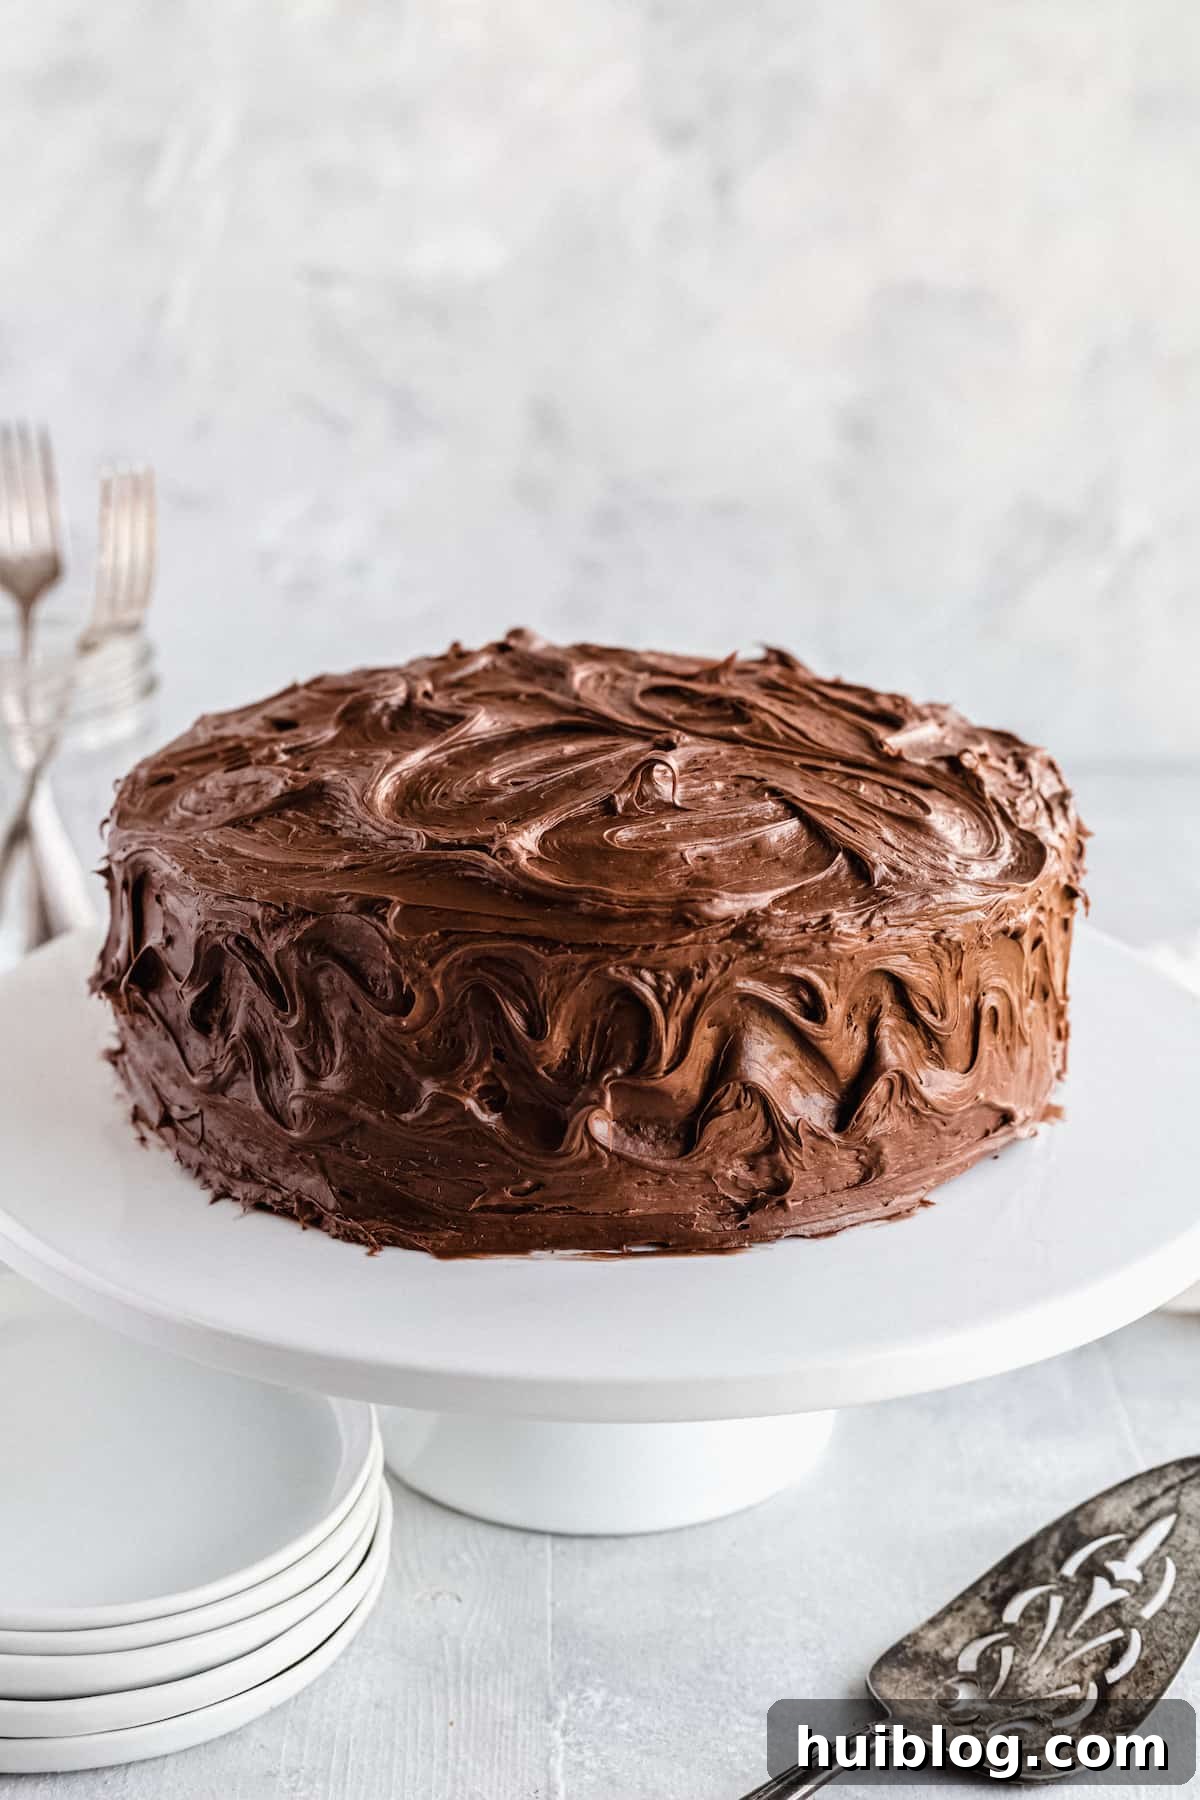
- Once the cake layers are completely cool, spread about one-third of the frosting evenly over the first cake layer. Carefully place the second cake layer on top, then use the remaining frosting to generously cover the top and sides of the cake.
- Slice and serve your magnificent chocolate layer cake!
Creative Decorating Ideas for Your Chocolate Cake
Once your cake is beautifully frosted, it’s time to add those delightful finishing touches! Beyond the classic chocolate buttercream, you could also use your favorite vanilla frosting or even a light marshmallow fluff. Here are some simple yet elegant decorating ideas to make your chocolate cake truly stand out:
- Elegant Chocolate Curls: For a sophisticated look, create your own chocolate curls. Take a bar of good quality chocolate and, using a vegetable peeler or a sharp knife, drag it across the surface to create delicate shavings or curls, as I do for my chocolate eclair cake. Scatter them artfully over the top and sides of the frosted cake.
- Shimmery Candy Pearls: Find beautiful shimmery candy pearls in the baking aisle of your grocery store (often near the sprinkles and frosting). These small, edible spheres add a touch of sparkle and elegance, especially against the dark backdrop of a rich chocolate cake.
- Decadent Ganache Drizzle: A simple ganache can elevate your cake instantly. Combine equal parts heavy cream and high-quality chocolate (by weight), heating the cream until simmering, then pouring it over the chocolate. Let it sit for a few minutes before stirring until smooth. Allow the ganache to cool and thicken slightly before drizzling it artfully over the top of your frosted cake for a stunning effect.
- Crushed Candies or Cookies: Get creative with toppings! Crush up your favorite candies like Heath bars or Oreos for a delightful crunch. For a festive touch, try crushed peppermints, reminiscent of my Grinch cake. The contrast in texture and flavor is wonderful.
- Toasted Chopped Nuts: Simple and satisfying, chopped walnuts, pecans, or almonds add a lovely nutty flavor and texture. Lightly toast them for enhanced flavor before sprinkling them generously over the top and gently pressing them into the sides of the cake.
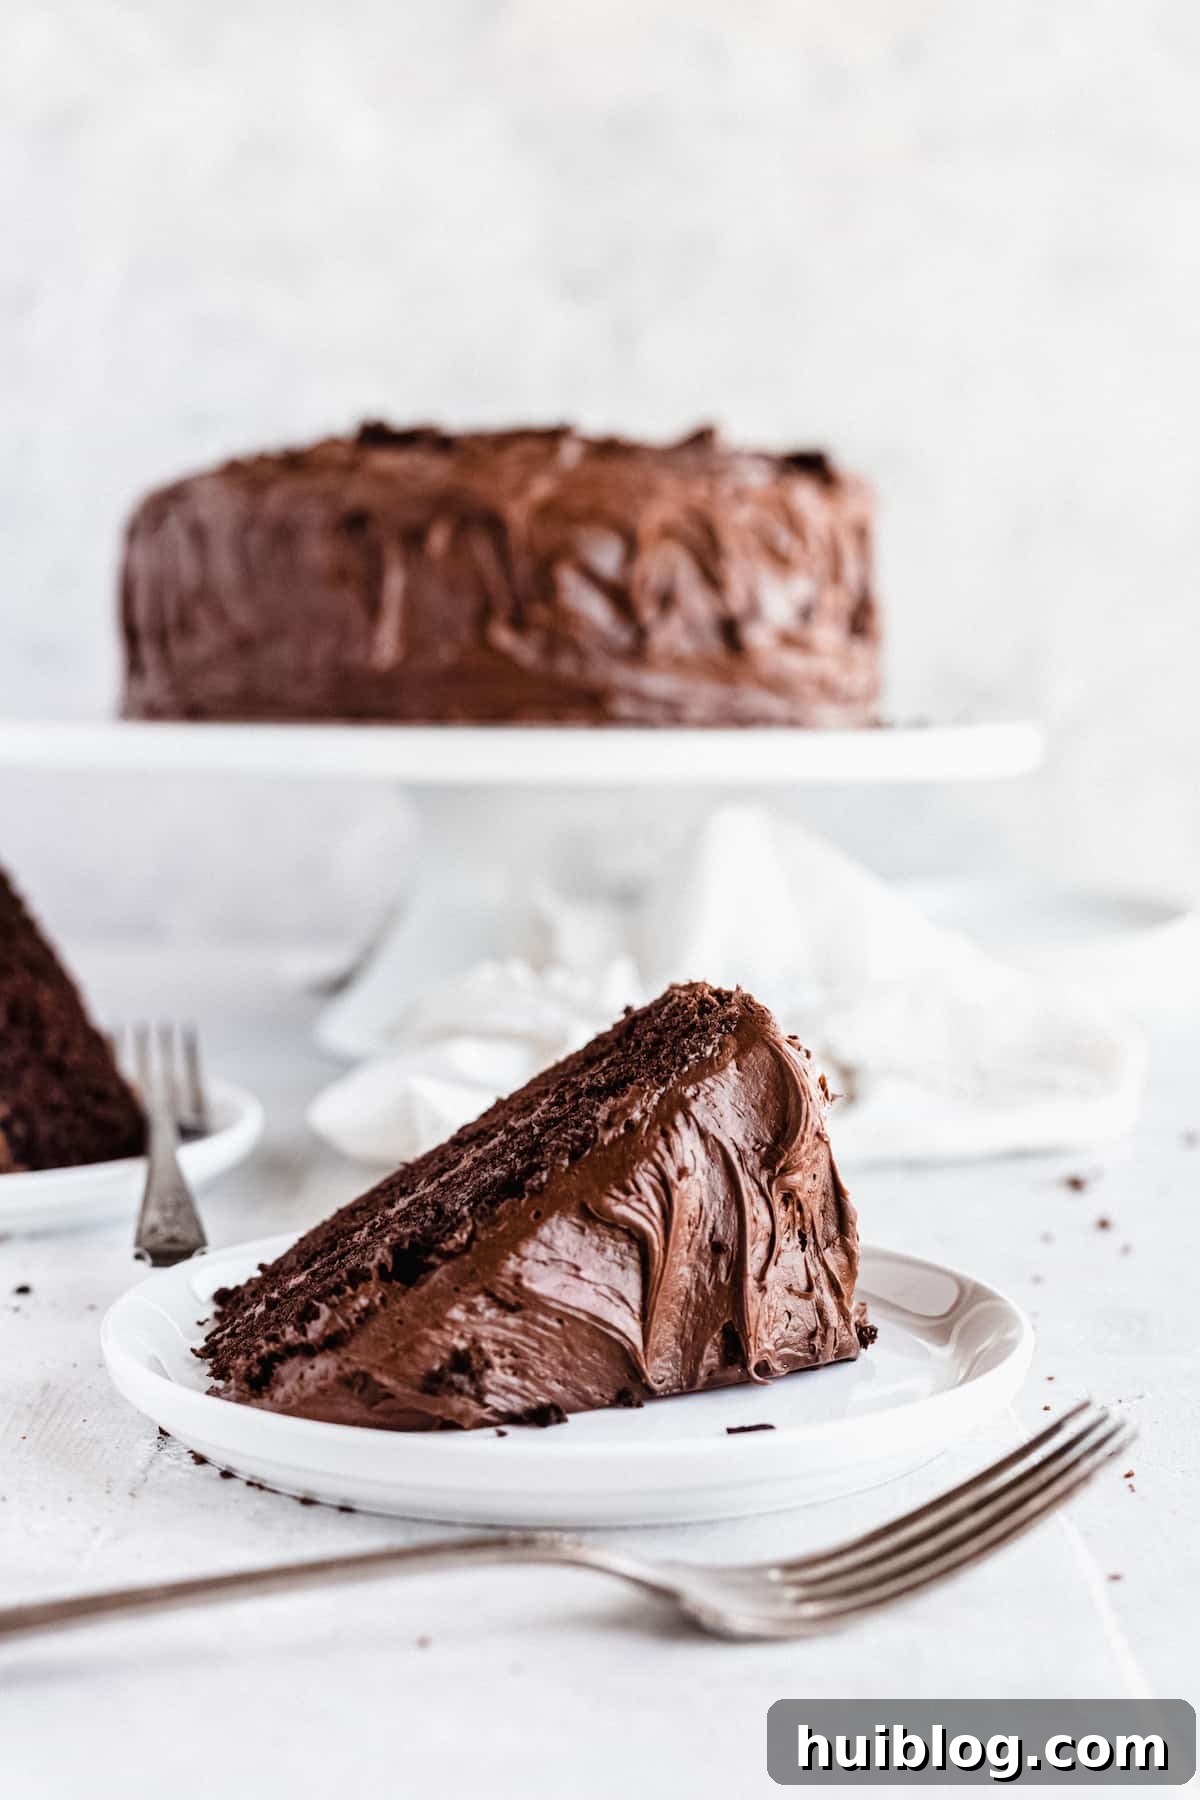
Storage and Freezing Tips for Your Chocolate Cake
Proper storage ensures your homemade chocolate cake stays fresh and delicious for as long as possible:
How to Store a Frosted Cake:
- Room Temperature: If your cake is frosted with a buttercream or ganache (not cream cheese frosting), you can store it covered, at room temperature, for up to 3 days. Keep it away from direct sunlight or heat.
- Refrigeration: For extended freshness or if your frosting contains dairy like cream cheese, cover the cake tightly and store it in the refrigerator for up to 1 week. Always allow refrigerated cake to sit at room temperature for about 10-15 minutes before serving to ensure the cake and frosting are at their best texture and flavor.
Can I Freeze This Chocolate Cake?
- Freezing Frosted Cake: Yes, you absolutely can! To freeze, place the frosted cake (or individual slices) in the freezer uncovered for about 30 minutes until the frosting is firm. Then, wrap it tightly in plastic wrap, followed by a layer of aluminum foil, or place it in an airtight freezer-safe container. This will protect it from freezer burn. Freeze for up to two months.
- Thawing: When you’re ready to enjoy, thaw the cake overnight in the refrigerator. Once thawed, let it sit at room temperature for about 30 minutes before serving to allow the flavors and textures to fully develop.
Frequently Asked Questions About Easy Chocolate Cake
Got more questions? Here are some common queries about making the best easy chocolate cake:
What kind of cocoa powder should I use?
Unsweetened natural cocoa powder or Dutch-processed cocoa powder both work well for this recipe. Dutch-processed cocoa is less acidic and provides a darker color and milder chocolate flavor, while natural cocoa is more acidic and creates a slightly tangier chocolate taste. Either will result in a delicious cake.
Can I make this into cupcakes?
Absolutely! This recipe can easily be adapted for cupcakes. Line a cupcake pan with paper liners and fill each about two-thirds full with batter. Bake for 18-22 minutes, or until a toothpick inserted comes out clean. The yield will be approximately 24-30 cupcakes.
Why is boiling water used in the recipe?
Boiling water serves two main purposes. First, it “blooms” the cocoa powder, releasing its full flavor and aroma, making the chocolate taste richer and more intense. Second, it contributes to the cake’s exceptional moisture and creates a delicate, tender crumb that is characteristic of this easy chocolate cake.
Can I substitute butter for oil?
While you can substitute melted butter for vegetable oil, keep in mind that oil typically produces a moister cake with a more uniform crumb and helps it stay fresh longer. Butter will add a different richness but might result in a slightly denser cake.
More Easy Dessert Ideas to Love
A homemade dessert has the power to transform any meal into a special occasion. If you loved this easy chocolate cake, you’ll surely enjoy these other delightful and simple recipes from our collection:
- Hummingbird Cake
- Easy Tiramisu Recipe
- Classic Chocolate Milkshake
- Fudgy Homemade Brownies
- Chewy Chocolate Chip Cookies
Easy Chocolate Cake
What could be better than chocolate cake? Not much! Especially when it’s a deliciously Easy Chocolate Cake recipe – moist, rich, and made from scratch in your own kitchen.
Ingredients
FOR THE CAKE
- 2 cups granulated sugar
- 1 ¾ cups all-purpose flour
- ¾ cup unsweetened cocoa powder
- 1 ½ teaspoons baking powder
- 2 teaspoons baking soda
- ½ teaspoon sea salt
- 2 large eggs
- 1 cup whole milk
- ½ cup vegetable oil (or other neutral oil)
- 1 teaspoon pure vanilla extract
- 1 cup boiling water
FOR THE WHIPPED CHOCOLATE FROSTING
- 12 ounces chocolate chips, finely chopped (high-quality recommended)
- 1½ cups heavy whipping cream
- 8 tablespoons unsalted butter
Instructions
FOR THE CAKE
- Preheat oven to 350°F (175°C). Lightly spray two 9-inch round cake pans with cooking spray and dust with flour. Line the bottom of each pan with a cutout of parchment paper for easy removal.
- In a large mixing bowl, combine sugar, flour, cocoa, baking powder, baking soda, and salt. Mix until thoroughly combined.
- Add eggs, milk, oil, and vanilla to the dry ingredients. Stir until just combined. Pour in the boiling water and mix until the batter is smooth. (The batter will be quite runny, which is normal). Pour the batter evenly into the two prepared cake pans.
- Place filled pans in the preheated oven and bake for 30 minutes, or until the center is set and a toothpick inserted comes out clean. Remove from oven and let cool completely on a wire rack before frosting.
FOR THE WHIPPED CHOCOLATE FROSTING
- Place finely chopped chocolate in a mixing bowl; set aside.
- In a saucepan, combine heavy whipping cream and butter. Cook over medium heat until it just reaches a boil, stirring occasionally.
- Immediately pour the hot cream mixture over the chopped chocolate. Let it sit for 2-3 minutes, then whisk vigorously until the chocolate is completely melted and smooth.
- Cover the bowl and refrigerate for at least 1 hour, or until it reaches a thick, spreadable consistency. Stir halfway through chilling to check consistency.
- Once the cake layers are completely cool, spread about 1/3 of the frosting on one cake layer. Top with the second cake layer and spread the remaining frosting on top and sides of the cake.
- Cut and serve your delicious homemade chocolate cake.
Equipment
- Oven
- Two 9-inch round cake pans
- Large mixing bowls
- Whisk
- Saucepan
- Wire cooling rack
Nutritional information is an estimate and provided as a courtesy. Values may vary according to the ingredients and tools used. Please use your preferred nutritional calculator for more detailed information.