

Transform your kitchen into a haven of aromatic flavors with this incredibly simple yet profoundly delicious Homemade Instant Pot Chicken Broth. Forget store-bought cartons – this recipe delivers a rich, savory broth that tastes like it’s been simmering for hours, all thanks to the magic of your Instant Pot. Featuring a whole chicken, fresh carrots, onion, and celery, this full-bodied broth is not only perfect for elevating any recipe but also remarkably fast and easy to prepare. Whether you’re whipping up a hearty soup, a flavorful sauce, or simply seeking a comforting warm drink, this homemade liquid gold is an essential pantry staple.

Homemade Instant Pot Chicken Broth: The Ultimate Kitchen Essential
Imagine this scenario: you’re halfway through a recipe, only to discover you’ve run out of chicken broth. Or perhaps you’re at the grocery store, staring at rows of expensive, often sodium-laden cartons, wondering if there’s a better way. The answer, unequivocally, is yes! Making your own chicken broth at home is not just surprisingly easy and cost-effective; it’s a game-changer for your cooking.
This Instant Pot Chicken Broth recipe is designed for modern home cooks seeking both convenience and quality. I personally rely on this recipe to keep a steady supply of homemade broth on hand. By crafting my own, I have complete control over the ingredients – choosing the type of chicken, adjusting salt levels, and selecting my preferred herbs and vegetables. This level of customization ensures a broth perfectly tailored to my taste preferences and dietary needs, free from artificial flavors or excessive sodium found in many commercial varieties.
One of the most appealing bonuses of using a whole chicken for your broth is the delicious, flavorful cooked chicken meat you get as a byproduct. Once the broth is made, simply remove the tender chicken from the bones and shred it. This pre-cooked chicken is incredibly versatile and can be used in countless dishes throughout the week – think quick chicken salads, hearty soups, cheesy casseroles, or simple sandwiches. It’s a fantastic way to maximize your ingredients and streamline your meal prep, turning one simple task into multiple culinary opportunities.
Broth, Stock, and Bone Broth: Understanding the Differences
The terms “chicken broth” and “chicken stock” are often used interchangeably in recipes, and for most culinary applications, they can indeed be substituted for one another. However, there are subtle yet important distinctions that primarily revolve around their ingredients and cooking methods, which ultimately affect their texture, flavor, and nutritional profile.
Broth, as we are making with our whole chicken, is typically made by simmering meat (and sometimes a small amount of bone) with vegetables and aromatics for a relatively shorter period, usually 1-3 hours. The focus is on extracting the flavor from the meat and vegetables. The resulting liquid is generally lighter in body, clearer, and has a distinct savory, meaty flavor. Because the meat can become tough with prolonged cooking, broth is not typically simmered as long as stock.
Stock, on the other hand, is predominantly made from bones, often roasted first for deeper flavor, along with a mirepoix (carrots, celery, onion) and herbs. It is simmered for a much longer duration, typically 4-8 hours, to extract collagen, minerals, and rich flavors from the bones and connective tissues. This longer cooking time gives stock a richer flavor, darker color, and a thicker, more gelatinous consistency when chilled. The gelatin content is a hallmark of good stock, contributing to mouthfeel and body in dishes.
What about bone broth?
While “bone broth” has gained immense popularity in recent years for its purported health benefits, it is technically a type of stock. Bone broth is characterized by an even longer simmer time than traditional stock, often ranging from 12 to 24 hours, sometimes even longer. This extended cooking duration, often facilitated by the addition of an acidic component like apple cider vinegar, aims to maximize the extraction of collagen, amino acids, and minerals from the bones. The goal is a highly nutrient-dense, richly gelatinous liquid often consumed on its own for wellness purposes, in addition to being used in cooking.
Essential Ingredients for Perfect Instant Pot Chicken Broth
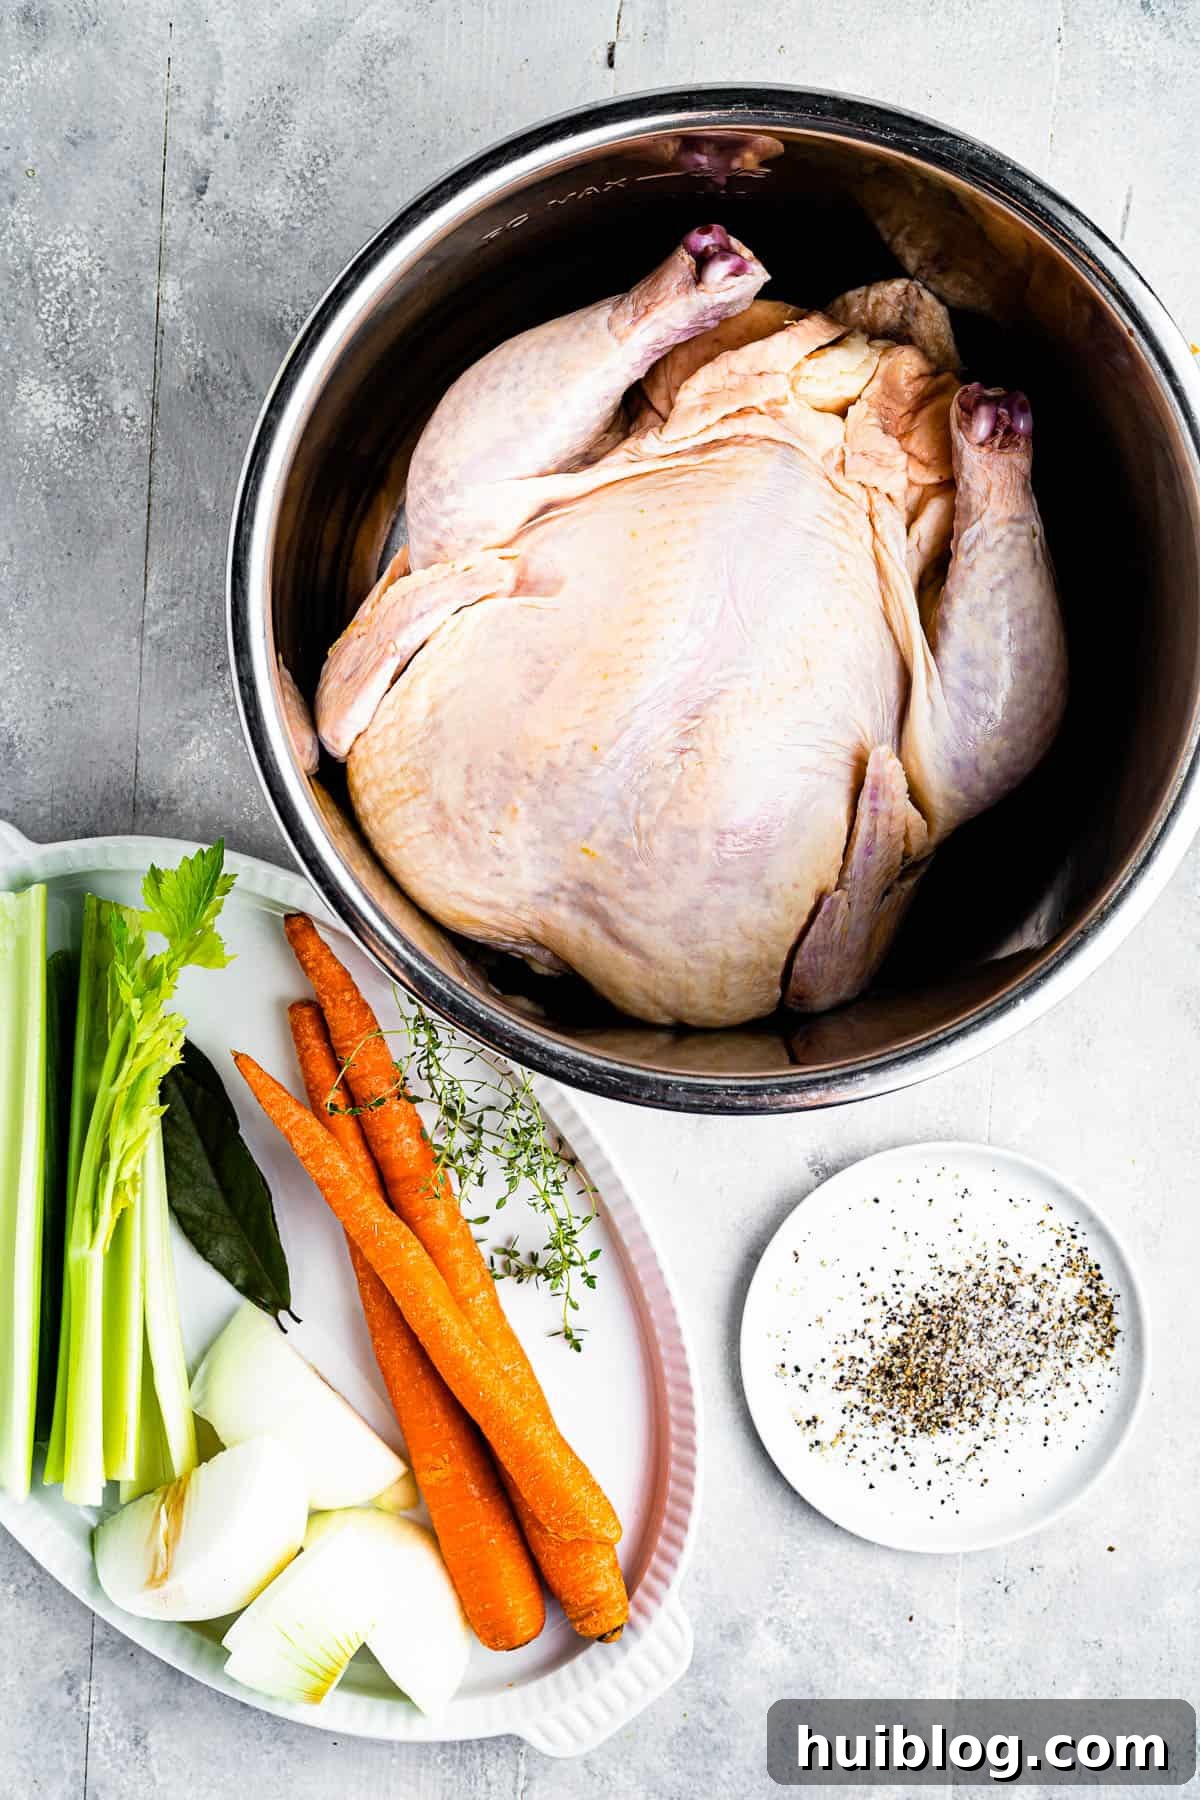
The beauty of homemade broth lies in its simplicity. While you can certainly experiment with various additions like garlic, fresh herbs, or even a splash of lemon, this foundational recipe provides a classic, clean flavor that serves as an excellent base for almost any dish. Here’s a detailed look at the core ingredients that create this smooth, aromatic broth:
- Chicken: The star of the show! A small whole chicken, ideally around 2 pounds, is perfect for a balanced broth and yields tender meat. Alternatively, you can use 2 pounds of chicken pieces such as wings, thighs, or drumsticks. Chicken backs and necks also work wonderfully for intensifying flavor and adding body.
- Carrots: These add a subtle, natural sweetness and a lovely golden hue to your broth. Use about 3 large carrots, scrubbed clean and cut in half or thirds. Peeling is optional; a good scrub is often sufficient.
- Celery: Integral to that quintessential “chicken soup” flavor, celery provides a fresh, earthy note. Three celery stalks, cut in half, will contribute perfectly to the aromatic base.
- Onion: A fundamental aromatic, one large onion (white or yellow) forms the savory backbone of the broth. You can simply halve or quarter it, leaving the skin on for extra color and nutrients, just ensure it’s thoroughly washed.
- Bay Leaves: Two bay leaves impart a subtle, almost floral herbaceousness that rounds out the flavor profile without overpowering it. They are a secret weapon for depth.
- Thyme: My personal favorite dried herb for chicken broth, thyme offers a warm, earthy, and slightly minty note. Feel free to explore other herbs like rosemary for a deeper, woodier taste, or parsley for a fresher aroma, depending on your culinary preference.
- Salt and Black Pepper: Essential for seasoning. Start with 1 teaspoon of sea salt and ½ teaspoon of freshly ground black pepper. You can always adjust these seasonings to taste after the broth is cooked.
- Water: The solvent that brings all these flavors together. This recipe typically yields about two and a half quarts of broth, requiring 8 to 10 cups of filtered water to cover the ingredients adequately without exceeding your Instant Pot’s maximum fill line.
Feel free to customize this base with additional aromatics like garlic cloves, a few peppercorns, or even a small amount of ginger for an extra kick. The beauty of homemade broth is its adaptability to your personal taste.
Step-by-Step: How to Make Instant Pot Chicken Broth
Making chicken broth in the Instant Pot significantly cuts down on the traditional stovetop simmering time, delivering a deeply flavored broth in a fraction of the time. While the pressure cooking itself is quick, remember to factor in time for the Instant Pot to come to pressure, release pressure, and for the broth to cool before straining and storing. Plan for about an hour for active cooking and depressurization, plus an equivalent amount of time for cooling and handling.
Instant Pot Method: Quick, Easy, and Flavorful
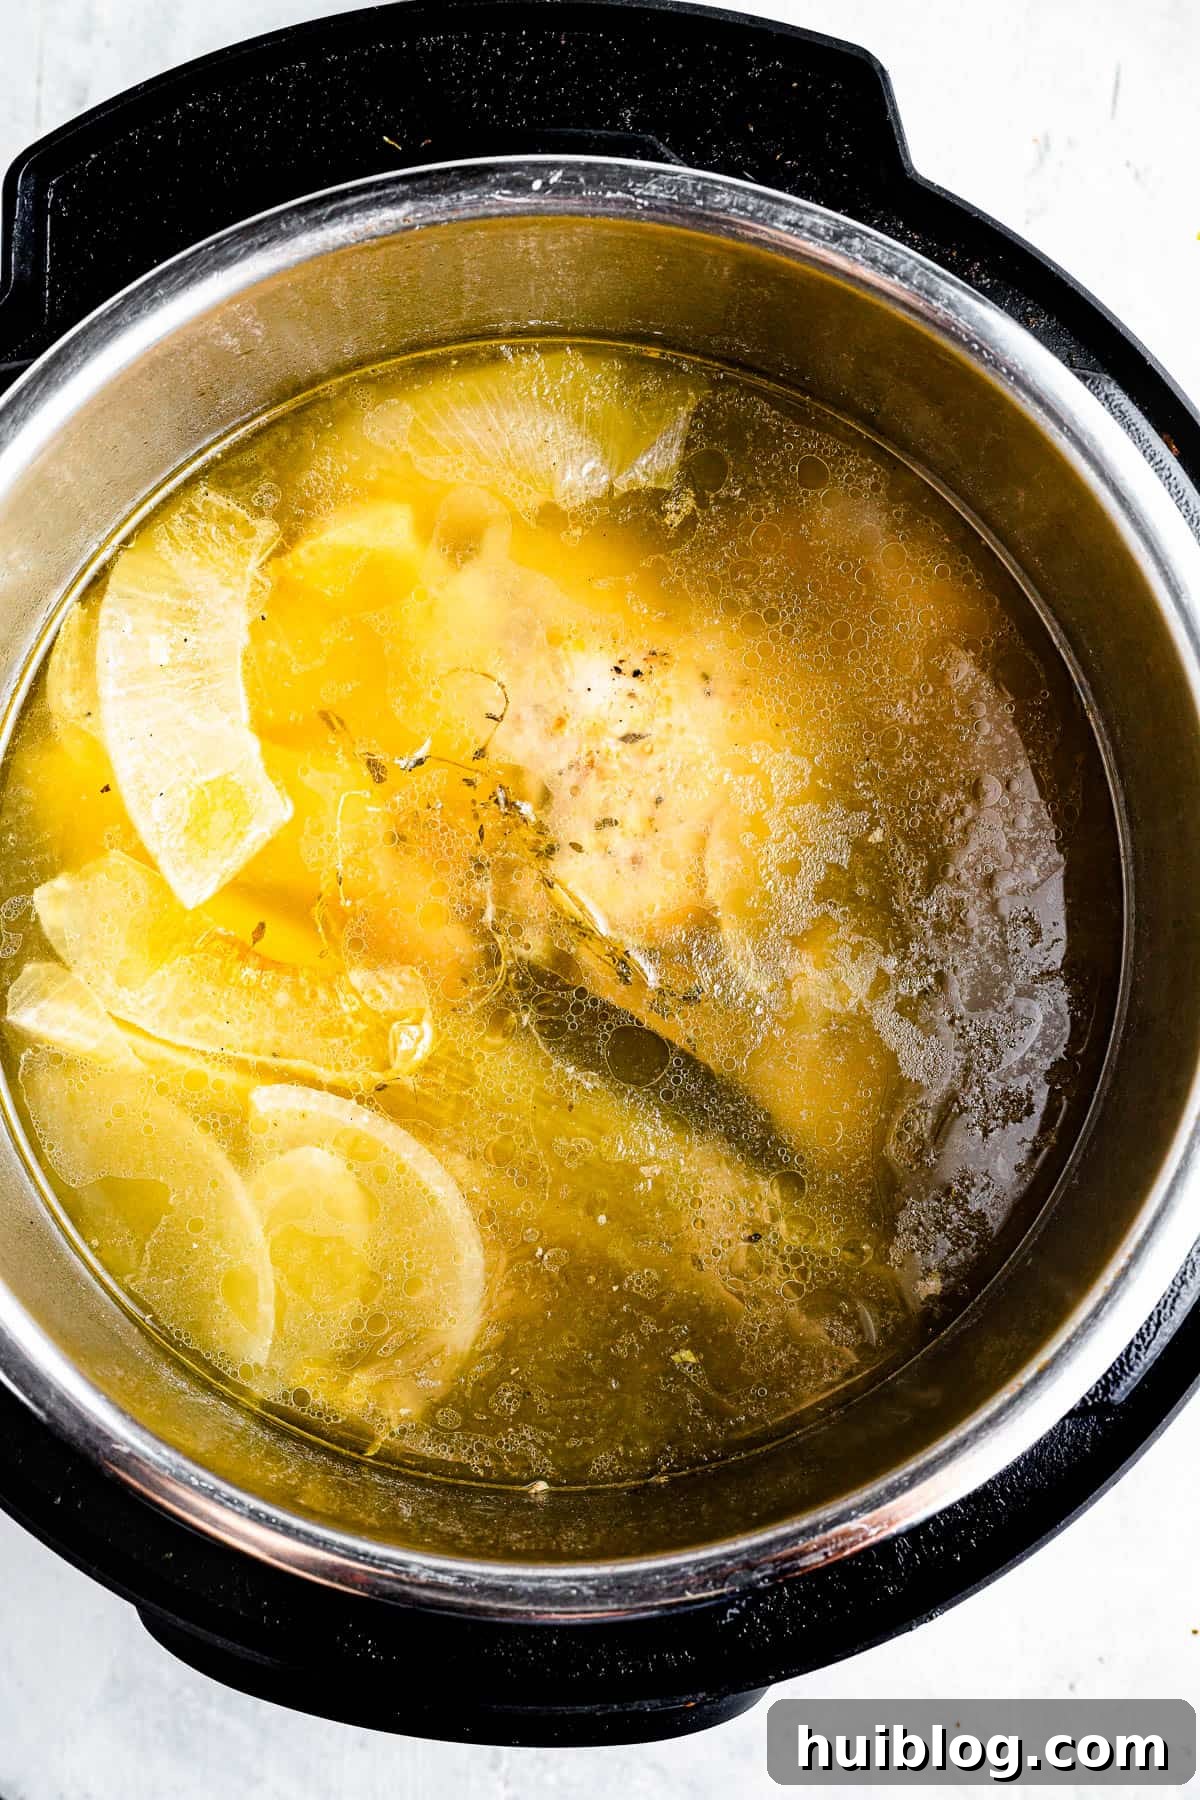
- Load the Instant Pot: Begin by placing the chicken, carrots, celery, onion, bay leaves, thyme, salt, and pepper into the bottom of your Instant Pot’s inner pot. Arrange the ingredients so they fit snugly.
- Add Water: Carefully pour in 8 to 10 cups of water, or until the chicken is fully submerged. It is crucial not to exceed the “max fill” line indicated on your Instant Pot’s inner pot. The exact amount of water may vary slightly depending on the size of your chicken.
- Pressure Cook: Secure the lid on your Instant Pot, twisting it to lock it into place. Ensure the steam release valve is set to the “sealed” position. Select the “Manual” or “Pressure Cook” setting and cook on high pressure for 45 minutes.
- Quick Release and Cool: Once the cooking cycle is complete, perform a quick release of the pressure by carefully turning the steam release valve to the “venting” position (use tongs or a kitchen towel to protect your hand from the steam). Allow all the pressure to escape until the float valve drops. Open the lid and let the hot chicken broth cool down significantly before handling. You can place a tea towel over the pot to keep it covered while it cools.
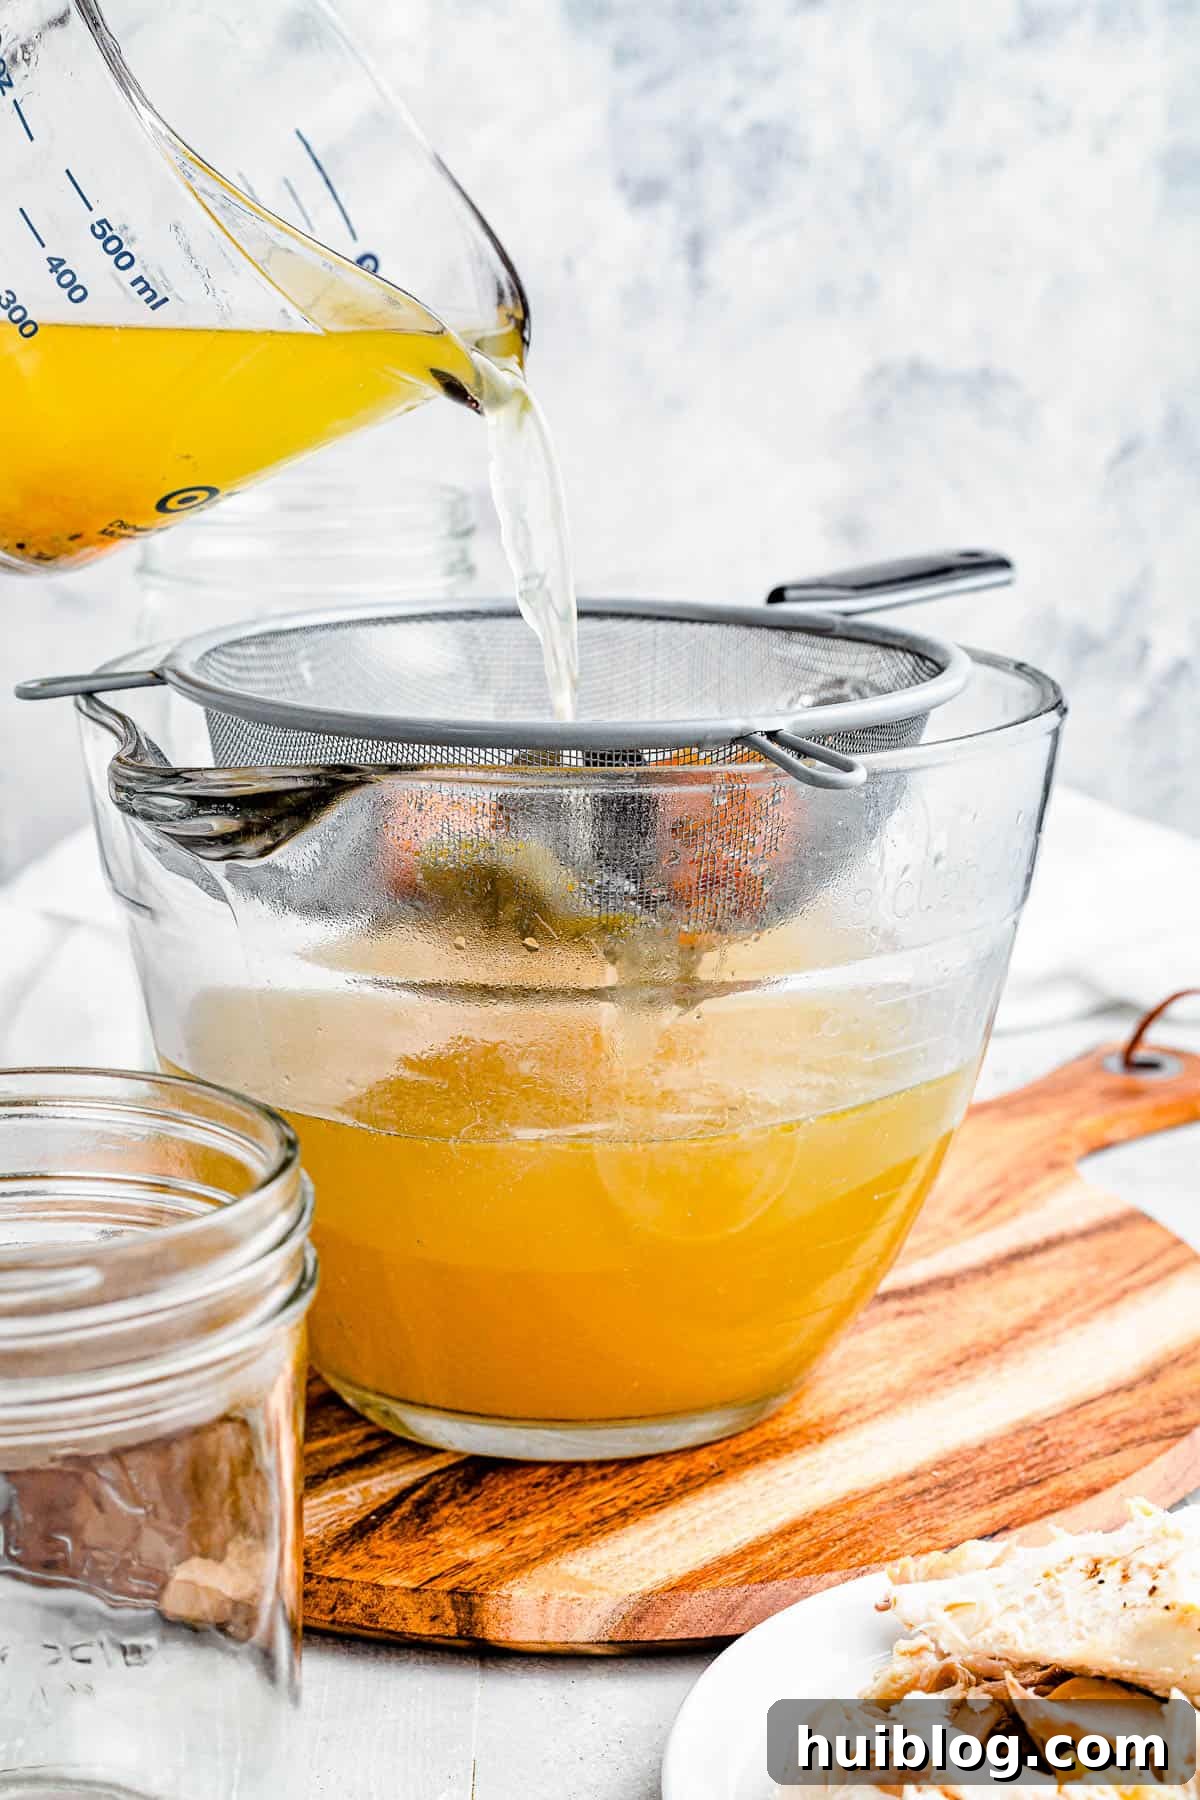
- Strain the Broth: When the broth has cooled enough to handle comfortably, use a large spoon or ladle to skim off any accumulated fat from the surface. Carefully remove the cooked chicken (reserve the meat for other recipes), any large bones, and sizable vegetable pieces. Position a large, heat-proof bowl on your counter, then place a fine-mesh strainer or a cheesecloth-lined colander over the bowl. Slowly and gently pour the broth through the strainer to remove any remaining small solids, herbs, or vegetable scraps, ensuring a clear broth.
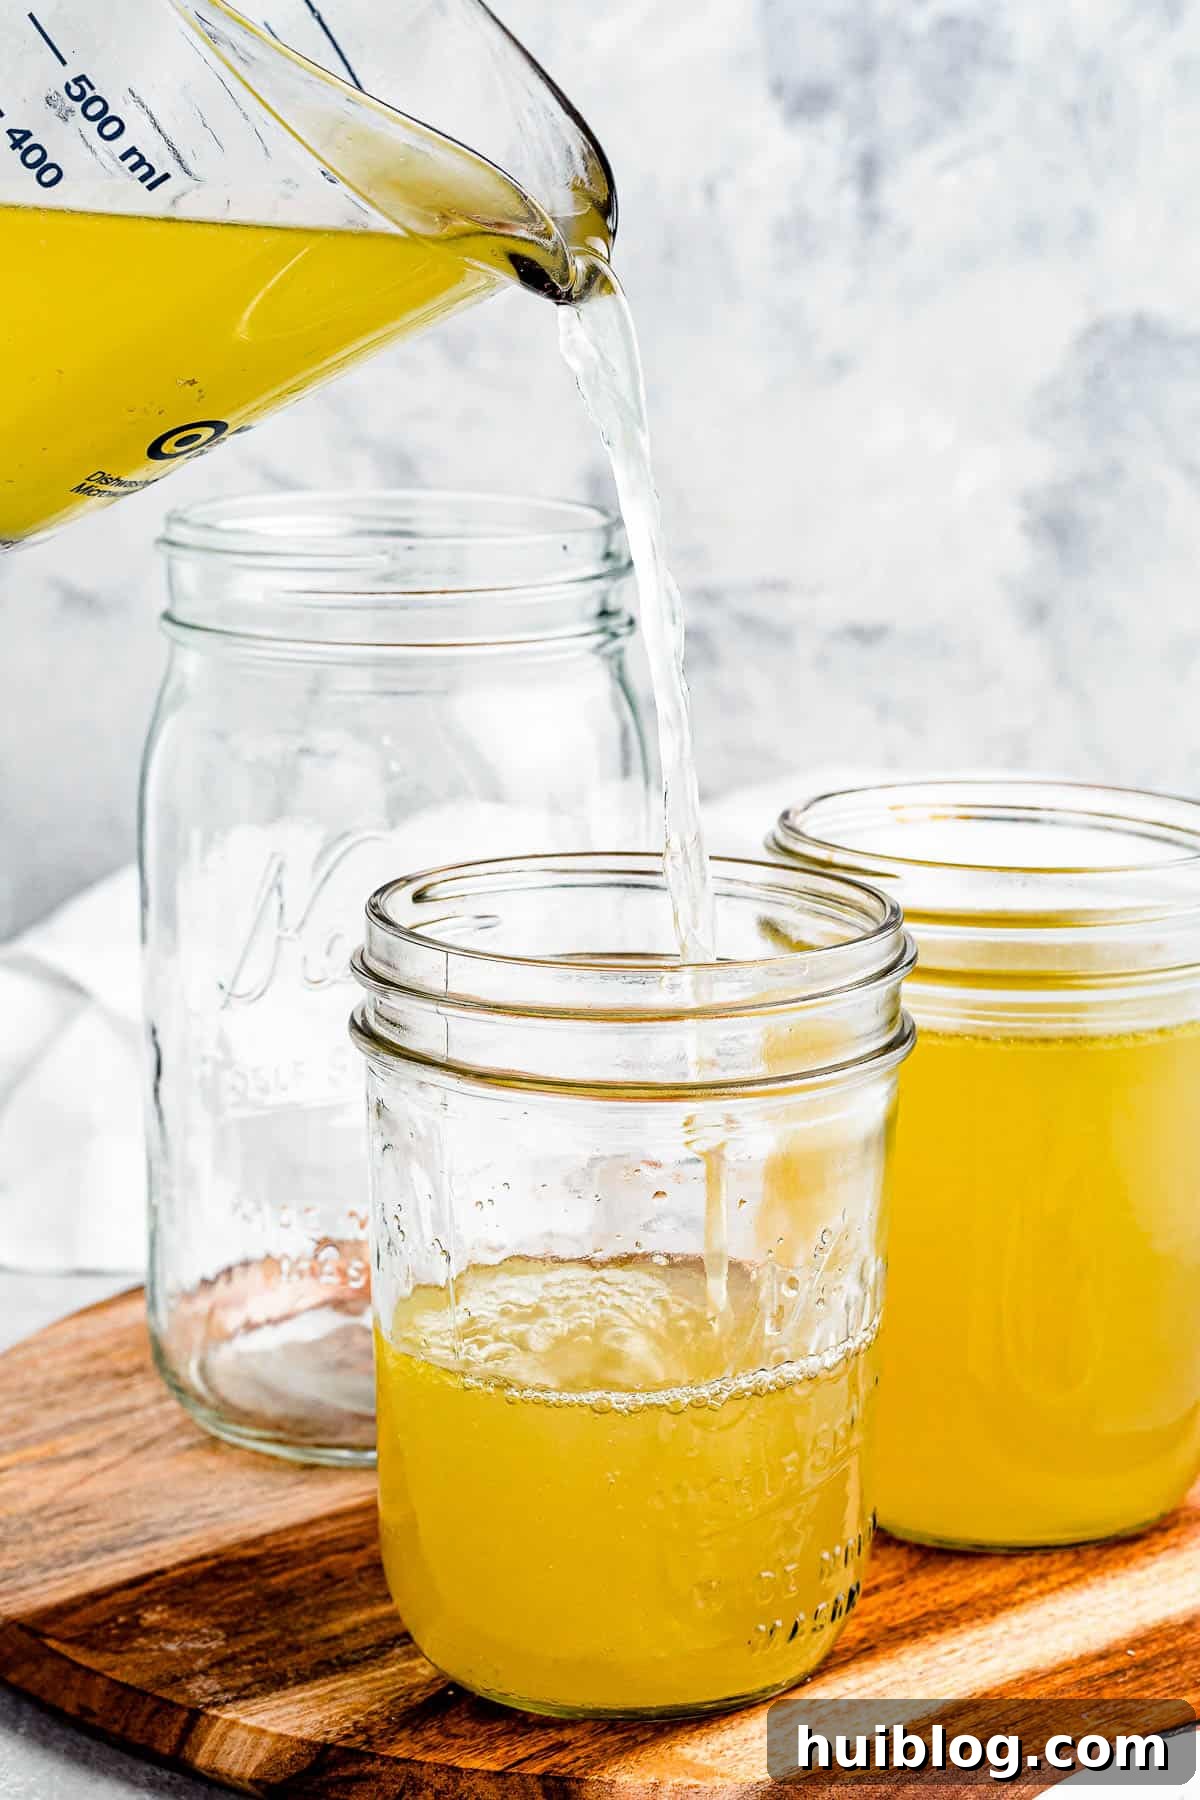
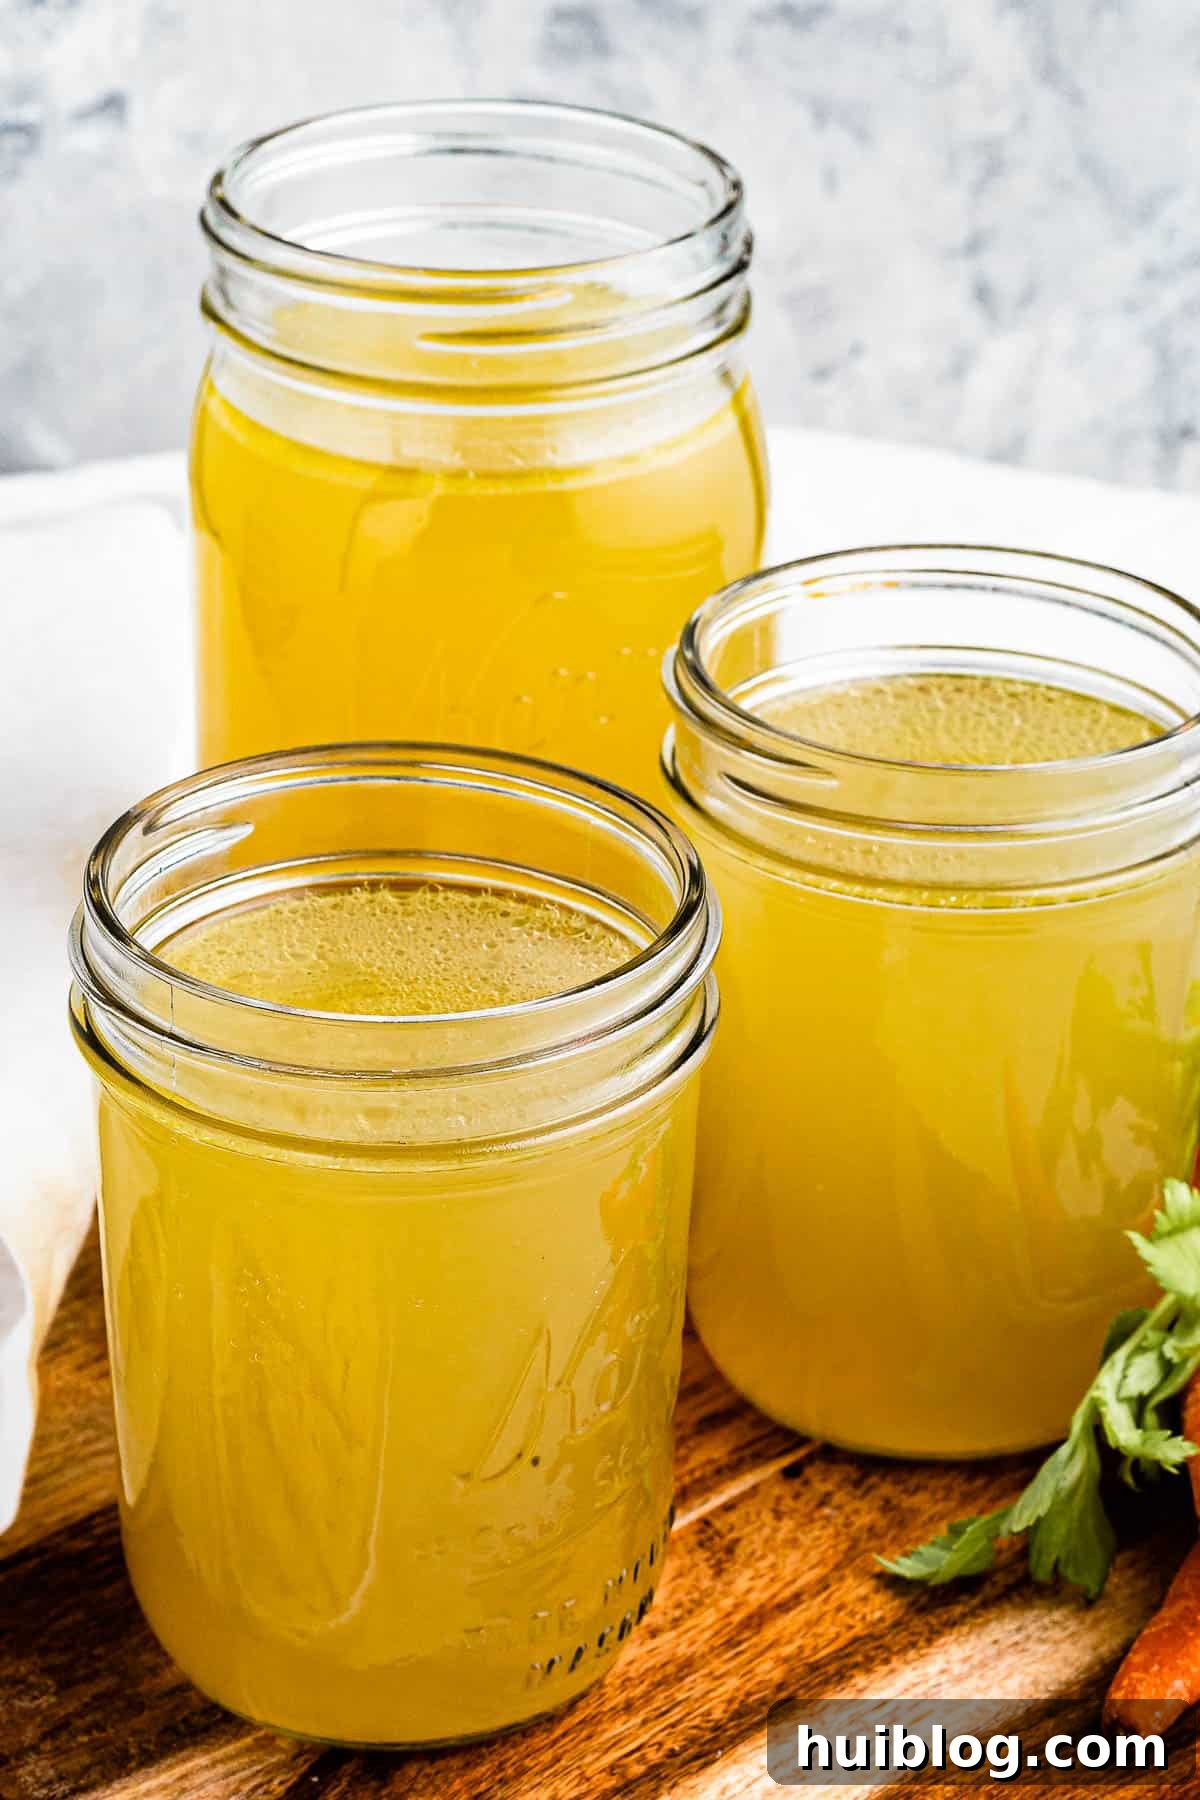
- Store Appropriately: Transfer the perfectly strained, golden broth into clean glass jars or airtight containers. Cap them tightly. Your freshly made Instant Pot Chicken Broth can be stored in the refrigerator for up to 4 to 5 days, or frozen for extended storage.
Stovetop Chicken Broth Method
For those who prefer the traditional approach or don’t own an Instant Pot, a rich, flavorful chicken broth can still be achieved on the stovetop. While it requires more time, the process is equally straightforward:
- Combine Ingredients: Place the whole chicken (or chicken pieces), carrots, celery, onion, bay leaves, thyme, salt, and pepper into a large stockpot or Dutch oven.
- Add Water and Bring to a Boil: Pour in enough cold water to cover all the ingredients by approximately 1 inch. This typically amounts to about 10–12 cups. Place the pot over medium-high heat and bring the water to a rolling boil.
- Simmer Gently: As soon as the water begins to boil, immediately reduce the heat to its lowest setting to maintain a gentle simmer. Use a spoon to skim off any foam or impurities that rise to the surface during the initial simmering.
- Cook for Flavor: Partially cover the pot with its lid, leaving a small gap for steam to escape. Allow the broth to simmer gently for 2 to 2½ hours, or until the chicken is exceptionally tender and the broth has developed a deep, aromatic flavor. For an even richer, more intense broth, you can extend the simmering time up to 3 hours.
- Strain, Cool, and Store: Follow the same straining, cooling, and storage steps as described for the Instant Pot method.
Expert Tips for Homemade Broth Success
Achieving a perfectly clear, deeply flavored homemade chicken broth is easier than you think. Keep these helpful tips in mind to ensure your broth-making experience is smooth and yields fantastic results every time:
- Safety First When Straining: Handling a large pot of hot broth requires caution. If you find the Instant Pot’s inner pot full of broth too heavy to lift and pour safely, try ladling out about a third to half of the broth into your strainer first. Then, you can more easily pour the remaining broth. Always use oven mitts or a thick towel for protection.
- Utilize a Funnel for Jarring: To minimize mess and waste when transferring your strained broth into jars, a large wide-mouth funnel is an invaluable tool. Rest the funnel securely in the mouth of your glass jars and pour or ladle the cooled broth through it. This simple trick prevents spills and makes the process much quicker and cleaner.
- Customize the Flavors: The basic recipe is wonderful, but don’t hesitate to personalize your broth! For added depth and richness, consider tossing in a handful of dried shiitake mushrooms, a few strips of crispy bacon (remove bacon before broth making, use the rendered fat for sautéing initial veggies if desired), or even some roasted chicken feet for extra collagen. A sprig of fresh rosemary or sage can introduce delightful new aromatics. For a brighter, more complex profile, a splash of lemon juice or apple cider vinegar added in the last 15 minutes of cooking can truly elevate the taste.
- Clarify for Pristine Broth: If you desire an exceptionally clear broth, avoid boiling your ingredients vigorously, as this can emulsify fats and proteins, leading to cloudiness. A gentle simmer is key for both stovetop and pressure cooker methods (after pressure is reached). Additionally, skimming any foam that rises to the top during cooking helps maintain clarity.
Versatile Uses for Your Homemade Chicken Broth
Once you’ve made a batch of this flavorful homemade chicken broth, you’ll discover its endless culinary applications. It’s more than just a soup base; it’s a foundational ingredient that adds unparalleled depth, richness, and nutritional value to almost any dish. Here are just a few ideas to get you started on incorporating your golden liquid into your everyday cooking:
- Cooking Grains: Swap water for chicken broth when cooking rice, quinoa, couscous, or any other grain. It infuses them with a savory depth that elevates side dishes and pilafs.
- Enhanced Mashed Potatoes: Instead of milk or cream, use warm chicken broth to achieve incredibly creamy, flavorful mashed potatoes. It adds a layer of savory richness without extra fat.
- Soup and Stew Base: This is its most classic use. From comforting chicken noodle soup to hearty lentil stews, homemade broth provides an unrivaled foundation of flavor.
- Gravies and Sauces: A essential liquid for making rich gravies for roasts or creating pan sauces to accompany chicken, pork, or vegetables.
- Steaming or Boiling Vegetables: Steam or boil your vegetables in a splash of chicken broth instead of plain water. They will absorb the savory notes, making them much more appetizing.
- Deglazing Pans: After searing meat, use broth to deglaze your skillet, scraping up all those flavorful browned bits (fond) to create an instant, delicious pan sauce.
- Adding Flavor in the Instant Pot: Utilize broth in other Instant Pot recipes, such as risotto, pot roasts, or even cooking pasta, to layer in additional savory notes effortlessly.
- A Healing Elixir: On its own, warm chicken broth is a soothing, nutrient-rich beverage, perfect when you’re feeling under the weather or simply craving comfort.


Instant Pot Chicken Broth
By Katerina | Easy Weeknight Recipes
Rated 5 out of 5 stars based on 2 votes.
This homemade Instant Pot Chicken Broth is fast and easy to make, but tastes like it simmered all day! Notes of carrot, onion, and celery make it full-flavored and perfect for any recipe.
- Prep Time: 15 minutes
- Cook/Cool Time: 1 hour 30 minutes
- Total Time: 1 hour 45 minutes
- Yields: 10 cups (approx. 2.5 quarts)
Ingredients
- 2 pounds whole chicken, or 2 pounds of chicken parts
- 3 carrots, cut in half
- 3 celery stalks, cut in half
- 1 large onion, white or yellow, halved or quartered
- 2 bay leaves
- 1 teaspoon dried thyme, or a few fresh thyme stems
- 1 teaspoon sea salt
- ½ teaspoon freshly ground black pepper
- 8 to 10 cups water
Instructions
- Load the pressure cooker. In the bottom of the Instant Pot’s inner pot, place the chicken, carrots, celery, onion, bay leaves, thyme, salt, and pepper.
- Add water. Gently pour in the water, until the chicken is submerged. Ensure you do not go over the “max fill” line on your Instant Pot. The amount of water may need slight adjustment based on chicken size.
- Cook. Lock the lid of the Instant Pot in place. Set the valve to “sealed.” Pressure cook on high for 45 minutes. Once the time is up, do a quick release of the pressure. When the pressure is fully released, open the lid and allow the broth to cool partially.
- Clean out the chicken broth. When the broth is cool enough to handle, use a large spoon to skim any fat off the top. Then, carefully remove the cooked chicken (reserving the meat for another use), any large bones, and any large vegetable pieces.
- Strain. Place a large 3 to 4-quart bowl on the counter, with a fine-mesh strainer or cheesecloth set over it. Gently pour the broth out of the Instant Pot and into the strainer to remove any remaining small bones, scraps, or vegetables.
- Pour into jars. Transfer the strained broth into clean glass jars, and close them tightly.
- Store. The broth can be stored in the refrigerator for up to 5 days or frozen for up to 6 months.
Equipment
- Instant Pot
- Large fine-mesh strainer or cheesecloth
- Glass jars or freezer-safe containers
Notes
- This recipe yields approximately 2.5 quarts of chicken broth.
- To freeze chicken broth, pour it into freezer-safe containers or bags. Always leave a little headspace (about an inch) in the container to allow for expansion as the liquid freezes. Store in the freezer for up to 6 months.
- Stovetop Instructions: Combine chicken, veggies, herbs, salt, and pepper in a large stockpot. Cover with water by about an inch (10-12 cups). Bring to a boil, then reduce heat to low and simmer gently, partially covered, for 2 to 3 hours, skimming foam as needed. Strain, cool, and store as above.
Nutrition
| Serving Size: | 1 cup |
| Calories: | 108 kcal |
| Carbohydrates: | 3 g |
| Protein: | 8 g |
| Fat: | 7 g |
| Saturated Fat: | 2 g |
| Polyunsaturated Fat: | 1 g |
| Monounsaturated Fat: | 3 g |
| Trans Fat: | 1 g |
| Cholesterol: | 33 mg |
| Sodium: | 287 mg |
| Potassium: | 168 mg |
| Fiber: | 1 g |
| Sugar: | 2 g |
| Vitamin A: | 3129 IU |
| Vitamin C: | 3 mg |
| Calcium: | 23 mg |
| Iron: | 1 mg |
Nutritional information is an estimate and provided as a courtesy. Values may vary according to specific ingredients, brands, and tools used. Please consult your preferred nutritional calculator for more detailed and accurate information.
Did you make this recipe? Leave a comment and rating!
Proper Storage for Your Homemade Chicken Broth
Once your homemade chicken broth is prepared and cooled, proper storage is key to enjoying its fresh flavor for as long as possible. You have several convenient options for keeping your broth readily available:
- Refrigeration: For immediate use, pour the completely cooled broth into clean glass jars or any airtight storage containers with well-fitting lids. Store in the refrigerator for up to 4 to 5 days.
- Freezing for Longer Storage: To extend the shelf life of your broth, freezing is an excellent method. Transfer the broth into freezer-safe containers or heavy-duty freezer bags. When using containers, remember to leave at least an inch of headspace at the top, as liquids expand when frozen. This prevents containers from cracking. Frozen broth can be safely stored for up to 6 months.
- Ice Cube Trays: For ultimate convenience and portion control, freeze your broth in ice cube trays. Once solidified, pop the broth cubes out and transfer them into freezer bags. Storing a few cubes per bag allows you to easily grab small portions for deglazing a pan, adding to sauces, or cooking individual servings of grains, without having to thaw a large container of broth.
- Canning (Advanced Method): For shelf-stable broth that doesn’t require refrigeration or freezing, pressure canning is an option. This method requires specialized equipment and adherence to strict safety guidelines to prevent spoilage. If you’re new to canning, consult reliable canning resources for detailed instructions.
More Easy Instant Pot Recipes
If you love the convenience and efficiency of your Instant Pot as much as we do, you’ll be thrilled to discover more simple and delicious recipes that leverage this incredible kitchen appliance. Expand your repertoire with these fan-favorite Instant Pot dishes:
- Instant Pot Loaded Baked Potatoes
- Easy Instant Pot Ribs
- Instant Pot Hard Boiled Eggs
- Instant Pot Mongolian Beef