
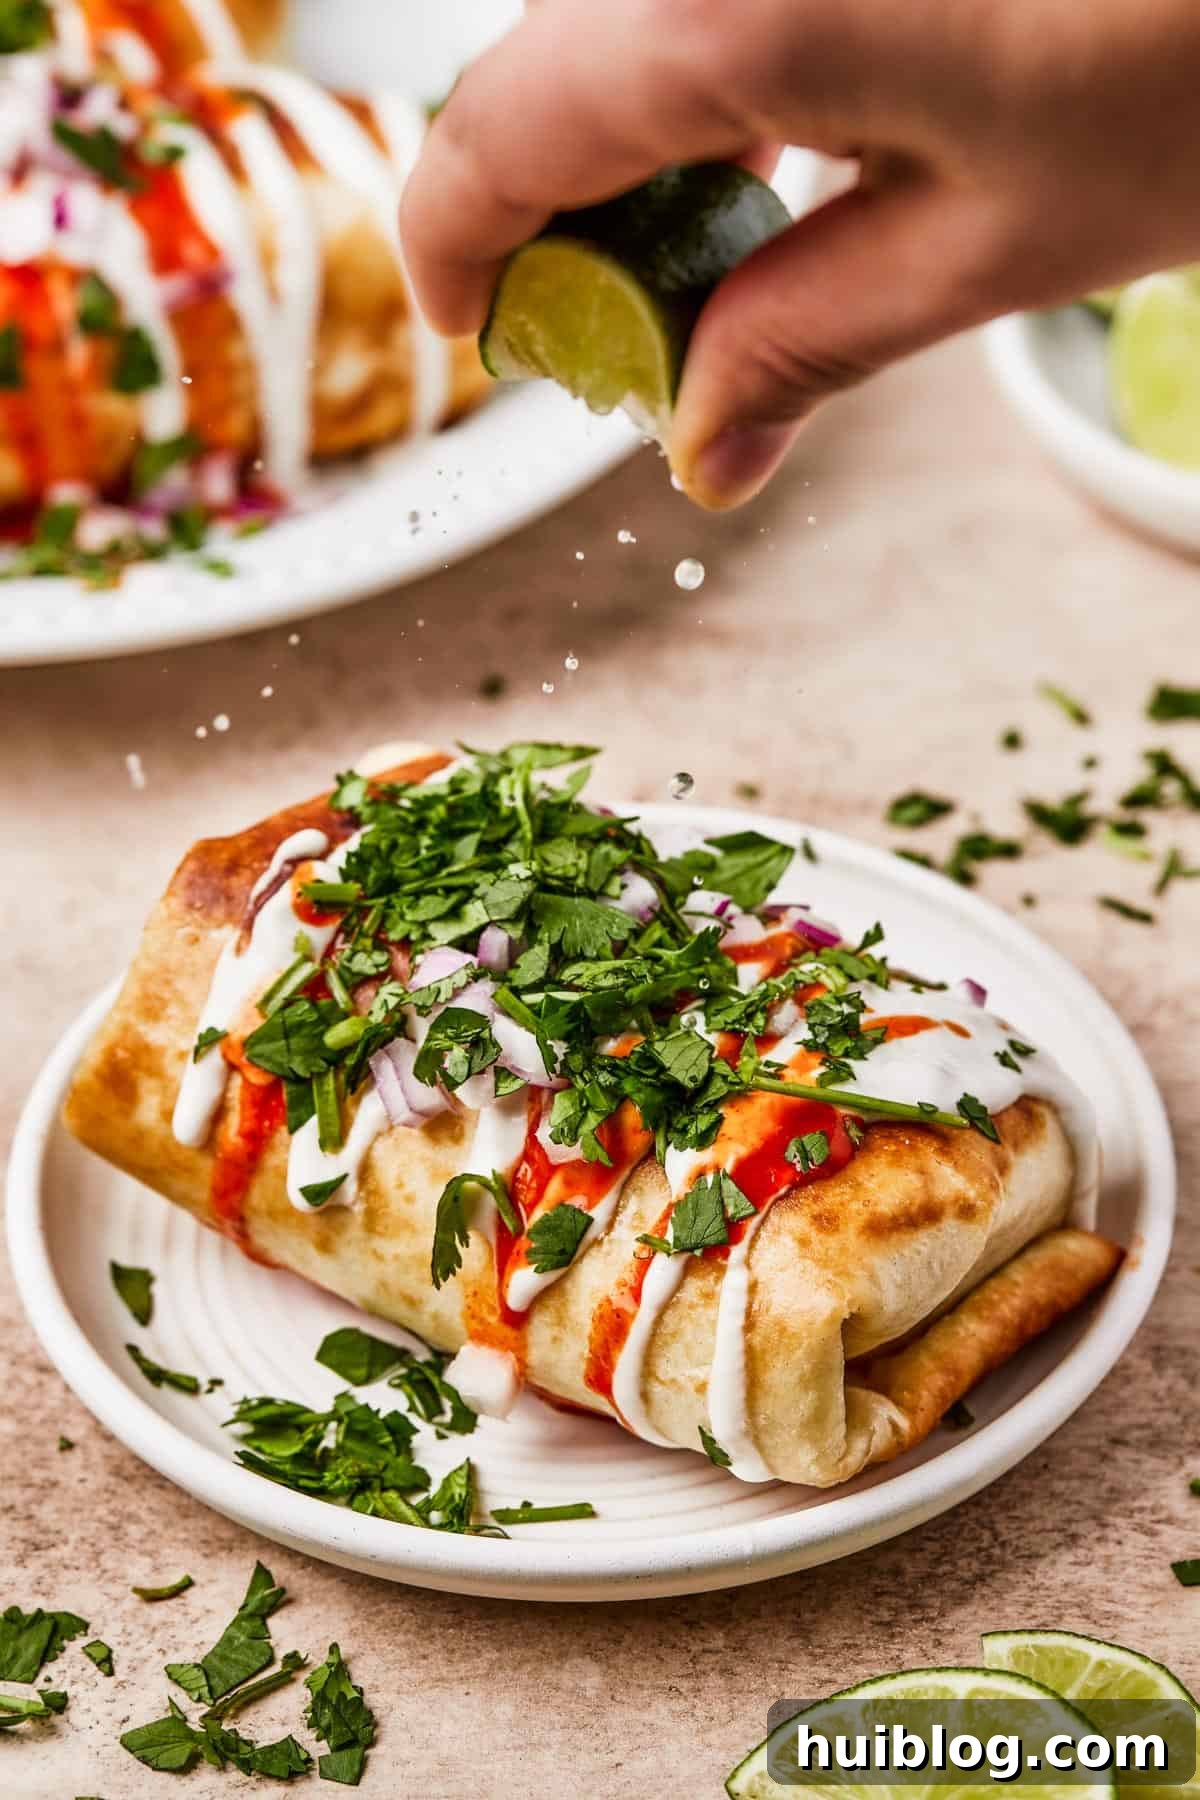
Welcome to the ultimate guide for crafting incredible homemade Chicken Chimichangas! These delightful Tex-Mex treasures are quick to prepare, bursting with robust flavor, and promise to become a new family favorite. Imagine succulent, seasoned shredded chicken, creamy refried beans, and melted cheese, all lovingly wrapped in a flour tortilla and fried to golden, crispy perfection. It’s a mouthwatering combination that delivers restaurant-quality taste right in your own kitchen.
The Irresistible Charm of Homemade Chicken Chimichangas
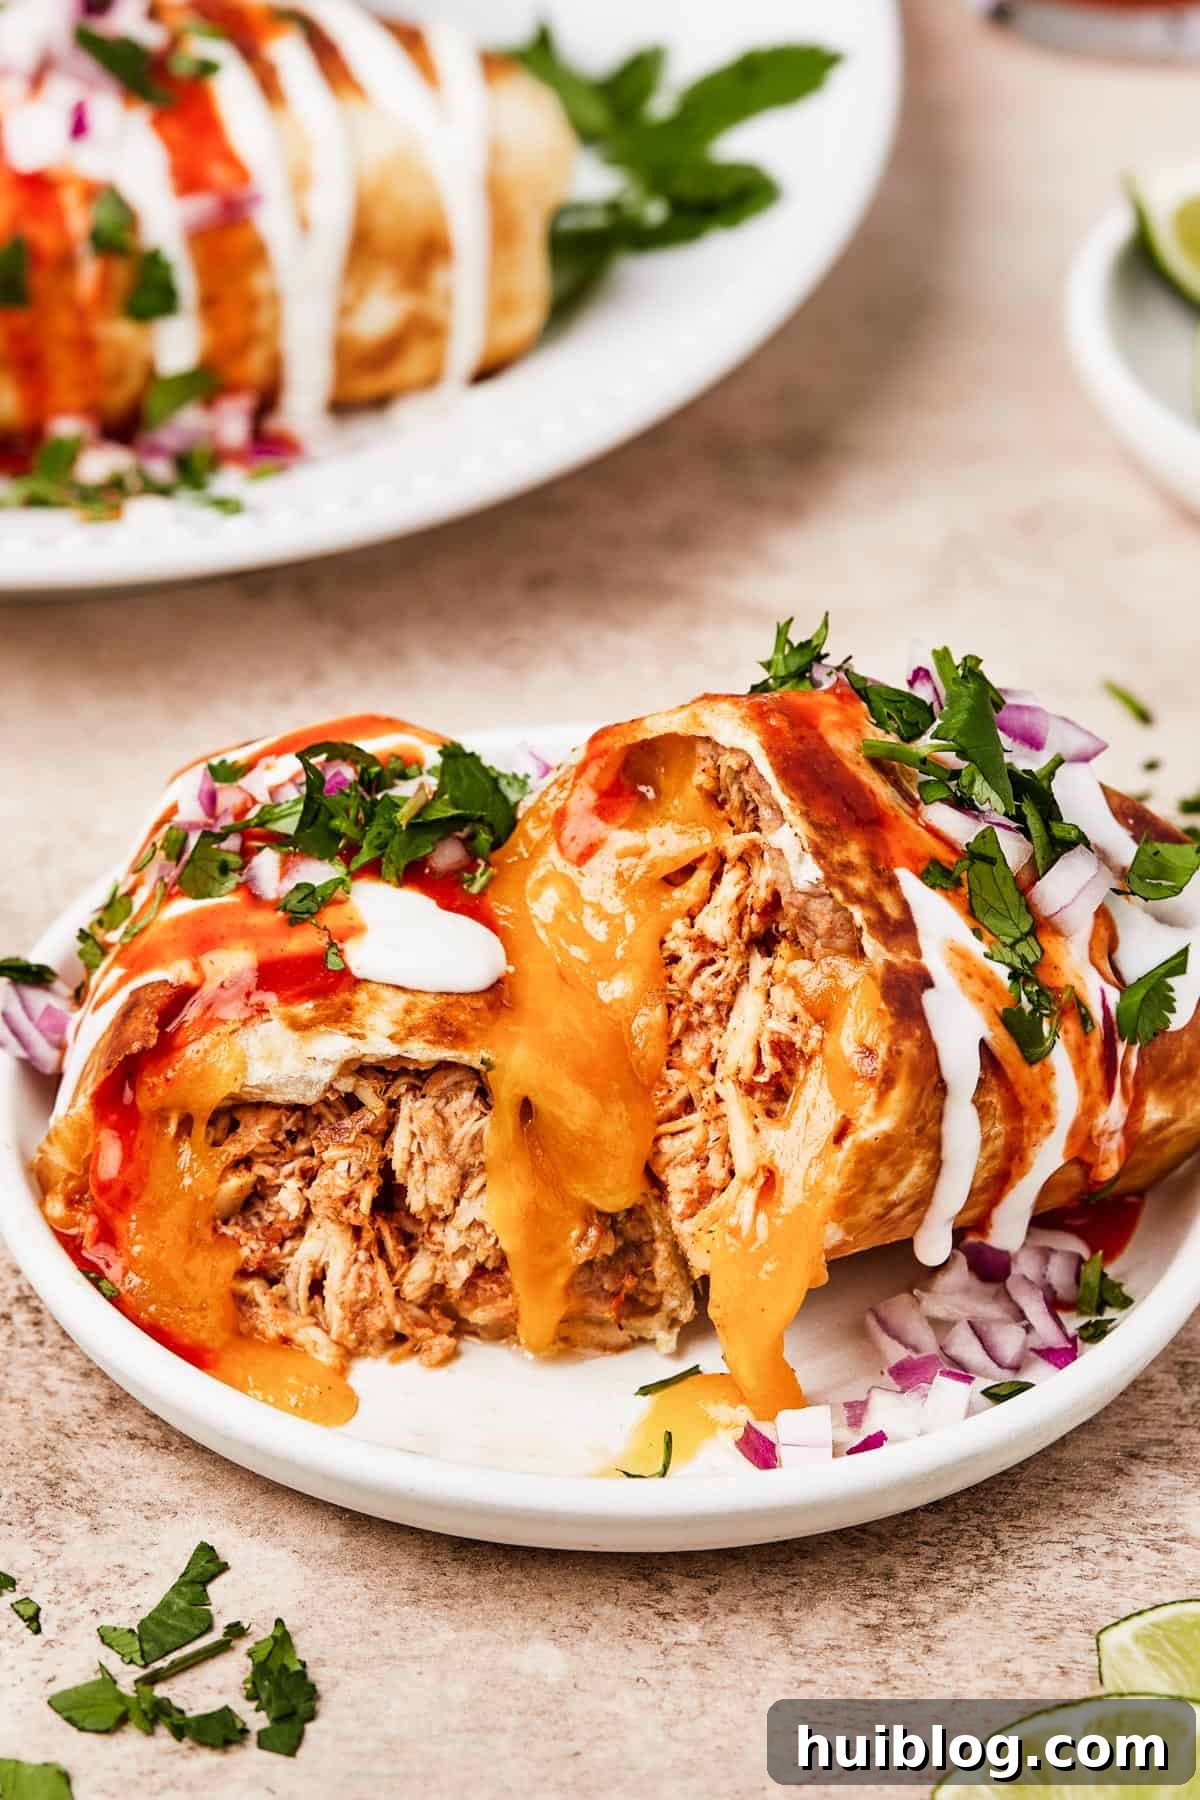
If you’ve ever craved authentic Tex-Mex flavor but thought it was too complicated to make at home, think again! These easy chicken chimichangas come together in under thirty minutes, making them an ideal choice for a speedy weeknight dinner or a festive weekend lunch. Each golden, crispy bundle offers a symphony of textures and tastes: the satisfying crunch of the fried tortilla, the creamy warmth of melted cheese, the zesty kick of salsa-infused shredded chicken, and the earthy richness of refried beans, all perfectly seasoned.
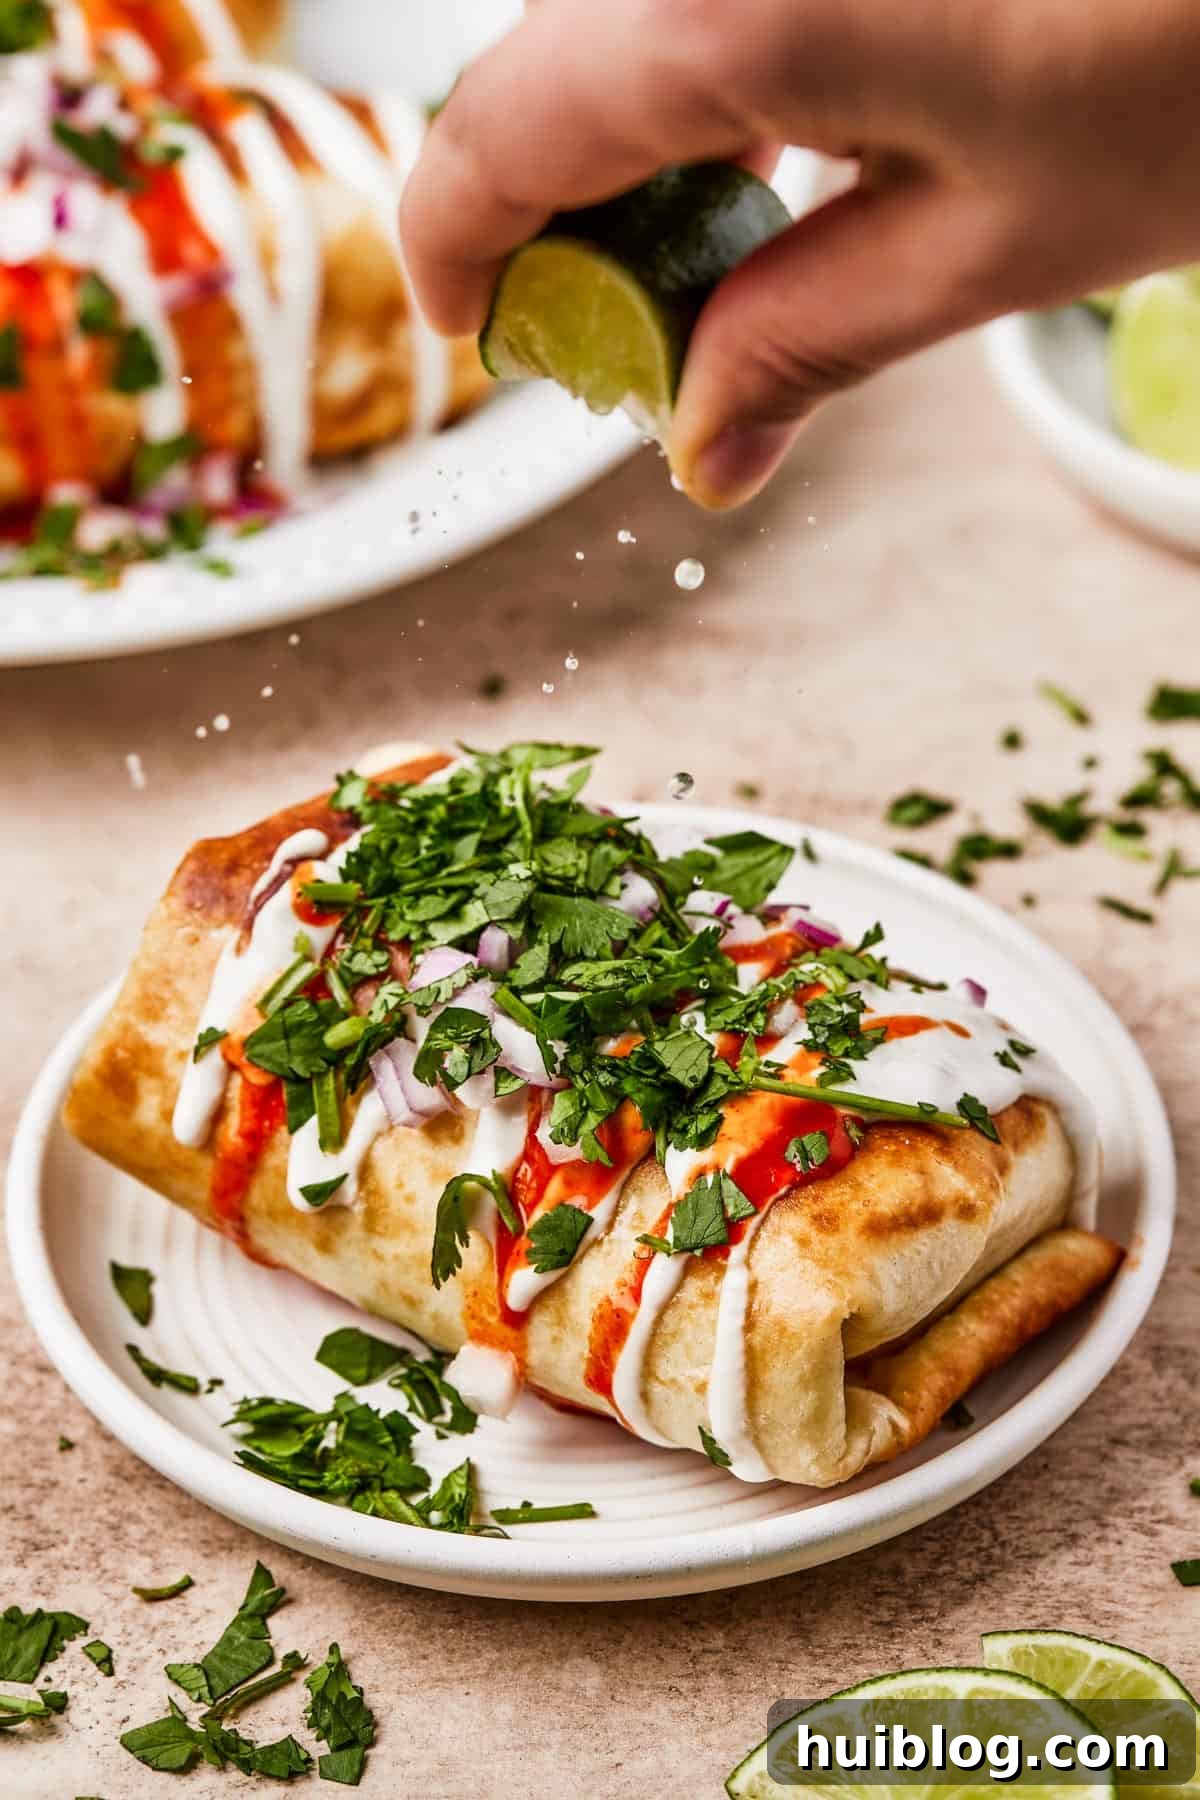
Homemade chimichangas are incredibly versatile and customizable. While fantastic on their own, they truly shine when paired with fresh, vibrant toppings. A dollop of cool sour cream, a spoonful of bright pico de gallo, or a sprinkle of fresh cilantro provides a delightful contrast to the hearty, savory filling. Whether you’re feeding a crowd or simply treating yourself, these chimichangas are guaranteed to satisfy your craving for delicious, comforting Mexican-inspired cuisine.
Chimichanga vs. Burrito: Understanding the Delightful Difference
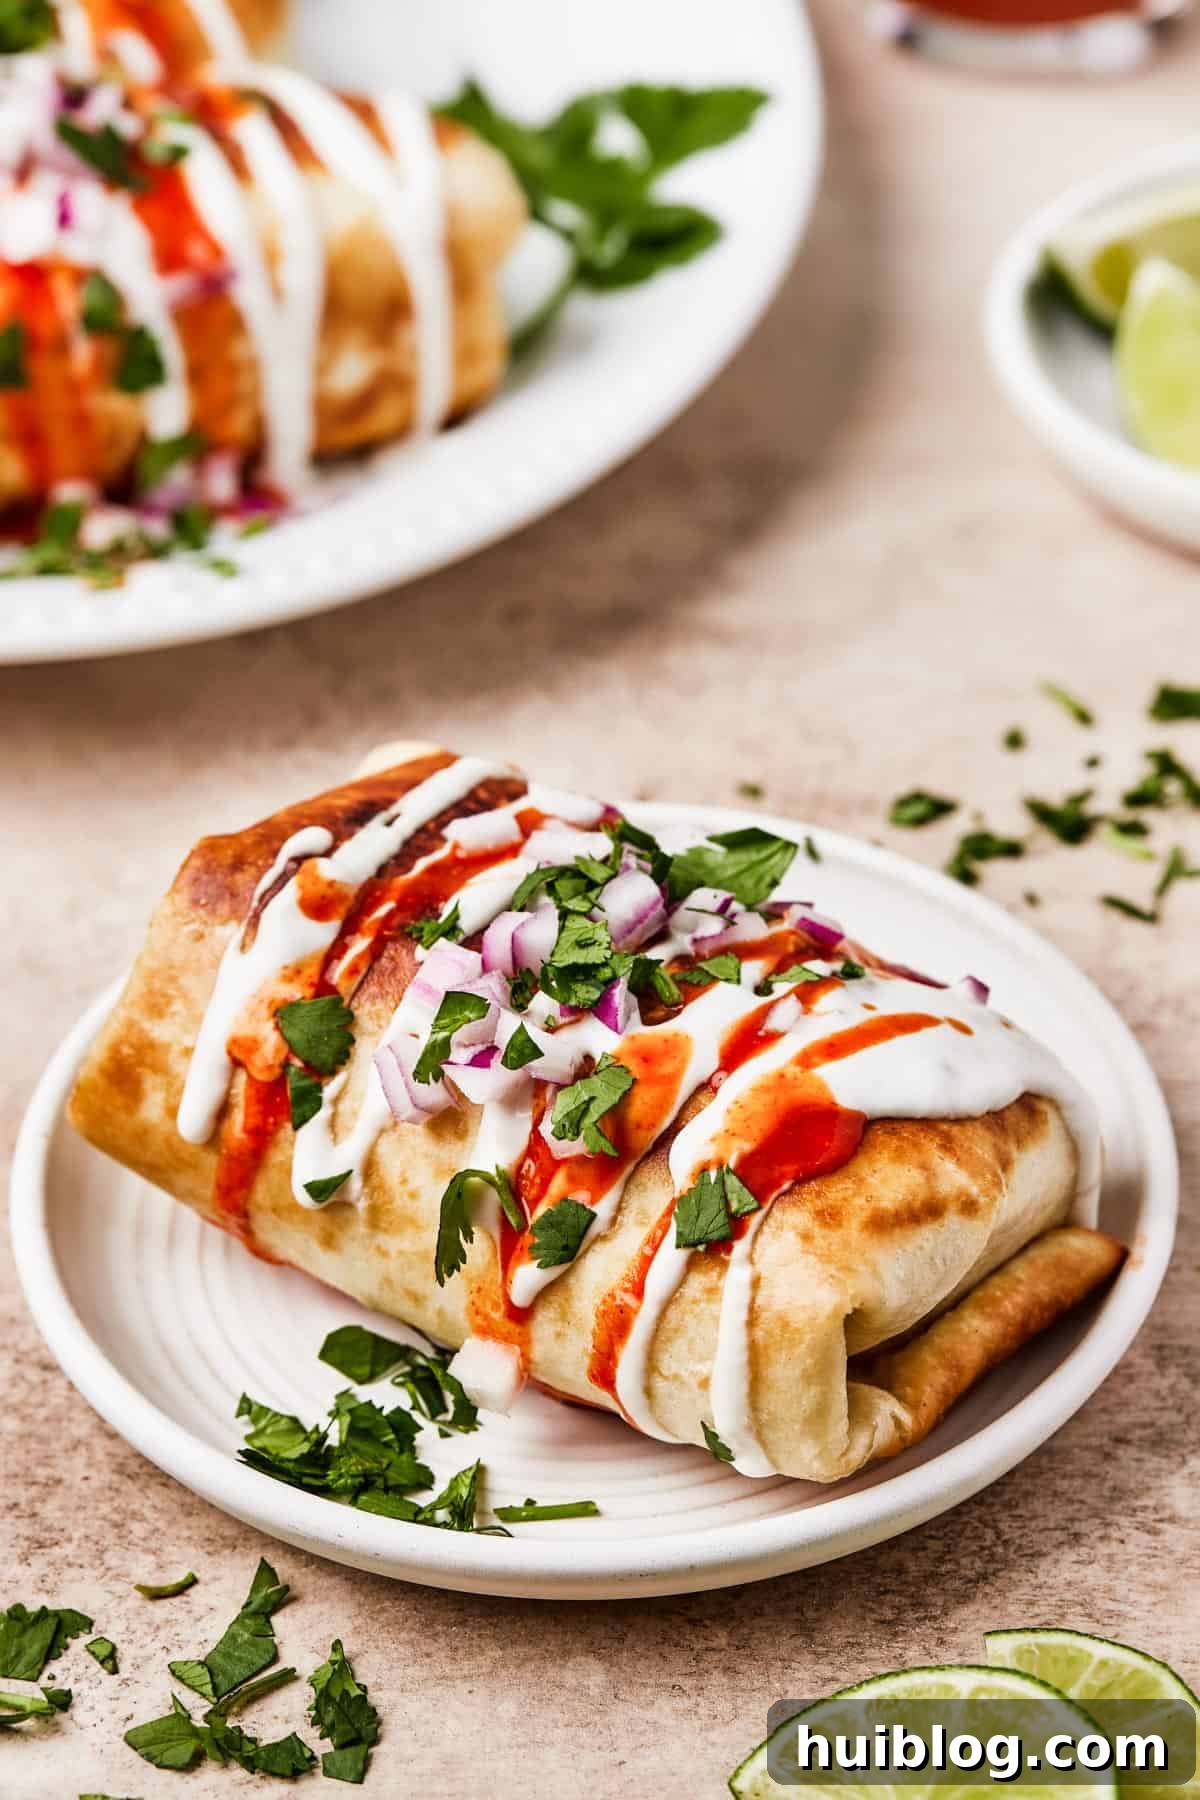
At first glance, a chimichanga might look like a burrito, but there are key distinctions that set these two Tex-Mex staples apart, primarily in their preparation and texture. The most obvious difference lies in the cooking method: a chimichanga is essentially a fried burrito. While burritos are typically served soft, simply rolled in a tortilla, chimichangas undergo a transformation. They are carefully folded and then fried until their exterior is beautifully golden brown and irresistibly crispy.
This frying process gives chimichangas their signature crunch and a depth of flavor that a standard burrito doesn’t possess. While some chimichangas can also be baked for a lighter take, the classic method involves frying. Another common distinction is that traditional burritos often include rice as a core component of their filling, whereas chimichangas typically do not. However, if you’re a fan of rice, don’t hesitate to add it to your chimichanga filling – the beauty of homemade recipes is the freedom to customize! Rest assured, even without rice, the savory blend of chicken, beans, and cheese creates a satisfying and complete meal.
The Essential Ingredients for Perfect Chicken Chimichangas
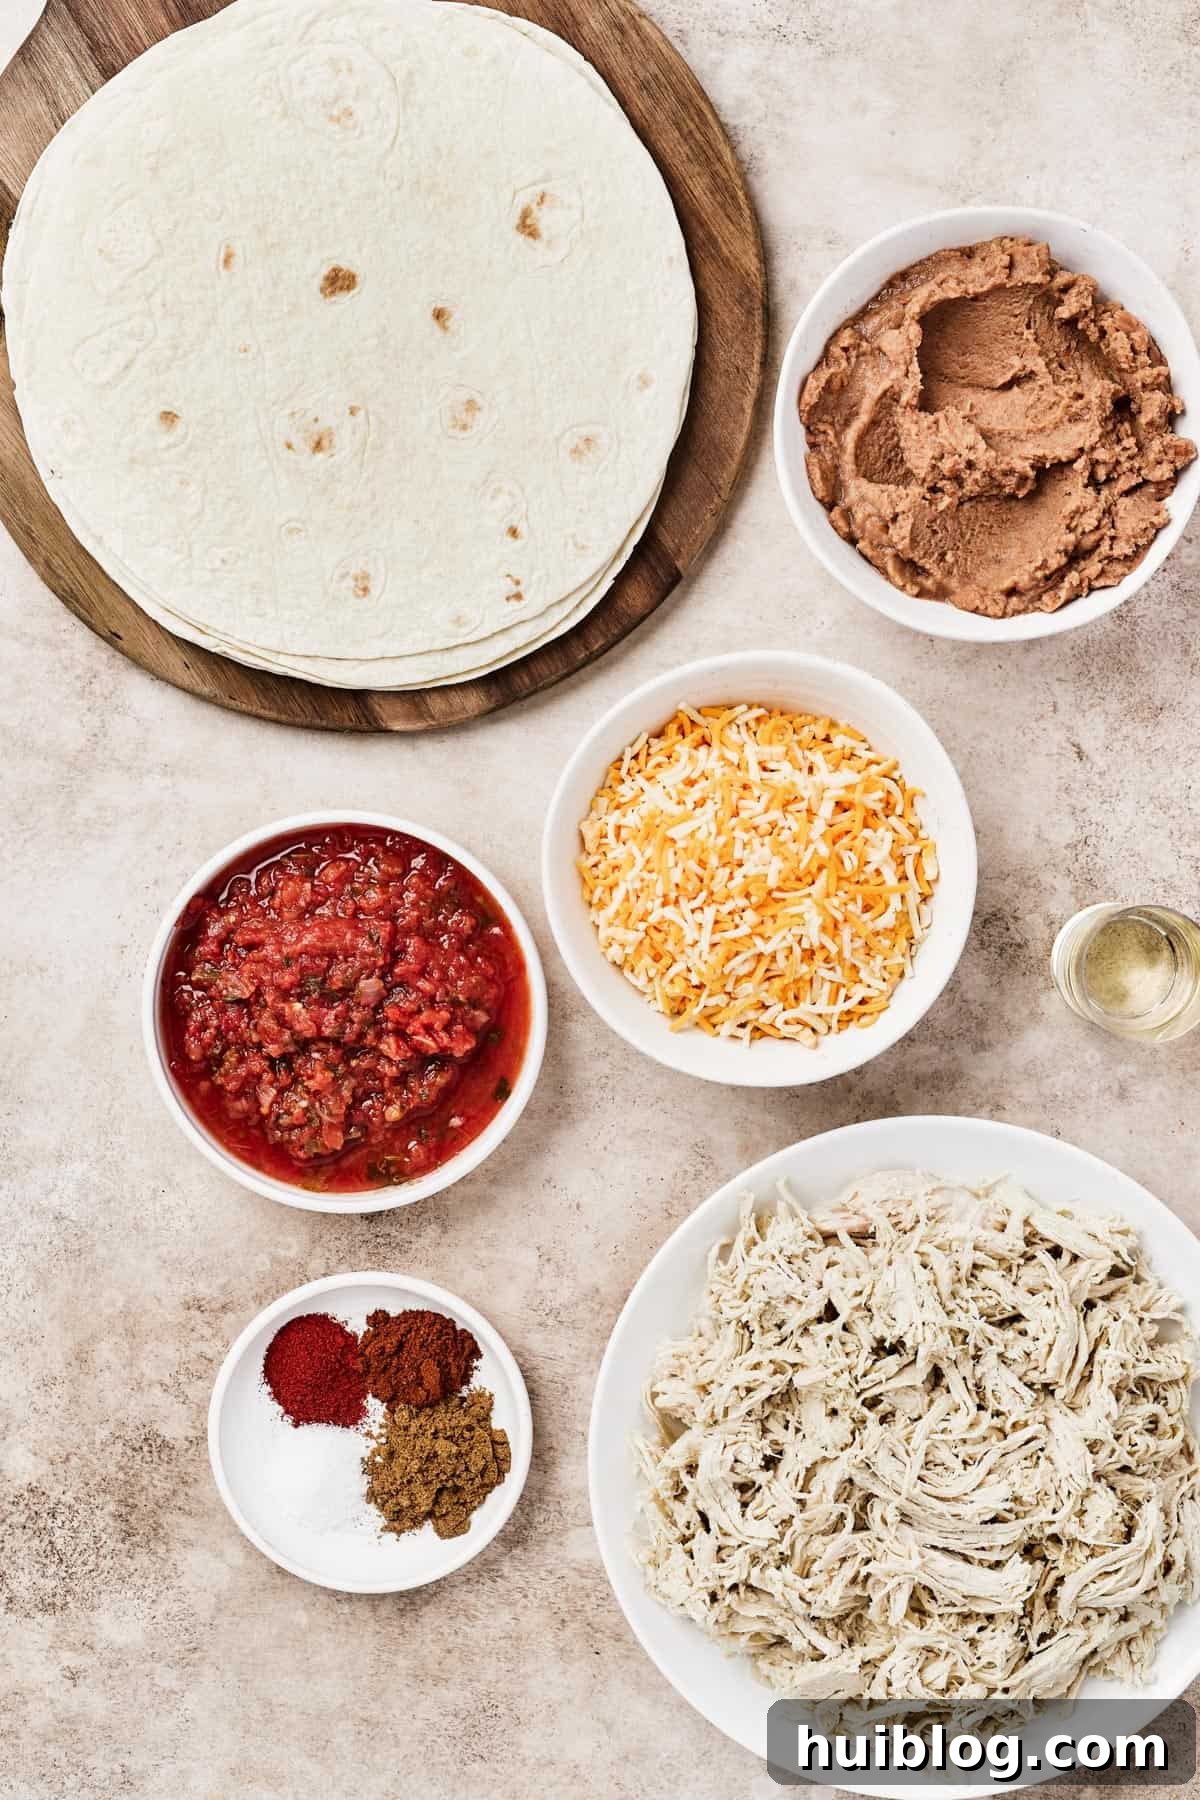
One of the best aspects of this recipe is its simplicity and how quickly it comes together. The secret to its speed is using pre-cooked, shredded chicken. This can be leftover chicken, chicken you’ve cooked specifically for the recipe, or even the convenience of a store-bought rotisserie chicken. This shortcut dramatically cuts down on preparation time, allowing you to enjoy your homemade chimichangas even faster.
Core Chimichanga Components:
- Shredded Cooked Chicken: The star of our chimichangas! You can use white meat for a leaner option, dark meat for more flavor and moisture, or a combination of both. Aim for about a pound, which typically yields around 3 cups once shredded.
- Salsa: A small amount of your favorite tomato-based salsa adds a vibrant, zesty flavor to the chicken filling, ensuring every bite is moist and delicious. Choose a mild, medium, or hot salsa based on your preference.
- Tex-Mex Seasonings: A harmonious blend of ground cumin, chili powder, a touch of salt, and smoked paprika creates that authentic, deep Tex-Mex taste profile. These spices are crucial for building layers of flavor in your chicken mixture.
- Large Flour Tortillas: For chimichangas, you’ll need “burrito-size” flour tortillas, typically 10-12 inches in diameter. Their larger size allows for ample filling and ensures they can be wrapped securely for frying. Good quality flour tortillas are key to a successful roll.
- Refried Beans: Canned refried beans are a convenient and delicious addition, adding a creamy texture and classic Mexican flavor. If you’re feeling ambitious, homemade refried beans are also an excellent choice. If refried beans aren’t your preference, you can certainly omit them or substitute with black beans.
- Shredded Cheese: A generous helping of shredded Mexican blend cheese provides gooey, melty goodness that binds the filling together and adds rich flavor. Cheddar, Monterey Jack, or Pepper Jack are also fantastic alternatives.
- High Heat Cooking Oil: You’ll need about ¼ cup of high smoke point oil, such as vegetable oil, canola oil, or peanut oil, for frying. This ensures your chimichangas achieve that perfect golden-brown crispness without burning.
Recommended Toppings for Chimichangas
While delicious on their own, chimichangas are elevated by fresh, vibrant toppings. Mix and match any of these to create your perfect plate:
- Creamy sliced avocado or a scoop of fresh guacamole.
- Bright, chunky pico de gallo.
- Cool and tangy sour cream or Greek yogurt.
- A drizzle of your favorite hot sauce for an extra kick.
- Freshly chopped cilantro for herbaceous brightness.
- Finely chopped red onion for a pungent crunch.
- Lime wedges for a squeeze of refreshing citrus.
How to Make Chicken Chimichangas, Step by Step
Don’t be daunted by the idea of frying your own burritos! Making homemade chimichangas is surprisingly straightforward and incredibly rewarding. Follow these easy steps to achieve perfectly crispy, flavorful results every time.
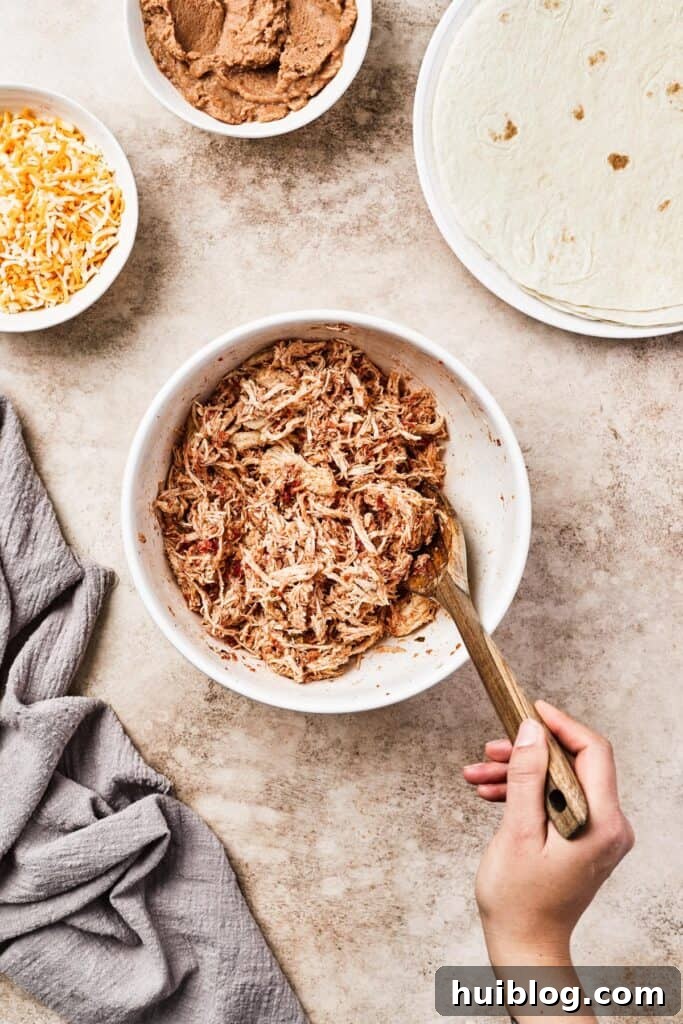
- Prepare the Flavorful Chicken Filling: In a large mixing bowl, combine your shredded cooked chicken, ½ cup of salsa, 2 teaspoons of cumin, 1 teaspoon of chili powder, 1 teaspoon of salt, and ½ teaspoon of smoked paprika. Gently mix all the ingredients until the chicken is evenly coated with the salsa and spices. This ensures every bite of your chimichanga is packed with Tex-Mex flavor.
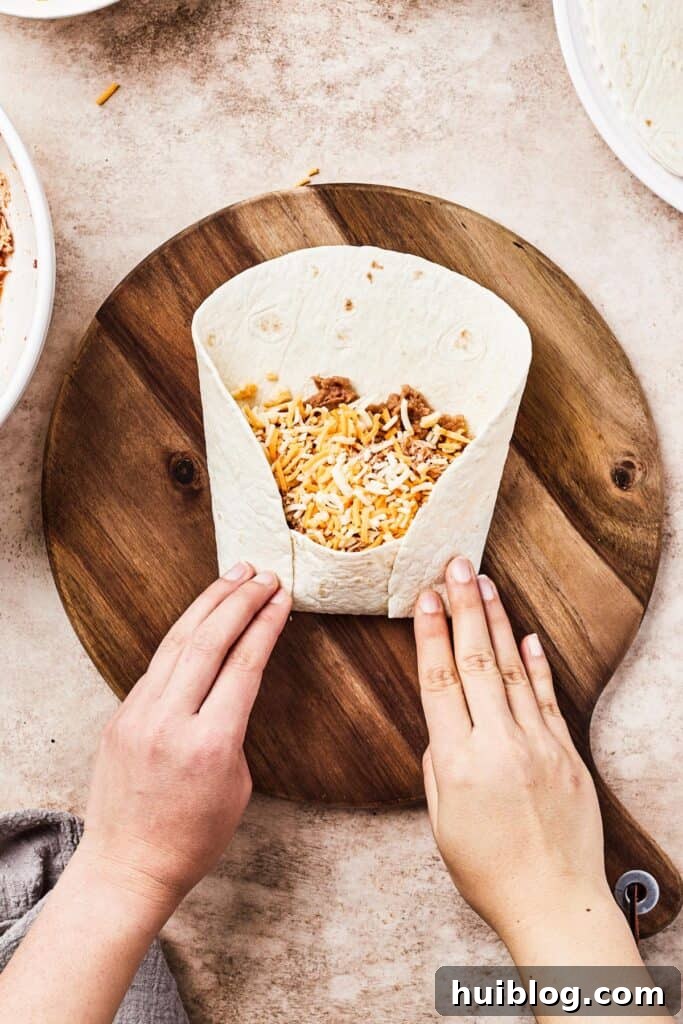
- Assemble and Roll the Chimichangas: Lay one large flour tortilla flat on a clean surface. Spread about ¼ cup of refried beans evenly across the center of the tortilla, leaving a margin around the edges. Next, spoon a generous ½ cup of the seasoned chicken mixture over the beans. Finally, sprinkle ¼ cup of shredded cheese over the chicken. To roll, lift the bottom edge of the tortilla up and over the filling, tucking it in tightly. Fold in both the left and right sides of the tortilla towards the center, then tightly roll the tortilla upwards from the bottom to form a neat, secure burrito shape. Repeat this process for the remaining tortillas and filling.
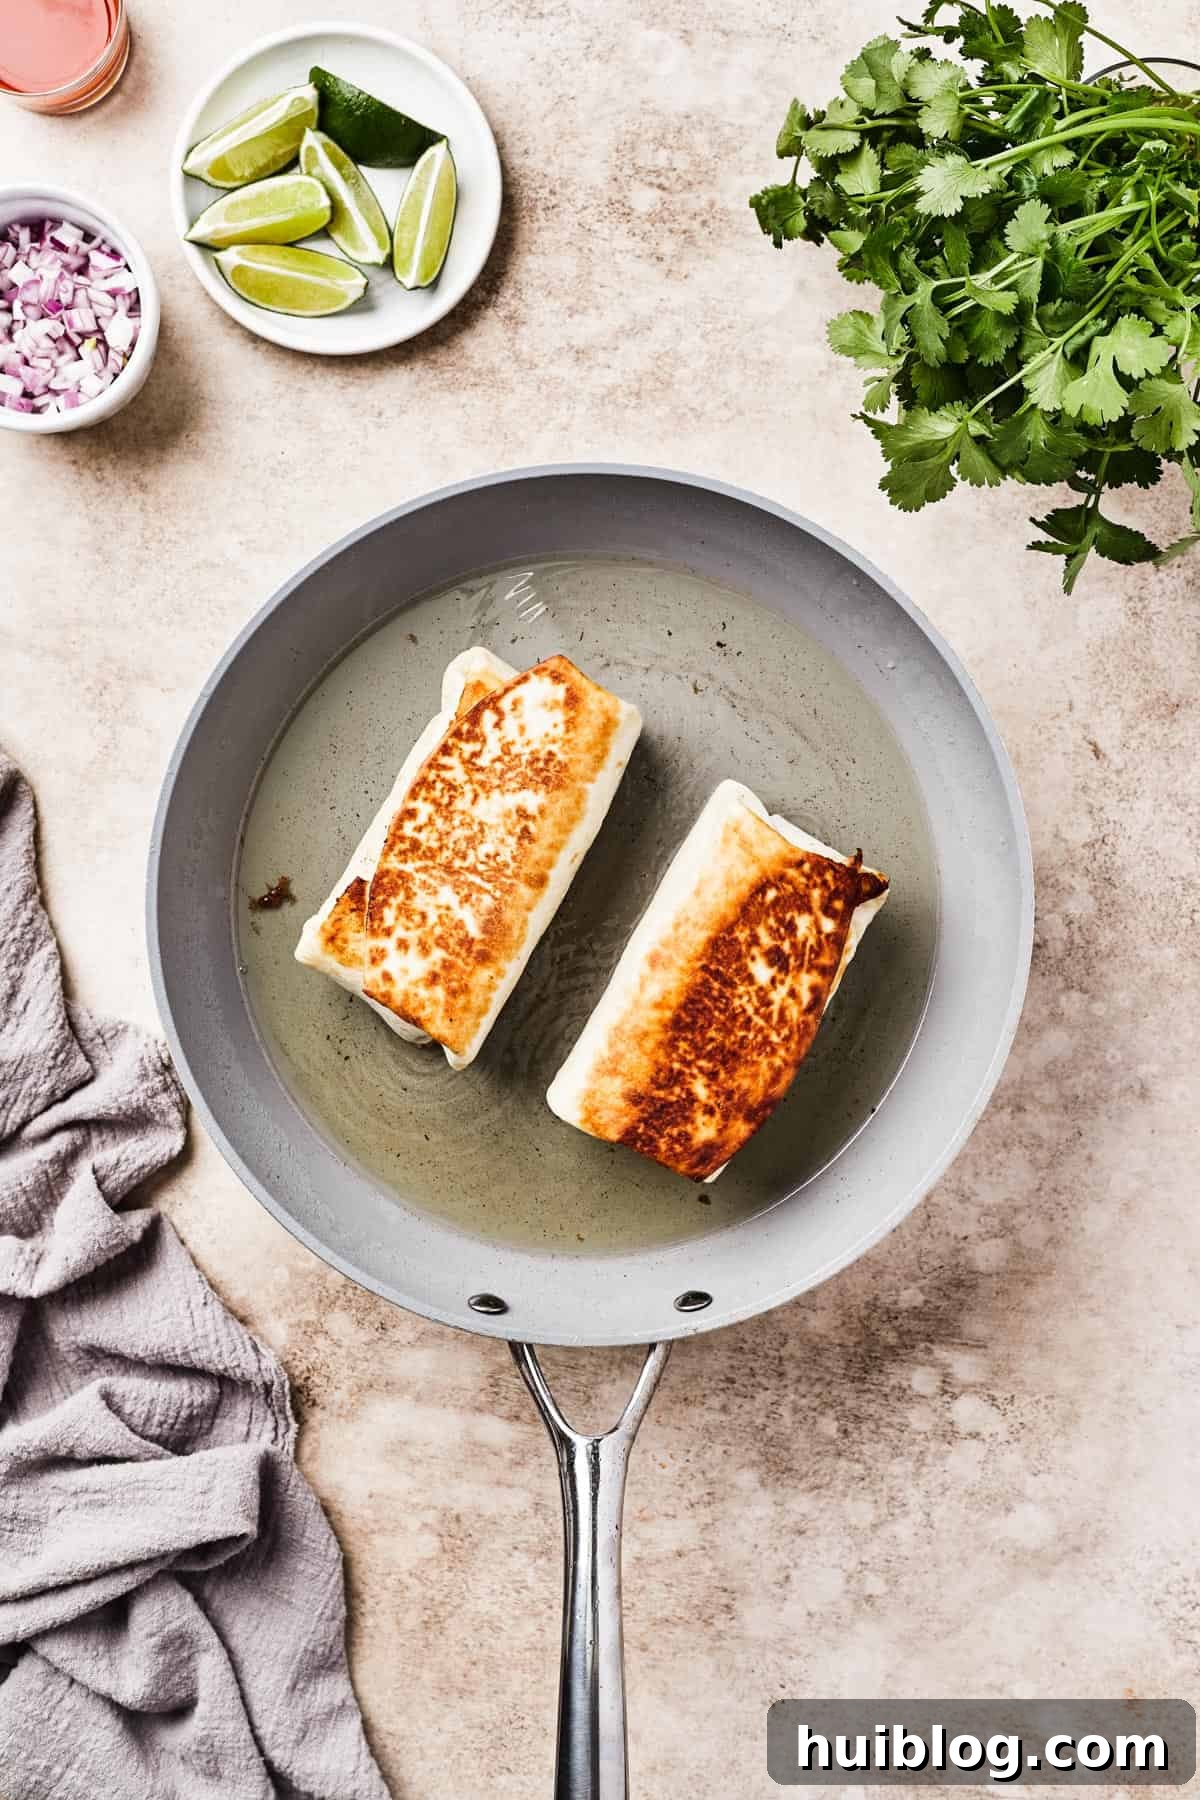
- Fry to Golden Perfection: Heat ¼ cup of high heat oil in a large skillet or frying pan over medium heat. It’s crucial to let the oil heat up sufficiently; it should be shimmering gently. Carefully place the rolled chimichangas into the hot oil, seam-side down first. This helps to seal the seam and prevent the chimichanga from unraveling during frying. Fry each chimichanga for approximately 1½ to 2 minutes per side, turning them gently with tongs, until they are beautifully golden brown and crispy all over. Be mindful not to overcrowd the pan, as this can lower the oil temperature and result in soggy chimichangas.
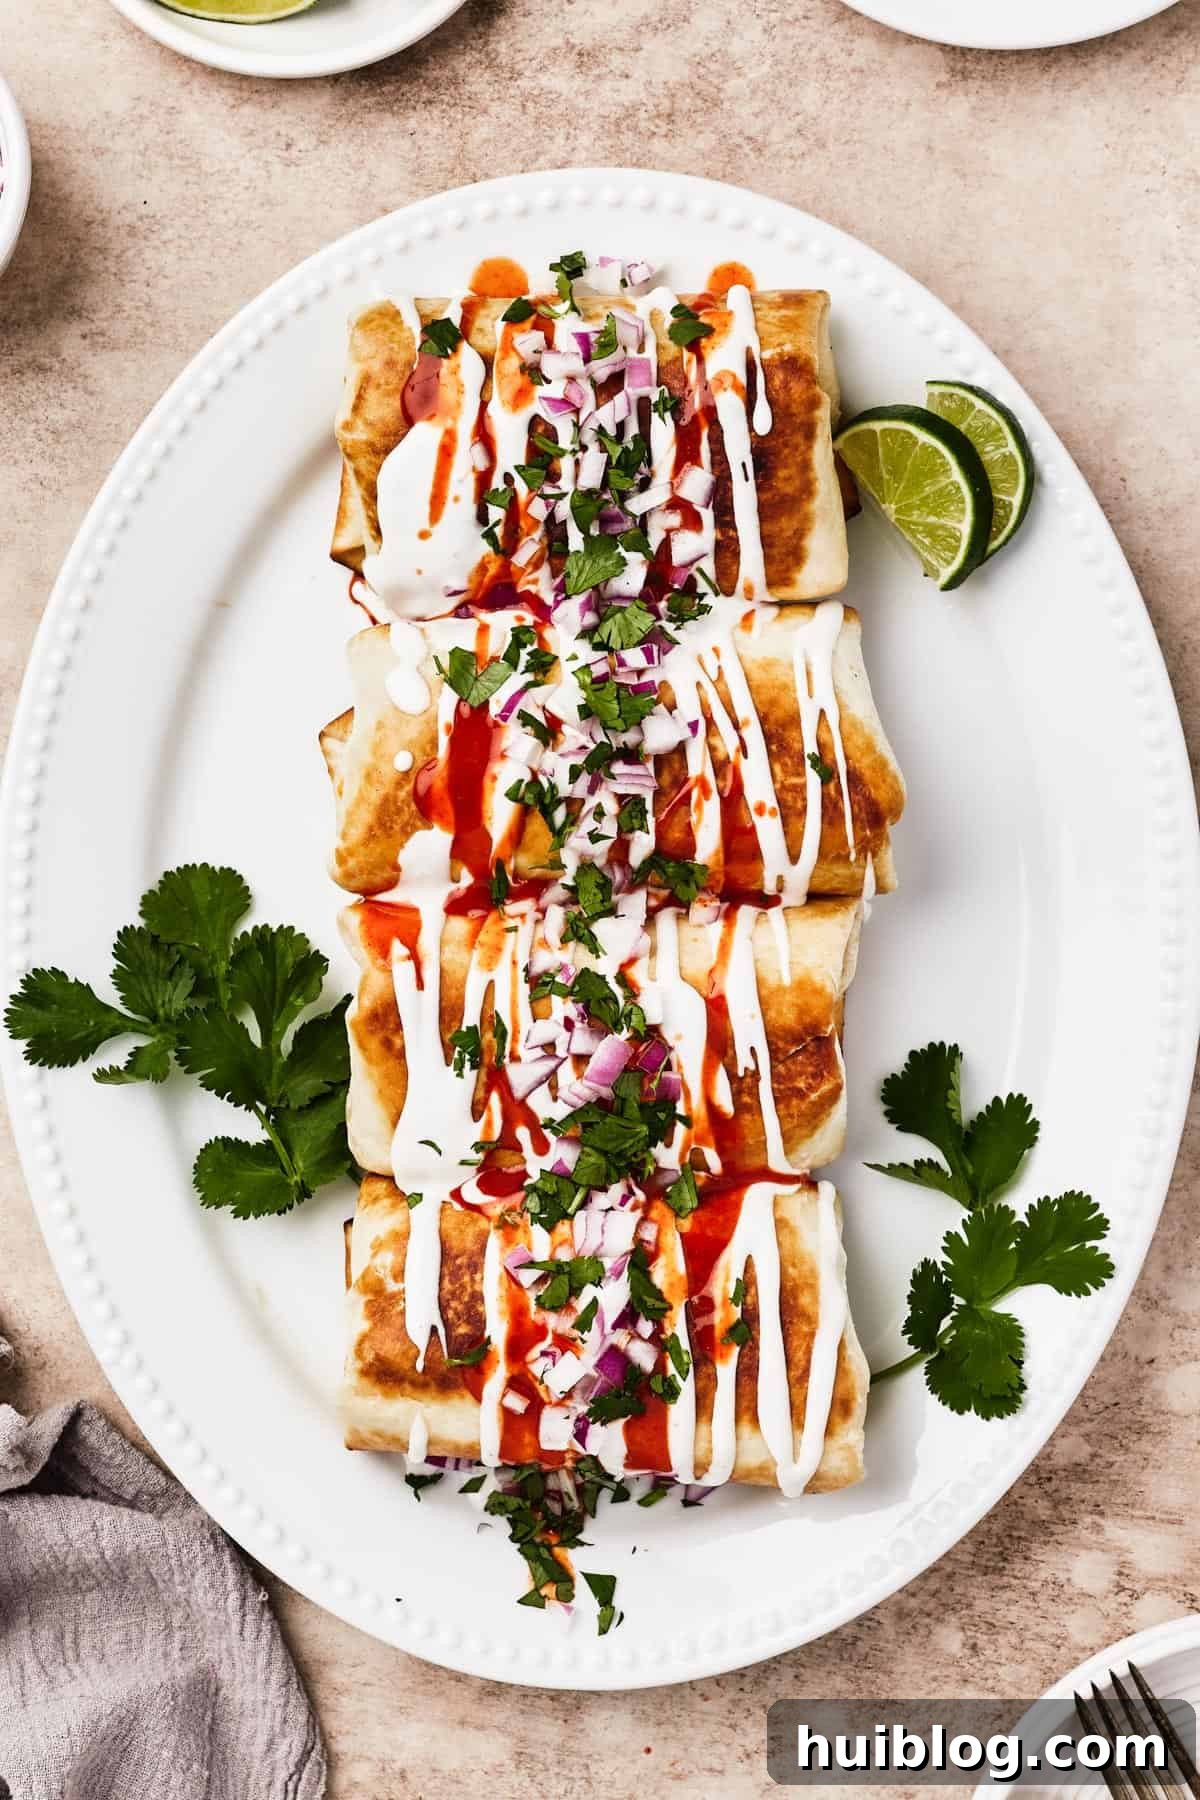
- Drain and Serve Immediately: Once your chimichangas are fried to your liking, carefully remove them from the pan and place them on a plate lined with paper towels or a wire rack set over paper towels. This allows any excess oil to drain off, keeping your chimichangas wonderfully crisp. Transfer them to a serving platter, garnish generously with your chosen optional toppings, and serve immediately while they are hot and the cheese is still perfectly melted.
Expert Tips, Tricks, and Delicious Variations
Before you dive into making these incredible fried burritos, take a moment to review these helpful tips and creative variations. They’ll ensure your homemade chimichangas are perfectly crispy, wonderfully melty, and absolutely drool-worthy every time.
- Baking for a Lighter Option: If you prefer a less indulgent option or want to avoid frying, you can bake your chimichangas. Simply preheat your oven to 350°F (175°C). Lightly grease a baking dish, arrange the rolled chimichangas seam-side down, and bake, covered with foil, for 30 minutes. Then, remove the foil and bake for an additional 10-15 minutes, or until golden brown and heated through. While they won’t have the exact same deep-fried crunch, they will still be incredibly delicious.
- Cheese Personalization: The Mexican blend cheese is a fantastic starting point, but feel free to customize! Sharp cheddar offers a robust flavor, Colby Jack provides a milder, creamier melt, and Pepper Jack adds a delightful hint of spice. Use whatever cheese your family loves most, or experiment with a combination.
- Explore Different Protein Fillings: This recipe is incredibly adaptable! Instead of chicken, consider using tender shredded pork (carnitas style works wonderfully), flavorful cooked ground beef (seasoned with taco spices), or even a vibrant vegetarian mix. For a veggie option, sauté mushrooms, bell peppers, onions, zucchini, or even eggplant until tender, then season with Tex-Mex spices.
- Mastering Oil Temperature: The key to perfectly fried chimichangas is the right oil temperature. If you’re unsure if your oil is ready, carefully drop a tiny piece of tortilla into the pan. If it immediately starts to gently sizzle and bubble, your oil is at the ideal temperature. If it just sits there, wait another minute or two and test again. If it sizzles violently and darkens too quickly, your oil might be too hot.
- Controlling the Fry: Frying in oil that’s too hot can lead to an overly crunchy exterior while the interior remains cold or the cheese doesn’t fully melt. If your chimichanga seems to be browning too quickly, gently remove it from the pan and reduce the heat slightly. Allow the oil to cool for a minute or two before returning the chimichanga to the pan to continue frying. Conversely, if the oil isn’t hot enough, the chimichanga will absorb too much oil and become greasy rather than crispy. Adjust the heat as needed throughout the frying process to maintain a consistent sizzle.
Perfect Serving Suggestions for Your Chimichangas
Complement your delicious homemade chicken chimichangas with these easy-to-make and incredibly satisfying side dishes. Each option is designed to enhance your Tex-Mex dining experience and please every palate.
- Flavorful Mexican Rice: No Tex-Mex meal is complete without a hearty serving of seasoned rice! Our Instant Pot Mexican Rice is a vibrant blend of fluffy long-grain white rice cooked with rich tomato sauce, sweet peas, crisp carrots, and tender corn. It’s an explosion of flavor and texture that pairs perfectly with the savory chimichangas.
- Crispy Grilled Potato Wedges: While perhaps not a traditional Tex-Mex side, these Crispy Grilled Potato Wedges are undeniably satisfying and incredibly simple to prepare. Tossed with savory seasonings and grilled to perfection, they boast a delightful crispy skin and a tender interior. Fire up your grill or a grill pan, and you’ll have these scrumptious wedges ready in no time.
- Refreshing Cowboy Caviar: Bright, crunchy, and bursting with flavor, Cowboy Caviar is a versatile dish that can be served as a vibrant salsa, a chunky dip, or a refreshing side salad. It features a colorful medley of fresh avocado, juicy tomatoes, crisp bell peppers, sweet corn, and hearty beans, all tossed in an incredible tangy dressing. It’s the perfect light counterpoint to the rich chimichangas.
Storing and Reheating Your Leftovers Effectively
While chimichangas are undeniably best enjoyed fresh from the pan, you can certainly store and reheat leftovers. To keep them as crisp as possible, immediately after frying, place them on paper towels to drain any excess oil. Once cooled, store them in airtight containers in the refrigerator for up to 3 days. When ready to reheat, baking is the preferred method to regain some crispness. Place them on a baking sheet and bake at 350°F (175°C) until heated through and crispy. An air fryer is also an excellent option for quick reheating and achieving a wonderfully crisp exterior.
For those who love to plan ahead, you can prepare the chicken filling up to 3 days in advance. Store it well-covered in the refrigerator. When you’re ready for a meal, simply assemble and fry the chimichangas fresh.
Can I Freeze These Chimichangas?
Yes, these chicken chimichangas are perfect for freezing, making them an excellent make-ahead meal! Prepare the filling and assemble the chimichangas as instructed, but do not fry them. Once rolled, place them in freezer bags or airtight containers, separating layers with parchment paper to prevent sticking. They can be frozen for up to 6 months.
When you’re ready to cook, you can fry or bake them directly from frozen. If frying, use a slightly lower heat and allow a longer cooking time to ensure they heat through completely while browning. If baking from frozen, preheat your oven to 375°F (190°C) and bake for approximately 45-60 minutes, or until heated through and golden. Covering them loosely with foil for the first half of the baking time can help prevent over-browning before the inside is warm.
Homemade Chicken Chimichangas
by Katerina | Easy Weeknight Recipes
These easy homemade Chicken Chimichangas are quick to make, and full of hearty Tex-Mex flavor! You’ll love the mouthwatering combo of chicken, beans, and cheese in a crispy, fried tortilla.
Prep Time: 10 minutes
Cook Time: 10 minutes
Total Time: 30 minutes
Servings: 4
Ingredients
Chimichanga Filling:
- 1 pound cooked chicken, shredded
- ½ cup salsa (your favorite kind)
- 2 teaspoons ground cumin
- 1 teaspoon chili powder
- 1 teaspoon salt
- ½ teaspoon smoked paprika
- 4 large burrito-size flour tortillas
- 1 can (16 ounces) refried beans
- 1 cup shredded Mexican blend cheese
- ¼ cup high heat oil (such as vegetable or peanut oil), for frying
Optional Toppings:
- Sliced avocado
- Pico de gallo
- Sour cream
- Hot sauce
- Chopped cilantro
- Chopped red onion
- Lime wedges
Instructions
- Prepare the Chicken Filling: In a large mixing bowl, combine the shredded cooked chicken, salsa, cumin, chili powder, salt, and smoked paprika. Mix gently until all ingredients are evenly combined.
- Assemble the Chimichangas: Lay one flour tortilla flat. Spread ¼ cup of refried beans onto the center, leaving a small border. Layer ½ cup of the seasoned chicken mixture over the beans, then sprinkle with ¼ cup of shredded cheese.
- Roll the Tortillas: Fold the bottom edge of the tortilla over the filling, tucking it in firmly. Fold in both the left and right sides toward the center. Then, tightly roll the tortilla upwards from the bottom to create a compact burrito shape. Repeat with the remaining tortillas.
- Fry the Chimichangas: Heat the oil in a large skillet or frying pan over medium heat until it’s shimmering. Carefully place the chimichangas into the hot oil, seam-side down first, in batches if necessary to avoid overcrowding. Fry for 1½ to 2 minutes per side, or until golden brown and crispy all over.
- Drain and Serve: Remove the fried chimichangas from the pan and place them on a paper towel-lined plate or cooling rack to drain any excess oil. Top with your favorite optional toppings and serve immediately.
Nutrition Information (Estimated Per Chimichanga)
Serving: 1 chimichanga | Calories: 594kcal | Carbohydrates: 31g | Protein: 50g | Fat: 29g | Saturated Fat: 8g | Polyunsaturated Fat: 6g | Monounsaturated Fat: 13g | Trans Fat: 1g | Cholesterol: 123mg | Sodium: 1931mg | Potassium: 469mg | Fiber: 7g | Sugar: 6g | Vitamin A: 743IU | Vitamin C: 1mg | Calcium: 304mg | Iron: 4mg
Nutritional information is an estimate and provided as a courtesy. Values may vary according to the ingredients and tools used. Please use your preferred nutritional calculator for more detailed information.
More Easy Tex-Mex Recipes to Explore
If you loved these homemade chicken chimichangas, be sure to check out these other fantastic and easy Tex-Mex recipes for your weeknight meals:
- Instant Pot Chicken Burritos: Fast, flavorful burritos made effortlessly in your pressure cooker.
- Hearty Chili Con Carne: A rich and comforting chili perfect for a cozy evening.
- Easy Ground Beef Tacos: A classic and quick taco recipe that’s always a hit with the family.