

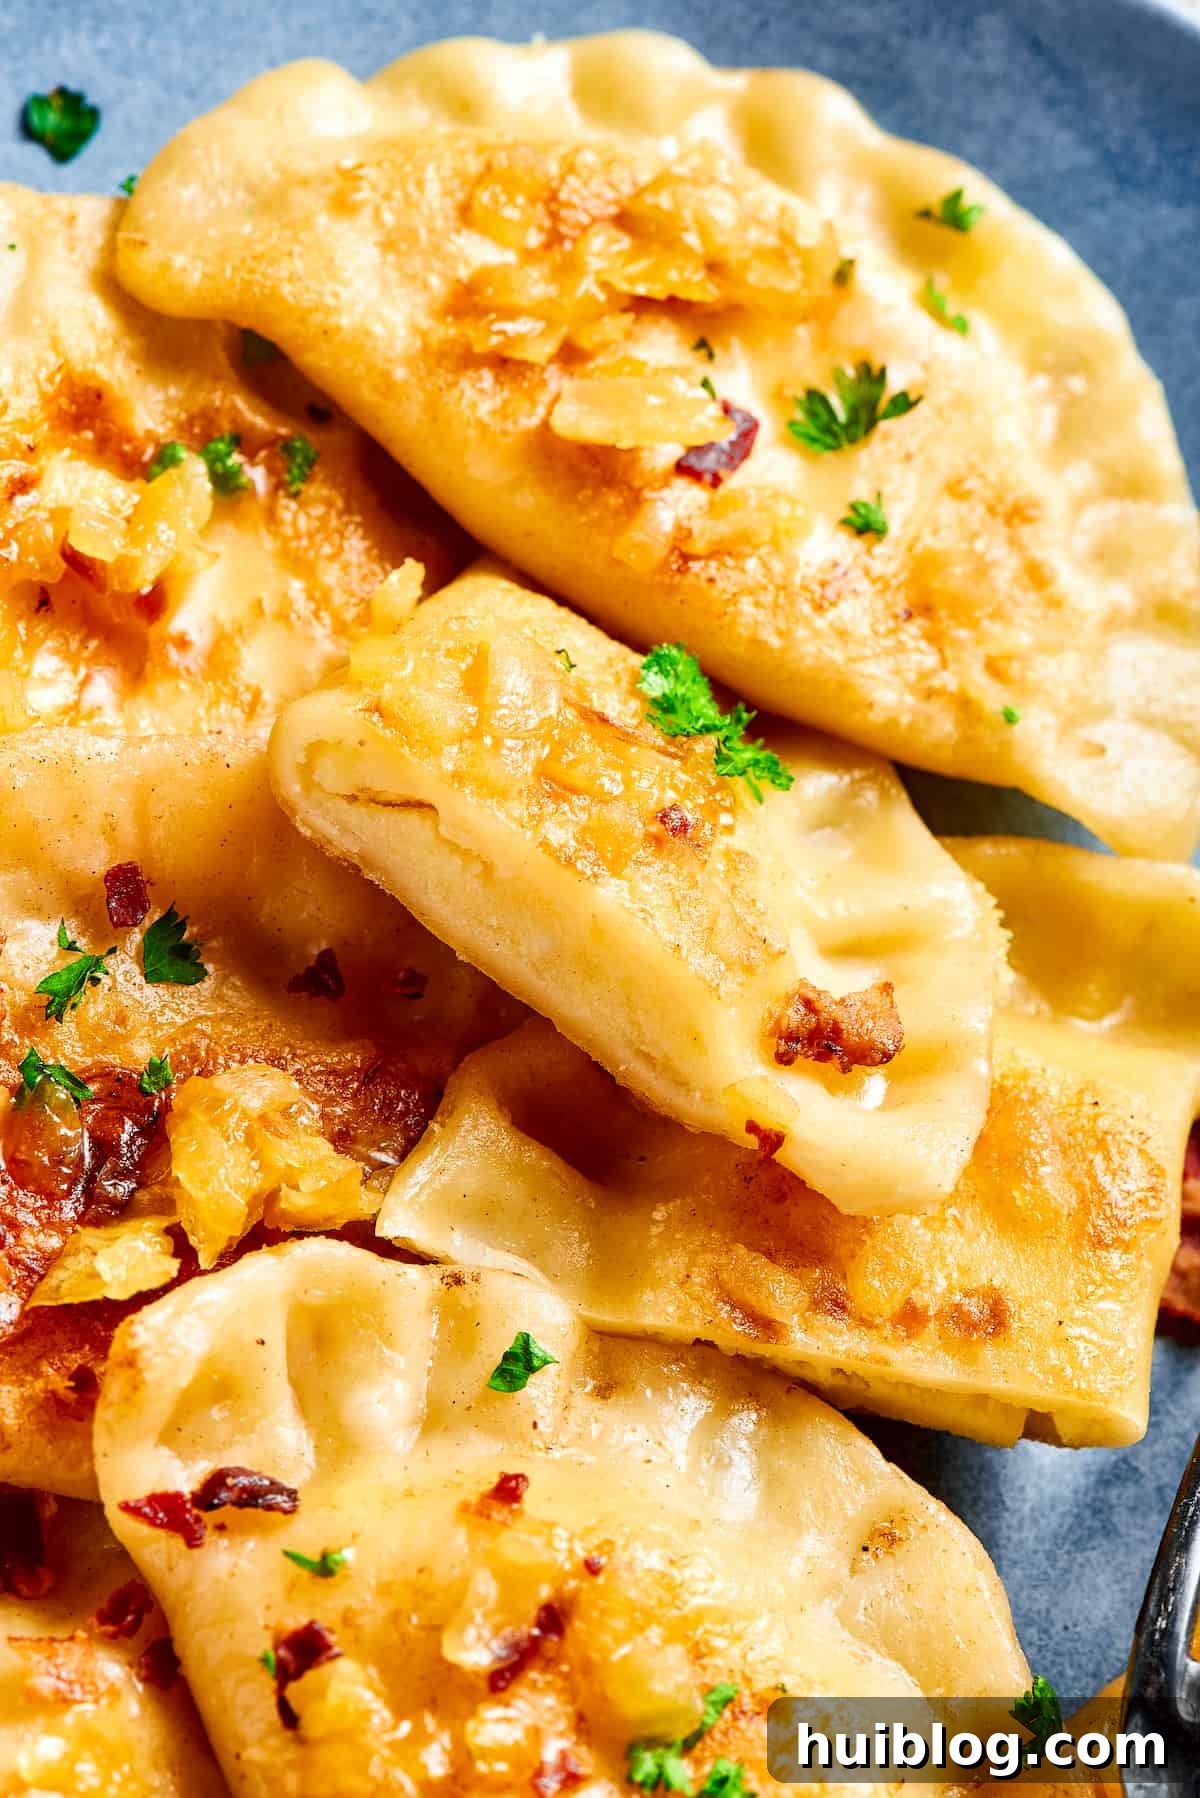
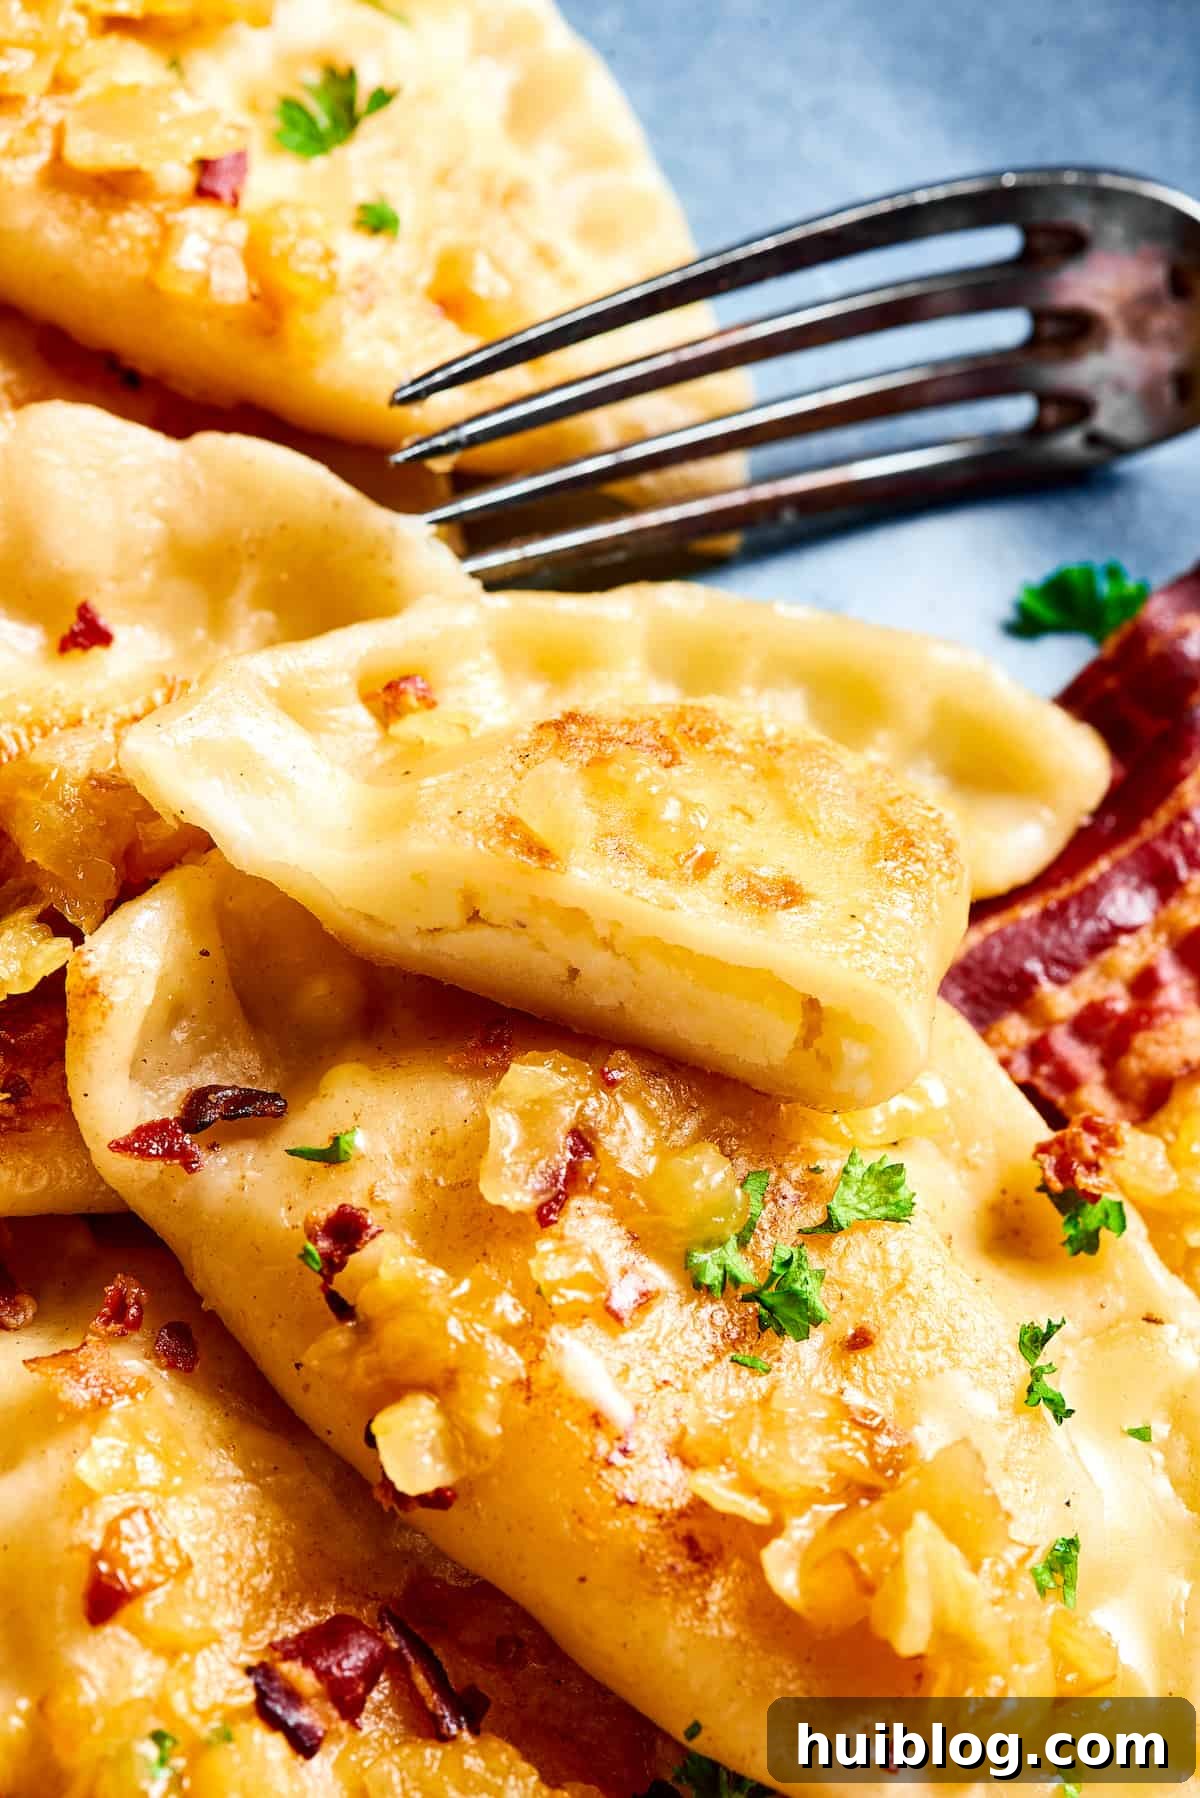
Delight in the rich, comforting flavors of Eastern European culinary tradition with this incredible Homemade Pierogi Recipe. Featuring a classic, creamy potato and cheese filling, elevated by sweet caramelized onions and savory crispy bacon, these tender dumplings are versatile enough to serve as a satisfying appetizer, a hearty side dish, or a complete, light dinner. Mastering pierogi from scratch might seem like a culinary challenge, but with our easy-to-follow guide, you’ll be creating these beloved dumplings like a seasoned pro.

Discover the Magic of Authentic Pierogi Ruskie with Cheesy Potato Filling
Pierogi, a cherished staple across Eastern and Central Europe, holds a special place in the hearts and on the tables of many families. These delightful, crescent-shaped dumplings are more than just food; they’re a celebration of heritage, often enjoyed during festive occasions like Christmas or as a comforting everyday meal. While pierogi come in an astonishing array of fillings, from sweet fruit and chocolate to savory meats and vegetables, this recipe focuses on the iconic Pierogi Ruskie. “Ruskie” traditionally translates to “Russian,” but in the context of pierogi, it refers to the beloved savory combination of mashed potatoes and farmer’s cheese – a true classic that satisfies every time.
Preparing homemade pierogi is a labor of love that rewards you with an unparalleled depth of flavor and texture that store-bought versions simply can’t match. It’s an engaging culinary project, perfect for a relaxed weekend, and an excellent opportunity to involve family members in an assembly line. While they do require a bit of time for assembly, the good news is that pierogi freeze exceptionally well, making them ideal for batch cooking. Imagine your freezer stocked with these savory treasures, ready to be pulled out for a quick, wholesome meal whenever a craving strikes!
The Essential Ingredients You’ll Need for Perfect Pierogi
Crafting delicious pierogi begins with selecting the right ingredients. Each component plays a vital role in achieving that quintessential taste and texture. Below, you’ll find a detailed list to guide you, ensuring you have everything on hand before you begin this delightful cooking journey.
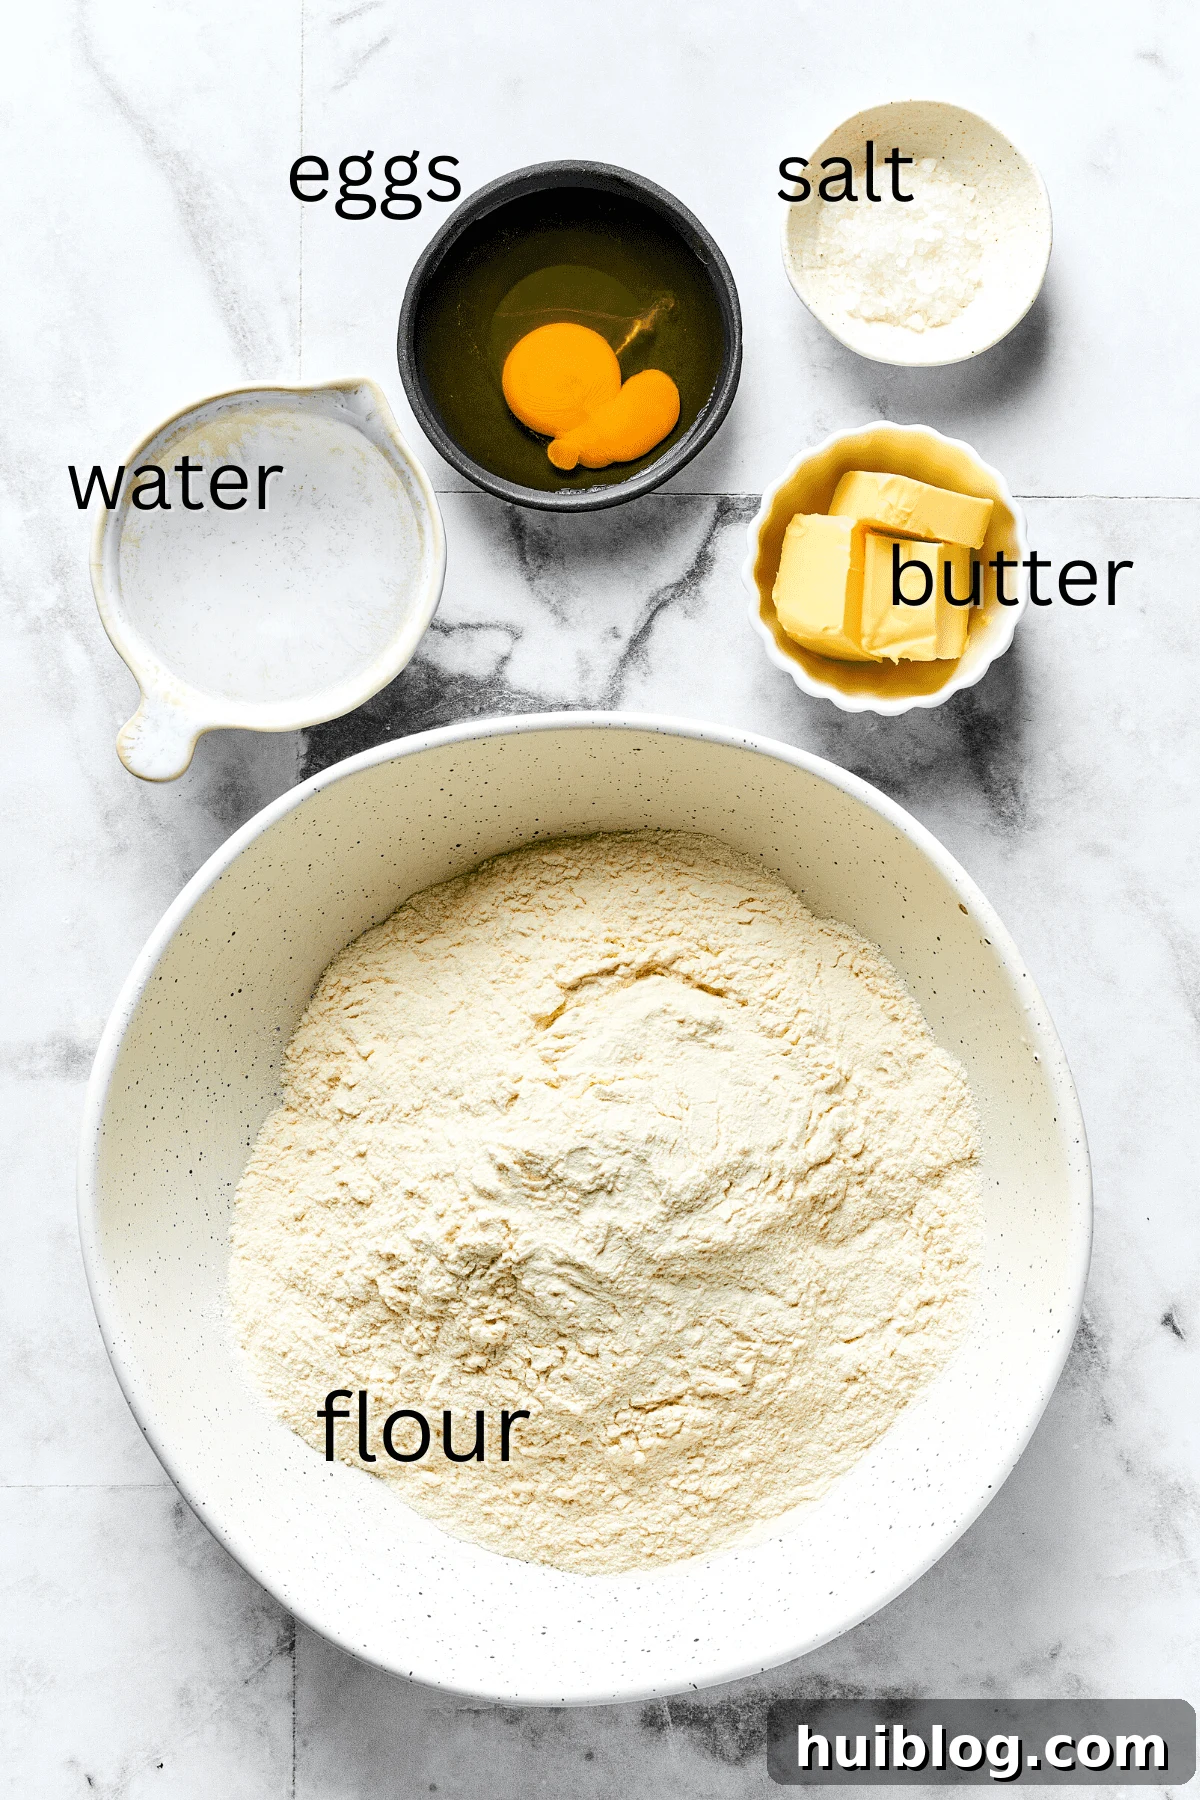
For the Silky Pierogi Dough
- All-Purpose Flour: The foundation of our dough. Standard all-purpose flour provides the ideal structure and elasticity needed for a tender, yet resilient wrapper that can hold its shape and filling without becoming tough.
- Salt: A crucial seasoning that enhances the flavor of the dough itself, ensuring it’s not bland and complements the savory filling.
- Unsalted Butter: Incorporating unsalted butter into the dough contributes to its tenderness and a subtle richness, making the pierogi melt-in-your-mouth soft. Using unsalted butter allows you to control the overall saltiness of the dish.
- Warm Water: The warmth of the water is important for helping the butter melt smoothly and for creating a more pliable dough that’s easier to work with. Avoid hot water, as it can cook the egg.
- Large Egg: One large egg acts as a binding agent, adding richness, helping to hold the dough together, and contributing to its smooth texture.
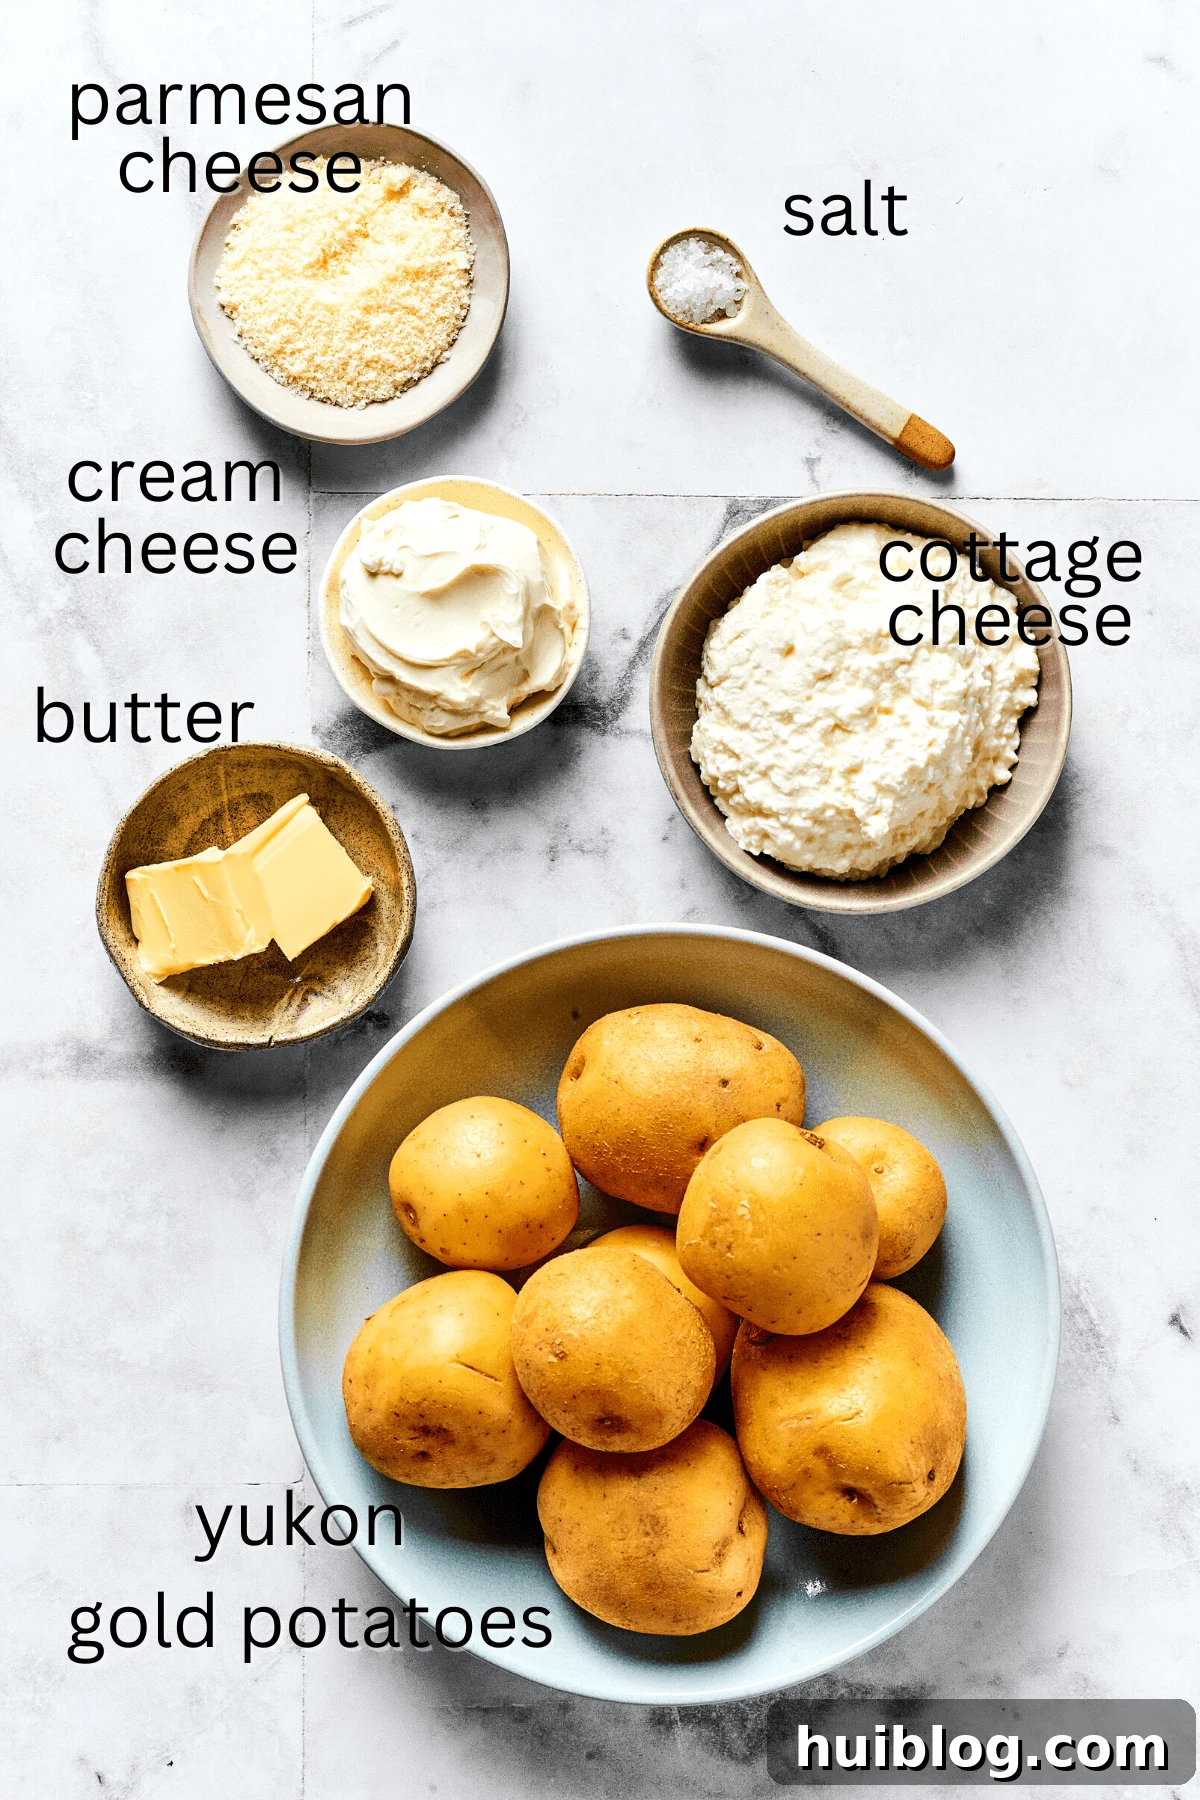
For the Rich Potato-Cheese Filling (Pierogi Ruskie Style)
- Potatoes: Yukon Gold potatoes are highly recommended for their creamy texture and naturally buttery flavor, making them ideal for mashing. Russet potatoes or other starchy mashing varieties also work wonderfully, providing a fluffy filling.
- Sea Salt: Essential for seasoning the potatoes and bringing out the flavors of the cheeses. Adjust to taste, especially if using salted butter.
- Unsalted Butter: Adds moisture, richness, and that classic comforting flavor to the potato filling. Again, unsalted is preferred for better salt control.
- A Trio of Cheeses: This recipe calls for a harmonious blend of cheeses to achieve the ultimate creamy and flavorful filling:
- Cream Cheese: Provides a luscious tang and contributes significantly to the filling’s smooth, velvety consistency.
- Cottage Cheese: A traditional component in Pierogi Ruskie, it adds a slight textural element and a mild, fresh dairy flavor. For a smoother filling, you can blend the cottage cheese first.
- Parmesan Cheese: Infuses the filling with a sharp, nutty, and savory depth, complementing the other cheeses beautifully.
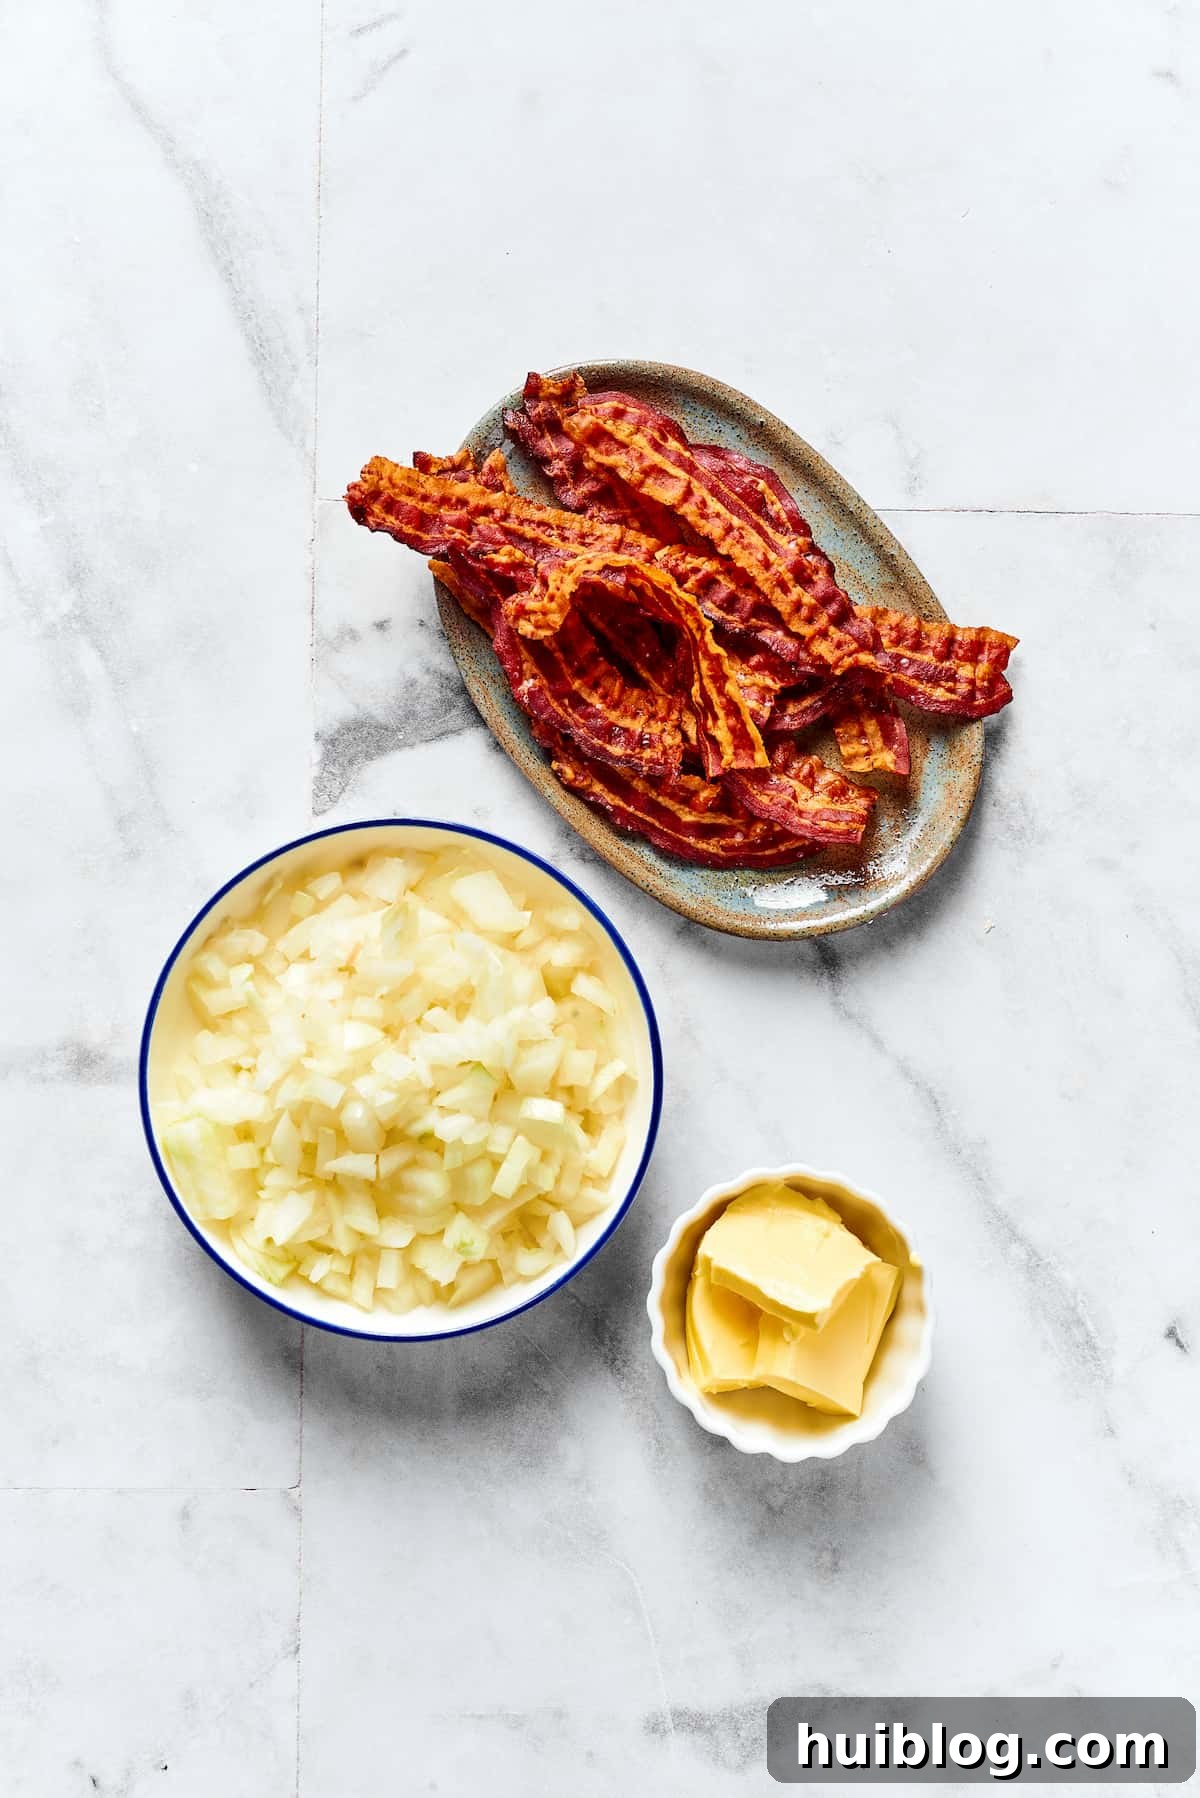
For the Irresistible Topping
- Bacon: Crispy bacon bits add a wonderful smoky, salty crunch that perfectly contrasts with the soft pierogi. Cook until very crisp, then crumble.
- Butter: Used to sauté the onions, adding a rich, golden hue and a luxurious flavor.
- Onions: Yellow or white onions, finely chopped and slowly caramelized, develop a sweet, deep flavor that is a hallmark accompaniment to pierogi.
- Fresh Parsley: A final flourish of chopped fresh parsley adds a touch of color and a burst of herbaceous freshness, brightening the overall dish.
Let’s Make Homemade Pierogi: A Step-by-Step Guide!
Now that you have all your ingredients ready, it’s time for the most exciting part: bringing these delicious pierogi to life! Follow these detailed steps to ensure perfectly tender dough, creamy filling, and a sensational topping.
Part 1: Crafting the Creamy Potato Filling
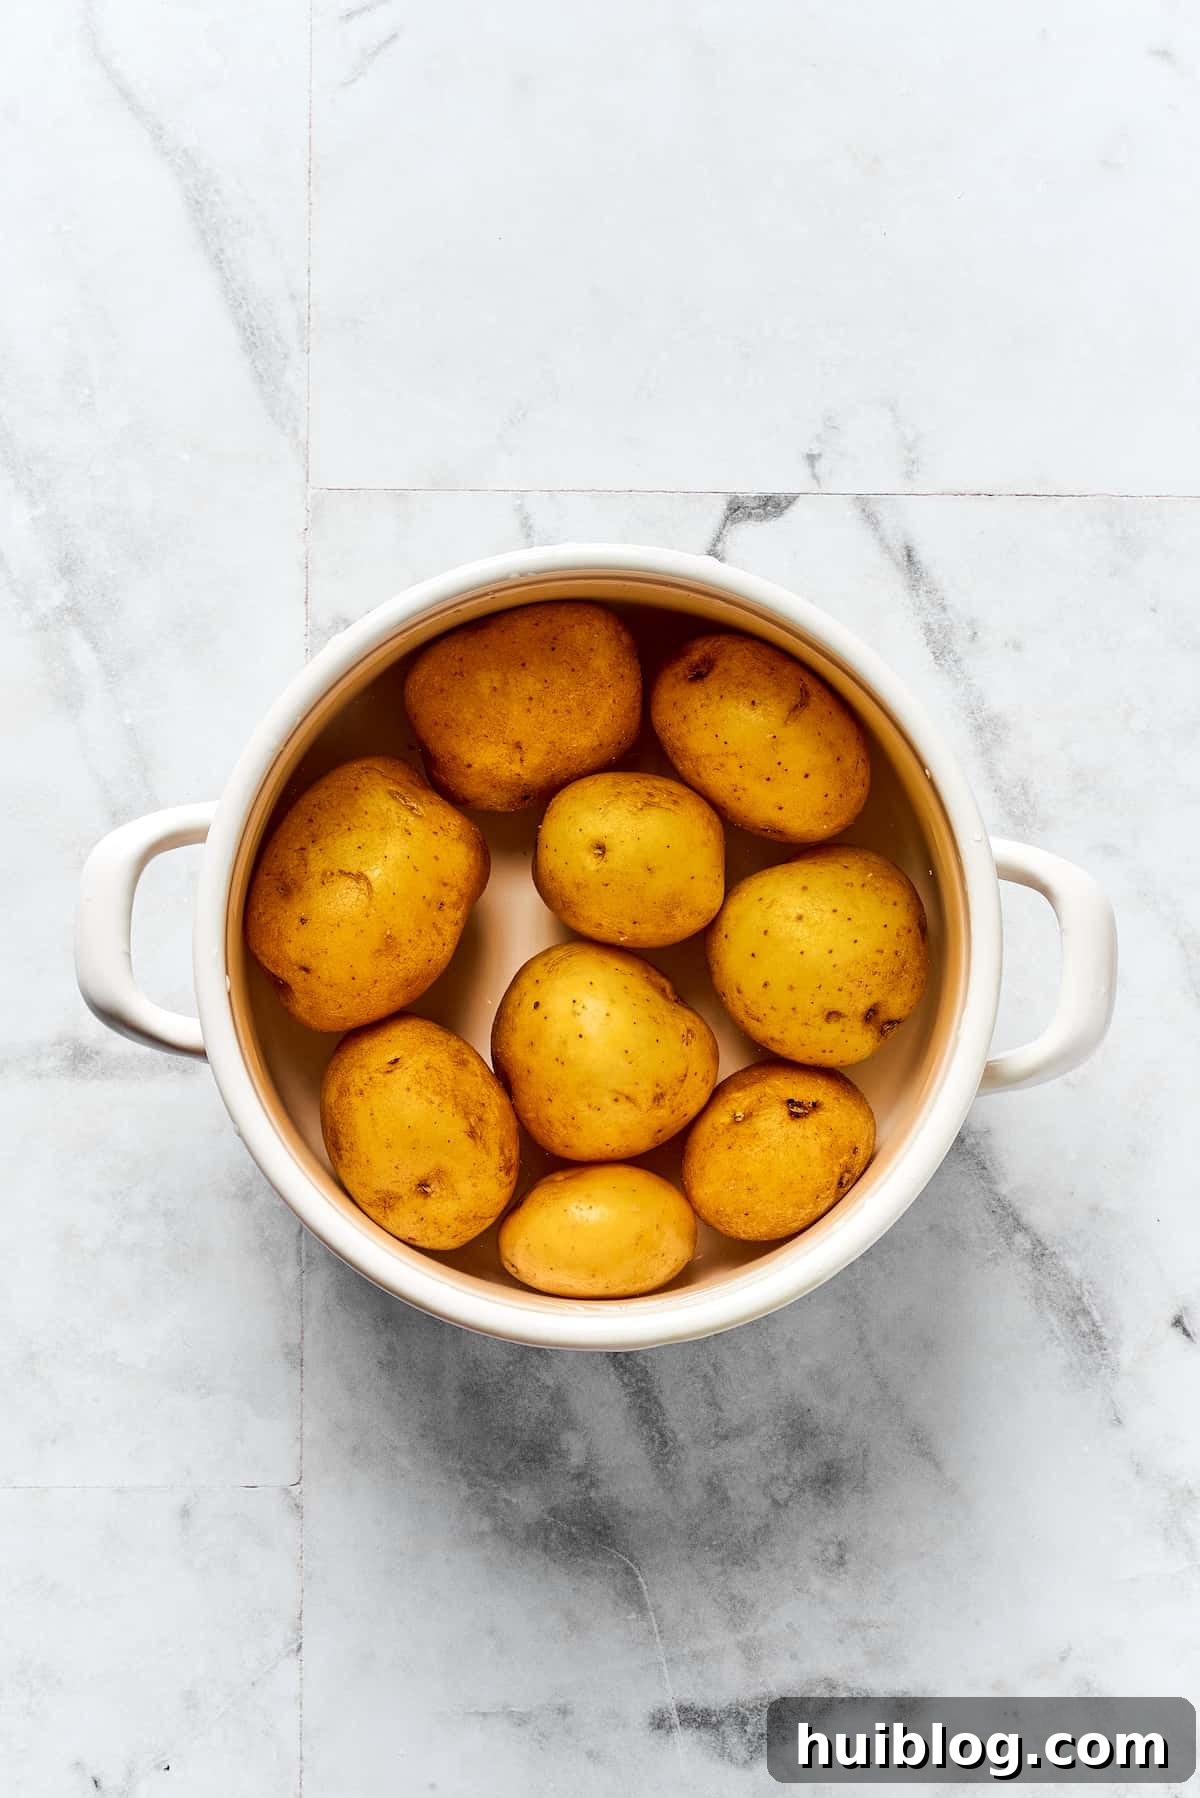
- Cook the Potatoes to Perfection: Begin by washing and peeling your chosen potatoes. Cut them into roughly equal-sized chunks to ensure even cooking. Place the potato chunks in a medium-sized pot and cover them completely with cold water. Add a generous pinch of salt to the water – this seasons the potatoes from within. Bring the water to a rolling boil over medium-high heat. Once boiling, reduce the heat to medium, cover the pot with a lid (leaving it slightly ajar to allow some steam to escape), and let the potatoes simmer gently until they are fork-tender, which usually takes about 20-25 minutes.
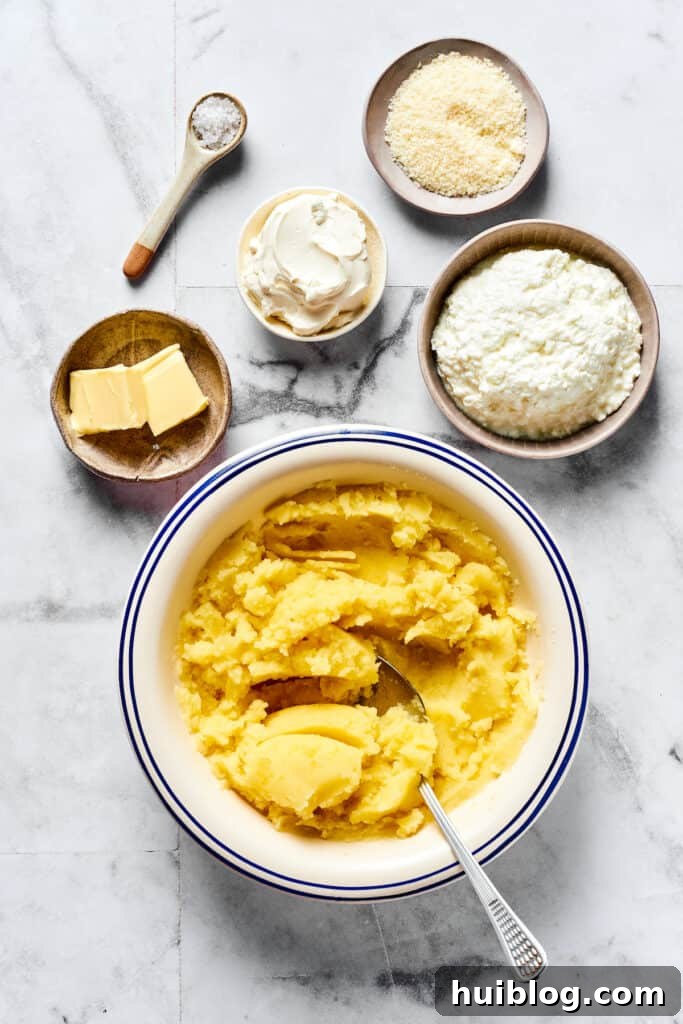
- Achieve a Smooth Filling: Once the potatoes are tender, carefully drain all the water from the pot. Return the hot, drained potatoes to the pot. Using a sturdy potato masher or a fork, thoroughly mash the potatoes until they are completely smooth and free of any lumps. Work quickly while they are hot for the best results.
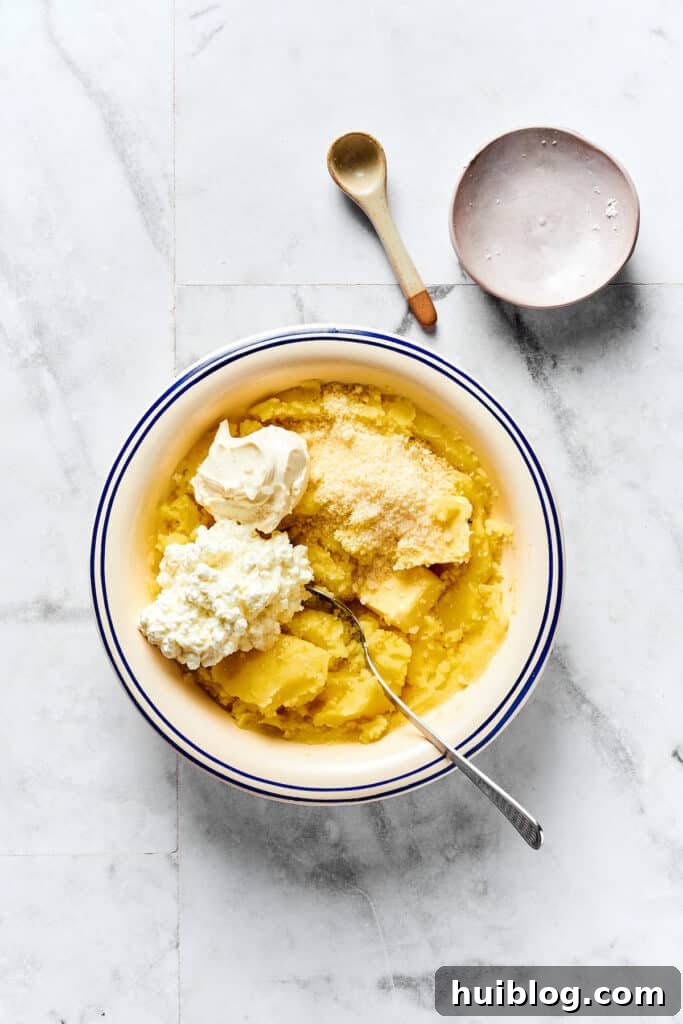
- Blend in the Cheeses and Butter: To the warm mashed potatoes, add the cottage cheese, cream cheese, grated Parmesan cheese, two tablespoons of unsalted butter, and a teaspoon of sea salt. Mix all these ingredients together vigorously until they are well combined and the filling is wonderfully creamy and uniform. Taste and adjust seasoning if necessary. Set this delectable potato-cheese filling aside to cool slightly while you prepare the dough. Cooling the filling makes it firmer and easier to handle when shaping the pierogi.
Part 2: Preparing the Pliable Pierogi Dough
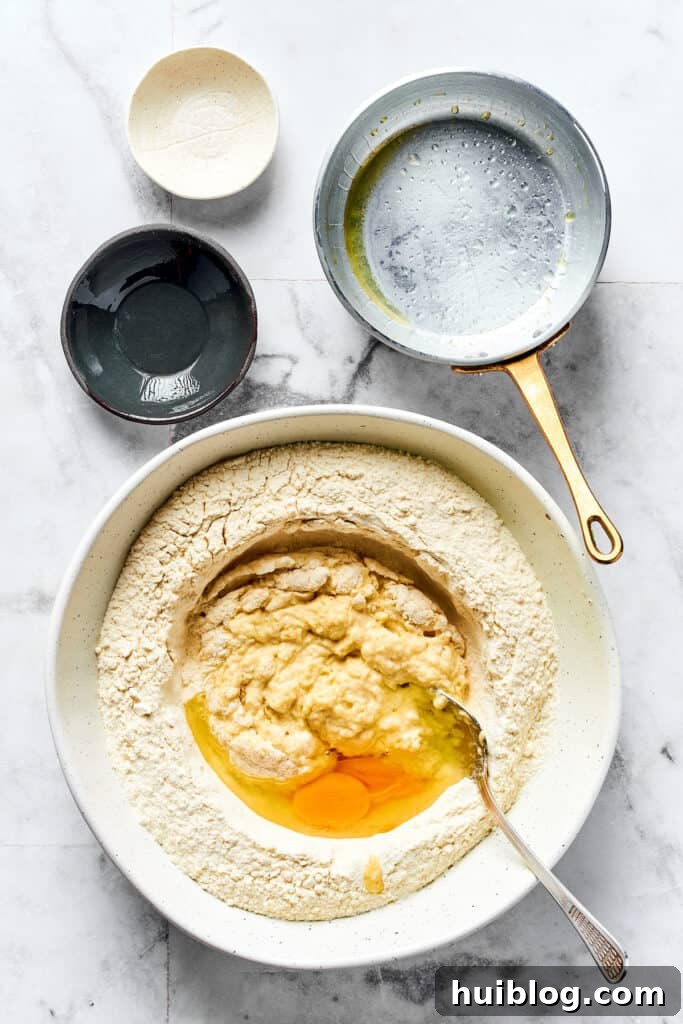
- Combine Dry Ingredients: In a large mixing bowl, whisk together the all-purpose flour and 1½ teaspoons of salt. Make a well in the center of the flour mixture.
- Prepare Wet Ingredients: In a small saucepan or microwave-safe bowl, gently warm the ⅔ cup of water and 3 tablespoons of unsalted butter until the butter is just melted. Ensure the mixture is warm but not hot to the touch, as excessively hot liquid can compromise the dough’s texture.
- Form the Dough: Pour the warm butter-water mixture into the well in the flour. Stir with a sturdy spoon until the ingredients are roughly combined and a shaggy dough forms. Then, add the lightly beaten large egg.
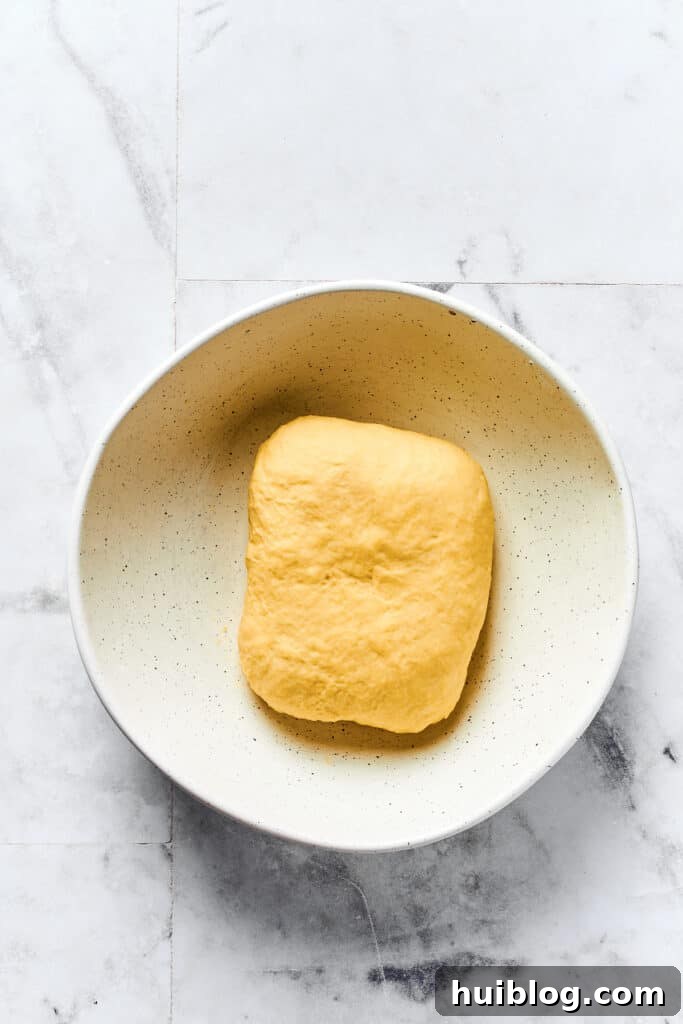
- Knead for Elasticity: Turn the dough out onto a lightly floured surface. Knead the dough by hand for about 5-7 minutes, or use a stand mixer fitted with a dough hook on medium speed for 5 minutes. The goal is to develop the gluten, resulting in a smooth, elastic, and non-sticky dough. It should be firm but pliable.
- Rest the Dough: Shape the kneaded dough into a ball. Cover it tightly with a clean kitchen towel or plastic wrap and let it rest at room temperature for at least 40 minutes. This resting period is crucial as it allows the gluten to relax, making the dough much easier to roll out thinly without shrinking back, and contributes to a tender final product.
Part 3: Shaping and Assembling Your Pierogi
- Prepare Your Workspace: While the dough rests, line a large baking sheet with parchment paper and lightly dust it with flour. This will be where you place the formed pierogi. Keep a clean kitchen towel handy.
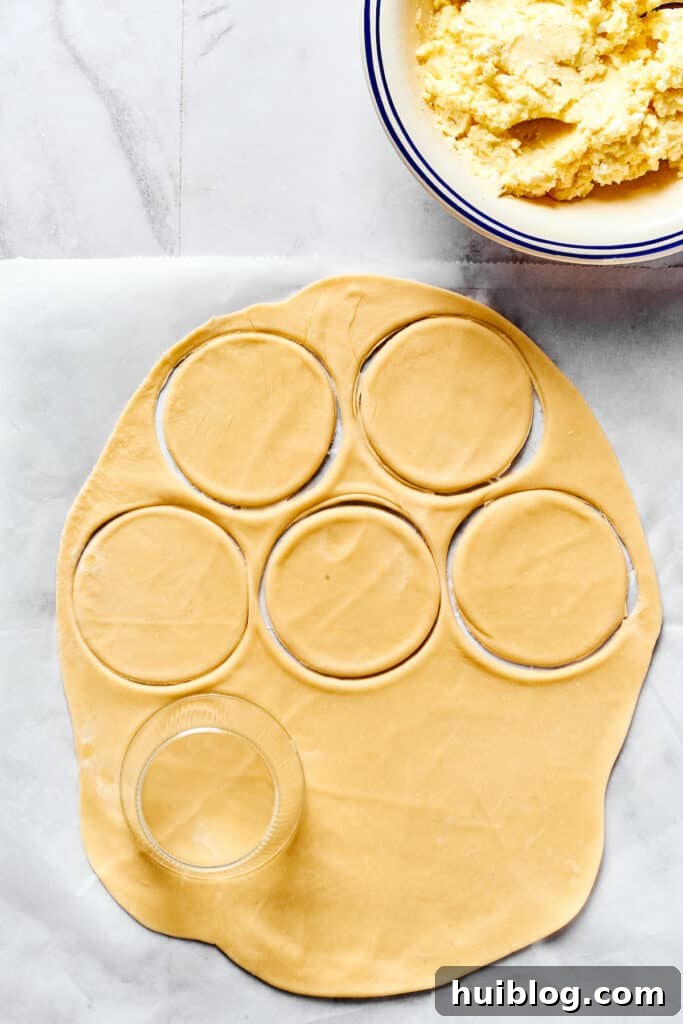
- Roll Out the Dough: Divide the rested dough in half. Keep one half covered with plastic wrap to prevent it from drying out. On a lightly floured surface, using a rolling pin, roll out the first half of the dough very thinly. Aim for a thickness similar to a pasta sheet, about 1/16 to 1/8 inch (1.5-3 mm). The thinner the dough, the more delicate your pierogi will be.
- Cut the Rounds: Use a pierogi cutter, a round cookie cutter, or even the rim of a drinking glass (about 2.5-3 inches / 6-7.5 cm in diameter) to cut out as many circles as possible from the rolled dough. Gather the dough scraps, gently re-knead them, and re-roll to cut more circles until all dough is used.
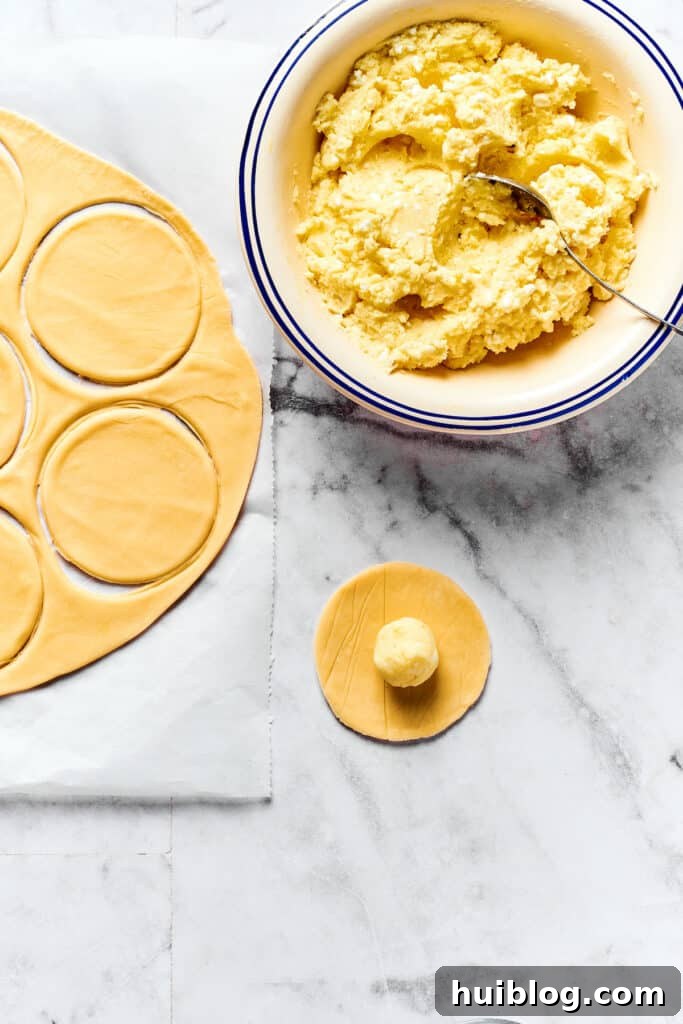
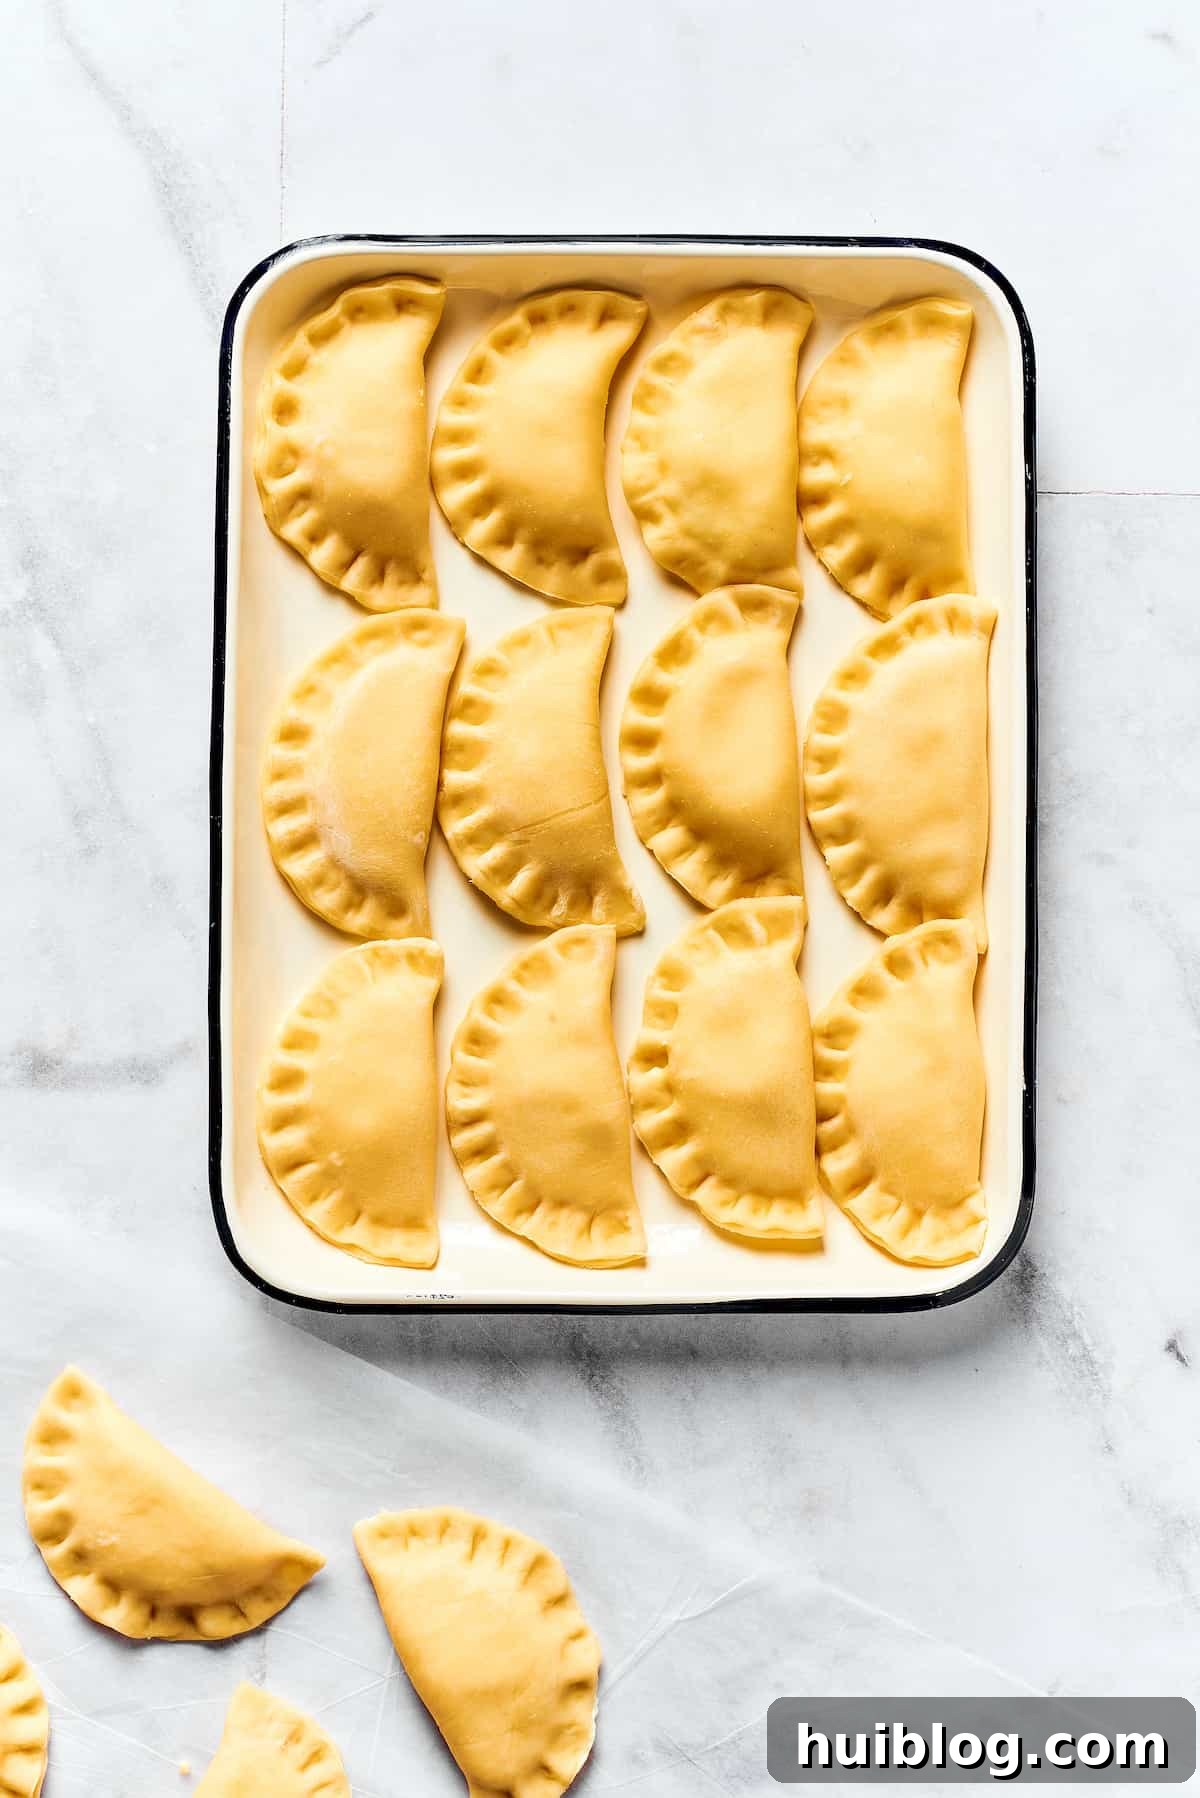
- Fill and Seal: Spoon about 1 tablespoon of the cooled potato-cheese filling onto the center of each dough round. Be careful not to overfill, as this makes sealing difficult. Lightly brush the edges of each dough circle with a little water – this acts as a “glue” to help seal the pierogi. Fold the dough circle in half, creating a crescent shape, and carefully enclose the filling. Press the edges firmly together with your fingers to seal them completely. For a decorative edge, you can crimp them with a fork.
- Continue Assembly: Place the sealed pierogi onto the prepared, lightly floured baking sheet. Ensure they don’t touch each other to prevent sticking. Cover them lightly with a clean kitchen towel to keep them from drying out while you repeat the rolling, cutting, filling, and sealing steps with the remaining dough and filling. This assembly line approach makes the process more efficient.
Part 4: Cooking the Pierogi to Golden Perfection
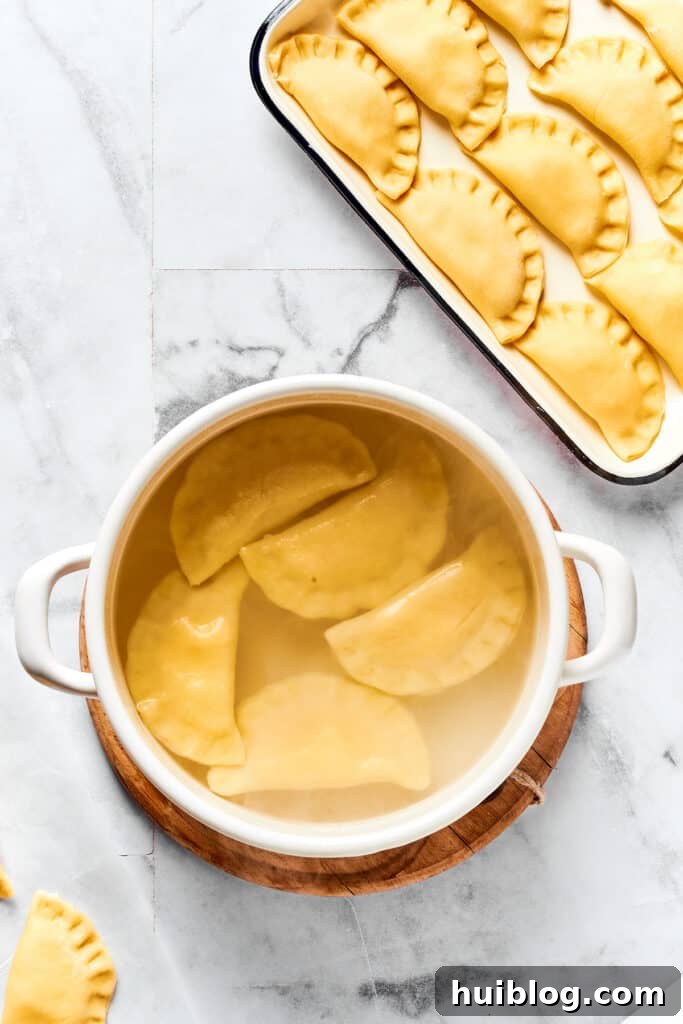
- Boil the Pierogies: Fill a large pot with generously salted water and bring it to a rolling boil over high heat. Carefully add the pierogi to the boiling water in a single layer. It’s crucial not to overcrowd the pot, as this can lower the water temperature and cause the pierogi to stick or cook unevenly. Cook them in batches if necessary. The pierogi will sink initially, then float to the surface after about 2 minutes. Once they float, continue cooking for another 1-2 minutes to ensure the dough is fully cooked through and tender.
- Drain and Set Aside: Using a slotted spoon, gently remove the cooked pierogi from the boiling water, allowing excess water to drain. Transfer them to a plate or a clean baking sheet. Repeat the boiling process with the remaining uncooked pierogi, setting each batch aside.
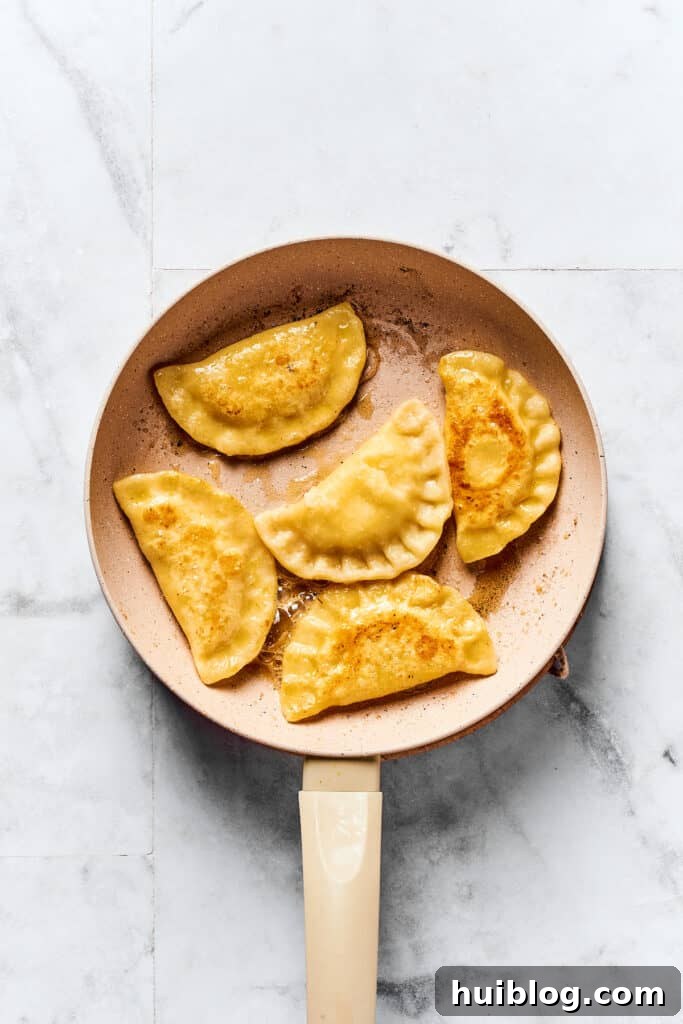
- Fry for Golden Crispness: Once all the pierogi have been boiled, heat a large non-stick skillet over medium heat. Add a generous knob of unsalted butter (or more for frying, as specified in the full recipe). Once the butter is melted and sizzling, carefully add the boiled pierogi in a single layer, ensuring they don’t touch too much. Fry the pierogi for about 1-2 minutes per side, until they achieve a beautiful golden-brown color and a slightly crispy exterior. This frying step adds incredible flavor and texture. Remove the fried pierogi and keep them warm while you prepare the topping.
Part 5: Creating the Delectable Topping
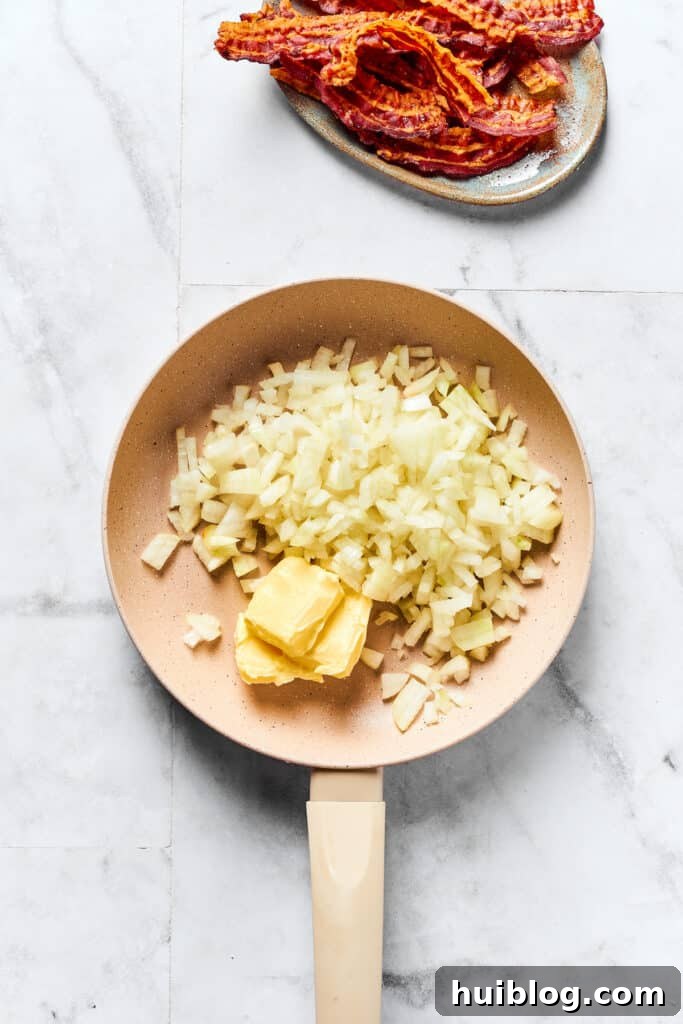
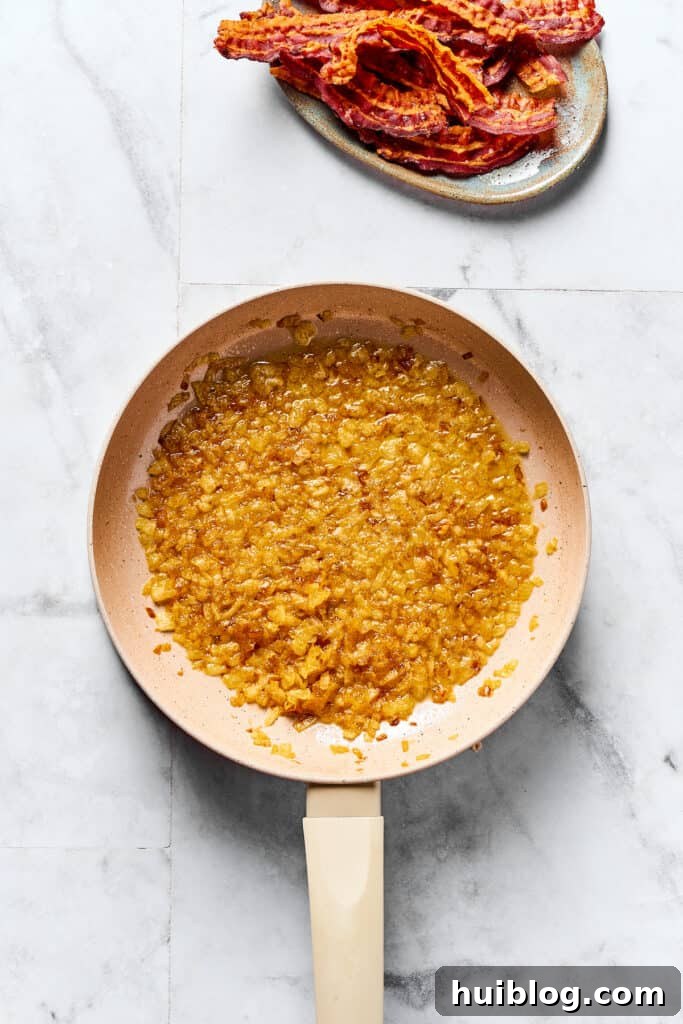
- Prepare Crispy Bacon Crumbles: In a large skillet (the same one you plan to caramelize onions in, if preferred), cook the sliced bacon over medium heat until it’s perfectly crisp. This usually takes about 7-10 minutes, depending on the thickness of your bacon. Once crispy, remove the bacon from the skillet and place it on a paper towel-lined plate to drain off excess fat. Once slightly cooled, crush the bacon into small, irresistible bits.
- Caramelize the Onions: Carefully drain off most of the bacon fat from the skillet, leaving just a tablespoon or two for flavor. Wipe the skillet clean if necessary, then return it to medium-low heat. Add the unsalted butter and the chopped yellow onions to the skillet. Sprinkle with a pinch of salt and pepper. Cook the onions slowly, stirring occasionally, for about 10-15 minutes, or until they turn beautifully translucent, deeply golden, and wonderfully sweet. This slow caramelization process brings out their natural sugars and develops an incredible depth of flavor.
Part 6: Serving Your Masterpiece
- To serve, arrange the warm, golden-fried pierogi on a beautiful serving platter. Generously spoon the glistening caramelized onions over the top, followed by a sprinkle of the crispy bacon crumbles. For an added touch of freshness and vibrant color, garnish with freshly chopped parsley, if desired. Serve immediately and watch them disappear!

Do You Really Have to Boil Pierogies Before Frying? Unraveling the Mystery
This is a common question, and the answer, especially for homemade pierogi, is a resounding yes! While many convenience-oriented recipes or store-bought pierogi packages might suggest skipping the boiling step, this is usually because those products are already pre-cooked or partially cooked. They are designed for quick reheating.
However, when you’re making pierogi from scratch with fresh, raw dough, the boiling step is absolutely essential. Boiling serves several critical purposes:
- Softens the Dough: Boiling cooks the raw dough, allowing it to absorb moisture and become tender and pliable. Without this, the dough would remain raw, tough, or chewy, even after frying.
- Develops Dumpling Texture: It gives the pierogi that characteristic soft, yielding dumpling texture that we all love.
- Ensures Even Cooking: Boiling ensures the dough is fully cooked through before the frying step focuses on developing a golden, crispy exterior. Frying raw dough directly often results in a burnt exterior and an undercooked interior.
So, for truly authentic, tender, and delicious homemade pierogi, don’t skip the boil! It’s a crucial step that transforms raw dough into a culinary delight.

Expert Tips for Pierogi Perfection
Making homemade pierogi is a rewarding experience, and these extra tips will help you achieve outstanding results every time.
- Chill the Filling for Easier Handling: For the smoothest assembly process, consider preparing your potato-cheese filling a day in advance. Once made, allow it to cool completely, then transfer it to an airtight container and refrigerate overnight. A firm, chilled filling is much easier to scoop and shape onto the dough rounds, preventing mess and making sealing more efficient.
- Prevent Dough Dryness: Pierogi dough can dry out quickly, leading to cracks and making it difficult to seal the dumplings. Always keep any portion of dough you are not actively working with tightly covered with plastic wrap or a damp kitchen towel. This maintains its moisture and elasticity, ensuring your pierogi remain soft and easy to work with.
- Utilize a Pasta Machine for Uniformity: While rolling the dough by hand is perfectly fine, a pasta machine can be a game-changer for achieving consistently thin and even sheets of dough. If you have one, use it! Start on a wider setting and gradually decrease it until you reach your desired thinness (usually setting 4 or 5 on most machines). This saves time and effort, and results in beautiful, uniform pierogi.
- Don’t Overfill: It can be tempting to put a lot of filling in each pierogi, but overfilling is the primary cause of bursting during boiling. Stick to about 1 tablespoon of filling per round to ensure easy sealing and prevent blowouts.
- Practice Makes Perfect: Don’t get discouraged if your first few pierogi aren’t perfectly shaped. Like any dumpling, shaping takes a little practice. You’ll quickly get the hang of it, and even imperfectly shaped pierogi will still taste delicious!
- Flour Your Surface (but not too much!): A lightly floured surface prevents sticking, but too much flour can make the dough dry and tough. Use just enough to prevent adherence.

What Do You Eat Pierogies With? Delicious Pairing Ideas
These savory potato and cheese pierogi, especially with their rich butter, caramelized onion, and crispy bacon topping, are wonderfully satisfying on their own. However, if you’re planning a more substantial meal or looking for complementary flavors, here are some delightful serving suggestions to elevate your dining experience:
- Classic Sour Cream or Yogurt: A dollop of cool, tangy sour cream or plain Greek yogurt is a traditional and refreshing accompaniment that cuts through the richness of the pierogi and adds a delightful creamy contrast.
- Fresh Salad: Brighten up your meal with a crisp, refreshing salad. A simple green salad with a vinaigrette or this Cucumber Salad with Sour Cream Dressing makes an excellent counterpoint to the warm, buttery pierogi.
- Roasted Meats: Pierogi pair beautifully with various roasted meats. Consider serving them alongside tender roasted chicken, a succulent pork loin, or even a classic pot roast.
- Fish Dishes: For a lighter, yet equally comforting meal, combine pierogi with a flavorful fish dish. These Maple Mustard Salmon Fillets offer a sweet and savory balance that complements the pierogi’s mildness.
- Hearty Stews or Goulash: On a chilly evening, serving pierogi with a rich, slow-cooked stew or a Hungarian goulash can create an incredibly warming and satisfying meal. The pierogi can soak up all the delicious gravy.
- Pork Chops: Enjoy a truly comforting dinner by spooning the rich mushroom gravy from these Instant Pot Pork Chops generously over your pierogi. It’s a match made in culinary heaven for those cooler nights.

How to Store and Reheat Leftovers: Your Pierogi Storage Guide
One of the best things about homemade pierogi is how well they store, allowing you to enjoy their deliciousness long after the initial cooking. Here’s how to properly store and reheat your leftovers:
- Refrigeration: Cooked pierogies (boiled and/or fried) can be stored in an airtight container in the refrigerator for up to 3-4 days. For best quality, allow them to cool completely before transferring to the container.
- Reheating: To reheat refrigerated pierogies, you have a few options:
- Skillet Frying: This is often the best method for maintaining texture. Heat a little butter or oil in a skillet over medium heat. Add the pierogies and fry for a few minutes per side until heated through and golden.
- Oven: Preheat your oven to 350°F (175°C). Place pierogies on a baking sheet, lightly brush with butter or oil, and bake for 10-15 minutes, or until heated through.
- Microwave: While convenient, microwaving can sometimes make the dough a bit soft. Heat in short bursts until warm, but avoid overcooking.
Can I Freeze Homemade Pierogi? Yes, and Here’s How!
Freezing homemade pierogi is an excellent way to prepare ahead and have a stash of these delightful dumplings ready for future meals. You can freeze them either uncooked (after shaping) or after they’ve been boiled and/or fried.
- Freezing Uncooked Pierogi: This method is fantastic if you want to cook them fresh later.
- After shaping the pierogi and before boiling them, spread them out in a single layer on a parchment-lined baking sheet. Ensure they are not touching each other.
- Place the baking sheet in the freezer and freeze until the pierogi are completely solid (this usually takes 1-2 hours).
- Once frozen solid, transfer the pierogi to freezer-safe bags or airtight containers. Label with the date.
- They can be stored in your freezer for up to 3 months. When ready to cook, boil them directly from frozen (they may take a minute or two longer to cook).
- Freezing Cooked (Boiled/Fried) Pierogi:
- Allow the boiled and/or fried pierogi to cool completely.
- Spread them in a single layer on a parchment-lined baking sheet, ensuring they don’t touch.
- Freeze until solid, then transfer to freezer-safe bags or airtight containers. Label with the date.
- Store in the freezer for up to 3 months. To reheat, you can pan-fry them from frozen until heated through and golden, or bake them in the oven.
Homemade Pierogi Recipe Card

Homemade Pierogi Recipe
By: Katerina | Easy Weeknight Recipes
Topped with caramelized onion and crispy bacon, this easy Homemade Pierogi Recipe features a traditional cheese and potato filling, perfect as an appetizer, side dish, or a light and savory dinner.
- Prep Time: 30 minutes
- Cook Time: 45 minutes
- Resting Time: 40 minutes
- Total Time: 1 hour 55 minutes
- Servings: 12 pierogies
Ingredients
For the Potato Filling:
- 1 ½ pounds Yukon Gold potatoes
- ½ cup cottage cheese
- 3 tablespoons Parmesan cheese
- 2 tablespoons cream cheese
- 2 tablespoons unsalted butter
- 1 teaspoon sea salt
For the Pierogi Dough:
- 4 cups all-purpose flour
- 1 ½ teaspoons salt
- ⅔ cup warm water
- 3 tablespoons unsalted butter, plus more for frying
- 1 large egg, lightly beaten
For the Topping:
- 4 ounces bacon slices, cooked and crumbled
- 4 tablespoons unsalted butter
- 2 yellow onions, chopped
- fresh parsley, chopped (for garnish)
Instructions
Make the Potato Filling
- Place the potatoes in a medium pot and cover with water. Bring to a boil over medium heat. Cover, leaving the lid slightly ajar, and cook until the potatoes are tender, about 25 minutes.
- Once the potatoes are cooked, use a potato masher to mash them until smooth and free from lumps.
- To the mashed potatoes, add the cottage cheese, Parmesan cheese, cream cheese, butter, and salt. Mix together and set aside to cool slightly.
Make the Pierogi Dough and Shape
- Meanwhile, line a large baking sheet with parchment paper, and set aside.
- In a medium bowl, stir together the flour and salt.
- Warm the water and butter in a small pot until the butter is melted, about 4 minutes. Ensure it’s warm, not hot.
- Add the warm butter mixture to the flour mixture. Stir with a spoon until roughly combined. Add the egg and knead by hand, or with a stand mixer for 5 minutes, until the dough is smooth and elastic.
- Cover the dough with a clean kitchen towel or plastic wrap and let it rest for 40 minutes at room temperature.
- Divide the dough in half. On a lightly-floured surface, roll out one half of the dough very thinly (about 1/16 to 1/8 inch thick). Use a pierogi cutter or a drinking glass (approx. 2.5-3 inches in diameter) to cut out rounds. Gather and re-roll scraps.
- Place about 1 tablespoon of the cooled potato filling on the center of each dough round. Brush the edges with water, and fold in half to enclose the filling. Seal the edges by pressing down firmly with your finger or crimping with a fork.
- Place the sealed pierogi on the prepared baking sheet, ensuring they do not touch. Cover lightly with a clean kitchen towel.
- Repeat the rolling, cutting, filling, and sealing steps with the remaining dough and filling.
Cook the Pierogi
- Bring a large pot of generously salted water to a rolling boil. Add the pierogi to the pot in a single layer (work in batches to avoid overcrowding). Cook for about 2 minutes, or until they float.
- Once the pierogi start to float, continue cooking for another 1 to 2 minutes to ensure the dough is fully cooked. Then, use a slotted spoon to remove them to a plate. Continue cooking the remaining pierogi.
- When all the pierogi are boiled, heat some additional butter in a large skillet over medium heat. Fry the drained pierogi in the butter for a minute on each side until golden brown and slightly crispy. Set them aside and keep warm.
Make the Topping
- To make the topping, cook the sliced bacon in a large skillet over medium heat until crisp. Drain well on paper towels, then crush into small pieces.
- Carefully wipe the skillet clean (or use a fresh one), then return it to medium-low heat. Add 4 tablespoons of unsalted butter and the chopped yellow onions. Sprinkle with salt and pepper, and cook for 10 to 15 minutes, stirring occasionally, until the onions are beautifully caramelized and lightly golden.
Serve the Pierogi
- Serve the pierogi hot, arranged on a platter, generously topped with the sweet caramelized onions and savory crispy bacon. Garnish with chopped fresh parsley if desired, and enjoy!
Nutrition Information (Estimated Per Serving of 4 Pierogies)
- Calories: 345 kcal
- Carbohydrates: 44g
- Protein: 9g
- Fat: 15g
- Saturated Fat: 8g
- Polyunsaturated Fat: 1g
- Monounsaturated Fat: 4g
- Trans Fat: 0.4g
- Cholesterol: 47mg
- Sodium: 614mg
- Potassium: 350mg
- Fiber: 3g
- Sugar: 2g
- Vitamin A: 342 IU
- Vitamin C: 13mg
- Calcium: 47mg
- Iron: 3mg
Nutritional information is an estimate and provided as courtesy. Values may vary according to ingredients used and preparation methods. Please use your preferred nutritional calculator for more detailed and precise information, especially if you have dietary concerns.
More Delightful Dinner Ideas to Explore
- The Best Cheese Manicotti: Indulge in another comforting pasta dish filled with rich cheeses, perfect for family dinners.
- Air Fryer Chicken Tempura Recipe: For a crispy, lighter option, this chicken tempura offers a fantastic crunch without the deep-frying fuss.
- Instant Pot Chicken Burritos: A quick and flavorful meal that’s perfect for busy weeknights, offering vibrant Mexican-inspired tastes.