
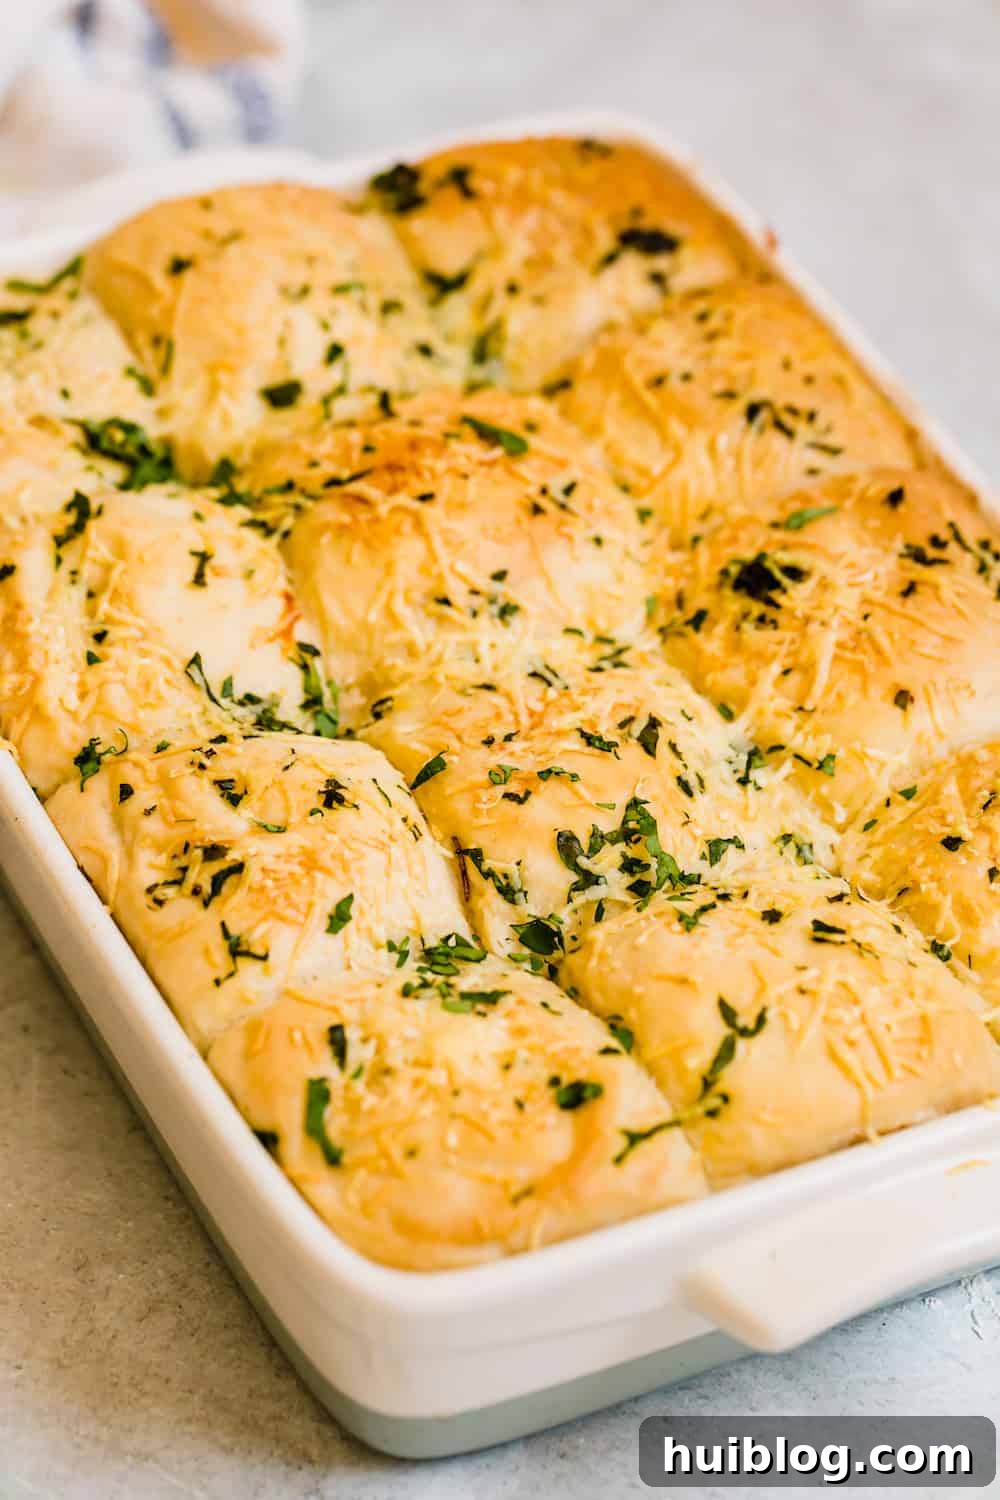
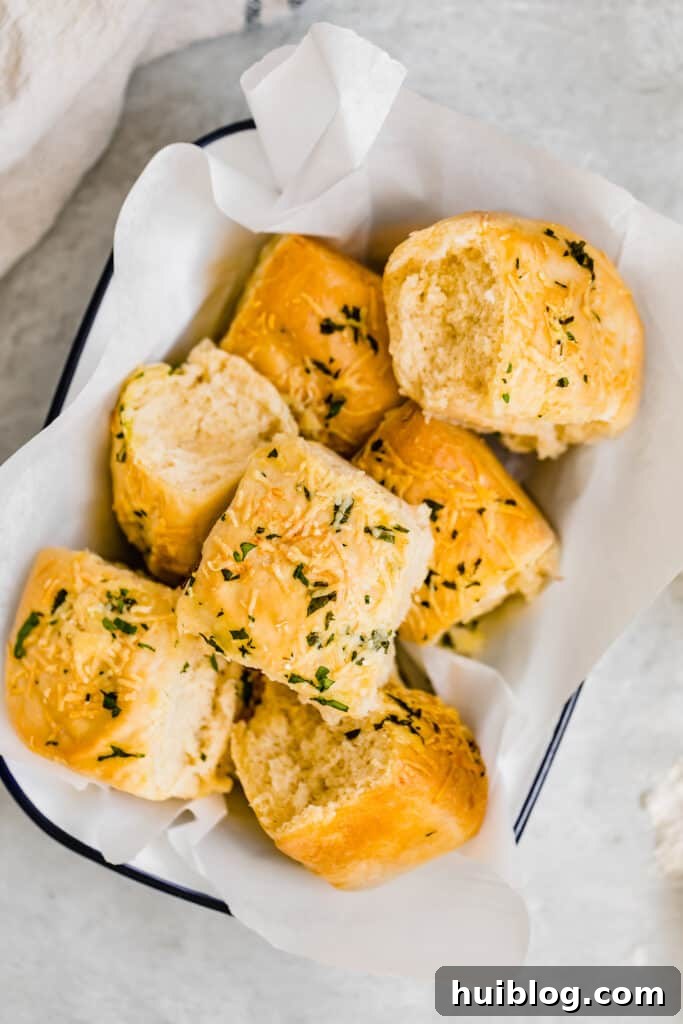
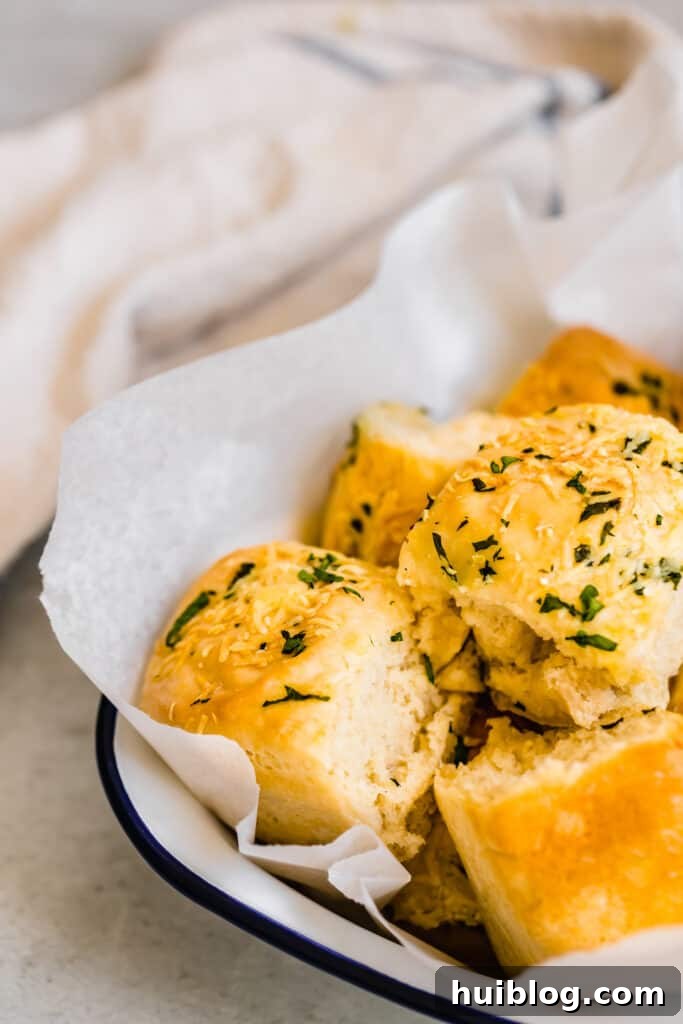
Indulge in the comforting embrace of freshly baked goods with these exquisite Soft Parmesan Dinner Rolls. Bathed in a warm, golden-brown hue and infused with the savory notes of Parmesan cheese and the delicate freshness of chopped parsley, these rolls are more than just a side dish; they are a classic culinary delight that elevates any meal. Each bite promises a tender, buttery texture that simply melts in your mouth, making them an irresistible addition to your dining table. Perfect for family dinners, holiday feasts, or simply as a comforting treat, these homemade yeast rolls are designed to impress with their rich flavor and pillowy softness.
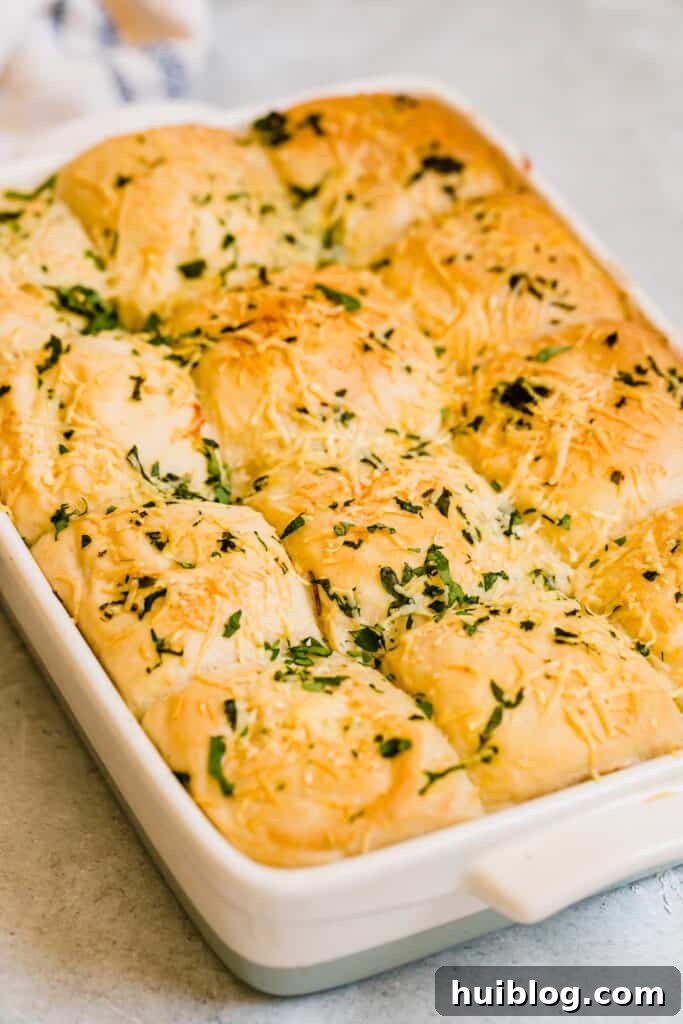
Unveiling the Magic of Soft & Fluffy Homemade Dinner Rolls
There’s an undeniable magic that comes with baking homemade yeast rolls. For many, it’s an occasion in itself, a moment to slow down and create something truly special from scratch. The journey from simple ingredients to a basket of soft, light, and beautifully golden rolls is incredibly rewarding. The aroma alone, filling every corner of your home, is enough to evoke feelings of warmth and nostalgia. While the convenience of store-bought alternatives is tempting, nothing quite compares to the unparalleled freshness and tender texture of rolls made right in your own kitchen. This recipe, in particular, transforms a basic homemade roll into an extraordinary culinary experience.
What sets these dinner rolls apart are two humble yet powerful ingredients: finely shredded Parmesan cheese and fresh chopped parsley. The Parmesan infuses each roll with a subtle, savory depth and a delightful umami kick, creating a more complex flavor profile than your standard roll. The fresh parsley, on the other hand, adds a vibrant, herbaceous note that beautifully complements the cheese, bringing a touch of brightness and a pop of color. Together, they create a symphony of flavors that is both sophisticated and comforting, making these rolls truly yeast roll perfection. They are not only a feast for the palate but also a stunning addition to any table, promising to be the star side dish of your holiday meals or weekend gatherings.
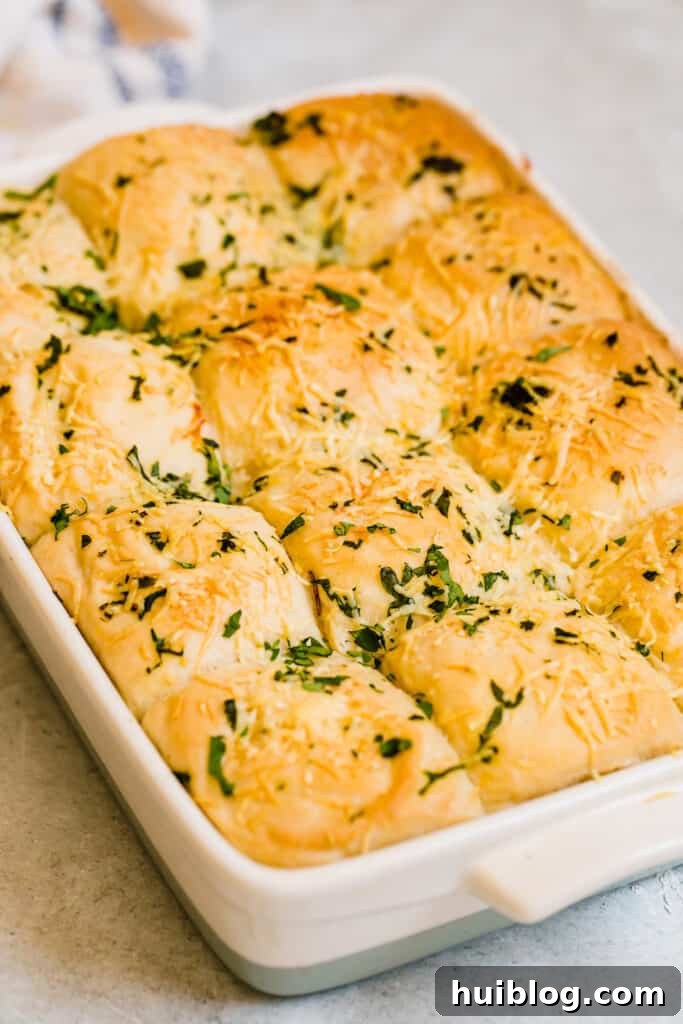
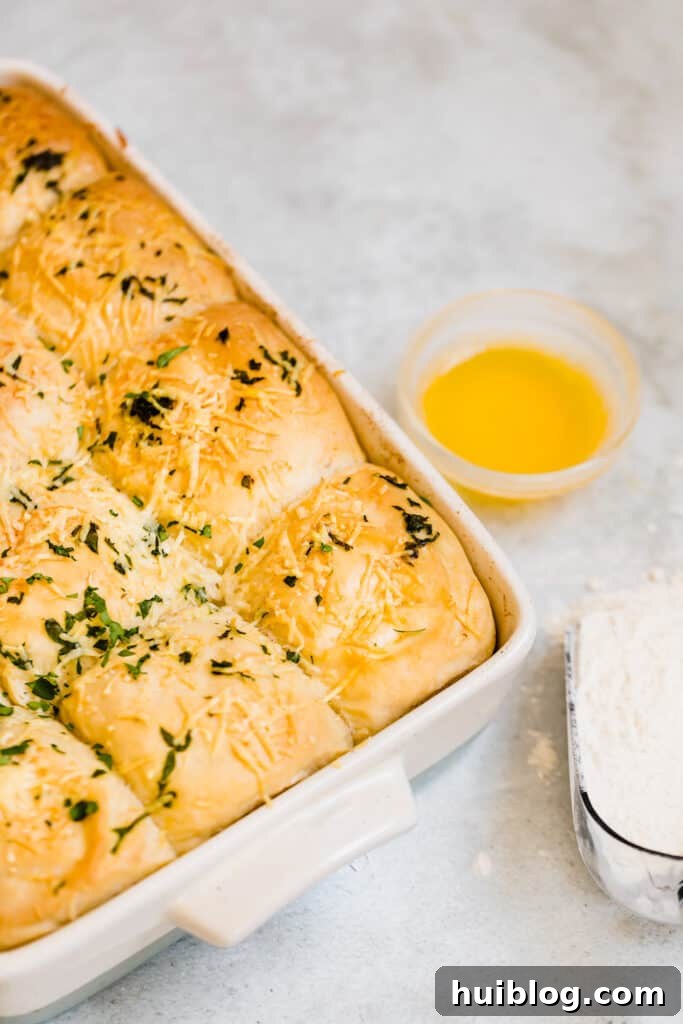
Essential Ingredients for Perfect Parmesan Dinner Rolls
Crafting these delectable Soft Parmesan Dinner Rolls requires a handful of common pantry staples, each playing a crucial role in achieving their signature taste and texture. Using quality ingredients will make all the difference in the final product. Here’s what you’ll need to gather:
- Water & Milk: You’ll need one cup of water and a half cup of milk. Both should be warmed slightly, ideally to a temperature between 105-115°F (40-46°C). This warmth is critical for activating the yeast without scalding it. The combination of water and milk helps create a moist and tender crumb, with the milk adding a touch of richness and aiding in browning.
- Butter: Two tablespoons of melted butter are incorporated into the dough. Butter is essential for adding tenderness, a luxurious richness, and a lovely golden color to the rolls. It also contributes to the overall flavor complexity.
- Sugar: A single tablespoon of granulated sugar is used in this recipe. Sugar serves multiple purposes: it acts as food for the yeast, helping it to activate and grow, which in turn gives the rolls their rise and fluffy texture. It also adds a delicate sweetness that balances the savory Parmesan, and helps with crust browning. You can experiment with alternatives like raw sugar, a touch of honey, or maple syrup for slightly different flavor nuances.
- Yeast: One tablespoon of active dry yeast is the leavening agent for these rolls. Ensuring your yeast is fresh and active is paramount for a successful rise. Always proof your yeast first to confirm its vitality.
- Flour: This recipe calls for all-purpose flour. Approximately 3 ½ cups are needed, but the exact amount can vary slightly based on humidity and how the flour is measured. Flour provides the structure for the rolls. If you prefer, you can substitute with your favorite gluten-free all-purpose flour blend for a gluten-friendly option.
- Salt: Two teaspoons of salt are crucial for enhancing the flavor of the rolls and controlling the yeast’s activity. Don’t skip the salt, as it brings out the best in all the other ingredients.
- Parmesan: About ¼ cup of finely shredded or grated Parmesan cheese is what gives these rolls their distinctive savory character. Use high-quality Parmesan for the best flavor; freshly grated is always superior to pre-shredded for its intensity and melt-ability.
- Fresh Parsley: A ¼ cup of finely chopped fresh parsley adds a burst of vibrant color and a fresh, herbaceous aroma that perfectly complements the rich Parmesan. Fresh herbs are key here for maximum impact.
Step-by-Step Guide to Crafting Delicious Dinner Rolls
Making homemade dinner rolls might seem intimidating, but with this clear and simple guide, you’ll be baking like a pro in no time. Follow these steps carefully to ensure a batch of perfectly soft and flavorful Parmesan dinner rolls:
- 1. Activate the Yeast: In a spacious mixing bowl, combine your slightly warmed water, milk, melted butter, and granulated sugar. The warmth of the liquids and the sugar provide the ideal environment for the yeast. Sprinkle the active dry yeast evenly over the surface of the liquid mixture. Give it a gentle whisk to combine lightly, then set it aside for approximately 5 minutes. During this time, the yeast should become foamy and bubbly, indicating it’s active and ready to work its magic. If your yeast doesn’t foam, it might be expired or the liquids were too hot/cold, and you should start again.
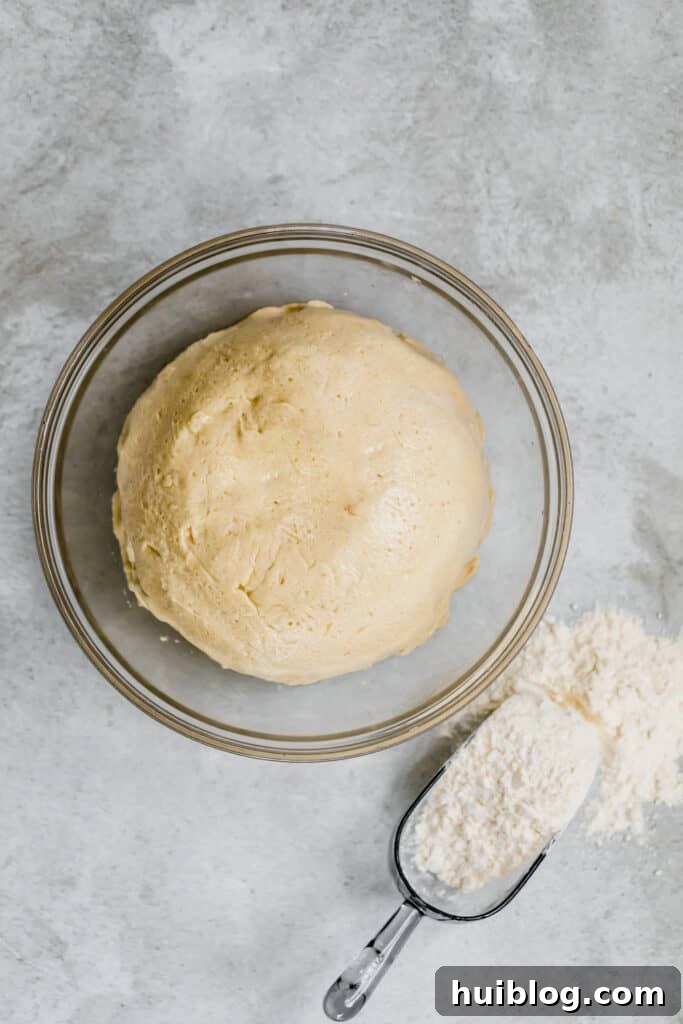
- 2. Incorporate Dry Ingredients & Knead the Dough: To your activated yeast mixture, add the all-purpose flour and salt. If you have an electric mixer equipped with a dough hook, use it to mix the ingredients for about five minutes on a medium-low setting. The dough should come together and begin to pull away from the sides of the bowl. If kneading by hand, this process will take a bit longer, typically 8-10 minutes. The goal is to develop the gluten, resulting in a very smooth, elastic, and stretchy dough that springs back when gently poked.
- 3. First Rise for Flavor & Volume: Once your dough is smooth and beautifully elastic, transfer it to a lightly greased bowl, turning it once to coat all sides with oil. This prevents the dough from sticking. Cover the bowl with a damp towel or lightly greased plastic wrap. Allow the dough to rise in a warm, draft-free spot for approximately 15 minutes. This initial rise is crucial for building flavor and allowing the yeast to begin its work, creating a light and airy texture.
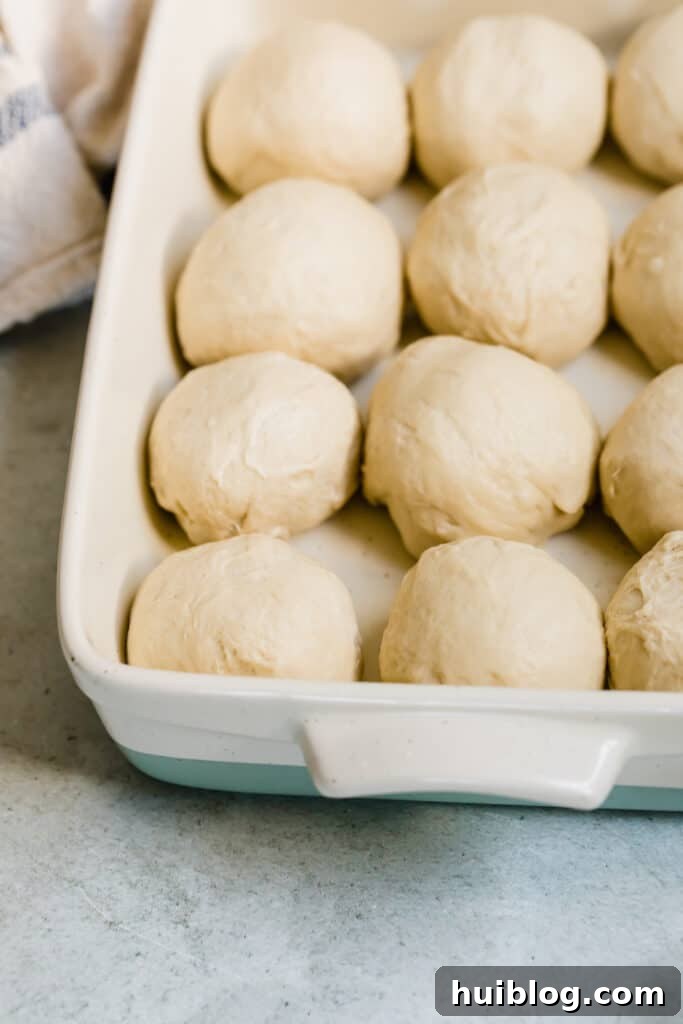
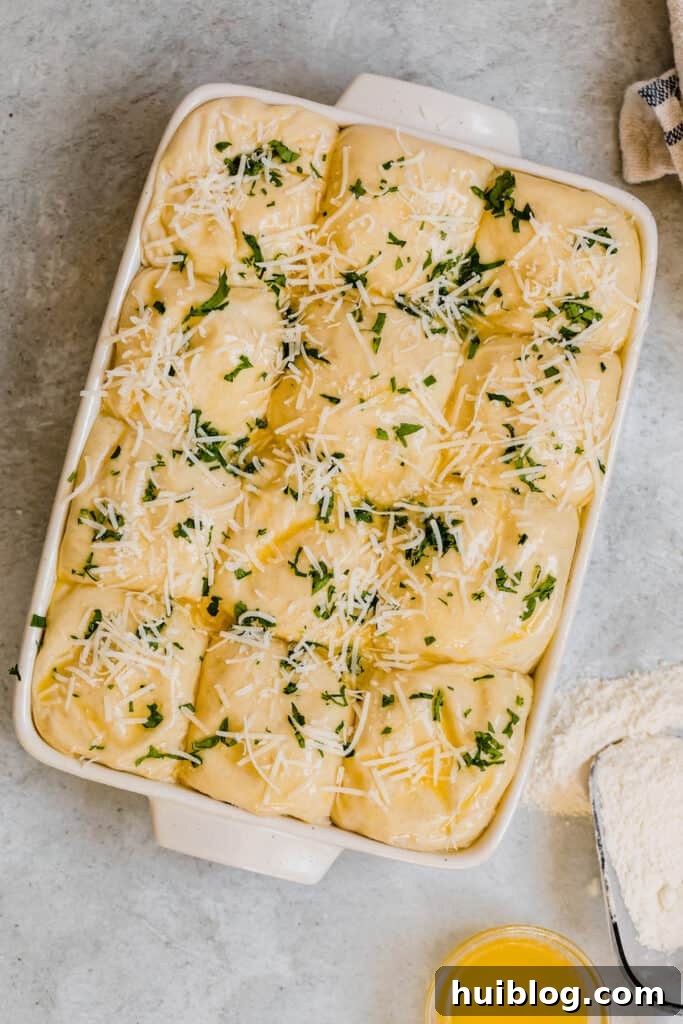
- 4. Punch Down, Shape, and Second Rise: After the first 15-minute rise, gently punch down the dough to release the accumulated gases. This step helps redistribute the yeast and creates a finer crumb structure. Turn the dough out onto a lightly floured surface and divide it into 12 equal pieces. For uniform rolls, consider using a kitchen scale. Roll each piece into a smooth, round ball and arrange them in a greased baking dish (a 9×13 inch pan works perfectly for 12 rolls), leaving a small space between each. Cover the dish again with a damp towel or greased plastic wrap and let the rolls rise a second time for another 20 minutes. During this period, the rolls will visibly increase in size and become puffy. While they are rising, begin preheating your oven to 400°F (200°C) to ensure it’s at the correct temperature when the rolls are ready.
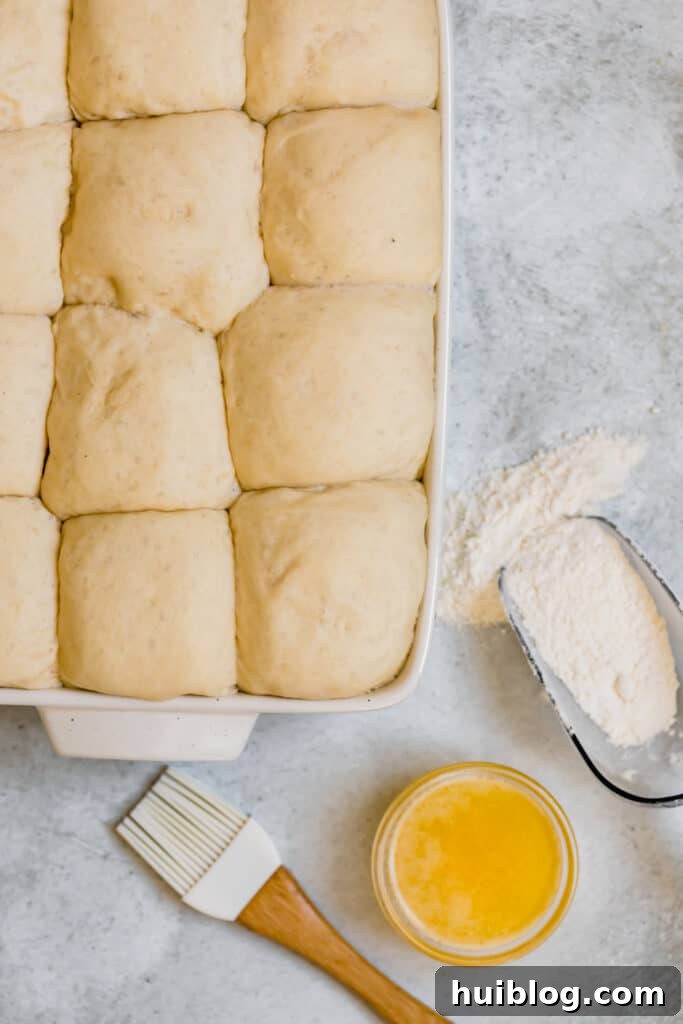
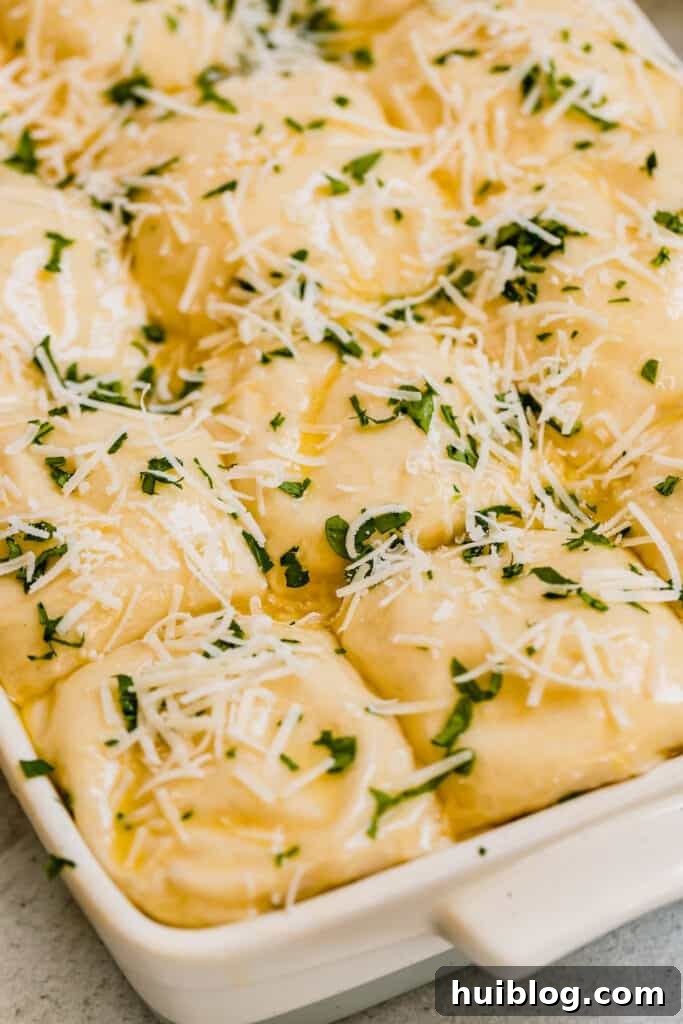
- 5. Bake to Golden Perfection: Once the rolls have completed their second rise and the oven is preheated, it’s time for the final touches. Evenly sprinkle the finely shredded Parmesan cheese and chopped fresh parsley over the top of each roll. This ensures the flavors bake directly into the crust, creating a beautiful aroma and a savory, irresistible top. Carefully place the baking dish into the preheated oven and bake for approximately 20 minutes, or until the rolls are gloriously golden-brown on top and cooked through. To check for doneness, you can insert a thermometer into the center of a roll; it should read around 200-210°F (93-99°C).
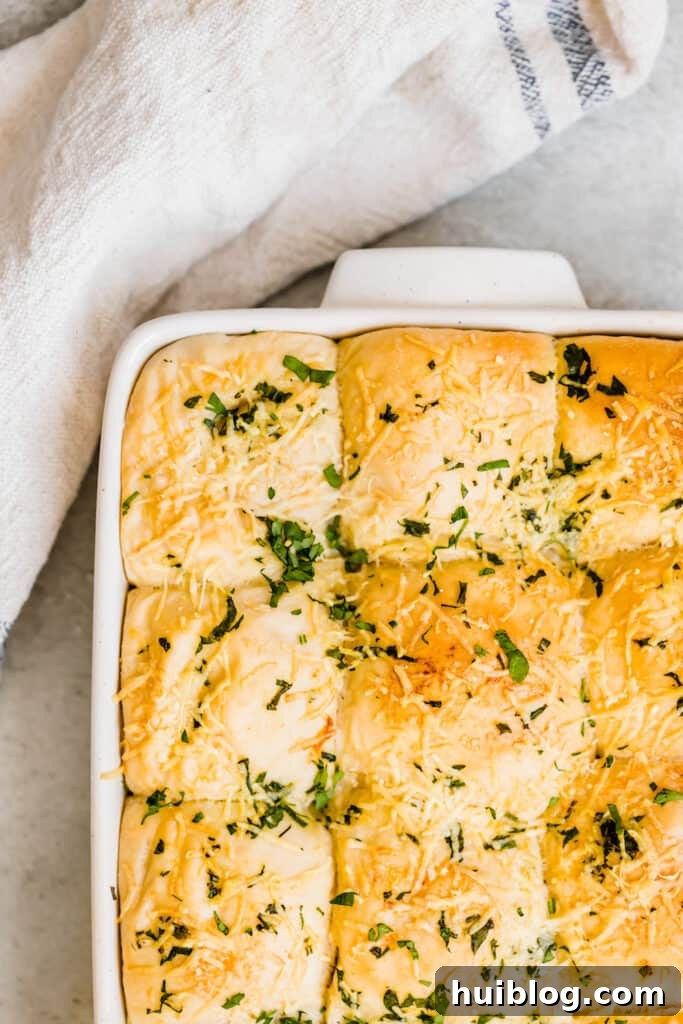
Enjoy your homemade Soft Parmesan Dinner Rolls warm, perhaps with an extra brush of melted butter for an even richer finish!
Mastering the Rise: How Long Should the Dough Rise?
The rising time for dough is one of the most common questions in baking, and for good reason! It’s less about a precise timer setting and more about understanding the environmental factors at play and recognizing visual cues. How long your dough needs to rise depends predominantly on the ambient temperature of your kitchen, and even the specific spot where you leave it. A cooler environment will slow down the yeast activity, requiring a longer rise time, while a warmer spot will accelerate it.
- To assist your dough in rising, especially if you have a drafty or cool kitchen, consider placing it in a slightly warmer area. This could be near a gently warmed oven (turned off, but still radiating residual heat), on top of a warm appliance like a slow cooker or toaster oven (on a low setting), or even in a microwave that’s been briefly run with a cup of water to create a warm, steamy environment. Avoid excessively hot places, as this can kill the yeast.
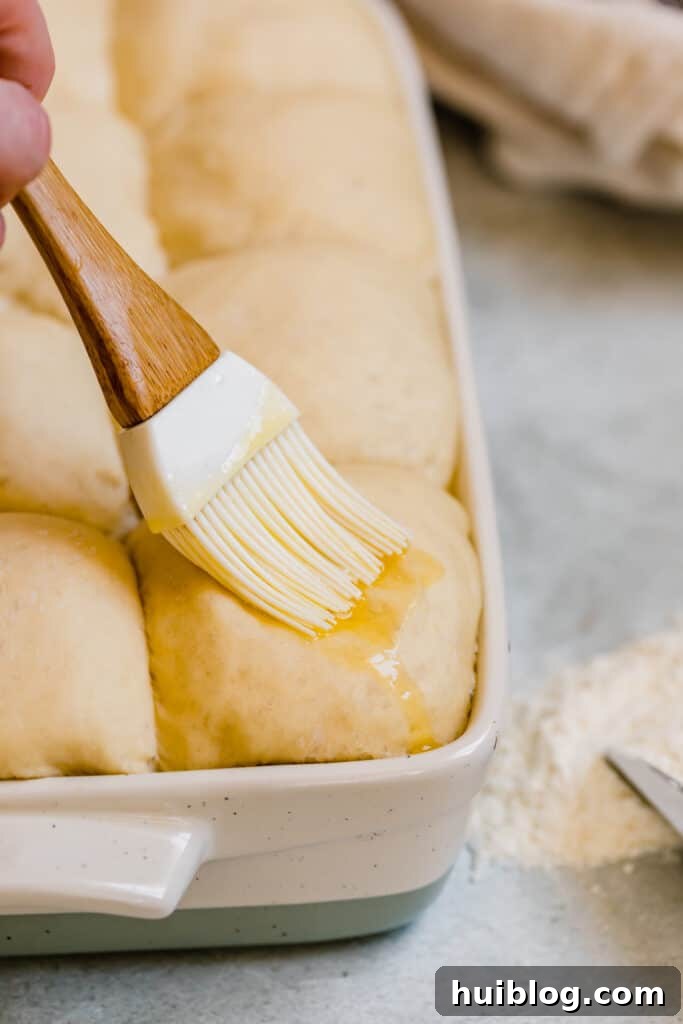
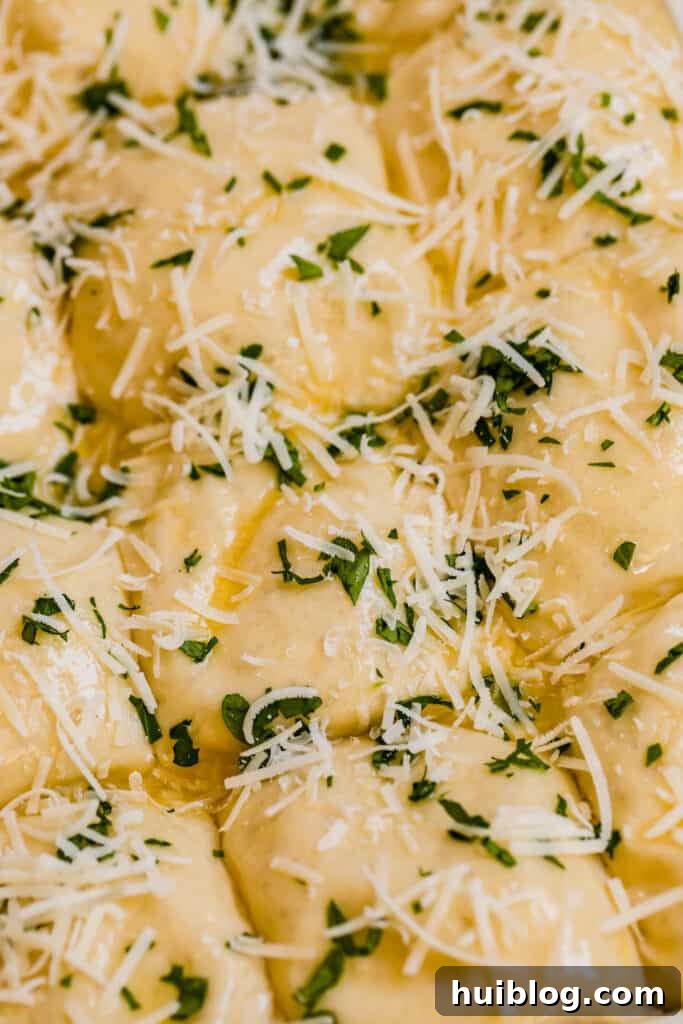
Crucially, be vigilant not to let the dough over-rise. Over-risen dough can have a tired, deflated appearance and often develops a strong, sometimes unpleasant, yeasty flavor. It might also collapse during baking or result in a dense, crumbly texture. The key is to look for specific visual and tactile cues: you’ll know the rolls have risen enough when they still look nicely rounded and smooth, having approximately doubled in size. A foolproof test is the “poke test”: gently press a roll with one finger about half an inch deep. If the indentation slowly springs back halfway, it’s perfectly risen. If it springs back completely, it needs a bit more time. If the indentation remains and doesn’t spring back at all, or worse, the dough collapses, it’s likely over-risen and should be baked immediately.
Expert Tips for the Best Soft Parmesan Dinner Rolls
Achieving bakery-quality dinner rolls at home is entirely within reach with a few expert tips. These suggestions will help you navigate the baking process with confidence and ensure your Soft Parmesan Dinner Rolls turn out perfectly every time:
- Strategic Time Management: Homemade yeast rolls, while incredibly rewarding, do require a significant time investment. Between warming liquids, precise ingredient measurement, proofing the yeast, kneading the dough (whether by hand or machine), two distinct rising periods, shaping, and finally baking, the process is quite hands-on. While not difficult, it demands careful timing. It’s wise to plan your baking schedule in advance, especially if you’re aiming to have fresh, warm rolls ready for a specific mealtime, like a holiday dinner. Think of it as a delightful ritual rather than a quick task.
- Grease Generously for Success: Working with dough can often be a sticky affair, particularly in warm, humid conditions or a bustling kitchen. To minimize frustration and maximize ease, don’t hesitate to grease everything that comes into contact with your dough. This includes not only the mixing bowl for the rises but also your hands when shaping the rolls, and your work surface if you’re kneading by hand or dividing the dough. For covering the dough during its rises, a damp kitchen towel works well, but a piece of plastic wrap, lightly greased on the side facing the dough, can also be an excellent alternative, preventing sticking and keeping moisture in.
- Unleash Your Creativity with Flavors: The beauty of this dinner roll dough recipe lies in its versatility. While Parmesan and parsley create a fantastic combination, the base dough is highly adaptable to various flavor profiles. Don’t be afraid to experiment and make it your own! Consider kneading in other robust herbs like fresh rosemary and pairing it with asiago cheese for a different savory twist. A blend of Italian seasonings and Parmesan could transport your taste buds straight to the Mediterranean. Beyond herbs and cheeses, you can incorporate other delightful goodies into the rolls themselves. Imagine bits of sun-dried tomatoes for a sweet-tart note, finely diced cheddar cheese and cooked ham for a hearty addition, or even a sprinkle of garlic powder and onion flakes for an aromatic kick. The possibilities are endless, allowing you to tailor these rolls to any cuisine or personal preference.
- Precise Measuring is Key: While baking can sometimes feel intuitive, accuracy is vital, especially with yeast dough. Using a kitchen scale for flour, if possible, provides the most consistent results, as scooping flour directly from the bag can compact it, leading to too much flour. Eyeballing measurements can lead to dough that is too stiff or too sticky.
- Temperature Matters: Beyond the yeast activation temperature, ensure your kitchen isn’t too cold, which will significantly prolong rise times. Conversely, avoid placing dough directly under a strong heat source, as this can kill the yeast or lead to an uneven rise.
- Don’t Rush the Rise: Patience is a baker’s best friend. Allow the dough to take its time to rise properly. Rushing the process will result in dense, less flavorful rolls. Trust the visual cues over the clock.
Preparing Ahead: Savory Rolls on Your Schedule
One of the beauties of these Soft Parmesan Dinner Rolls is the flexibility to prepare them in advance, taking some pressure off busy meal times, especially during holidays or special occasions. This make-ahead strategy allows you to enjoy freshly baked rolls without the last-minute rush.
- If you wish to get a head start, you can prepare the dough through the kneading step. Once the dough is smooth and elastic, instead of letting it perform its first rise at room temperature, place it in a greased bowl, cover it tightly with plastic wrap or a lid, and transfer it to the refrigerator. The cool temperature of the refrigerator will significantly slow down the yeast’s activity, allowing the dough to rise slowly over an extended period. This cold fermentation can last for up to about 8 hours, though the exact timing can vary depending on your fridge’s temperature and the dough itself.
- When you’re ready to bake, remove the chilled dough from the refrigerator. Let it sit at room temperature for about 30-60 minutes to take off the chill and become more pliable. Then, proceed with punching down the dough, dividing it into 12 equal pieces, shaping them into balls, and performing the second rise as directed in the main recipe instructions. This method ensures you can have warm, delicious rolls without having to start from scratch on the day you plan to serve them.
Storing and Enjoying Leftover Rolls
If by some miracle you have any Soft Parmesan Dinner Rolls left over, proper storage will help maintain their freshness and deliciousness for longer.
- For short-term storage, freshly baked yeast rolls can be kept in sealed food storage bags or an airtight container at room temperature for up to two days. It’s generally not recommended to store them in the refrigerator, as the cold air tends to dry out bread products and can make them stale faster.
- To enjoy them beyond two days or to preserve a larger batch, freezing is an excellent option. Allow the rolls to cool completely after baking. Then, wrap each individual roll securely in plastic wrap, ensuring no air is exposed. Once wrapped, place the rolls into freezer-safe bags, pushing out as much air as possible before sealing them. Properly frozen, these rolls will maintain their best quality for up to 4 months.
- When you’re ready to enjoy frozen rolls, simply thaw them on the kitchen counter at room temperature. For a “just baked” experience, you can gently warm them in a preheated oven (around 300°F/150°C) for 5-10 minutes, or until warmed through. This revives their softness and brings back that wonderful aroma.
Rated 5 out of 5 stars by 10 readers
Soft Parmesan Dinner Rolls
Ingredients
- 1 cup warm water
- 1/2 cup milk, warmed
- 2 tablespoons butter, melted
- 1 tablespoon sugar
- 1 tablespoon active dry yeast
- 3 1/2 cups all-purpose flour
- 2 teaspoons salt
- 1/4 cup finely shredded Parmesan cheese
- 1/4 cup finely chopped fresh parsley
Instructions
-
1. In a mixing bowl, combine water, milk, butter, and sugar. Sprinkle yeast on top and whisk lightly then allow to sit for 5 minutes or until foamy.
-
2. Add the flour and salt; using an electric mixer with a dough hook, mix for 4 to 5 minutes on medium-low setting until smooth and elastic. If kneading by hand, knead for 8-10 minutes.
-
3. Once the dough is smooth, transfer to a lightly greased bowl, turning to coat.
-
4. Cover the bowl with a damp towel or greased plastic wrap and let it rise for 15 minutes in a warm, draft-free spot.
-
5. Once risen, gently punch down the dough and divide into 12 equal pieces.
-
6. Roll each piece of dough into a ball and place on a greased 9×13 baking dish.

-
7. Cover the dish with a damp towel or greased plastic wrap and let the dough balls rise for a second time, for 20 minutes.
-
8. Preheat oven to 400˚F (200°C).
-
9. Once the rolls have risen, sprinkle each roll generously with Parmesan cheese and fresh parsley.
-
10. Bake for 20 minutes, or until rolls are golden brown and cooked through (internal temperature of 200-210°F / 93-99°C).
-
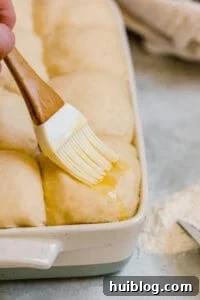
11. Remove from oven and let stand for a few minutes. For extra richness, brush with a little melted butter while warm.
-
12. Serve warm and enjoy your delightful homemade rolls!
Equipment
-
Mixing Bowl
-
Electric Mixer with Dough Hook (optional, hand kneading works too)
-
9×13 inch Baking Dish
-
Damp Kitchen Towel or Plastic Wrap
-
Oven
Notes
Nutrition
Nutritional info is an estimate and provided as courtesy. Values may vary according to the ingredients and tools used. Please use your preferred nutritional calculator for more detailed info.
More Irresistible Baking Recipes to Try
If you’ve enjoyed the delightful experience of baking these Soft Parmesan Dinner Rolls, you’ll be thrilled to discover more easy and delicious bread recipes that are perfect for any occasion. Expanding your baking repertoire is a rewarding journey, and these recipes offer a variety of flavors and techniques to explore:
- Spinach and Feta No-Yeast Bread: For those days when you crave homemade bread but are short on time or prefer to skip the yeast, this recipe is a lifesaver. It combines the savory goodness of spinach and tangy feta cheese into a quick, flavorful loaf that’s perfect for dipping or as a side with Mediterranean dishes.
- Easy Homemade Flatbread: Versatile and incredibly simple to make, homemade flatbread is a pantry staple that can accompany almost any meal. Use it to scoop up dips, create quick pizzas, or serve alongside curries and stews. Its soft, chewy texture makes it an instant favorite.
- No-Knead Skillet Cheese Bread: This recipe redefines easy baking. Requiring minimal effort with no kneading involved, this cheesy skillet bread bakes up with a wonderfully crispy crust and a tender, cheesy interior. It’s an impressive side that’s deceptively simple to prepare, making it ideal for busy weeknights or casual entertaining.
- Garlic Herb Focaccia: Indulge in the airy texture and rich olive oil flavor of a classic focaccia, studded with fragrant garlic and your favorite fresh herbs like rosemary and thyme. It’s perfect for tearing and sharing.
- Sweet Potato Dinner Rolls: Add a touch of natural sweetness and a beautiful orange hue to your table with these incredibly soft sweet potato rolls. They’re a delightful twist on the classic and pair wonderfully with holiday meals.